 Strates Digitales Labs


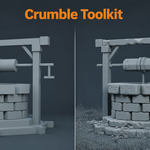
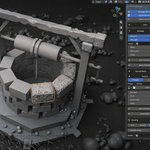
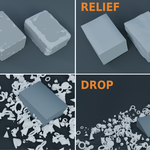
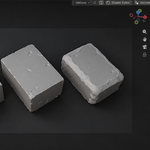
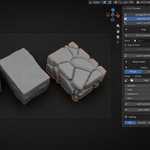
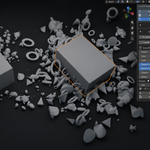
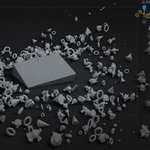
Crumble turns any clean mesh into a battle-worn, weathered, or shattered version of itself, without ever touching your original geometry.
Add procedural impact damage, surface relief (rust, cracks, bricks...), scattered debris, and drop pieces to the floor with physics-like placement, all driven by a single Geometry Nodes modifier you can tweak, animate, or reset at any time.
The Problem
Damaging or weathering an asset usually means either sculpting by hand (slow, destructive, hard to iterate) or using a boolean/fracture tool that permanently breaks your mesh the moment you commit. Neither lets you dial things back after committing to a look.
The Solution
Crumble wraps four independent, non-destructive stages into one modifier:
1. Damage — Procedural impact damage (dents, chipped edges, torn-off chunks) driven by a boolean+remesh pipeline, controllable via a simple Strength/Seed/Subdivision set, with a movable Control Object and vertex-group masking.
2. Relief — Surface detail (cracks, bricks, waves, craters, clouds, or fully custom procedural textures using Blender's native texture system) applied as height displacement, independent of Damage, so you can use it alone for weathering without any destruction.
3. Debris — Parametric scattered fragments, on the object's surface or around it on the ground, with density/scale control via texture maps, random rotation, lateral spread, and one-click Apply (single mesh or split into pieces).
4. Drop to Floor — Place debris or the whole object realistically on any surface via a live raycast-based snap, with an optional footprint controller so the object keeps following the floor while staying independently movable.
Every stage has its own visibility toggle (viewport/render), its own Apply (bake just that stage, keep the rest live), and survives Blender version updates via a rebuild-in-place system.
Why Crumble
- Fully non-destructive — every parameter stays editable in the modifier stack until you choose to Apply.
- Batch-friendly — copy a preset from one object to a whole selection in one click.
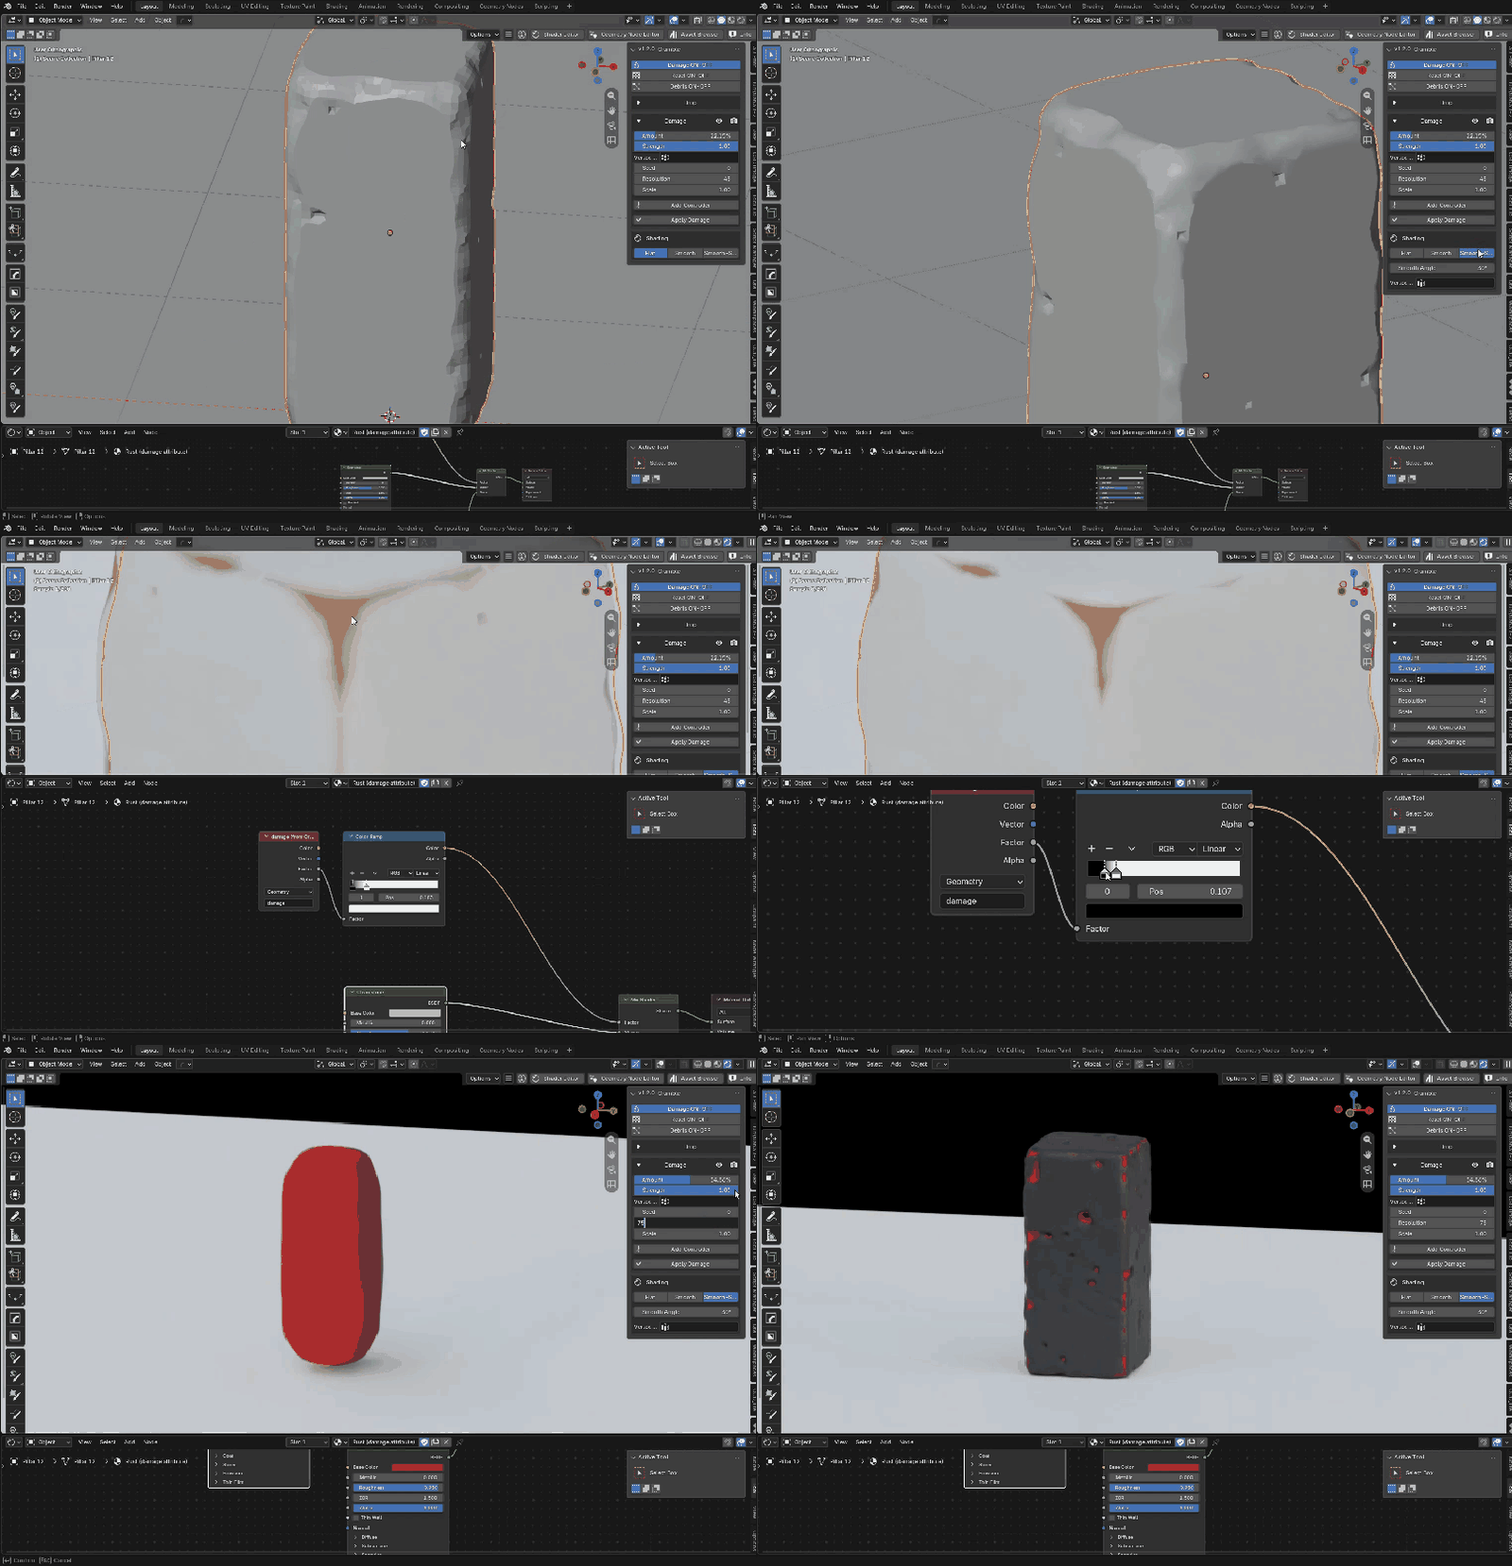
- Shader-ready — damage exposes a vertex attribute you can plug straight into your material.
- Built for Blender 5.0+, tested through 5.2.
Requirements
Blender 5.0 or newer. No external dependencies.
See it in Action
Short clips recorded straight from the viewport — no editing, no hidden steps. What you see is the N-panel and the sliders you get.
1. One click to damage
Select your objects and click Damage ON — the effect appears instantly, as a live modifier.
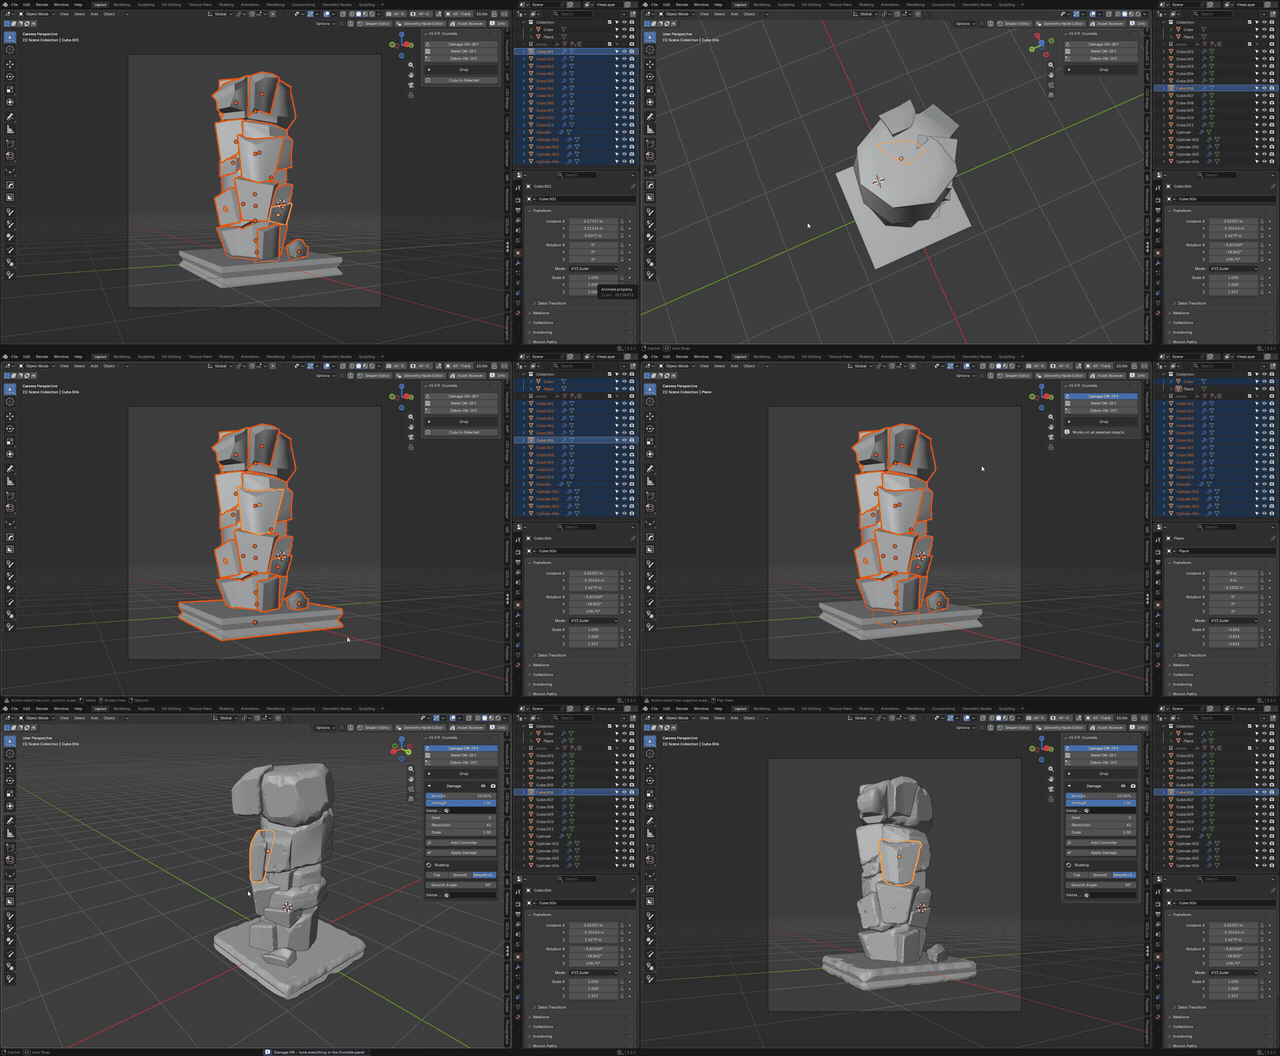
2. Dial it in, then copy to the whole selection
Set the Amount, then push the active object's preset to every selected object with Copy to Selected.
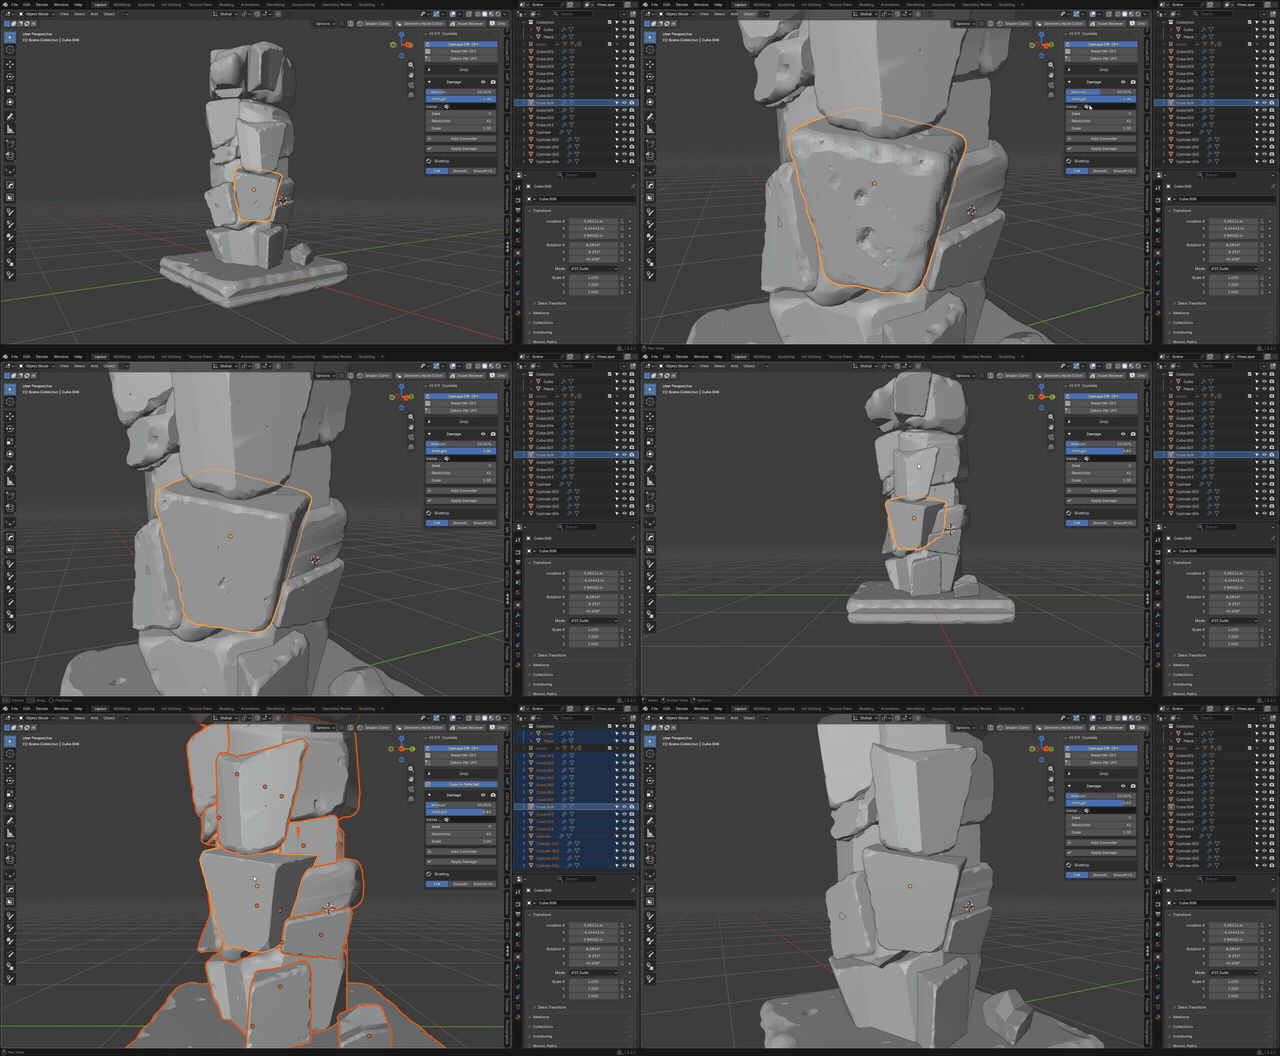
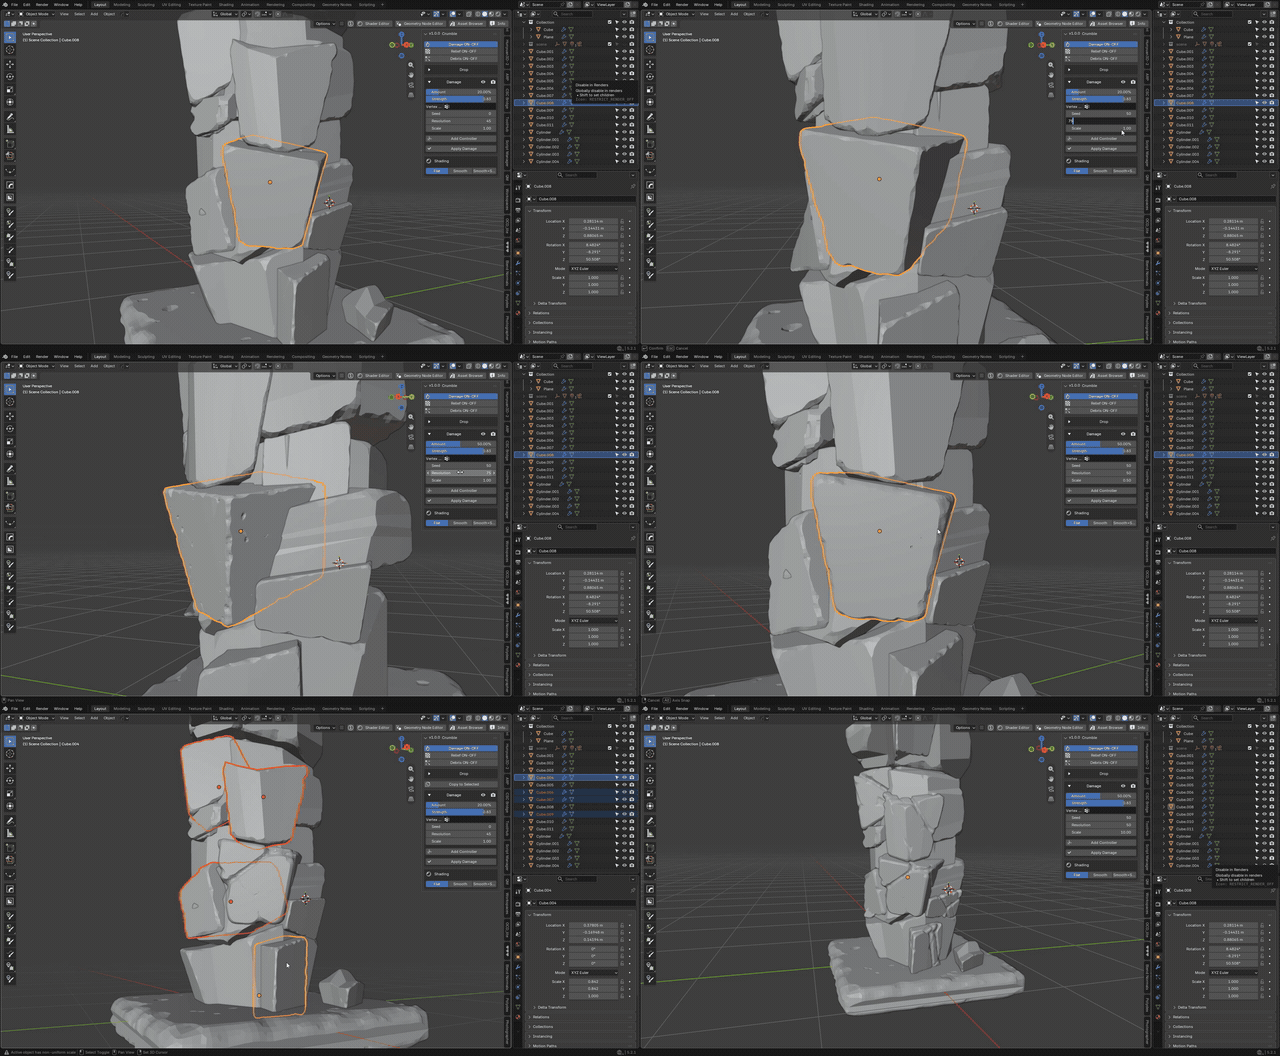
3. Three sliders to shape the look
Resolution (detail), Scale (pattern size) and Seed (variation) — that's all it takes to go from a chipped edge to a crumbling ruin.
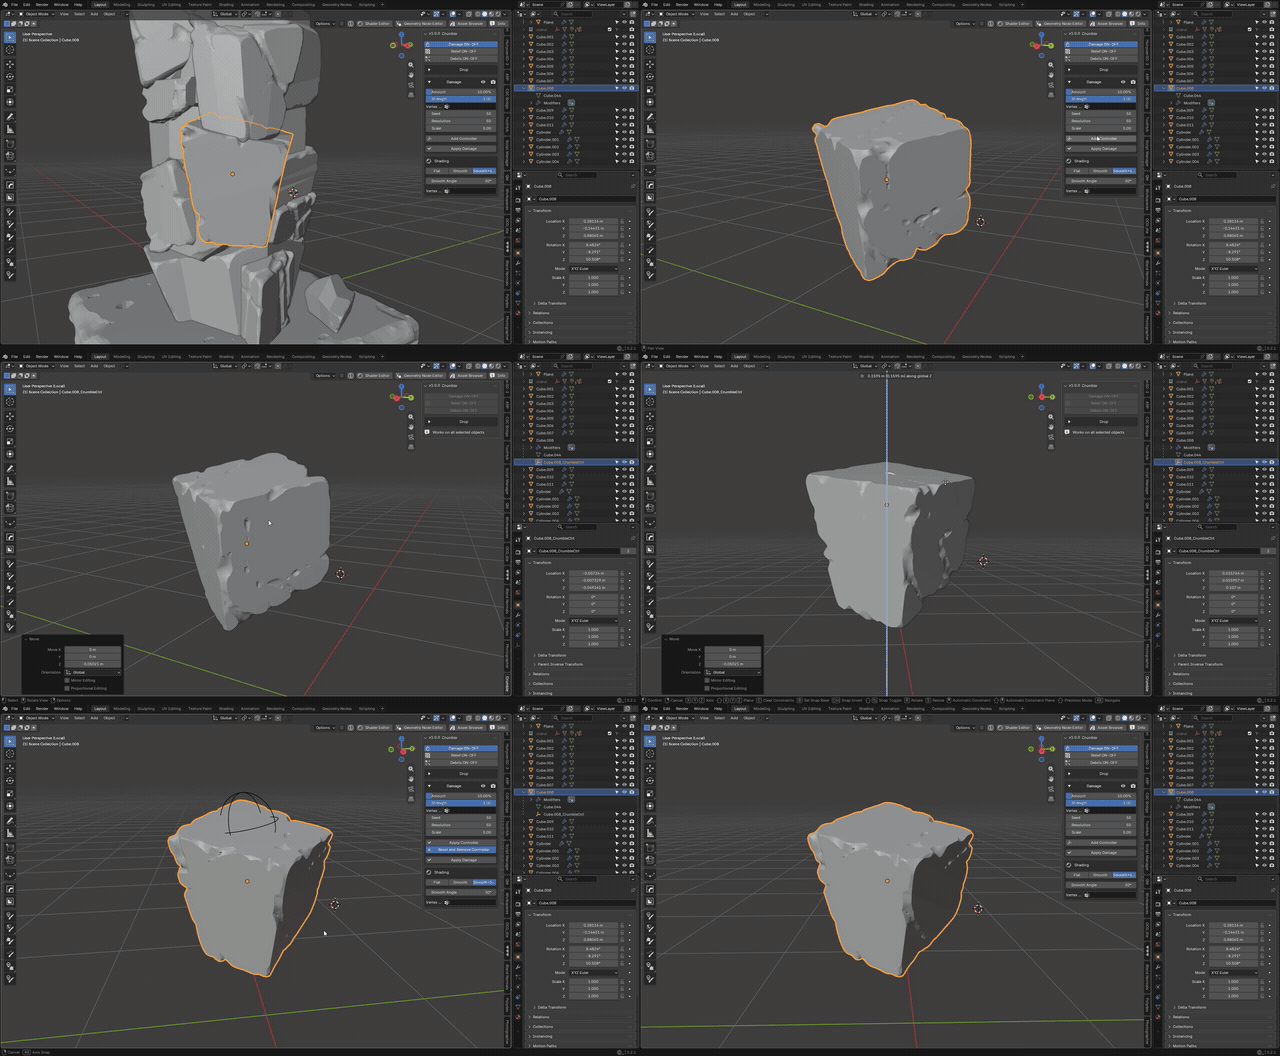
4. Put the damage exactly where you want it
Add Controller creates an Empty: move or rotate it and the pattern follows, live. Bake it with Apply Controller, or keep it editable.
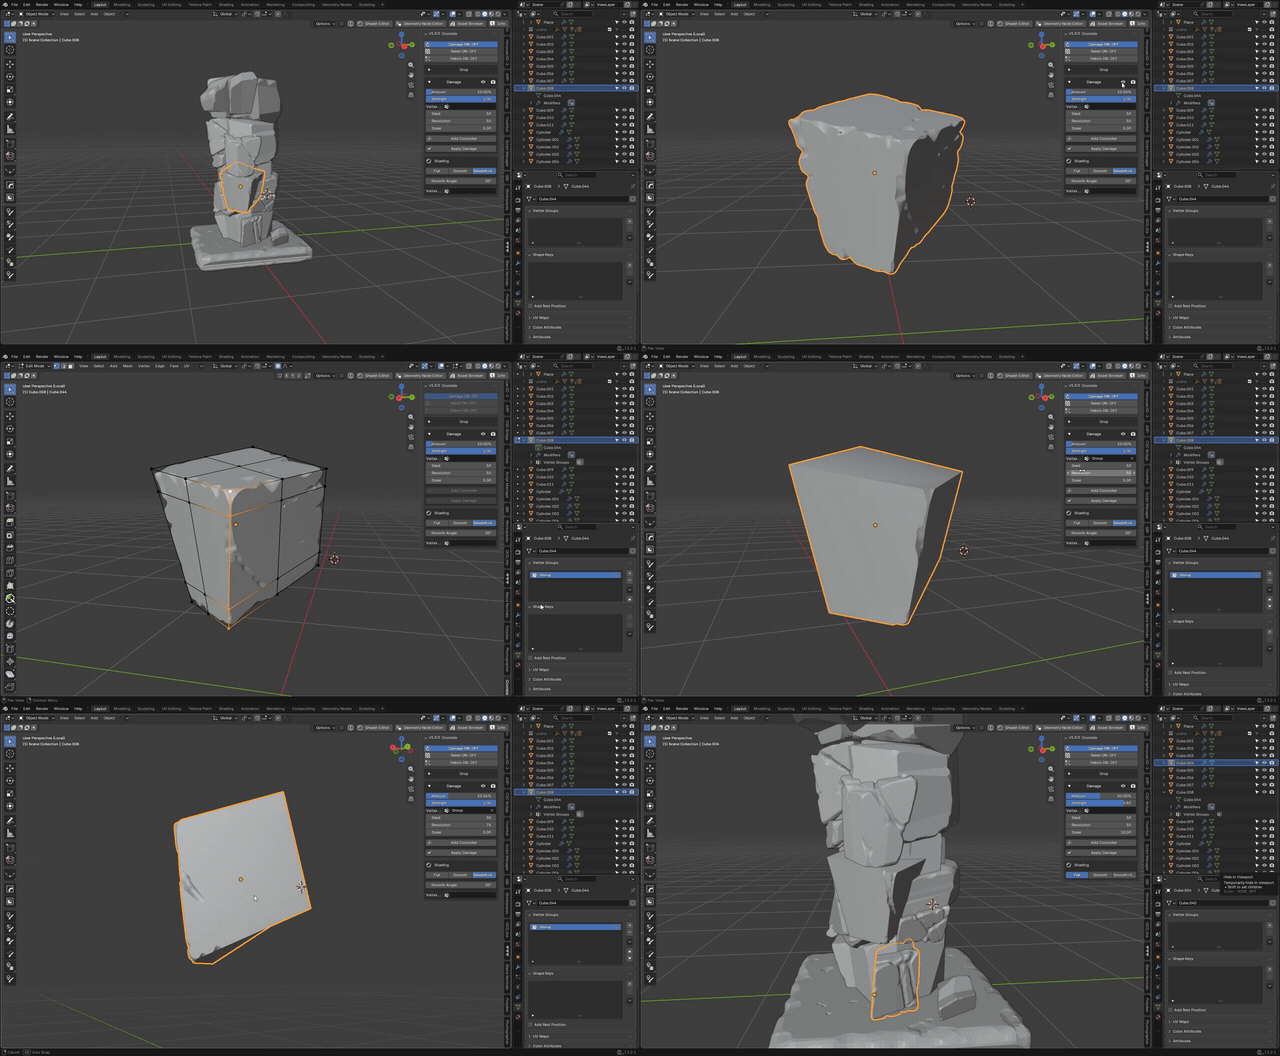
5. Protect areas with a vertex group
Pick a Vertex Group in the Damage box to confine the damage — weight 0 keeps the surface untouched.
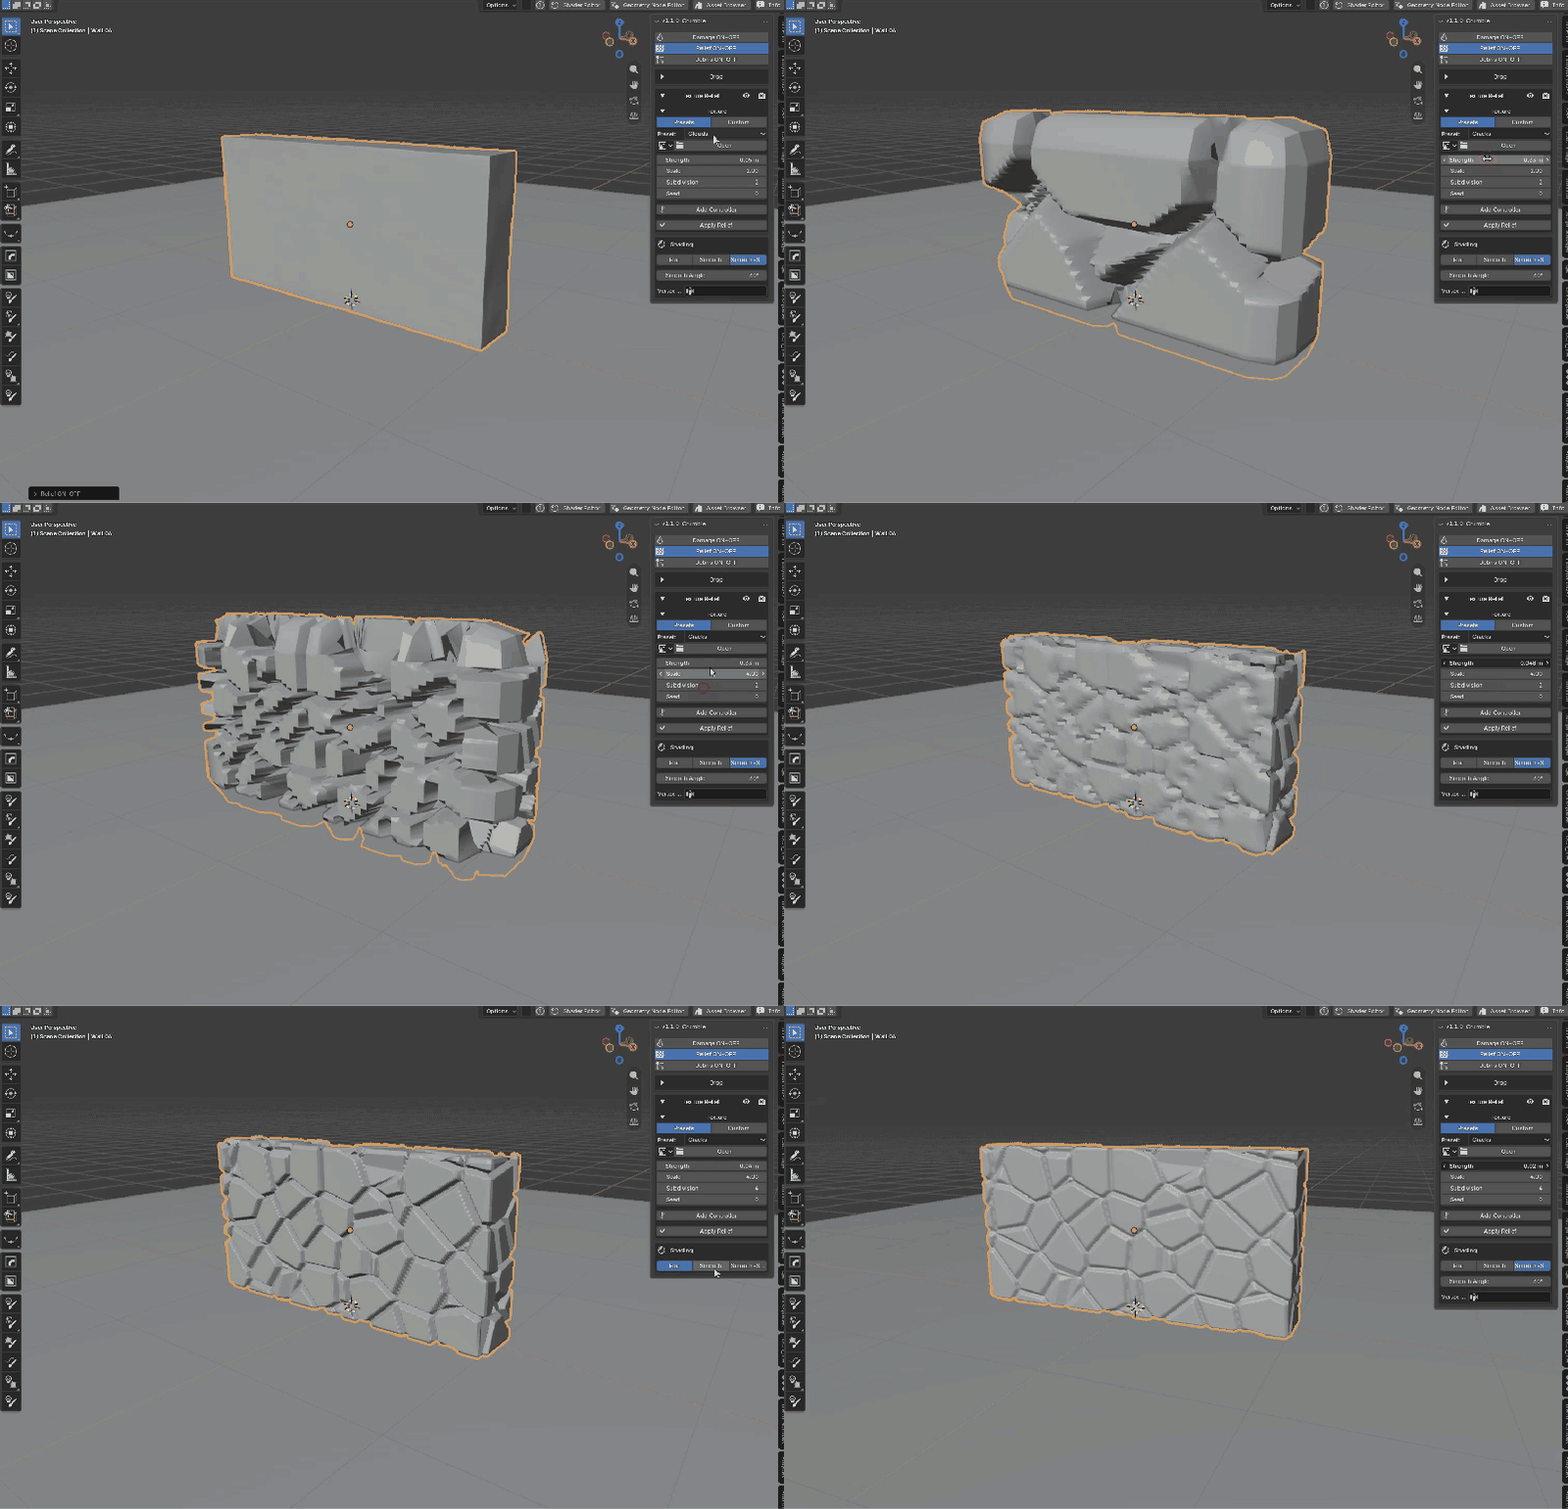
6. Relief: weathering without destruction
Toggle Relief ON alone and pick a preset — Clouds, Cracks, Bricks, Waves or Craters — then tune Strength, Scale and Seed.
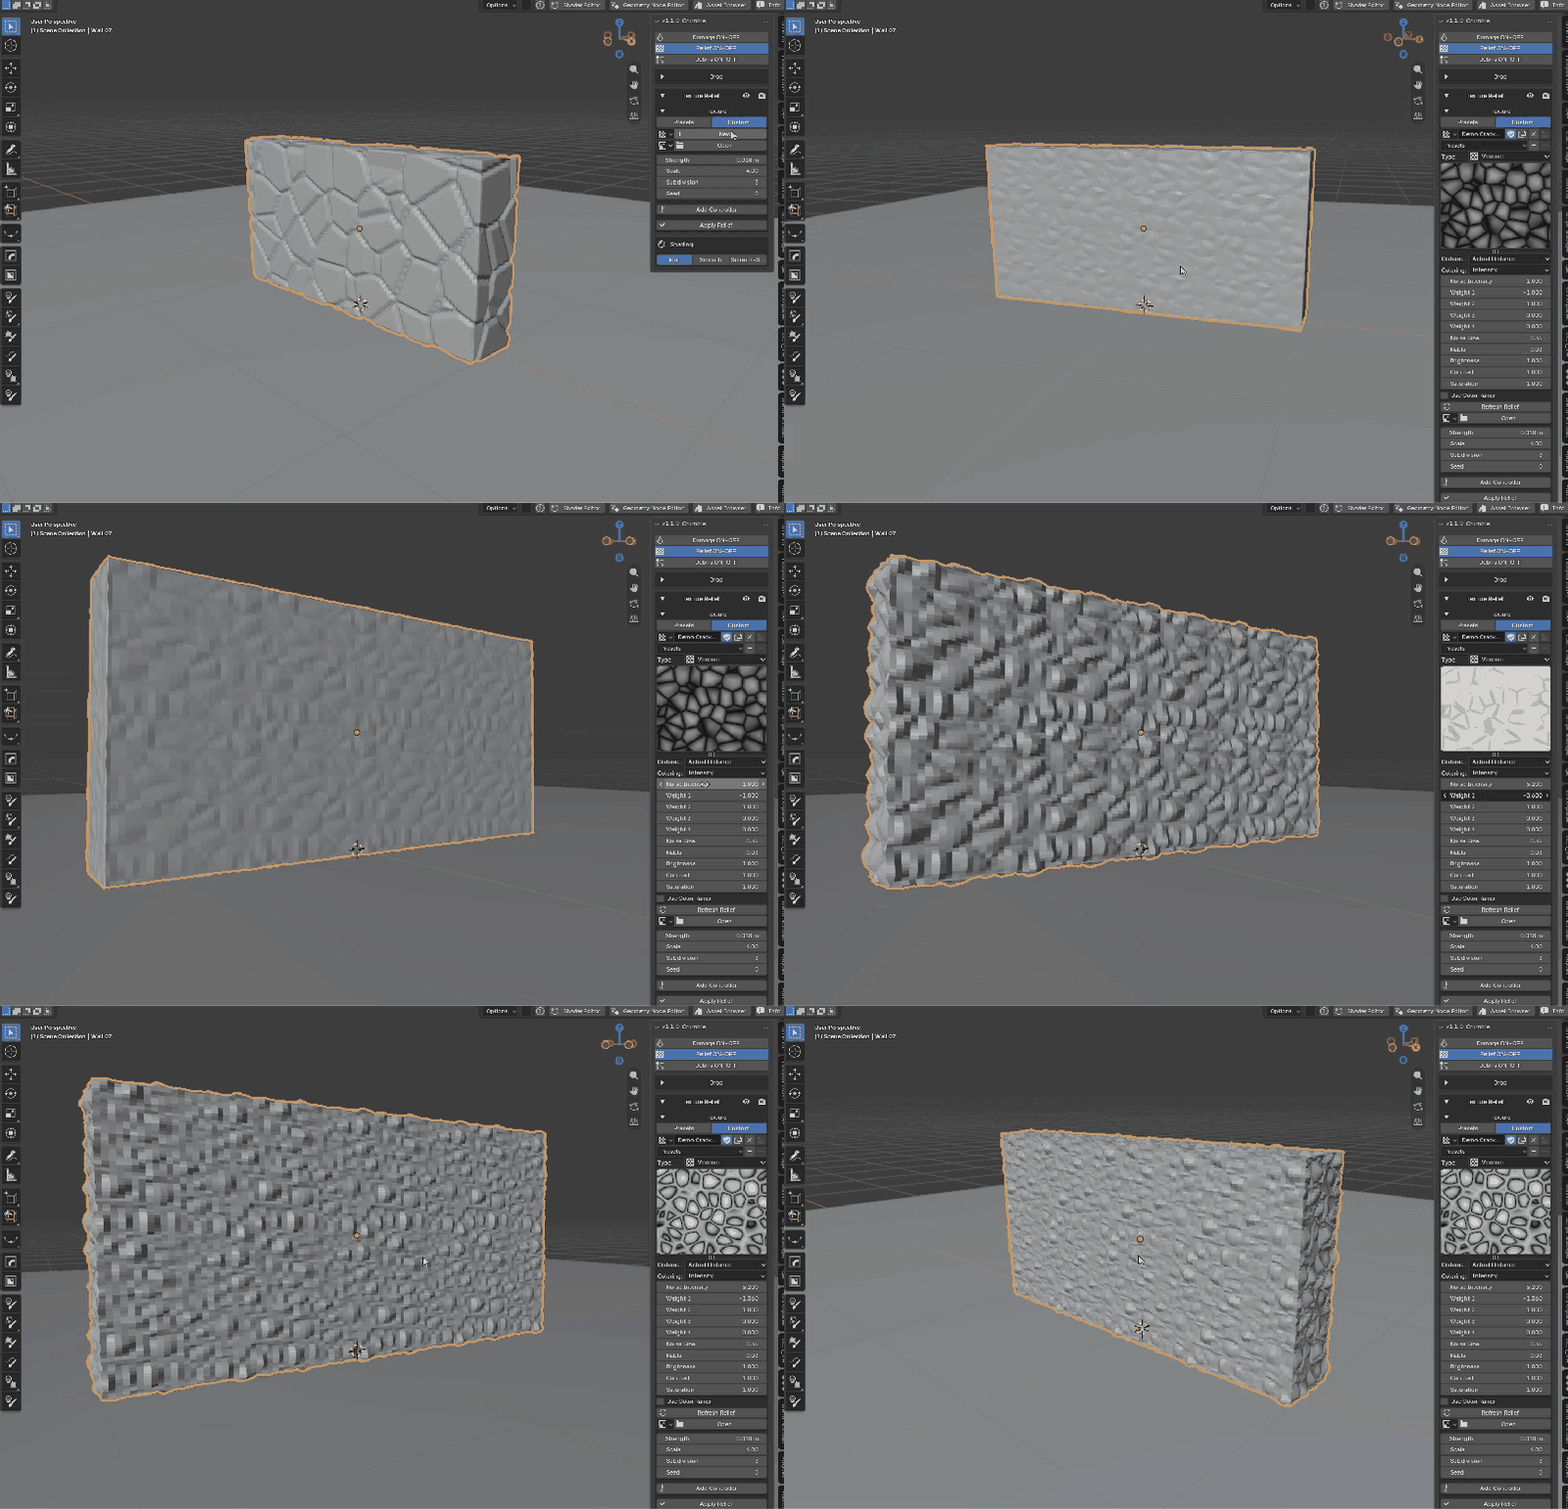
7. Relief: your own texture or height map
Switch to Custom for Blender's procedural textures with live preview and saveable presets, or plug an image height map through the UV map.
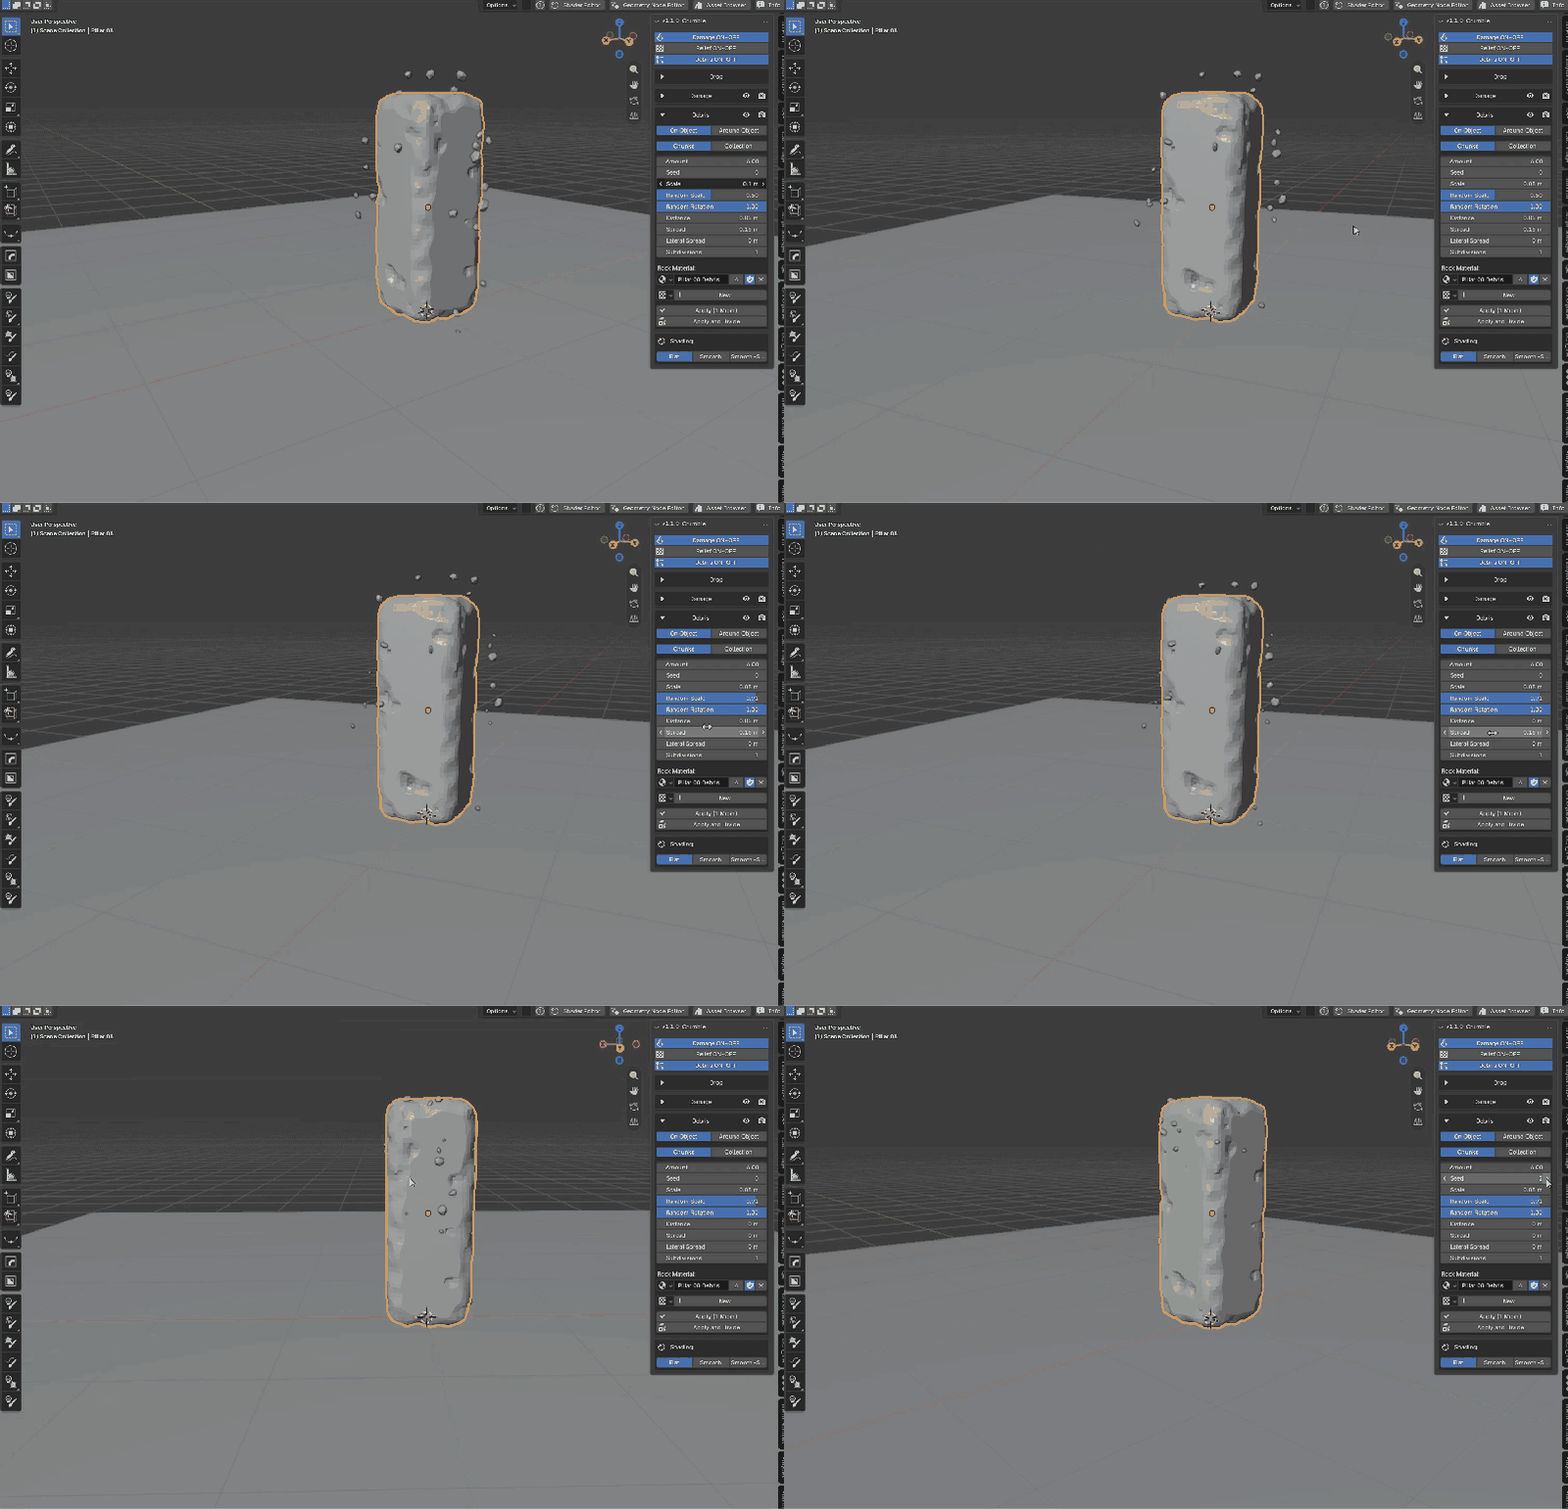
8. Debris: on the object or around it
Debris ON, then switch between On Object and Around Object; Amount, Scale, Spread and Random Rotation do the rest.
9. Debris: scatter your own models on any terrain
Flip Chunks / Collection to scatter objects from your own collection, and pick a Ground so every piece snaps to uneven terrain.
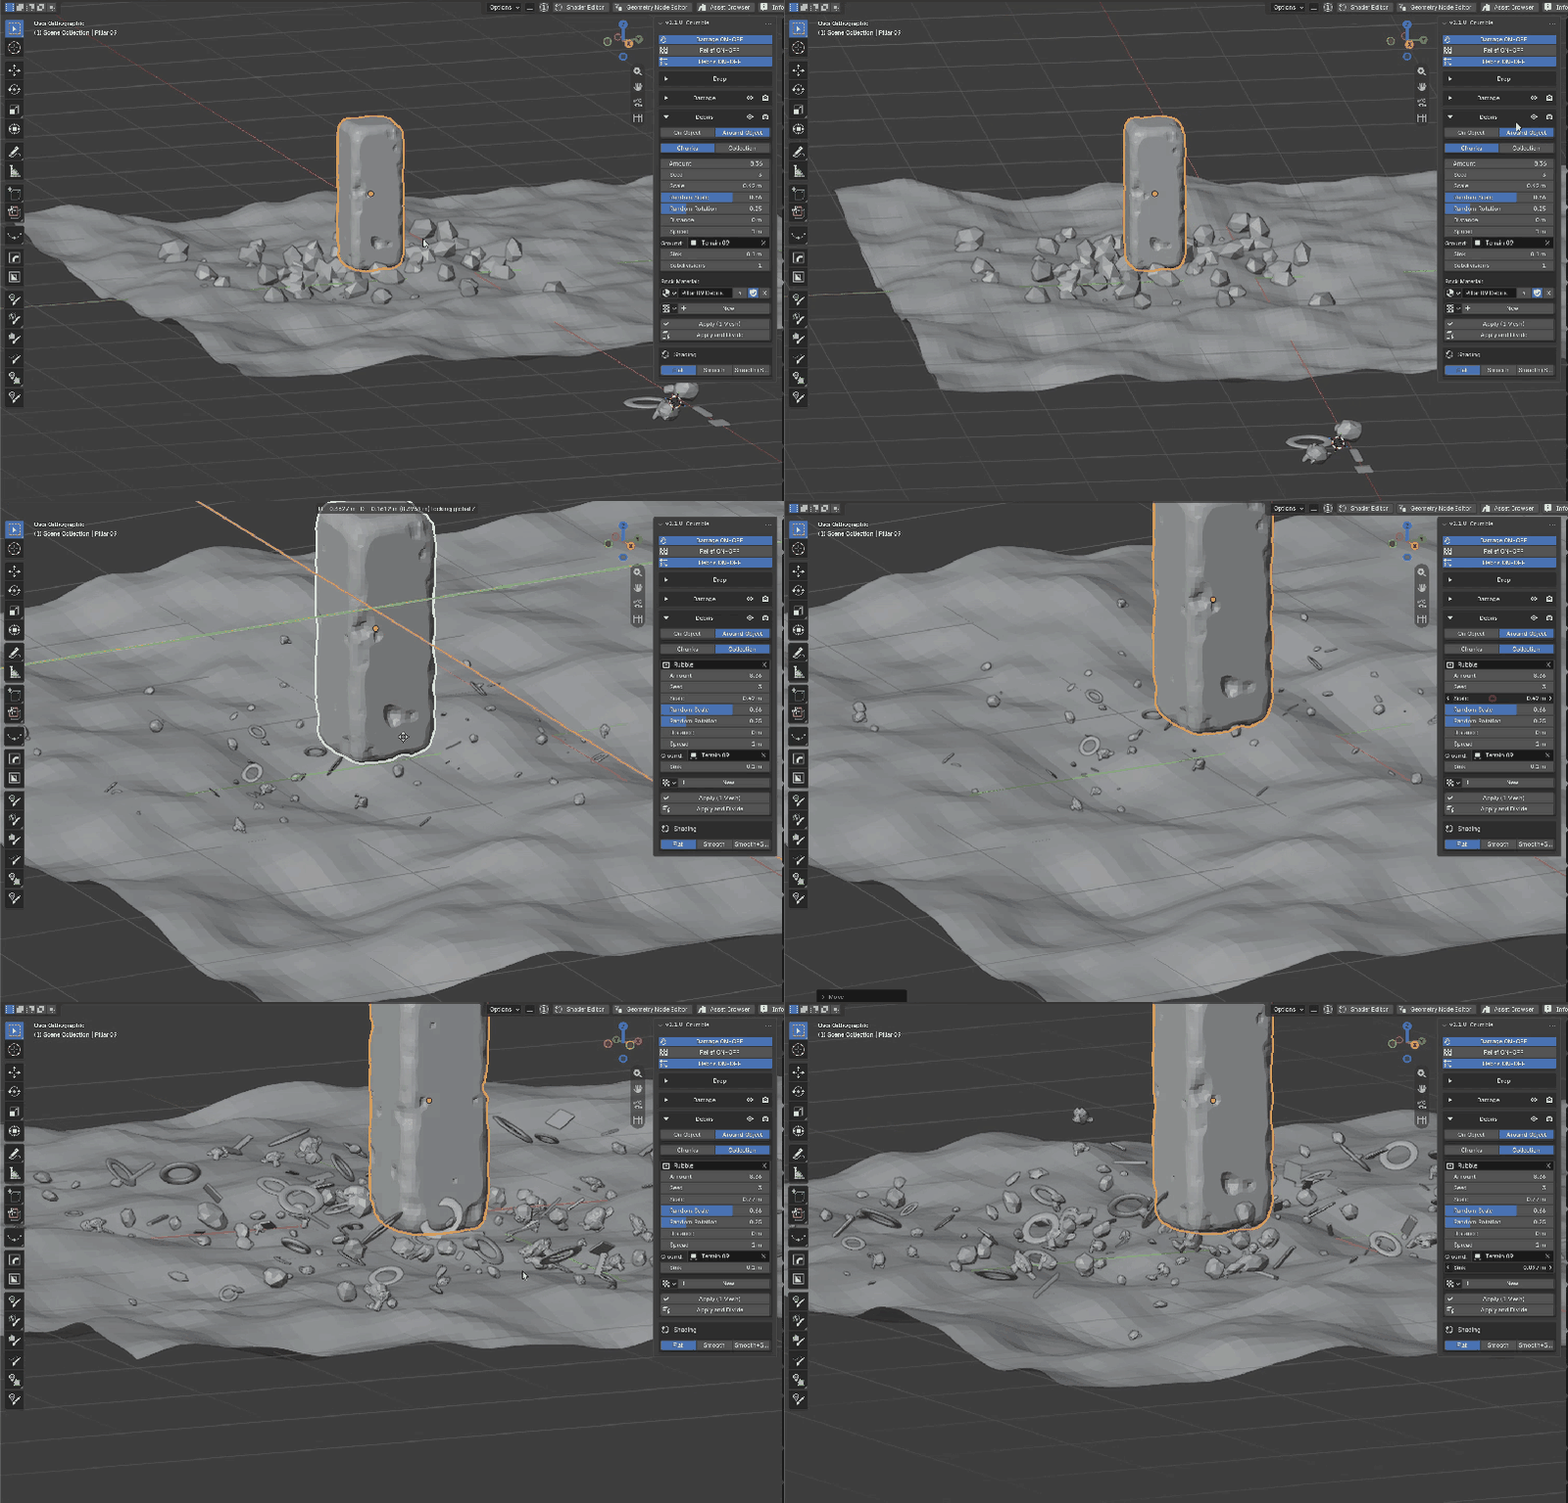
10. Drop to Floor: land it, link it
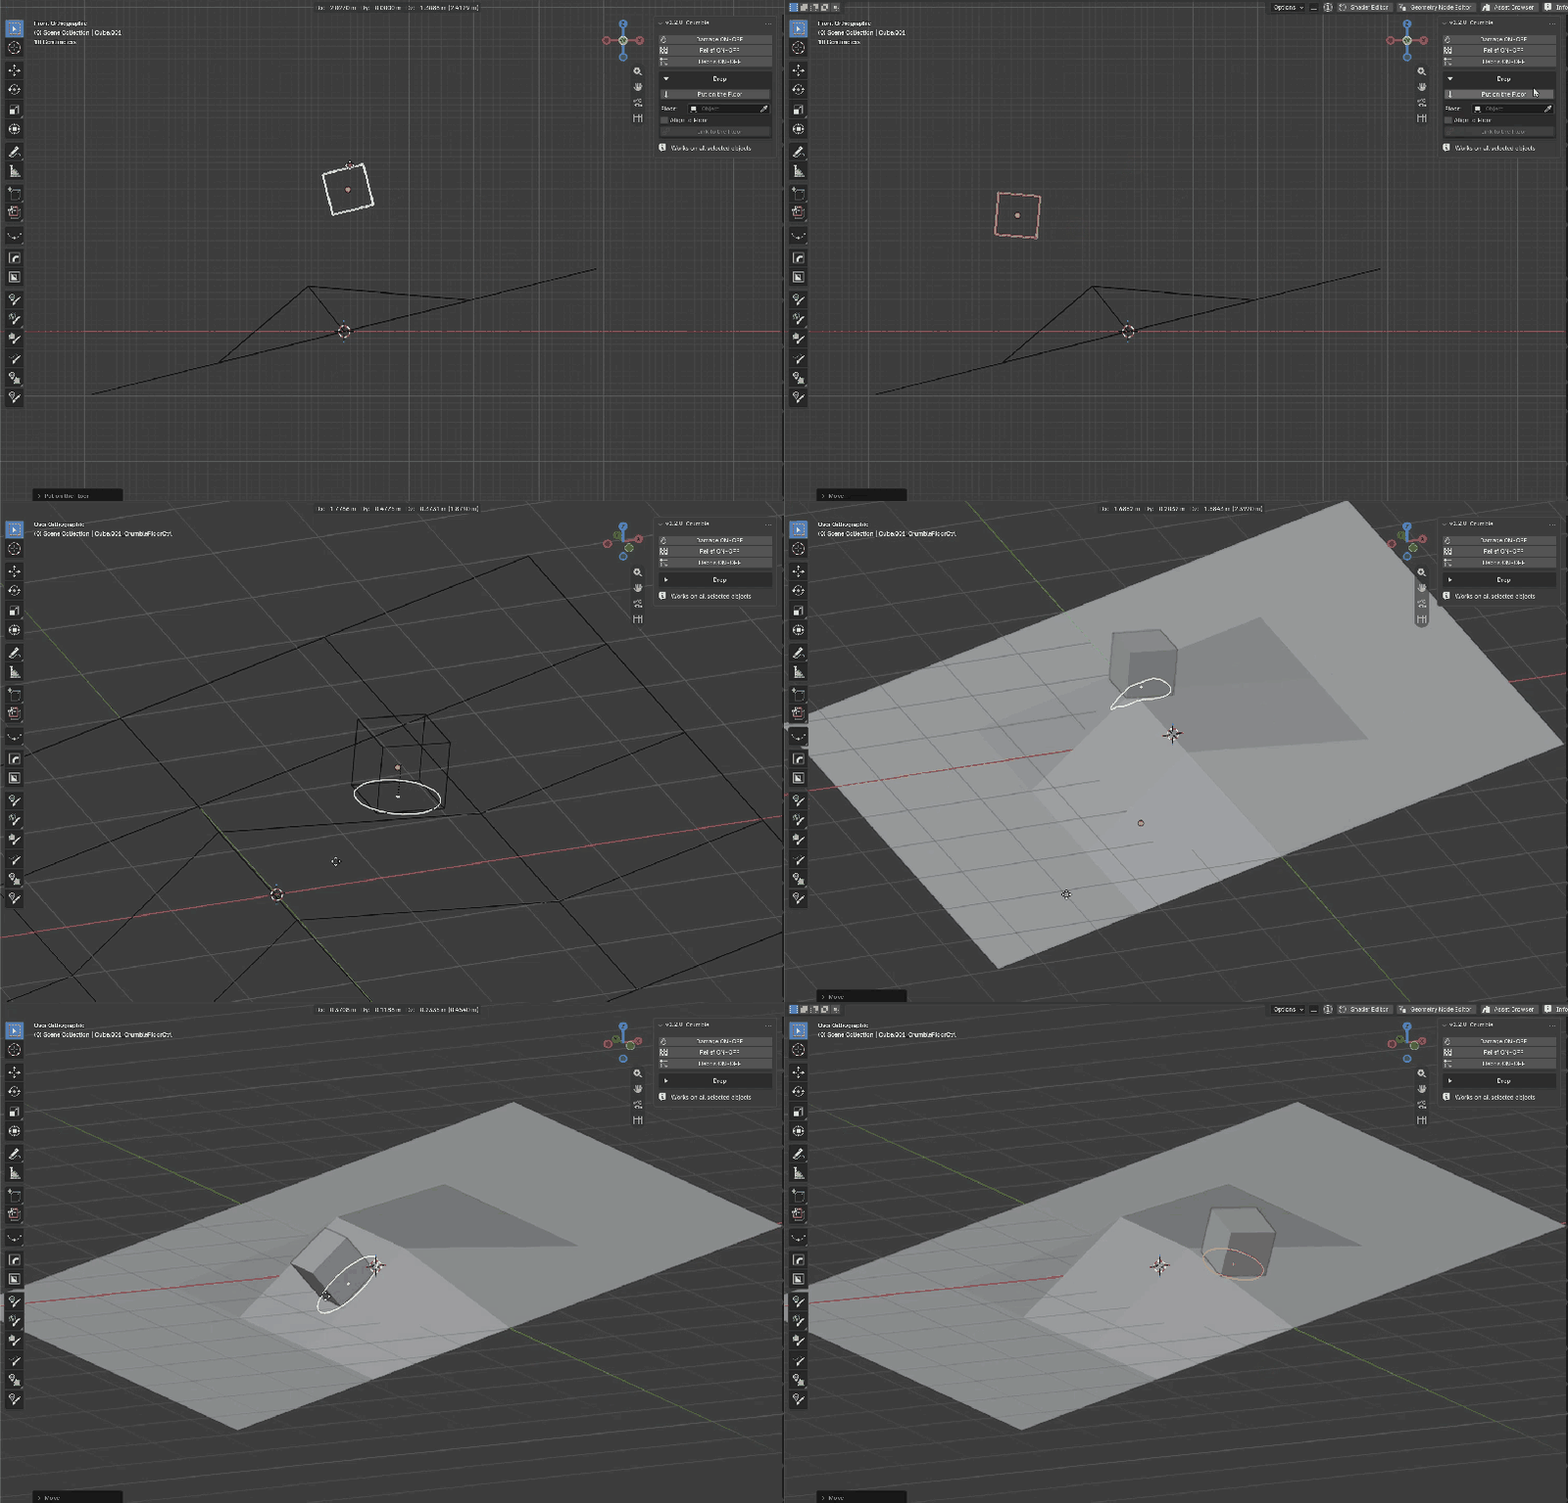
Put on the Floor drops any object onto the surface below, optionally tilted to the slope. Link to the Floor keeps it attached to a terrain while you slide its footprint controller.
11. Apply one stage, keep the others live
Each stage has its own Apply: bake the Relief and keep the Damage editable — or bake the debris as one mesh, or one object per chunk.
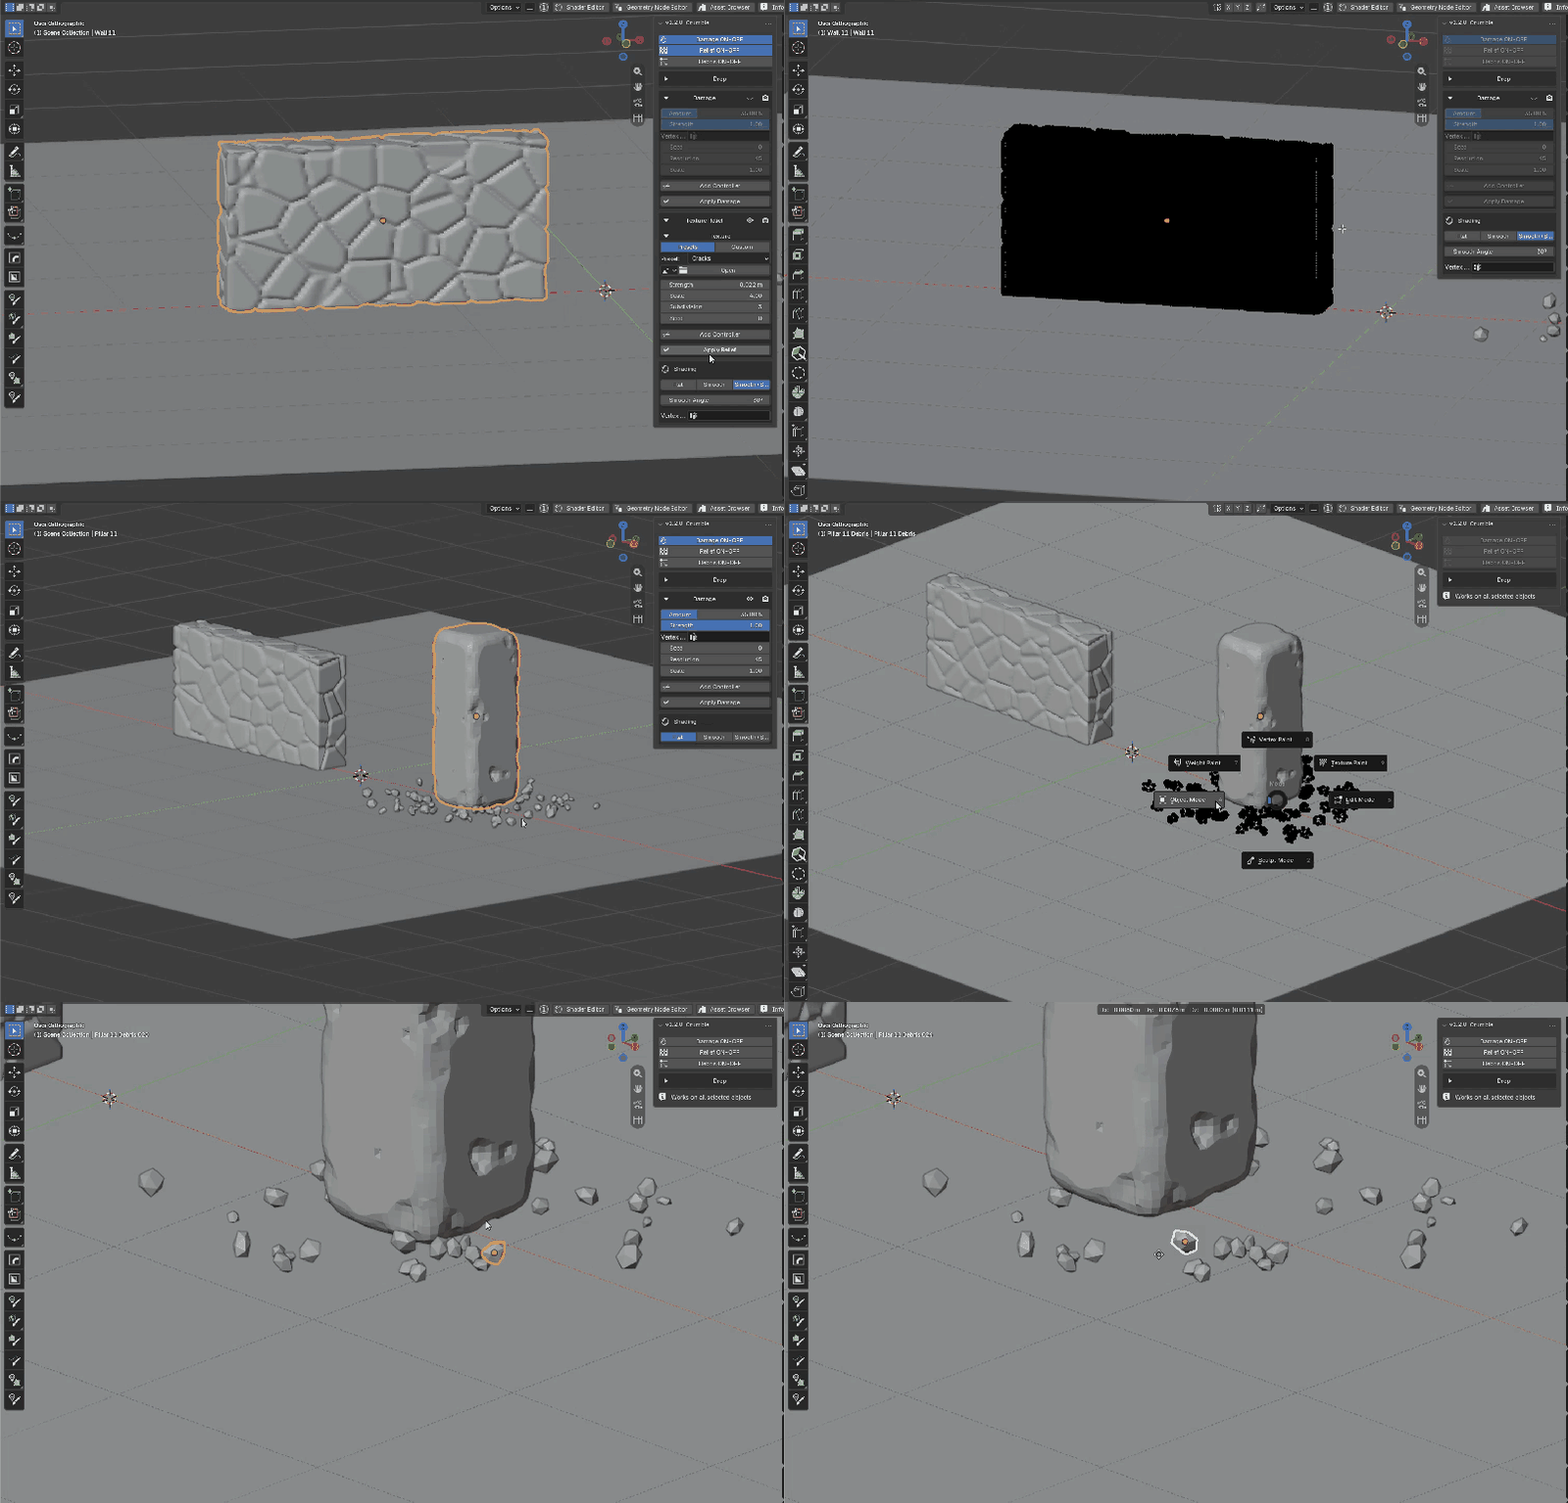
12. Shader-ready: rust where the cuts are
Choose a Shading mode (Flat, Smooth, Smooth+Sharp), then let the damage attribute drive your material: an Attribute node into a Mix and the rust appears exactly in the carved areas, following every Seed change.