Drone Camera
 Jean-Marie Rudent
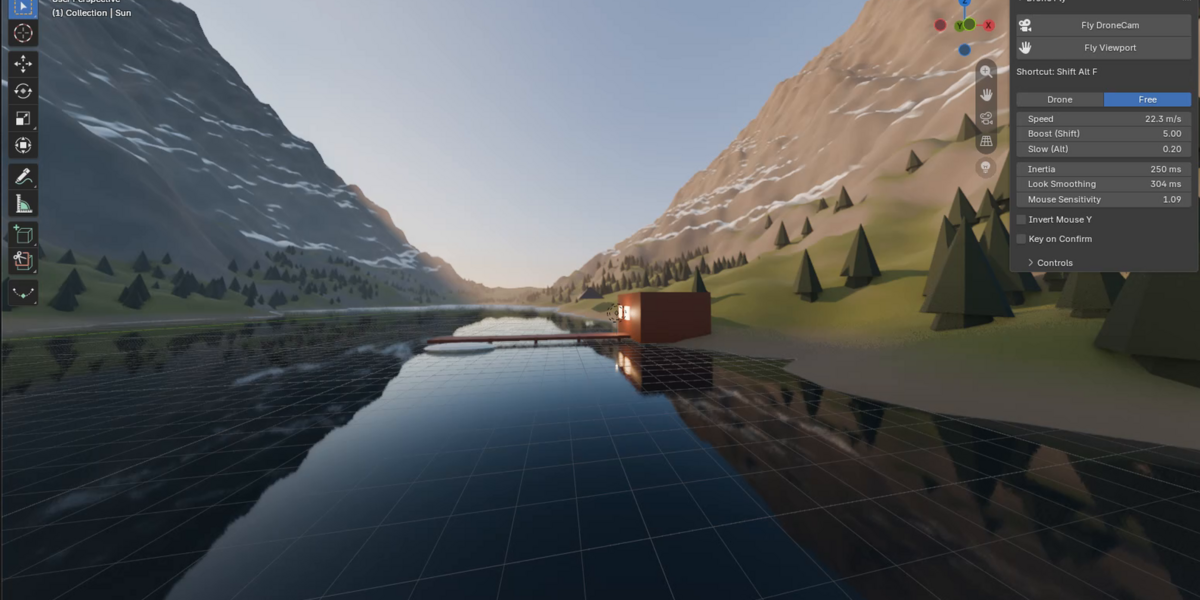
1. Install
- Edit > Preferences > Add-ons > drop-down arrow > Install from Disk, select drone_fly-1.1.0.zip.
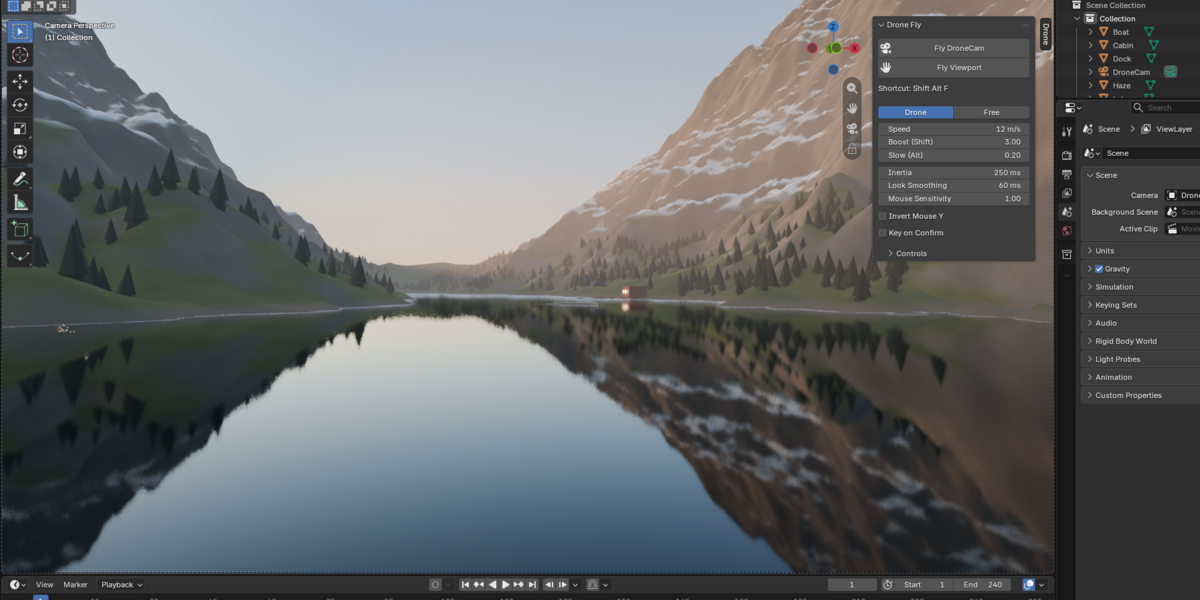
- Enable Drone Fly (the add-on's name inside Blender). The panel is in the 3D View sidebar (N), tab Drone.
2. Start a flight
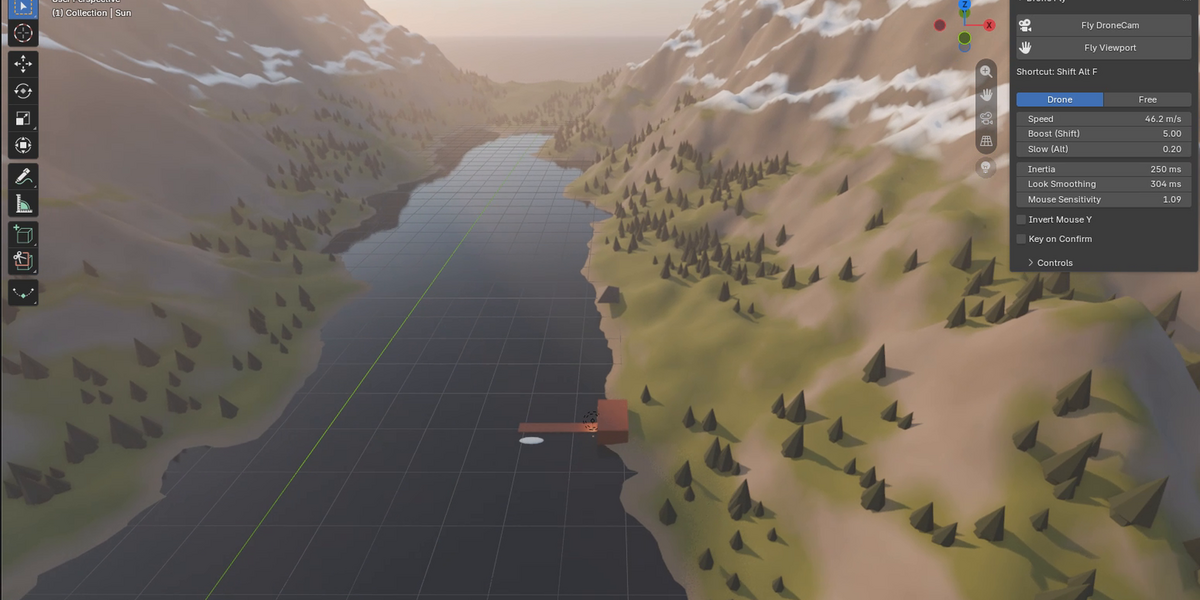
- In camera view (Numpad 0), press Shift Alt F, or click Fly <camera name> in the Drone tab. The button switches to camera view if needed.
- Outside camera view, Shift Alt F flies the viewport. Fly Viewport does the same from the panel.
3. Fly
- ZQSD / WASD: move. Mouse: look. Space / Ctrl: up and down.
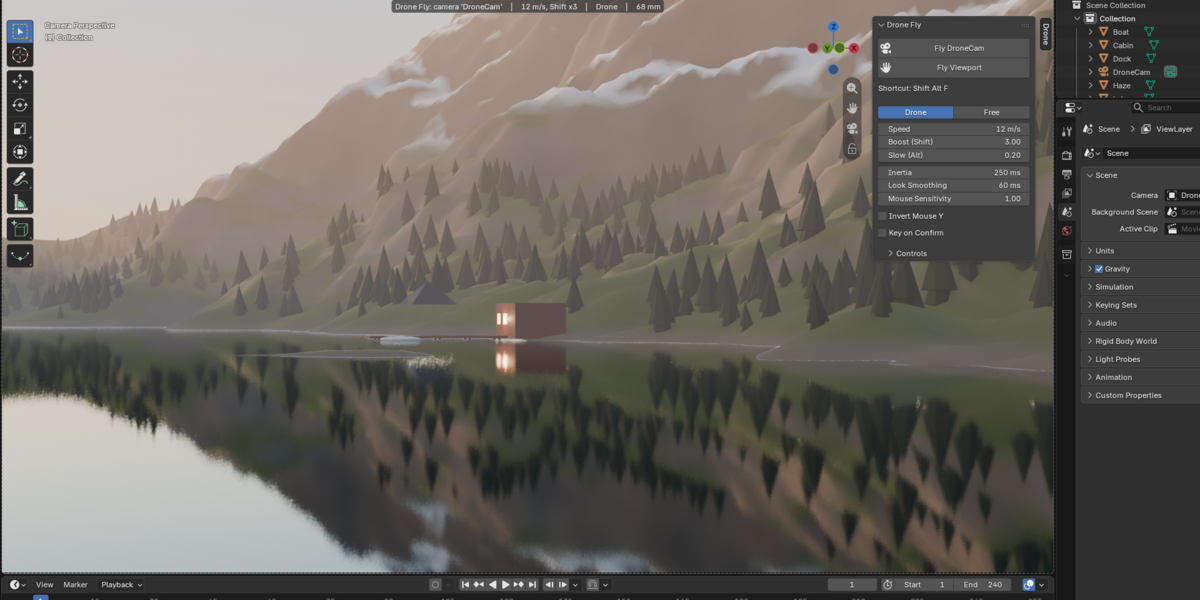
- Shift: boost. Alt: slow. Wheel: speed. Alt + Wheel: focal length.
- Tab: Drone / Free mode. H: level the horizon. Backspace: back to the start.
- Left click / Enter: keep. Right click / Esc: cancel, everything goes back.
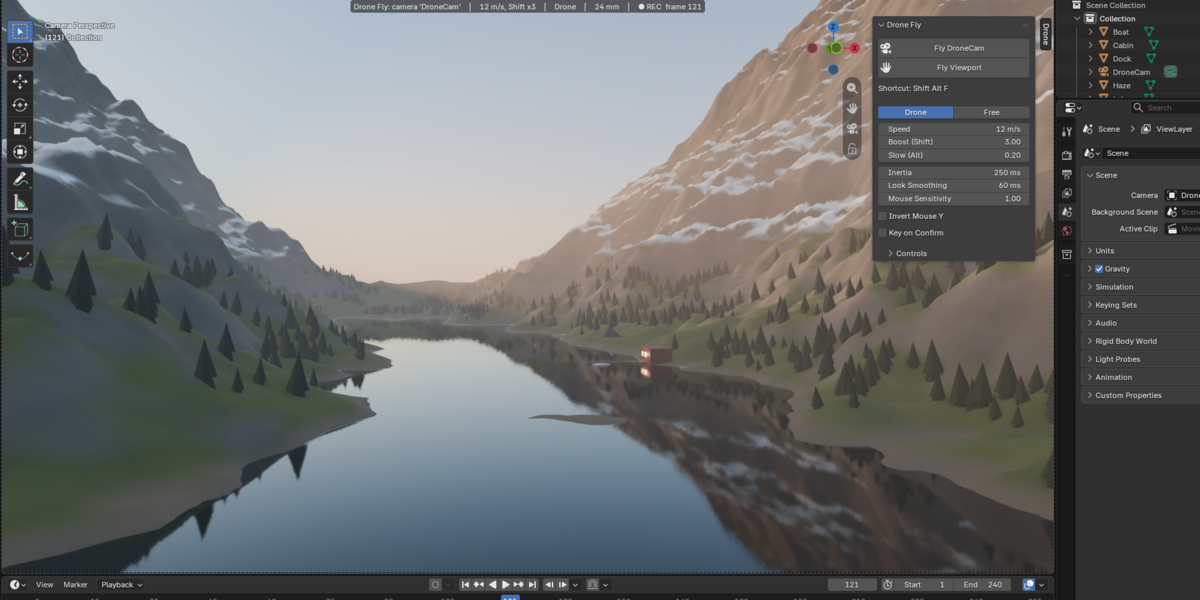
- The header shows the speed, the mode, the focal length and the recording state.
4. Record
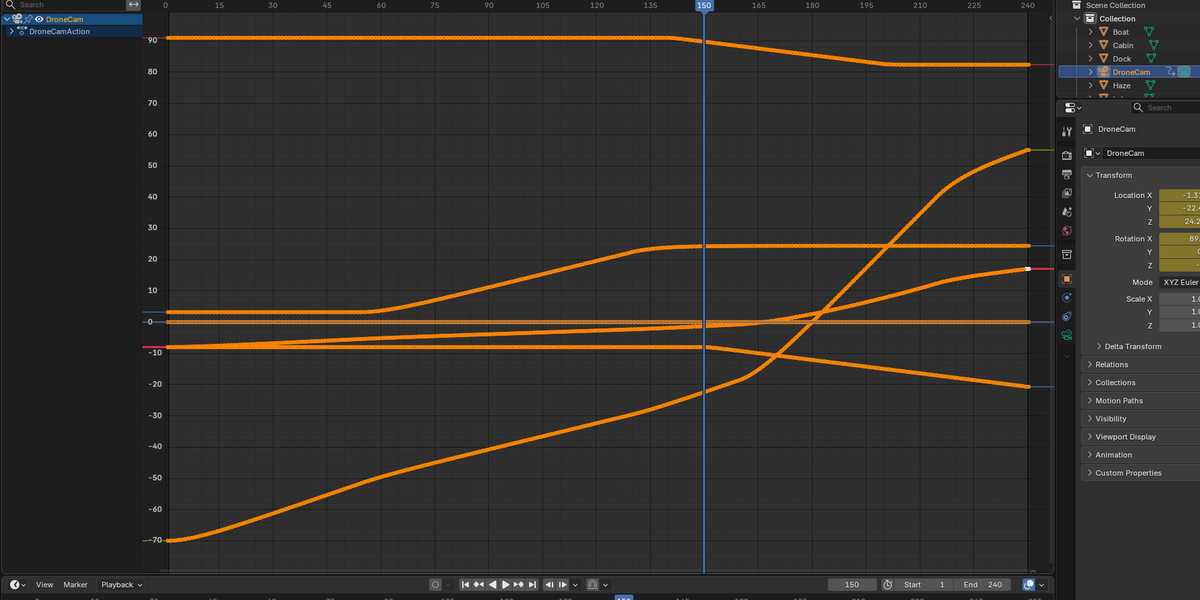
- Go to the first frame of your shot and start a flight on the camera.
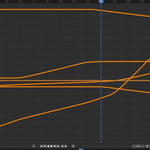
- Press R: the timeline plays and one key per frame is stored.
- Press R again to stop, or let it reach the scene's end frame.
- Press Enter to write the keys. Esc discards them.
5. Settings (Drone panel)
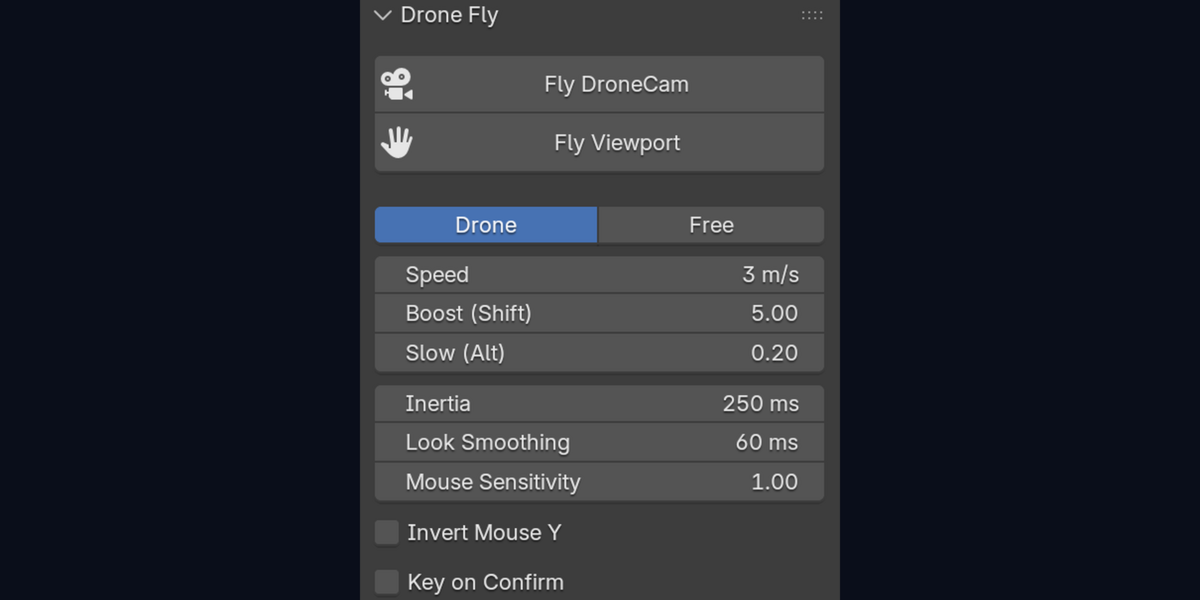
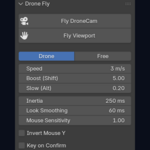
- Mode: Drone or Free.
- Speed, Boost (Shift), Slow (Alt): flight speed and its multipliers.
- Inertia: time to reach the target speed. Look Smoothing: mouse lag. Mouse Sensitivity, Invert Mouse Y.
- Key on Confirm: Enter keys the current frame, even with auto keying off.
- Controls: the list of every key.
Shortcut
Edit > Preferences > Add-ons > Drone Fly: change Shift Alt F to any key.
Changelog
1.1.0 First public release: camera and viewport flight, Drone and Free modes, inertia and look smoothing, wheel speed, Shift boost, Alt slow, Alt + wheel focal length, fixed-step recording to keyframes written on Enter only, level horizon, back to start, Key on Confirm, configurable shortcut.
Have questions about this product?
Login to message
| Blender Extension Compatible | Yes |
| Published | 4 days ago |
| Blender Version | 4.2 - 5.2 |
| Extension Type | Add-on |
| Render Engine Used | Cycles, Eevee |
| License | GPL |
Discover more products like this
camera cinematic aerial record previs camera animation keyframes flythrough navigation drone fly wasd