Easy Floor Generator
 StillMount Studios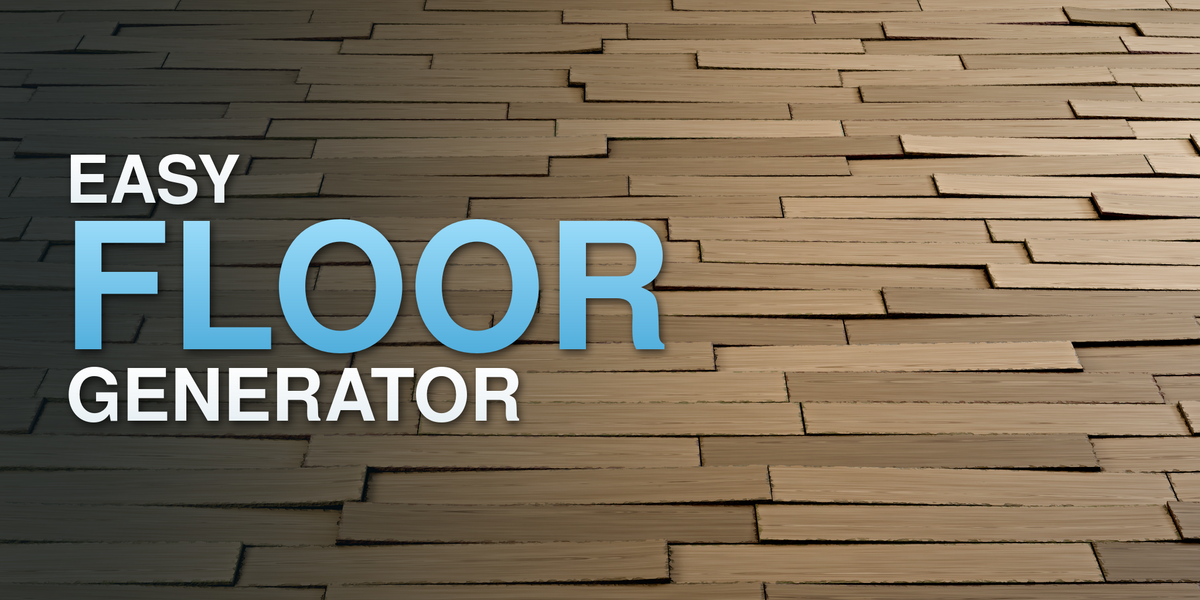
Easy Floor Generator
Documentation
Designed for Blender 4.5 to 5.2. No add-ons or Python scripts are required.
Getting Started
- Open the supplied .blend file to use the included examples directly.
- To import them into an existing scene, use File → Append, open the supplied .blend file, enter Collection and append Floor Examples. Leave Instance Collections disabled so the objects remain directly editable.
- Select a generator object and open the Modifiers tab.
- Adjust the settings in the Easy Floor Generator modifier.
Use an included object as your starting point. Duplicate it with Shift + D to create another floor with independent modifier settings.
Procedural Planks
Set Mode to Procedural.
Adjust these controls in the modifier:
- Floor Width / Floor Length: overall floor dimensions in meters.
- Plank Width / Plank Length: board dimensions in centimeters.
- Plank Thickness: board thickness in millimeters.
- Gap: spacing between boards in millimeters, with a minimum of 0.1 mm.
- Bevel Width / Bevel Segments: edge bevel size and segment count.
- Smooth Shading: enable smooth surface shading.
Surface Mode
- Create or choose the mesh that defines the floor surface.
- Assign it to Surface Object in the generator modifier.
- Enable Cut to Surface to trim the planks to its outline.
- Adjust the plank size, layout and gap to suit the surface.
A plane can define the floor outline. On a cube, the generator uses the upward-facing surface rather than covering the side and bottom faces. Disable Cut to Surface to leave the edge planks untrimmed.
Layout Patterns
In procedural mode, choose a pattern using Layout:
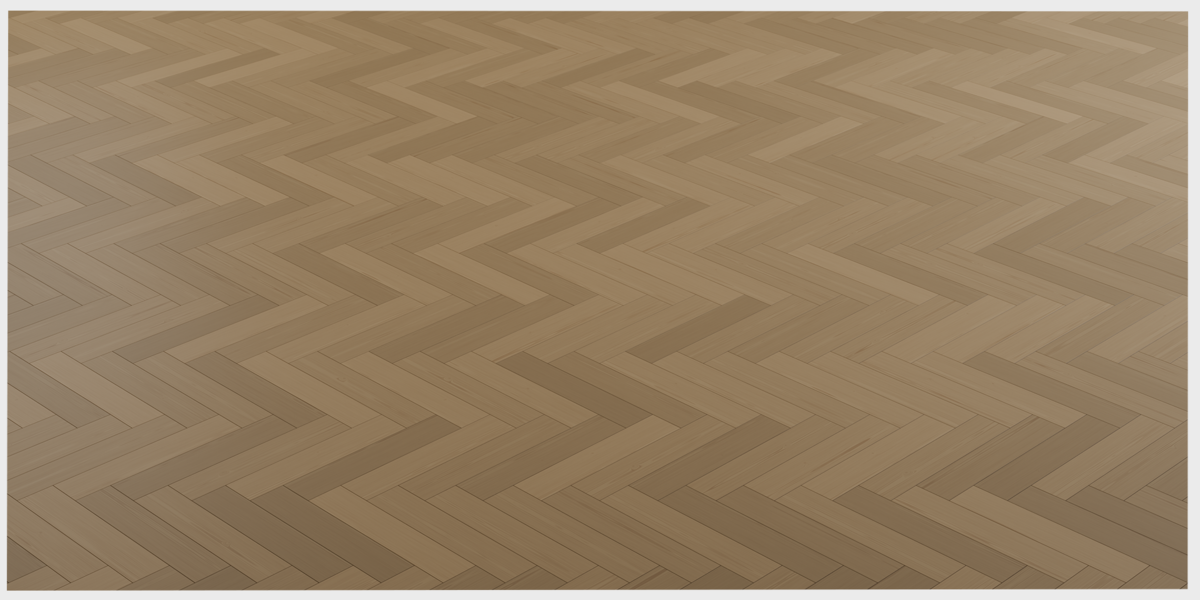
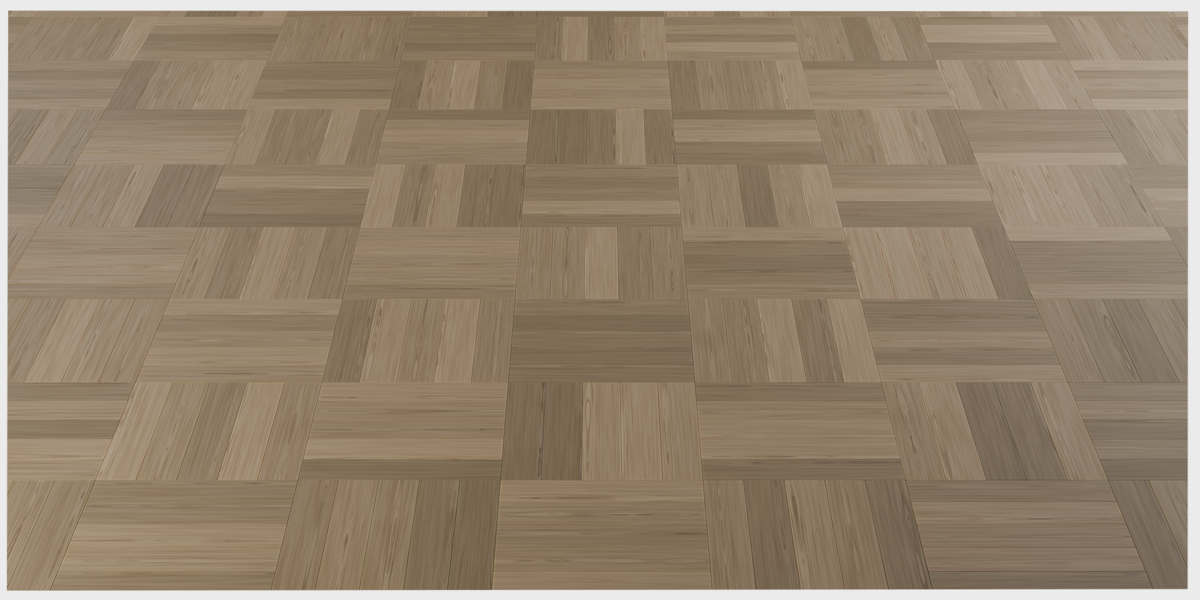
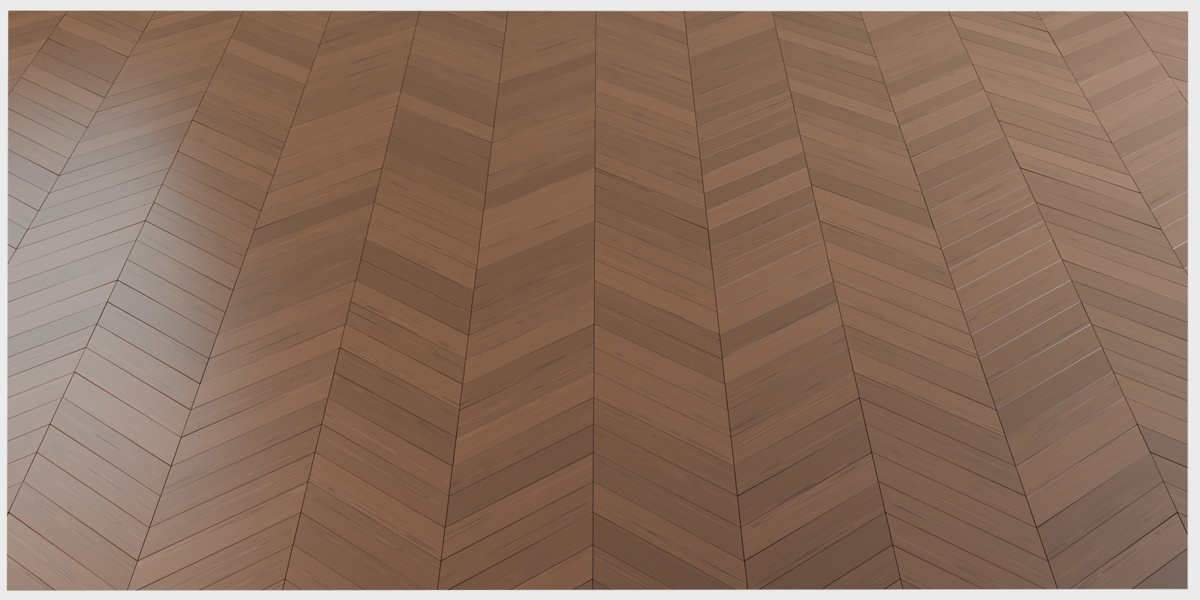
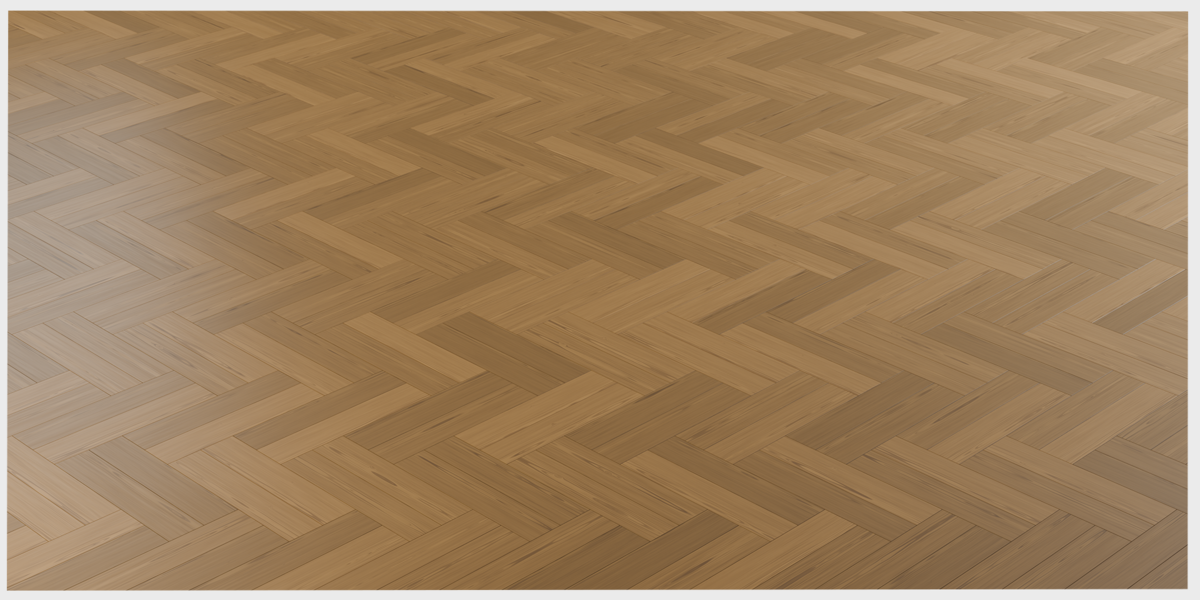
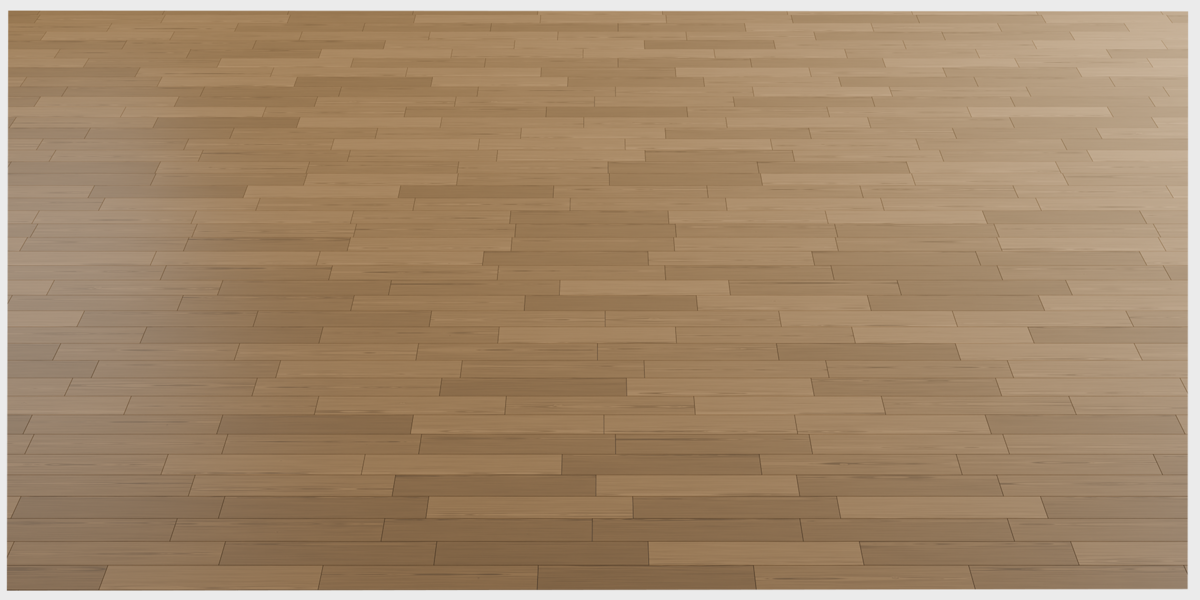
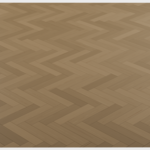
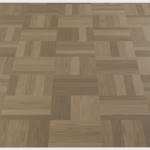
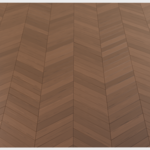
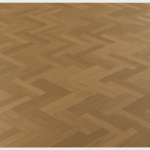
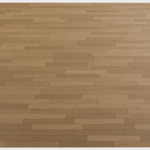
Aligned, 1/2 Offset, 1/3 Offset, 2/3 Offset, Random Stagger, Herringbone, Chevron, Double Herringbone or Basket Weave.
Pattern Rotation: rotate the complete laying pattern.
Plank Length Axis: choose X or Y for the board’s length direction. This control is available in both modes.
Planks per Basket: adjust the number of planks in each Basket Weave group.
Variations
- Seed: change the random distribution.
- Tilt Variation: randomize plank inclination.
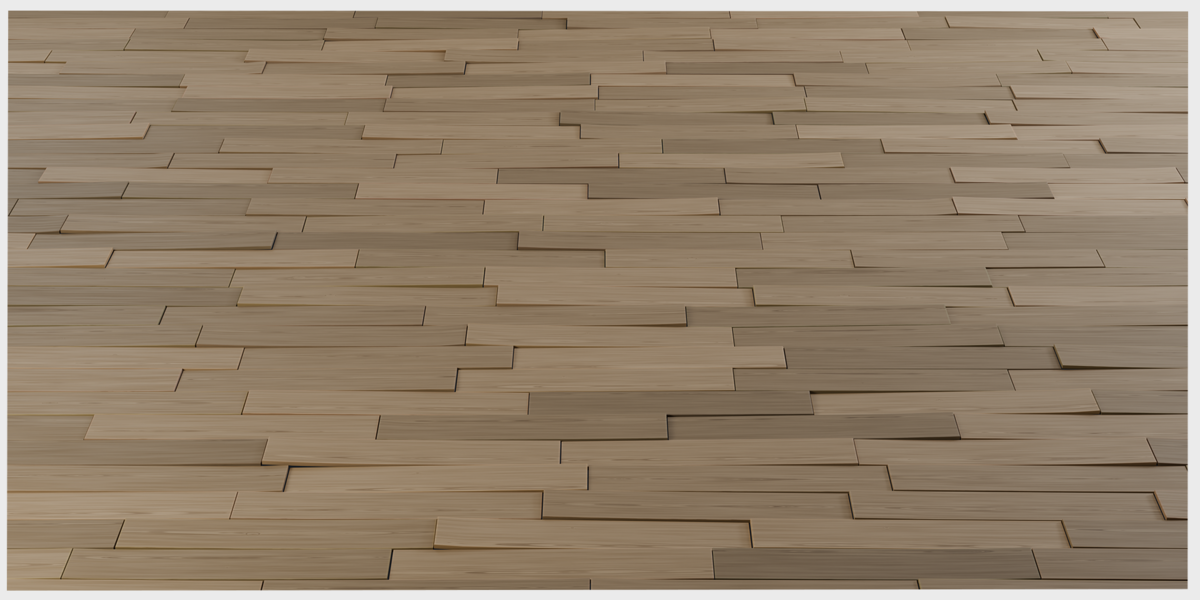
- Position Variation: offset plank positions. Movement is limited by the gap to help avoid overlaps.
- Height Variation: randomize plank height.
- Missing Planks: remove a percentage of the boards.
Start with small values for subtle imperfections. Use the same seed to keep a consistent distribution while adjusting the amounts.
Warped Planks
- Use Procedural mode.
- Increase Warp Amount to deform the planks. The maximum is 20 mm.
- Set Affected Planks to choose the percentage of boards that receive the deformation.
- Change Seed to vary the distribution and randomized bend positions.
Warp changes the generated plank geometry. It is unavailable in collection mode, where the source models keep their own shape.
Use Collection
- Place your plank models in a dedicated Blender collection.
- Set Mode to Collection and assign the source Collection.
- Choose the laying pattern using Collection Layout.
- Set Plank Length Axis to match the length direction of your source models.
- Adjust Collection Scale to resize the models uniformly, preserving their proportions.
The original model materials and UV maps are preserved, including trim-sheet UVs. Procedural plank dimensions, thickness, bevel, warp, material assignment and UV packing controls are hidden in this mode. Chevron is unavailable in collection mode.
Cut to Surface: source models can be trimmed to the floor outline. The cut boundary remains open, without creating new side faces.
Remove Bottom Faces: remove the undersides when they are not needed.
Wood Materials
In procedural mode, choose Wood Material in the modifier. The included materials are Natural Oak, Satin Walnut, Pine, Antique Oak and Worn Parquet.
Open the material in the Shader Editor and adjust the exposed controls on its wood shader group:
- Wood Color / Grain Color: base wood and grain colors.
- Texture Scale / Grain Density / Grain Curvature: overall pattern scale, grain density and curvature.
- Grain Contrast: intensity of the difference between the wood and grain colors.
- Board Color Variation / Seed: variation between planks and its random distribution.
- Knot Amount / Knot Size: knot presence and size.
- Roughness / Roughness Variation: surface roughness and its variation.
- Normal Intensity: strength of the wood grain relief.
Objects using the same material share its settings. Make a separate copy of the material if you need different shader settings on another floor.
Patina & Edge Wear
These controls are available in Antique Oak and Worn Parquet.
- Patina: adjust the aged appearance.
- Edge Wear: overall amount of wear.
- Wear Color Variation: lighten or darken the worn areas relative to the wood color.
- Wear Width: width of the worn edge region.
- Wear Size: size of the irregular wear pattern.
- Wear Depth: depth used for the wear relief.
- Wear Normal Strength: strength of the wear normal effect, independent of the wood grain’s Normal Intensity.
Edge wear changes the shader color, roughness and normal relief. It does not change the mesh outline. Set Wear Normal Strength to zero to remove its relief while retaining the color effect.
Pack UVs & Conversion
- Finish adjusting the procedural floor.
- Enable Pack UVs to automatically unwrap and pack the planks with spacing between the UV islands.
- Adjust UV Sharing if some planks should share texture space. Use 0% to keep their UV islands separate.
- In Object Mode, select the generator and use Blender’s right-click → Convert → Mesh command.
- Open the converted mesh in the UV Editor to inspect or edit its UV layout.
Higher UV Sharing values overlap a chosen proportion of plank UVs. Sharing is distributed across the floor to help avoid identical patterns on neighboring boards.
Keep Pack UVs disabled while adjusting the generator for smoother editing. Packing and sharing apply only to procedural planks; collection models retain their original UV maps.
Duplicate the generator before conversion if you want to keep an editable procedural version.
Quick Checks
- A setting is hidden: check Mode and the selected layout. Only applicable controls are displayed.
- Collection planks face the wrong direction: switch Plank Length Axis between X and Y, then adjust Pattern Rotation if needed.
- The procedural UVs are not packed: enable Pack UVs before converting the object.
- Changing a material affects several floors: the objects share the same material. Create a separate material copy for independent settings.
- You need to change the floor after conversion: use the original generator copy.
Have questions about this product?
Login to message
| Dev Fund Contributor | |
| Published | 3 days ago |
| Blender Version | 4.5 - 5.2 |
| Render Engine Used | Cycles, Eevee |
| License | Royalty Free |
Discover more products like this
planks floorgenerator parquet wood wood floor flooring ArchViz horror floor geometrynodes procedural herringbone