 Armin
Armin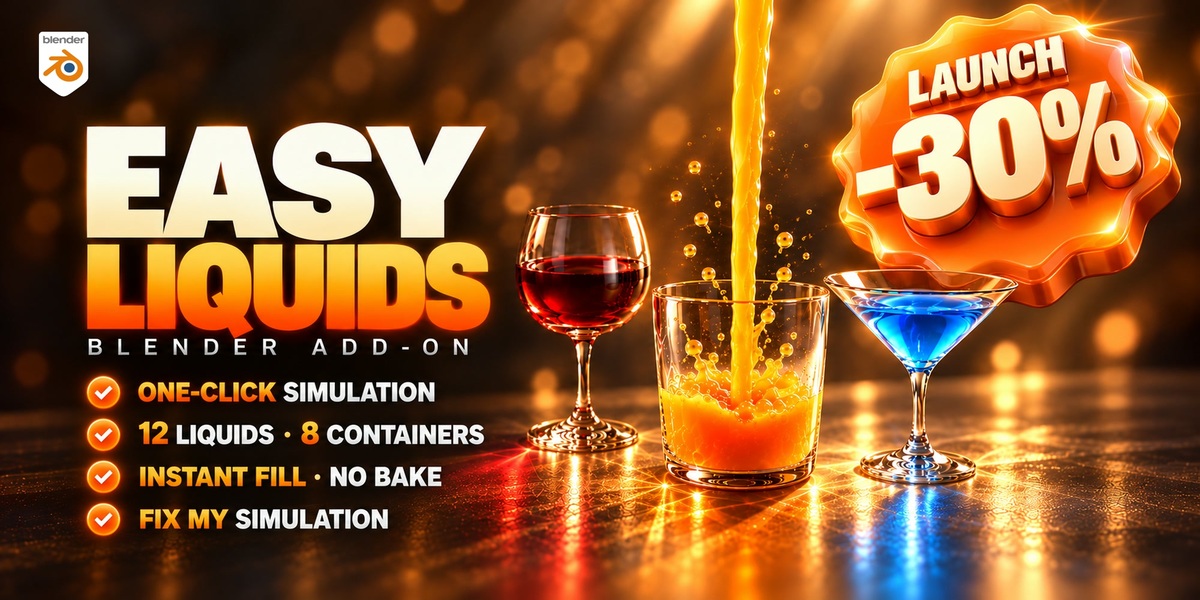


Install
- In Blender 4.2 or newer: drag the .zip into the Blender window (or Edit > Preferences > Get Extensions > Install from Disk).
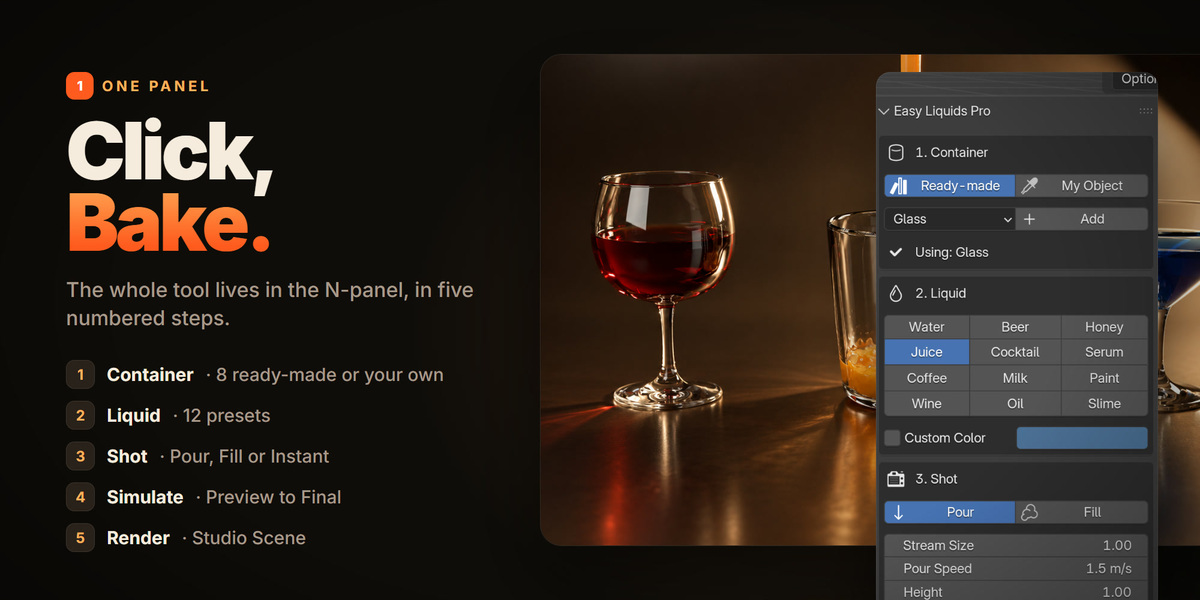
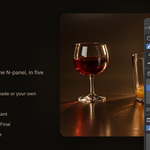
- Open the 3D Viewport sidebar (N) and click the Liquids tab.
Quick start
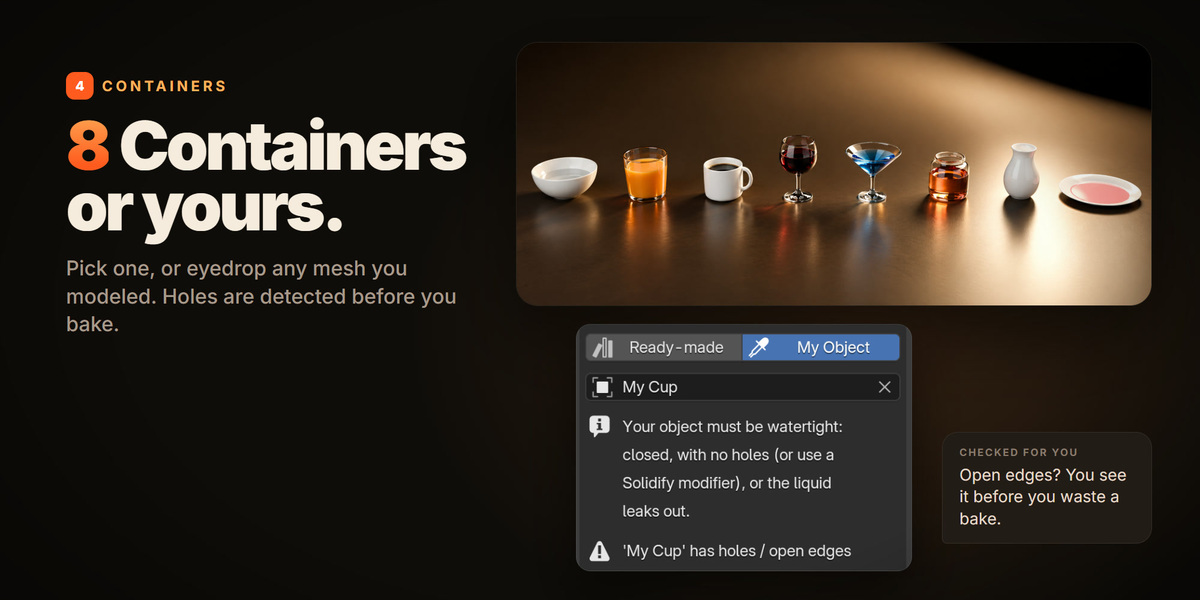
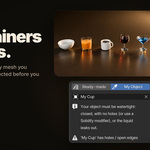
- 1. Container: pick a ready-made container and press Add, or switch to My Object and eyedrop your own mesh. Your object must be closed (no holes) or have a Solidify modifier, otherwise liquid leaks.
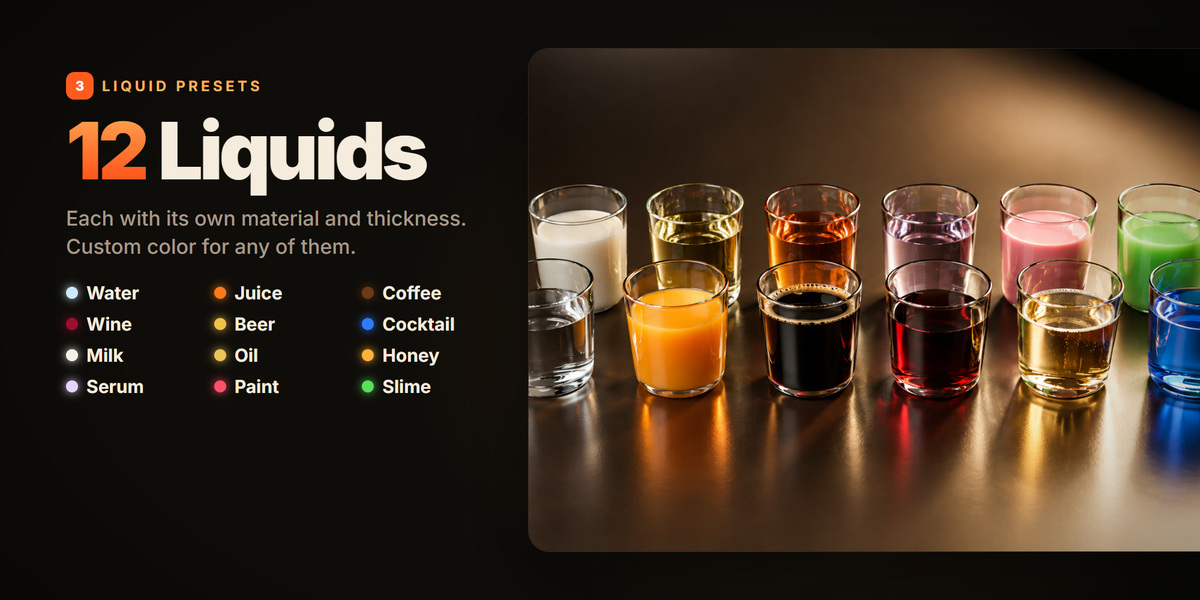
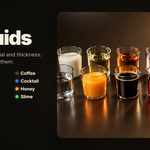
- 2. Liquid: choose one of the 12 presets. Turn on Custom Color to change its color.
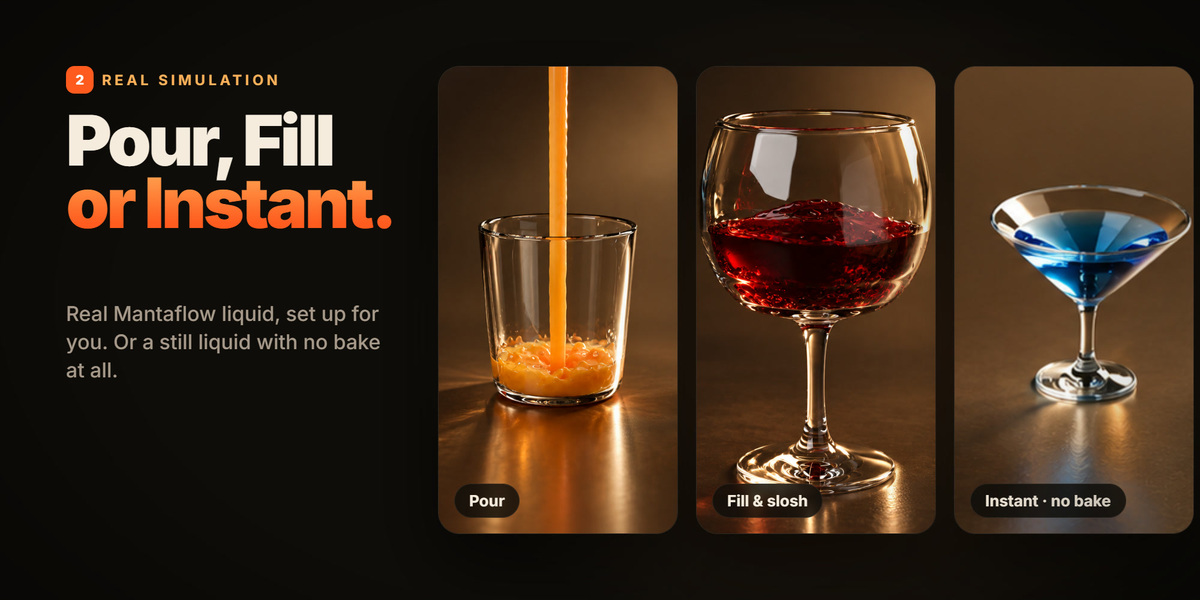
- 3. Shot: Pour pours a stream into the container. Fill starts the container filled (animate the container to make it slosh). In Fill mode, Instant (no bake) gives you a still liquid that renders right away.
- Press Create Liquid, then Bake Liquid. Press Play to watch it.
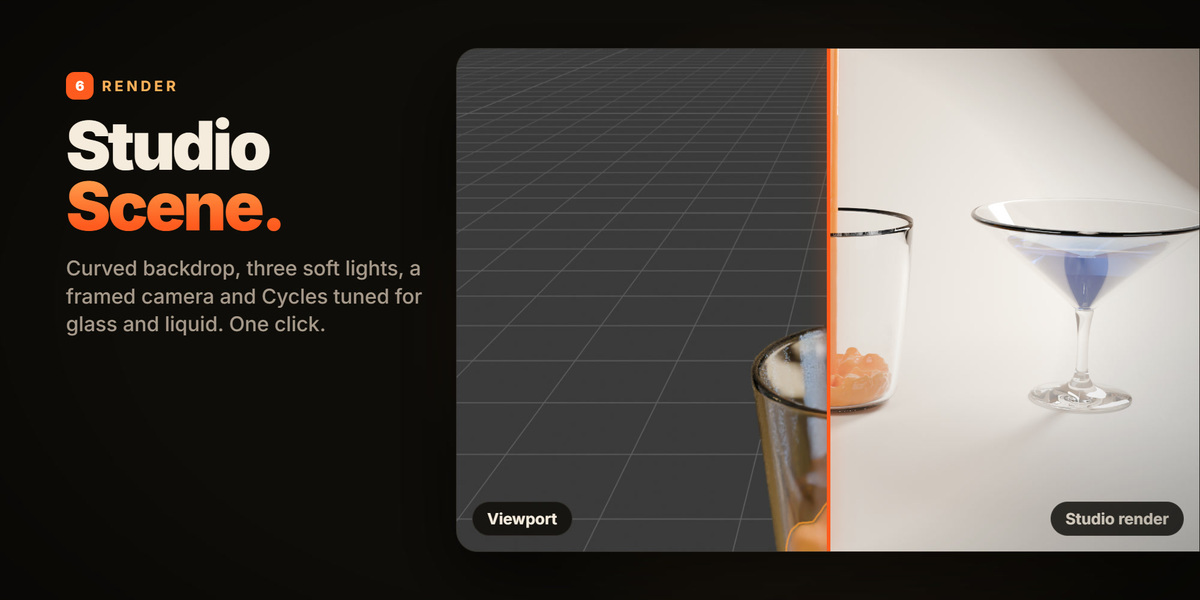
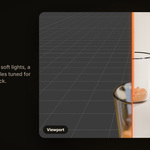
- Render: Add Studio Scene adds a backdrop, three soft lights, a camera and Cycles settings for glass and liquid.
Quality
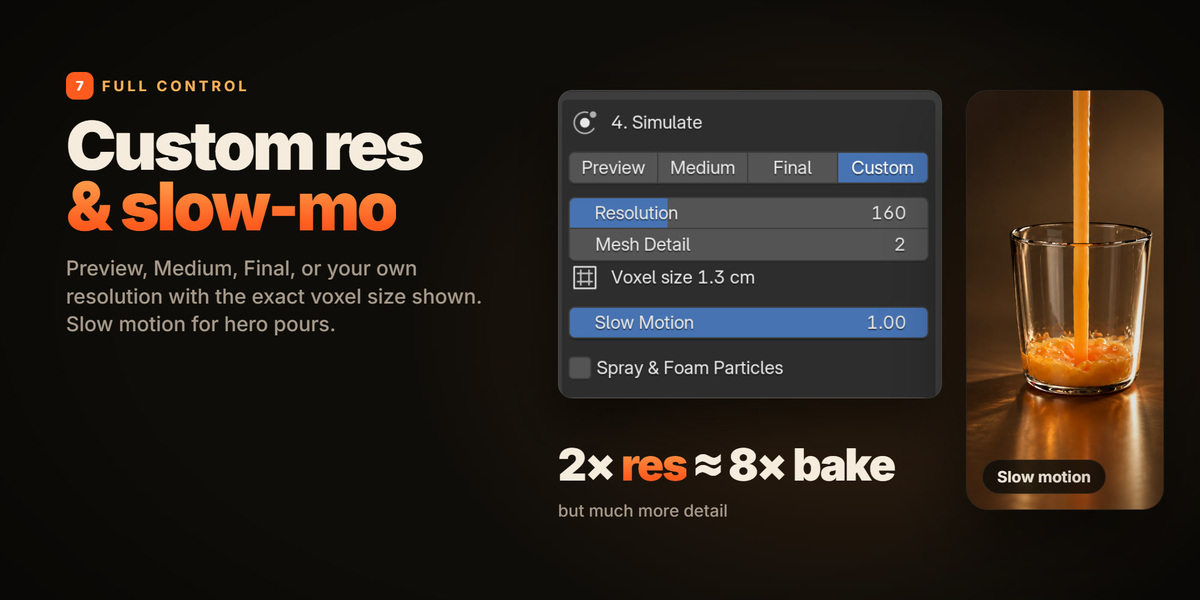
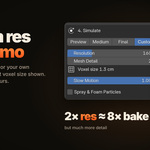
Start with Preview to check the timing, then switch to Medium or Final. Custom lets you set the resolution yourself. Doubling the resolution makes the bake roughly 8x slower but much more detailed. Slow Motion slows the simulation down for hero shots.
Nothing shows up?
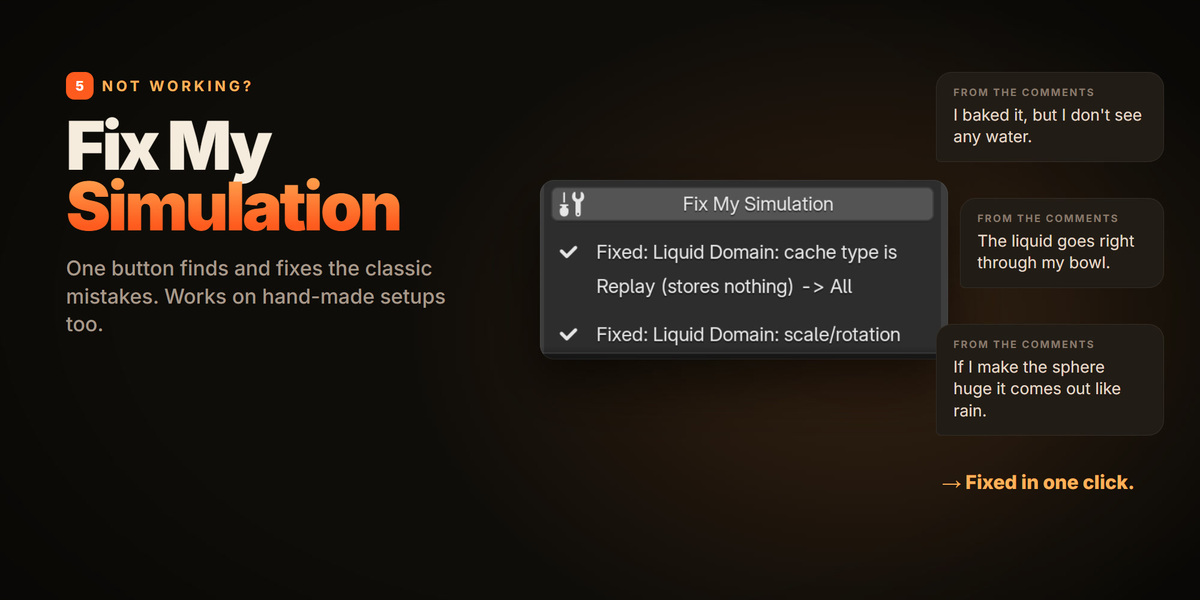
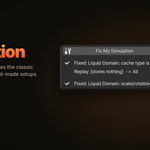
Press Fix My Simulation. It checks for a Replay cache, unapplied scale, the wrong domain or flow type, a stream too small for the resolution, a source outside the domain, leaking thin walls and flipped normals, and fixes them. It also works on simulations you set up by hand. Save your .blend before baking so the cache is stored next to your file.
-
$13.30 $19
For 1 artist. Includes every feature, all 12 liquids, all 8 containers and all future updates.
-
$69.30 $99
Unlimited users in one studio or company. Includes every feature and all future updates.
Have questions about this product?
Login to message
| Blender Extension Compatible | Yes |
| Published | 3 days ago |
| Blender Version | 4.2 - 5.2 |
| Extension Type | Add-on |
| Render Engine Used | Cycles, Eevee |
| License | GPL |

Discover more products like this
Mantaflow product-visualization Fluid one-click Water drink liquid simulation Fluid-simulation pour Glass