Fbx Peek
 XYZ Store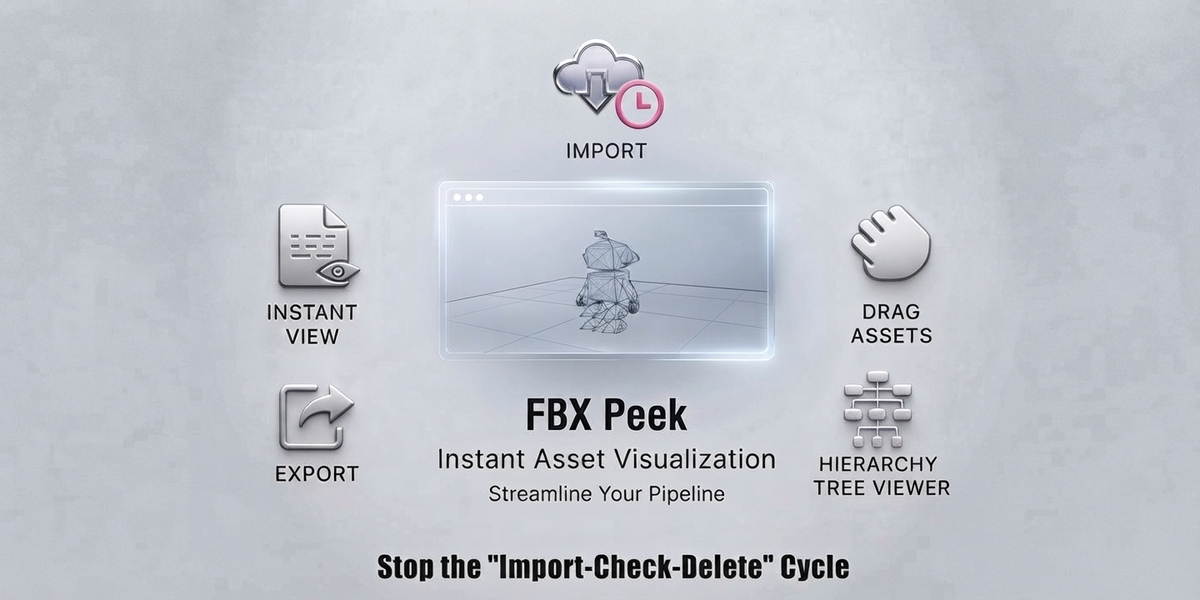


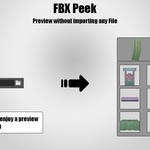
Welcome to FBX Peek! This guide will help you get up and running quickly,
covering everything from installation to your first asset import.
1. HOW TO INSTALL
Depending on your version of Blender, choose one of the two methods below:
METHOD A: Blender 4.2 and Newer (Extension System)
1. In Blender, go to Edit > Preferences > Get Extensions.
2. Click the small arrow icon in the top right and select "Install from Disk".
3. Select the FBX Peek folder or zip file.
4. The add-on will install and enable automatically.
METHOD B: Standard Installation (Legacy)
1. Go to Edit > Preferences > Add-ons.
2. Click "Install..." at the top.
3. Select your FBX Peek zip file.
4. Search for "FBX Peek" in the list and check the box to enable it.
2. GETTING STARTED
Once installed, you can find FBX Peek in the 3D Viewport sidebar:
1. Press the 'N' key on your keyboard to open the sidebar.
2. Click on the tab labeled "FBX Peek".
STEP 1: SELECT YOUR ASSET FOLDER
In the FBX Peek panel, click the folder icon next to the "Folder" path.
Select the folder on your computer that contains your FBX files.
STEP 2: SCANNING
As soon as you select a folder, FBX Peek will begin scanning. You will see
icons appearing in the grid. If a file is still being processed, it will
show a "loading" placeholder don't worry, it's working in the background!
3. BROWSING YOUR ASSETS
* SCROLLING: You can scroll through your asset grid to see all available files.
* SELECTING: Click on any icon to see a large, detailed preview image below
the grid. This helps you check the details before importing.
* REFRESHING: If you add new files to your folder while Blender is open,
click the "Refresh Cache" button (the circular arrow icon) to update the list.
4. PLACING ASSETS IN YOUR SCENE
Before you click "Import", choose how you want to place the object using the
"Import At" menu:
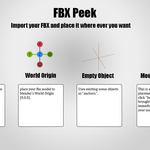
1. MOUSE RAYCAST (Easiest & Fastest)
- Click the "Import & Place FBX" button.
- Your mouse will now "carry" the object. Move your mouse over any surface
in your scene to see the object snap to it.
- LEFT-CLICK to drop the object.
- ESC or RIGHT-CLICK to cancel.
2. 3D CURSOR
- The object will appear exactly where your 3D Cursor is located.
3. SELECTED EMPTY
- If you have an "Empty" object selected in your scene, FBX Peek will place
the import exactly at that location.
4. WORLD ORIGIN
- The object will appear at the center of the world (0, 0, 0).
5. HELPFUL TIPS
* PRIORITY PREVIEWS: If you click on a file that hasn't finished its
preview yet, FBX Peek will move it to the front of the line so you can
see it faster.
* AUTOMATIC UPDATES: If you edit an FBX file in another program and save it,
FBX Peek will notice and automatically update the preview for you.
Need Help?
Please refer to the product page or contact support for further assistance.
Enjoy your faster workflow!
Have questions about this product?
Login to message
| Blender Extension Compatible | Yes |
| Published | 5 months ago |
| Blender Version | 4.2 - 5.1 |
| Extension Type | Add-on |
| Render Engine Used | Arnold, Blender-Internal, Blender-Game-Engine, Cycles, Eevee, Freestyle, Luxrender, Mental-Ray, Octane, Vray, Yafaray |
| License | GPL |
Discover more products like this
Asset Manager asset library Fast Import Instant Preview FBX Preview 3D File Browser drag and drop fbx