 VeeVeeVee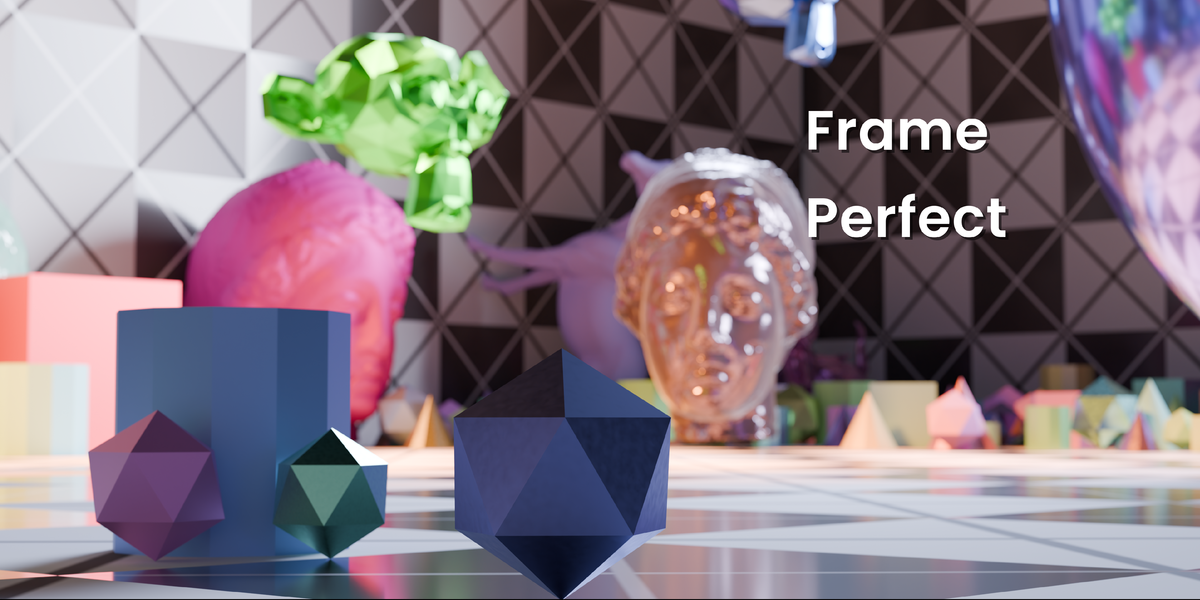

Explainer Mode: Learn While You Create
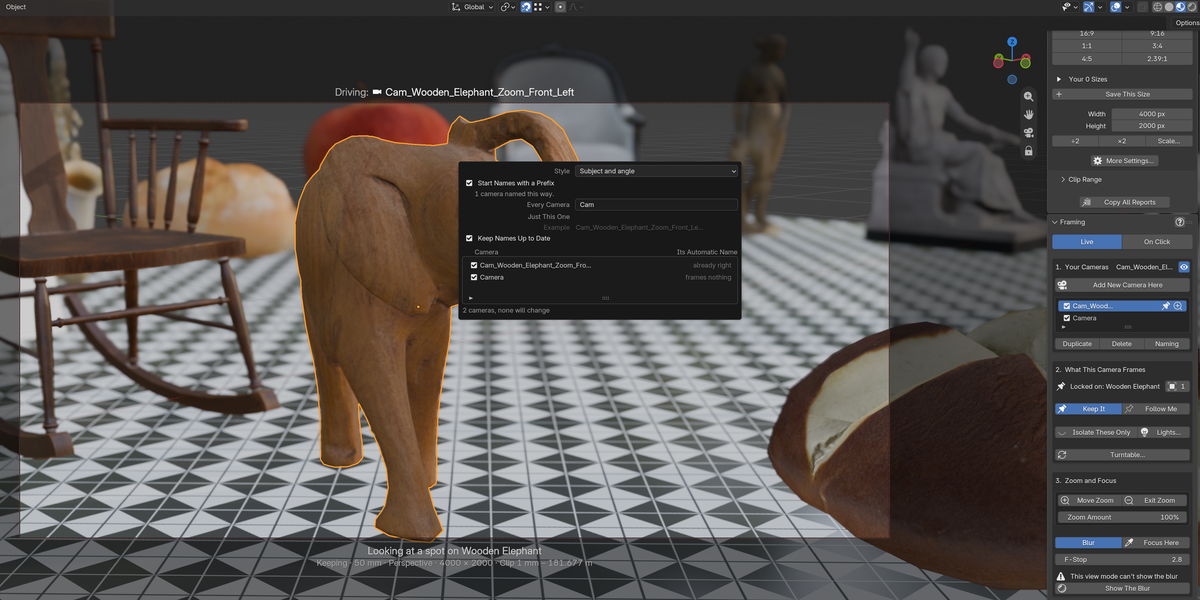
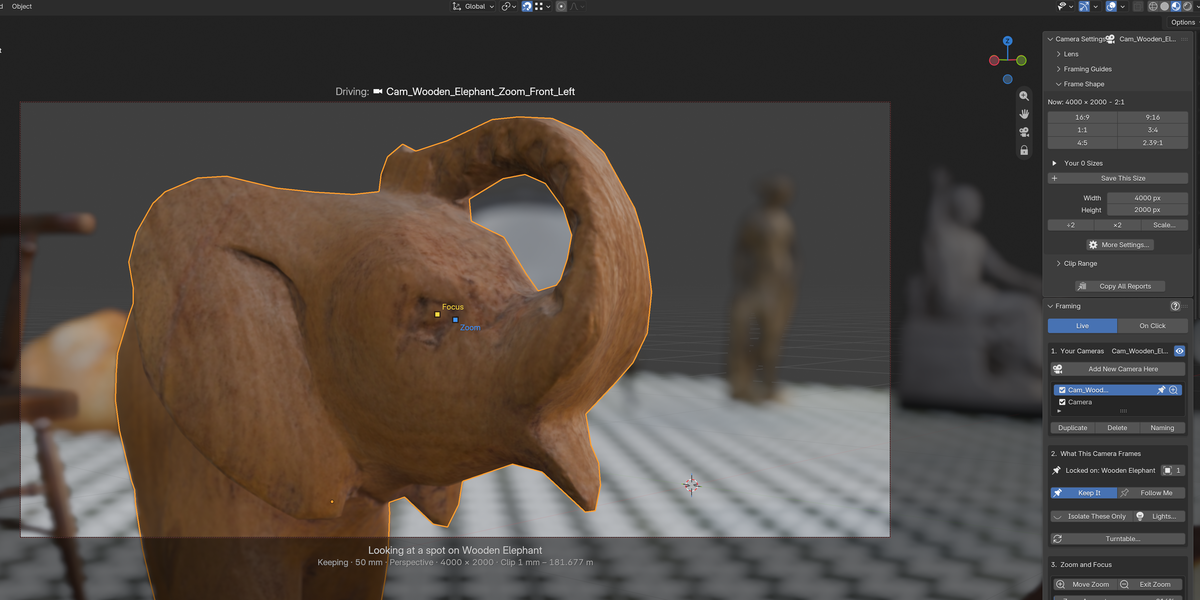
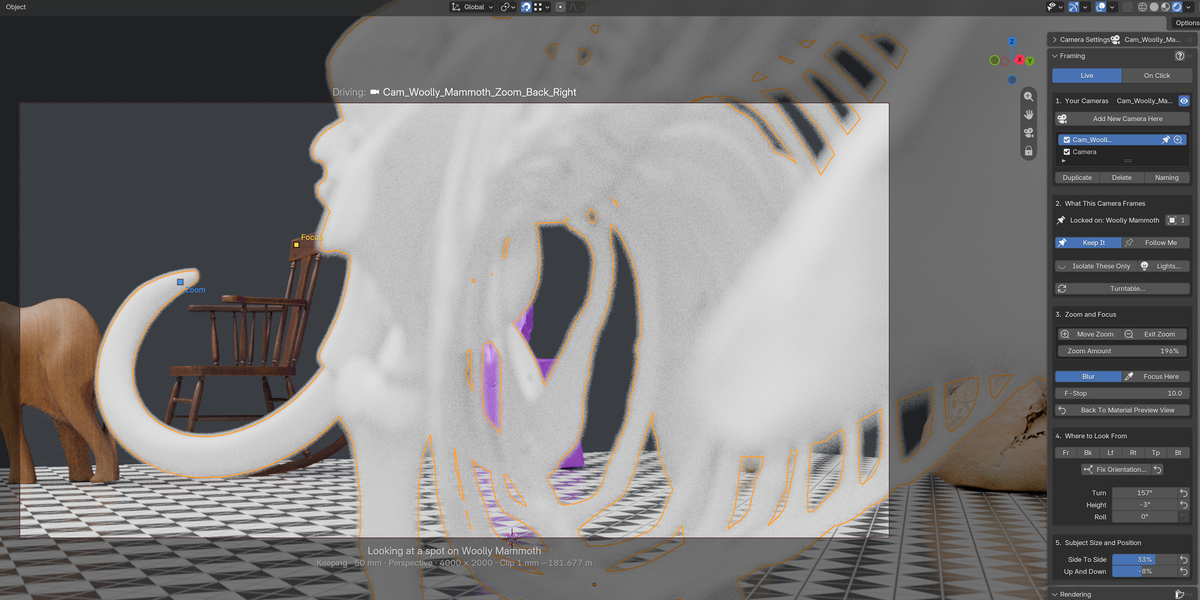
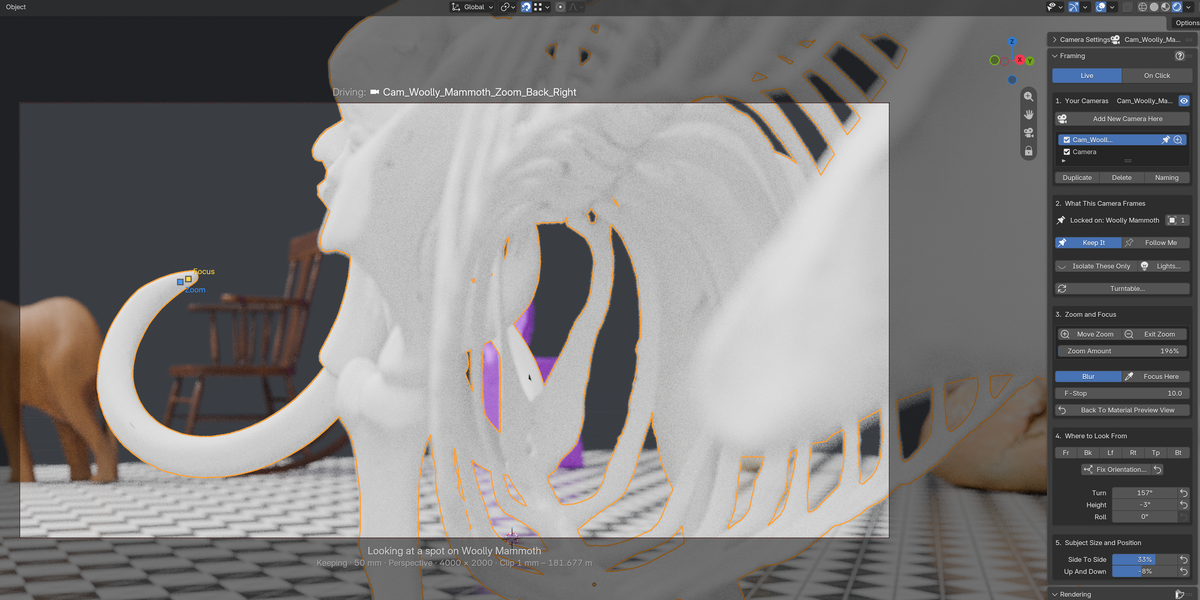
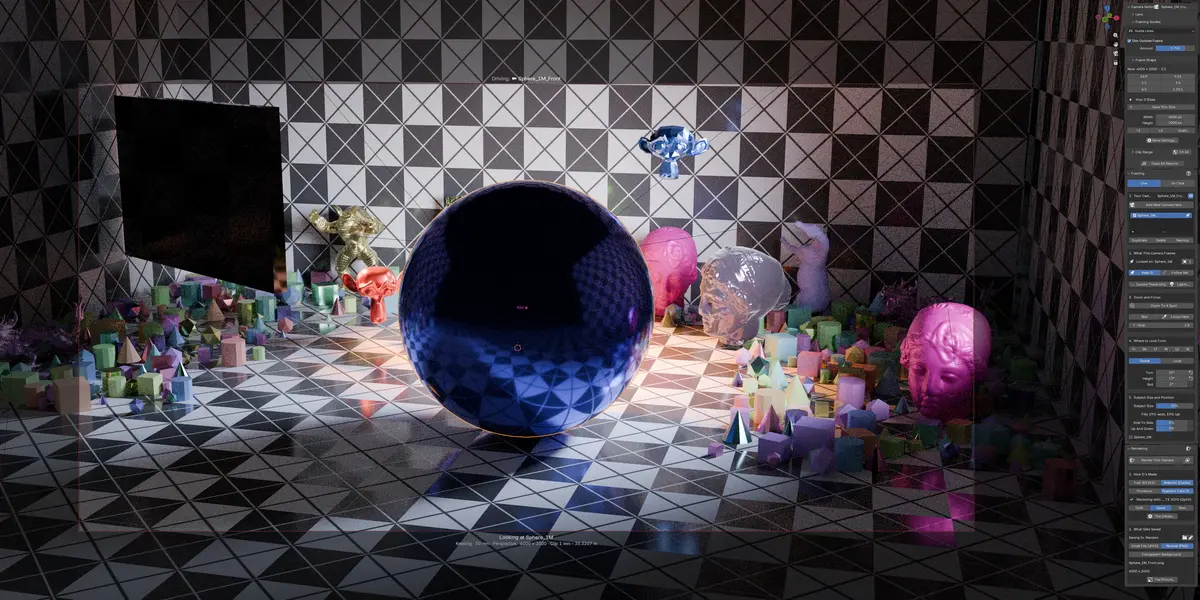
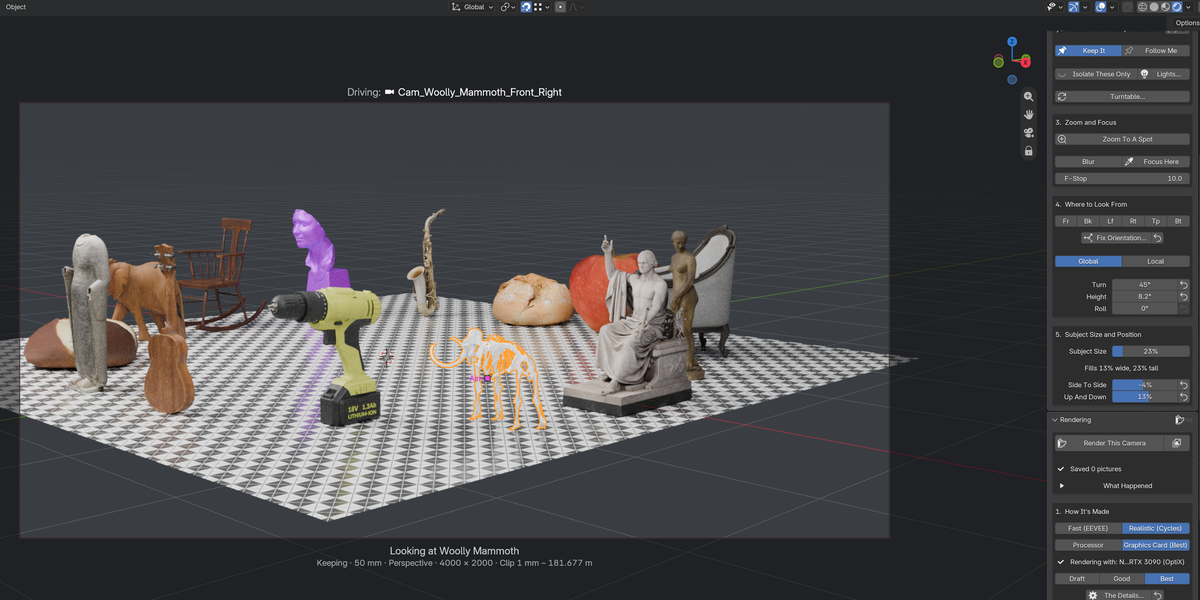
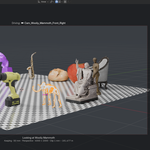
Explainer mode is enabled right out of the box. Every panel clarifies what each control does in straightforward, non-technical terms right where you're working—what Keep It and Follow Me do, how angle controls behave, and how zoom and focal depth interact. Once you're comfortable with the interface, toggle the blue question mark in the Framing panel to hide the text and reclaim your viewport space.
Fix Orientation: Square Up Imported Models Instantly
Scanned assets, photogrammetry files, and downloaded exports often load in crooked, tilted on their side, or pointing upside down. When your base orientation is off, Blender's default view buttons fail because the object lacks a correct local axis.
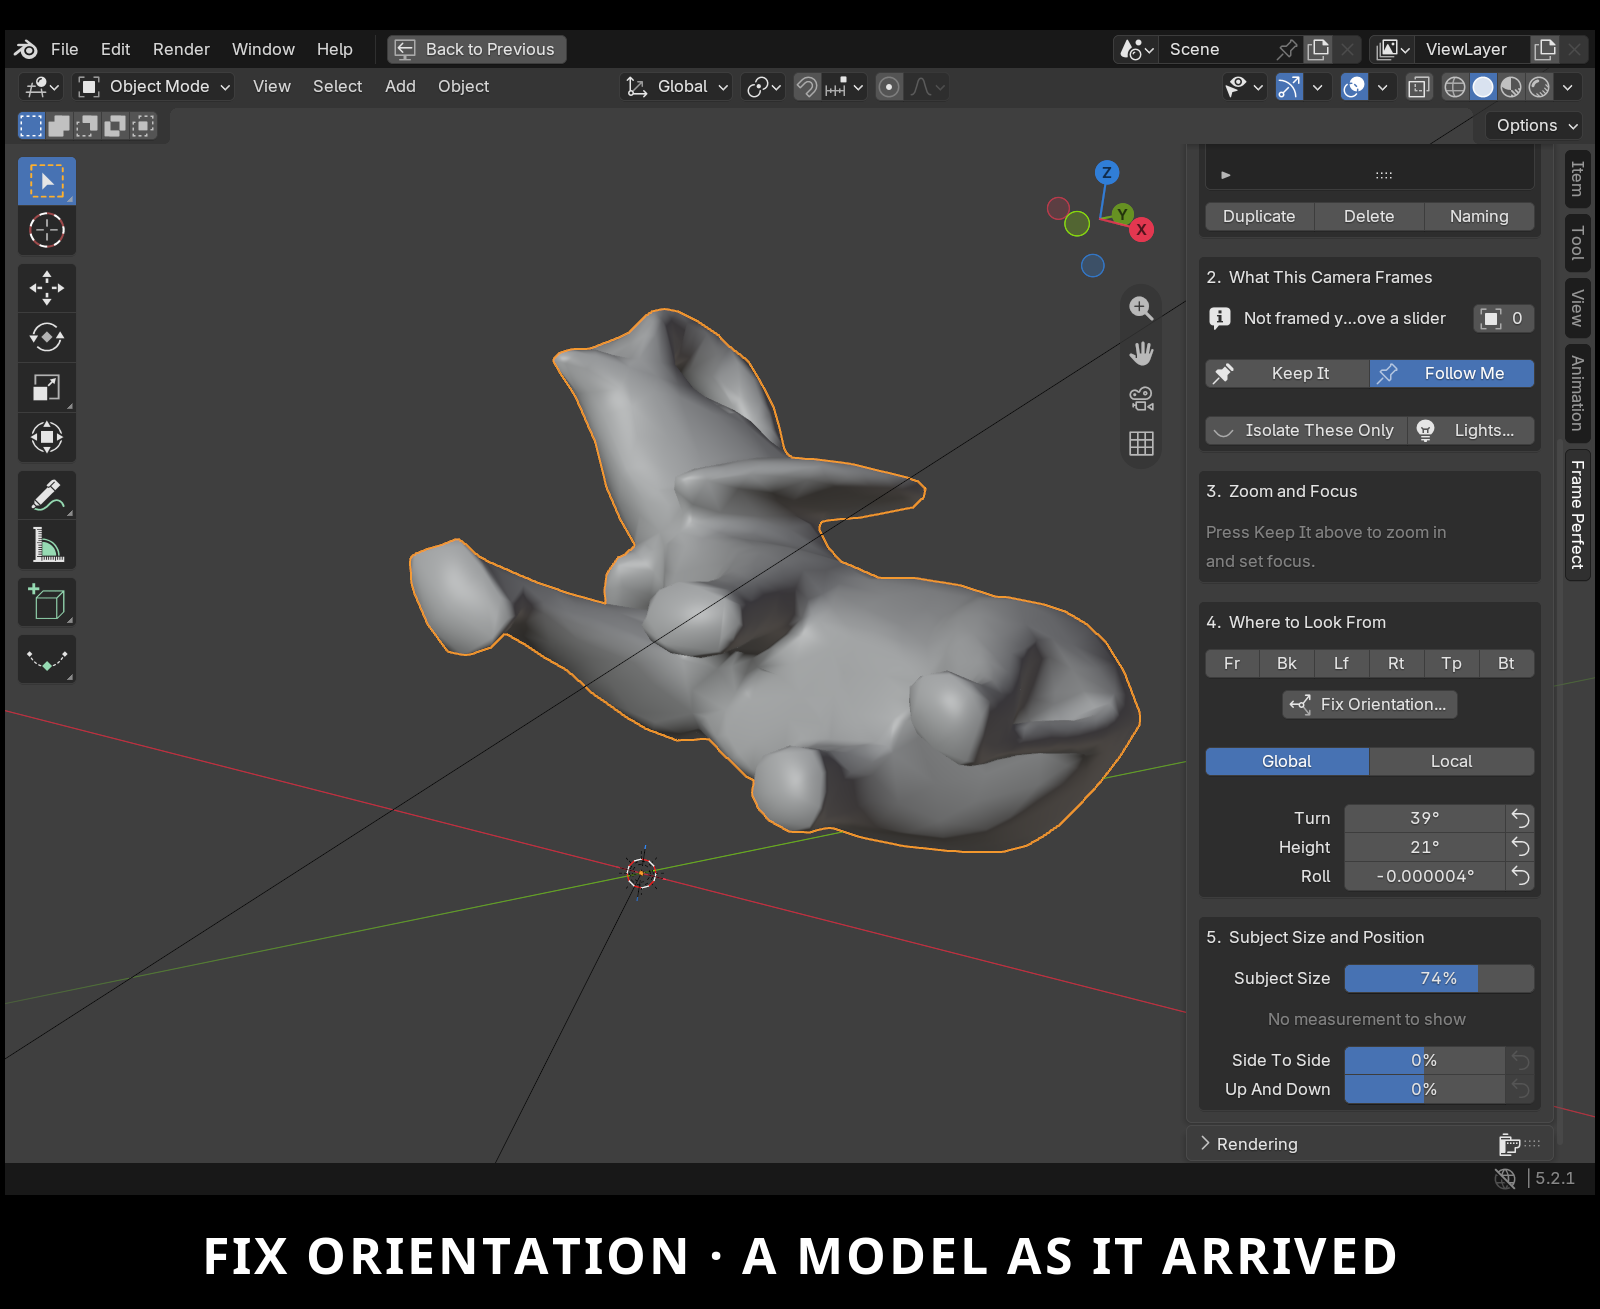
Open Where to Look From in the Framing panel and click the Fix Orientation… button right below the view axis row. Your active selection loads directly into the interactive alignment stage.
Step 1: Choose the Ground Contact Surface
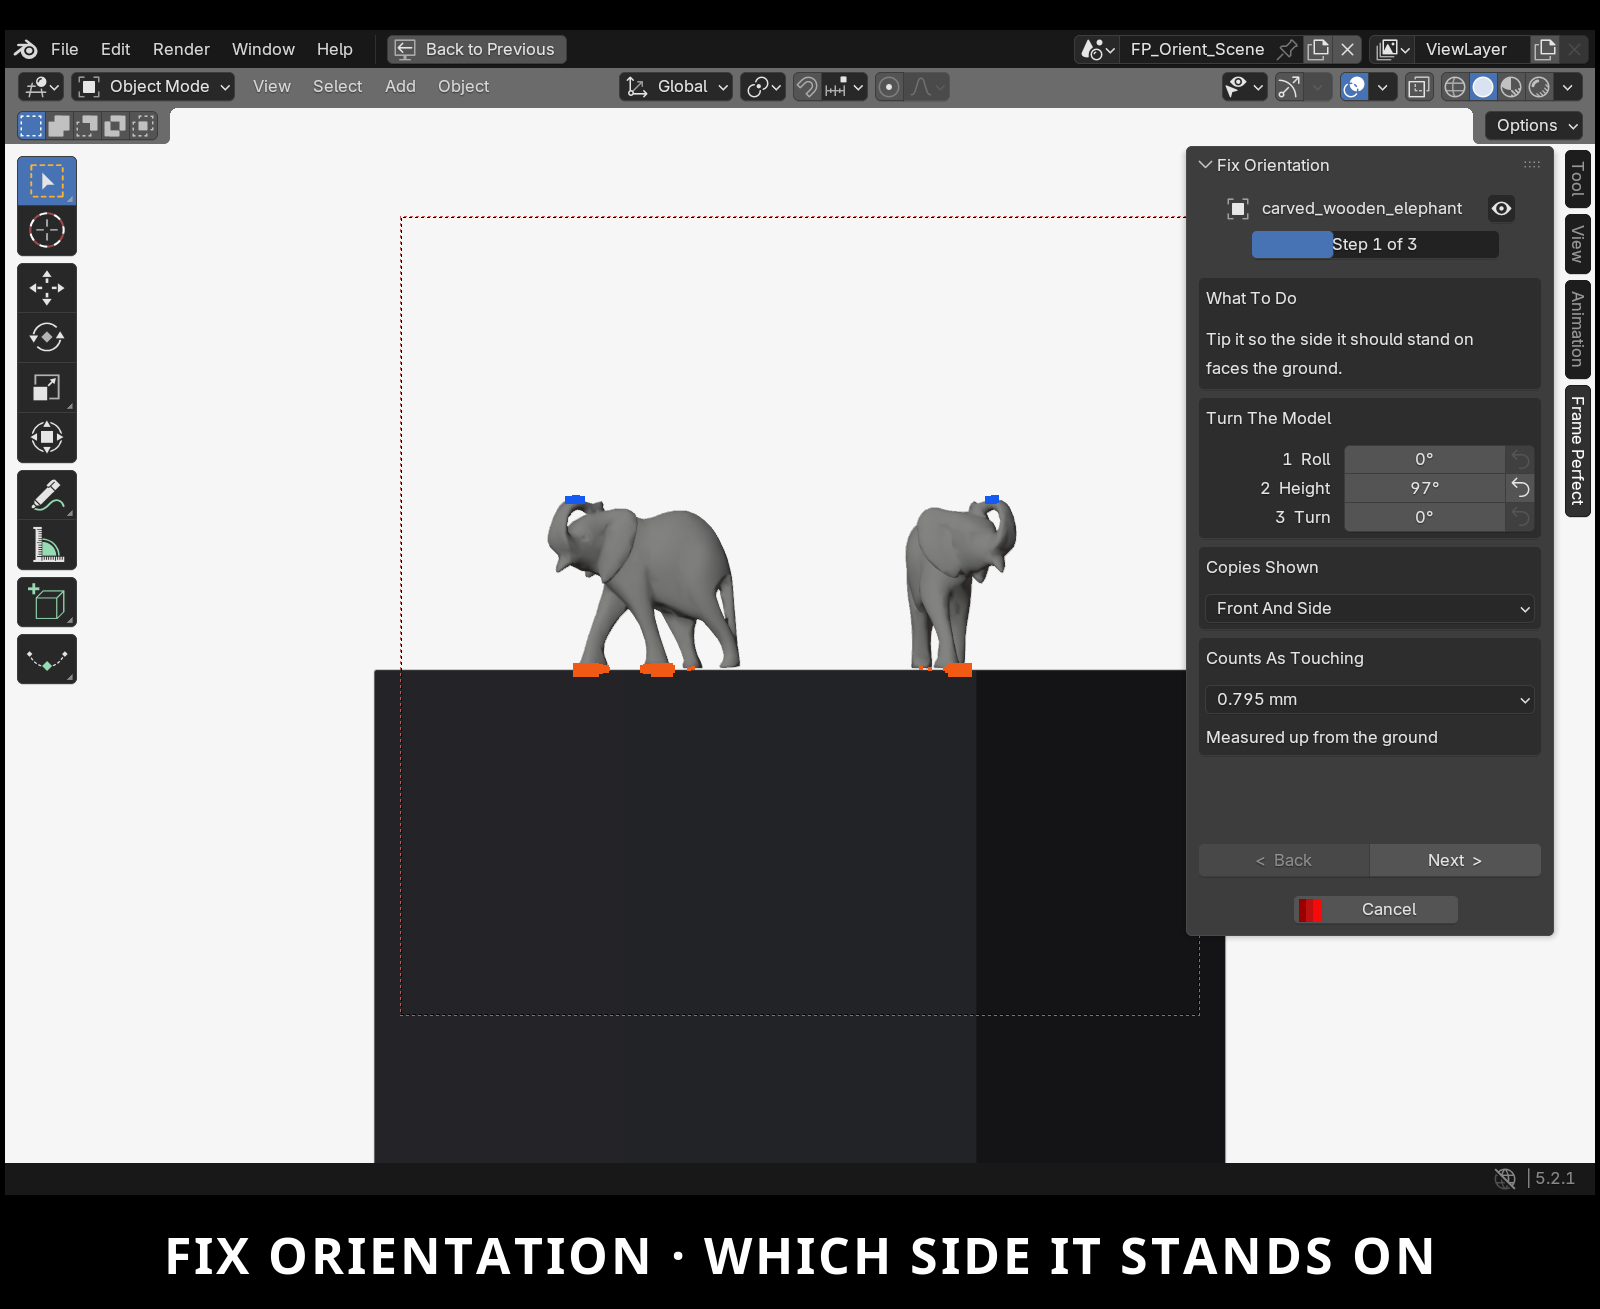
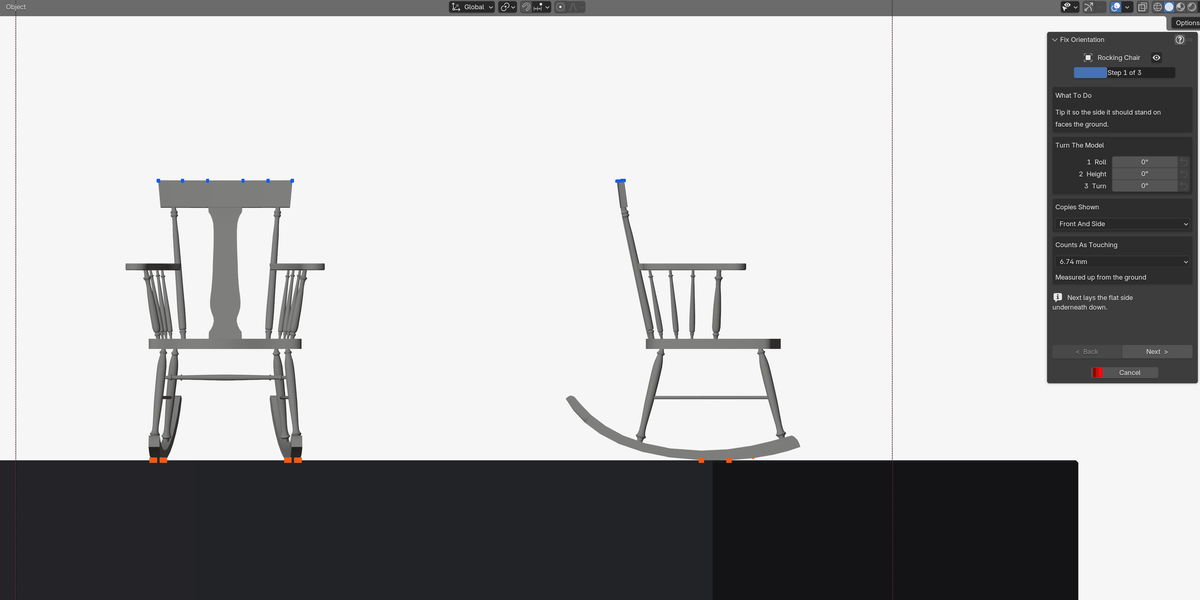
- Adjust the three stage sliders—Roll, Height, and Turn—until the surface intended for the floor lights up underneath. A rough match is plenty.
- Click Next, and the model snaps flat onto that contact plane automatically. Fix Orientation calculates and settles the mesh into its most stable natural resting position.
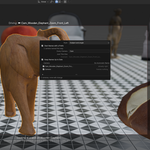
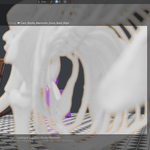
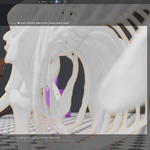
- Two viewport copies display side by side—one front-facing and one turned profile—so you can verify true vertical alignment rather than assuming it's upright.
- Need custom placement? Refine By Eye lets you override contact points manually at the final stage.
Step 2: Define the Model's True Front
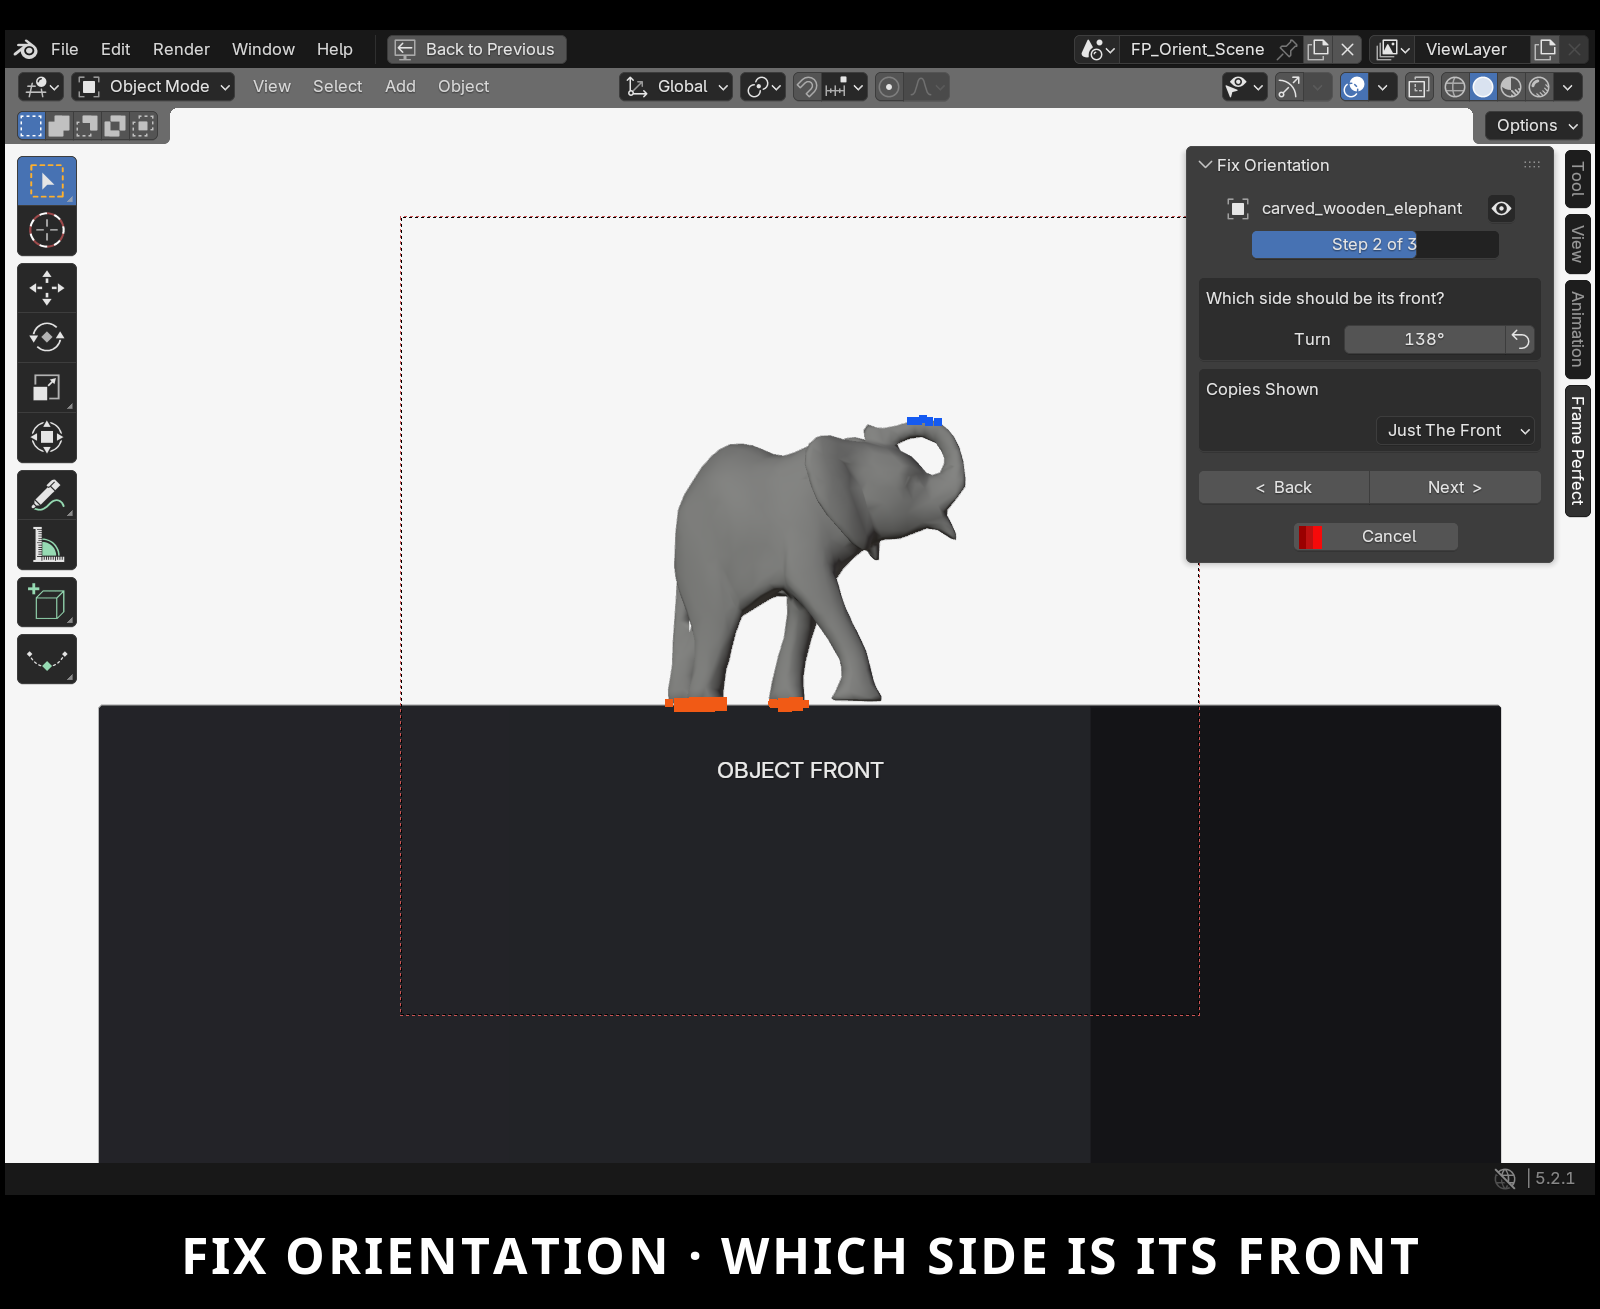
- Rotate the settled model so its natural front faces directly toward you.
- Switch between 1, 2, or all 4 simultaneous angle views to guarantee perfect alignment across every coordinate.
Step 3: Three Clean Finishing Options
The final confirmation screen lets you review your asset from all six orthographic angles before committing:
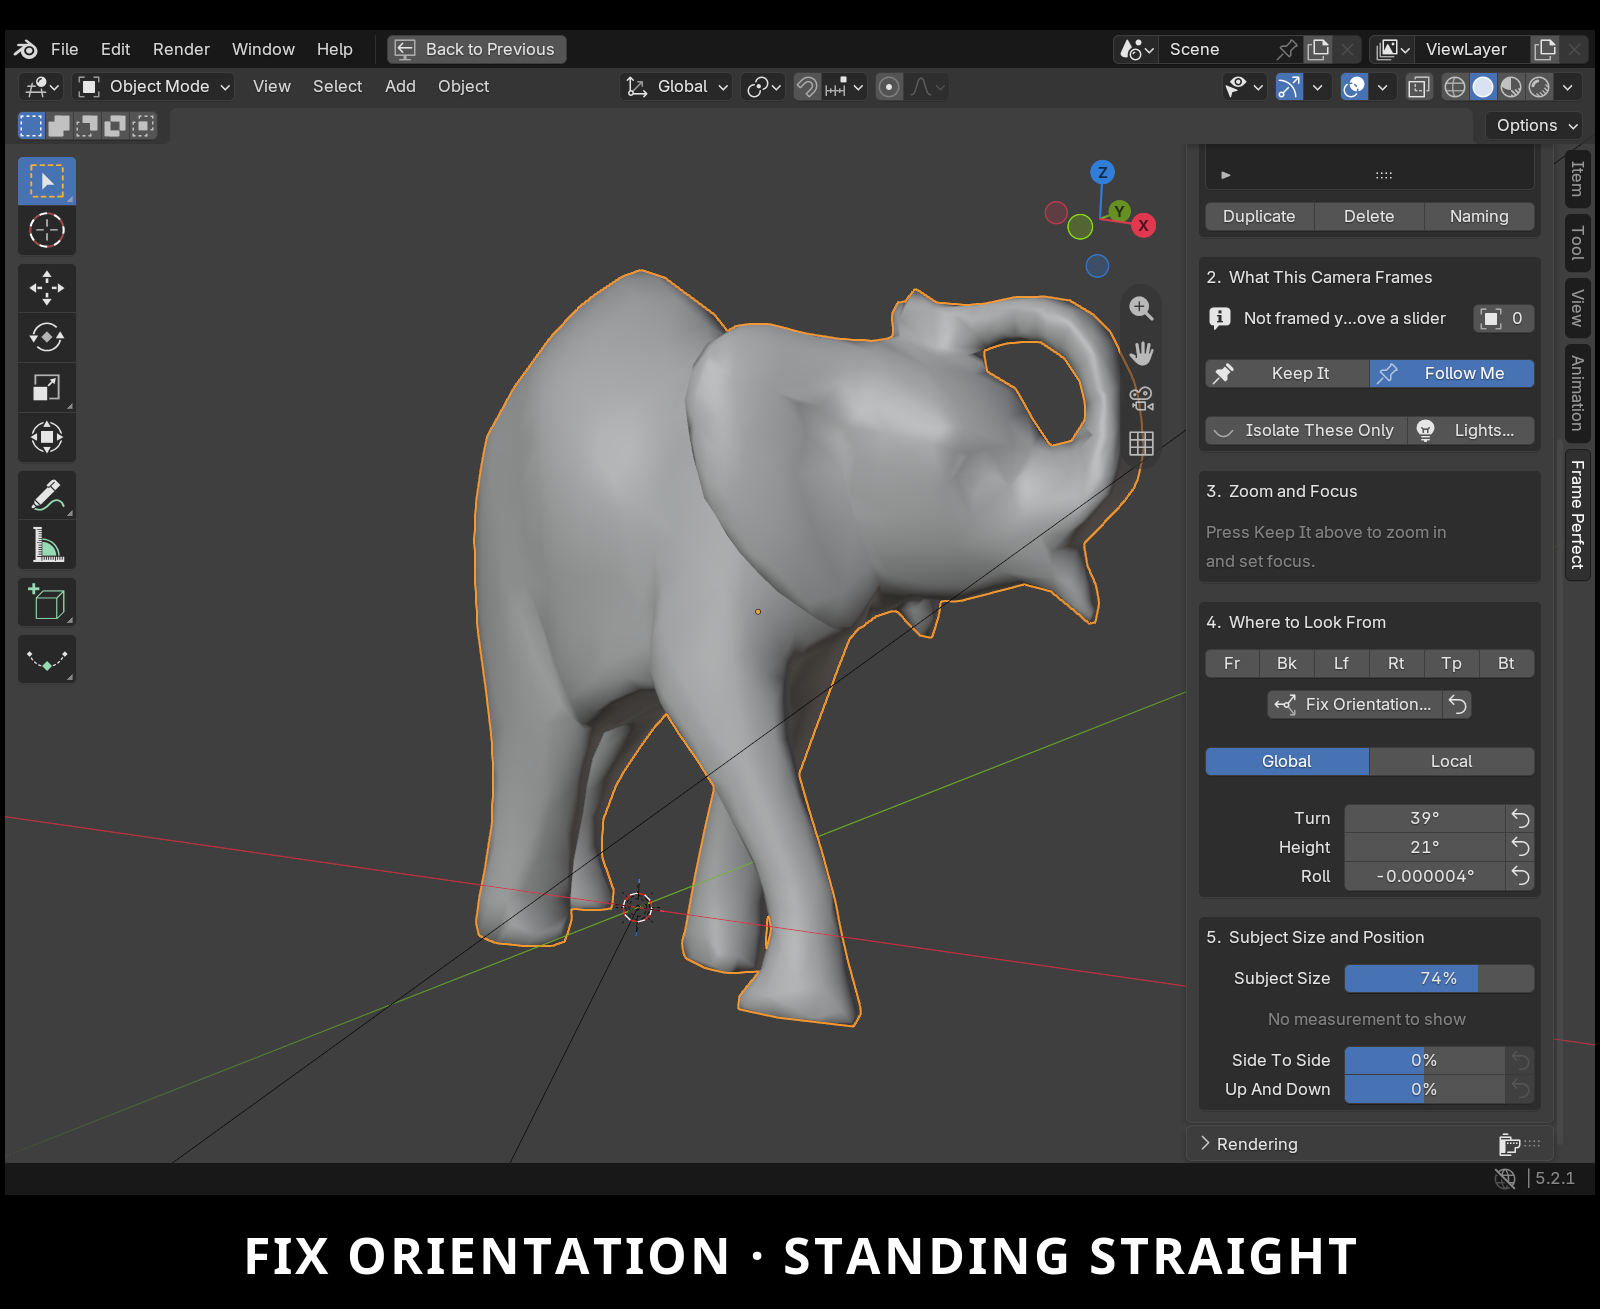
- Fix It And Stand It Up: Stands the model upright, facing front, and permanently writes that as its native coordinate front. Recommended when exporting to external software or game engines that expect a clean transform.
- Fix It Without Moving It: Updates what Blender recognizes as front, top, and sides (powering framing buttons and exports) without altering the model's current scene position.
- Don't Fix It, Just Turn It: Retains the new visual angle you dialed in without altering underlying coordinate axes.
Safe & Non-Destructive: Cancel anytime and your model returns untouched. Once applied, an Undo Orientation Fix button appears immediately beside the launcher to reverse changes cleanly.
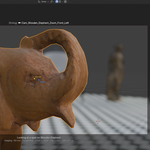
Irregular Meshes & Organic Scans: If a model is too curved or uneven to identify a flat base, Fix Orientation automatically detects this and offers Refine By Eye to guide you through angle by angle.
Engineered Quality Presets: Draft, Good, and Best
The Production Golden Rule: Use "Good" while you build. Switch to "Best" when client eyes are on your work.
Draft provides lightning-fast feedback on framing, composition, and light balance before committing compute time.
- Draft (256 samples/pixel): Completes in seconds, providing rapid feedback on framing, lighting balance, and overall layout.
- Good (4,096 samples/pixel): Blender's battle-tested standard quality setting for everyday scene work and client review.
- Best (Super-Sampled Anti-Aliasing): Renders at 200% resolution and intelligently downsamples the final image back to your delivery size.
Best synthesizes every delivered pixel from four discrete passes, permanently resolving staircasing on hair, wire, guitar strings, and silhouette contours. One button, zero math.
Measured Render Benchmarks
Benchmarked on an NVIDIA RTX 3090 (OptiX) with zero background tasks. Hardware speeds vary, but the proportional time multiples remain consistent across machines:
| Scene | Draft | Good | Best |
|---|---|---|---|
| Ukulele on Backdrop | 3s | 13s | 51s |
| Classroom (Interior) | 7s | 1m 33s | 6m 13s |
| Junk Shop (Dense Props) | 10s | 48s | 2m 50s |
| Checker Test Floor | 2s | 9s | 28s |
Important Note on Image Comparisons: Web image recompression affects more pixel values than the upgrade from Good to Best (1.74 vs 0.68 levels out of 255). Do not judge quality by toggling web images. Read the difference maps below: their high-luminance points preserve 89% of original brightness without lifting dark noise floors.
How to Interpret Difference Maps
Each benchmark displays three renders paired with three difference maps. A map stays dark where visual shifts are imperceptible to human eyes, and illuminates where perceptible detail emerges:
- Draft vs. Good: Highlights grain resolution and shadow stabilization achieved by standard sample counts.
- Good vs. Best: Isolates true edge anti-aliasing and micro-detail resolution from 200% super-sampling.
- 4× Sample Cap: Remains near black across every scene, confirming that blindly cranking sample limits adds computation time without altering visible pixels.
Benchmark Case 1: Ukulele on Backdrop
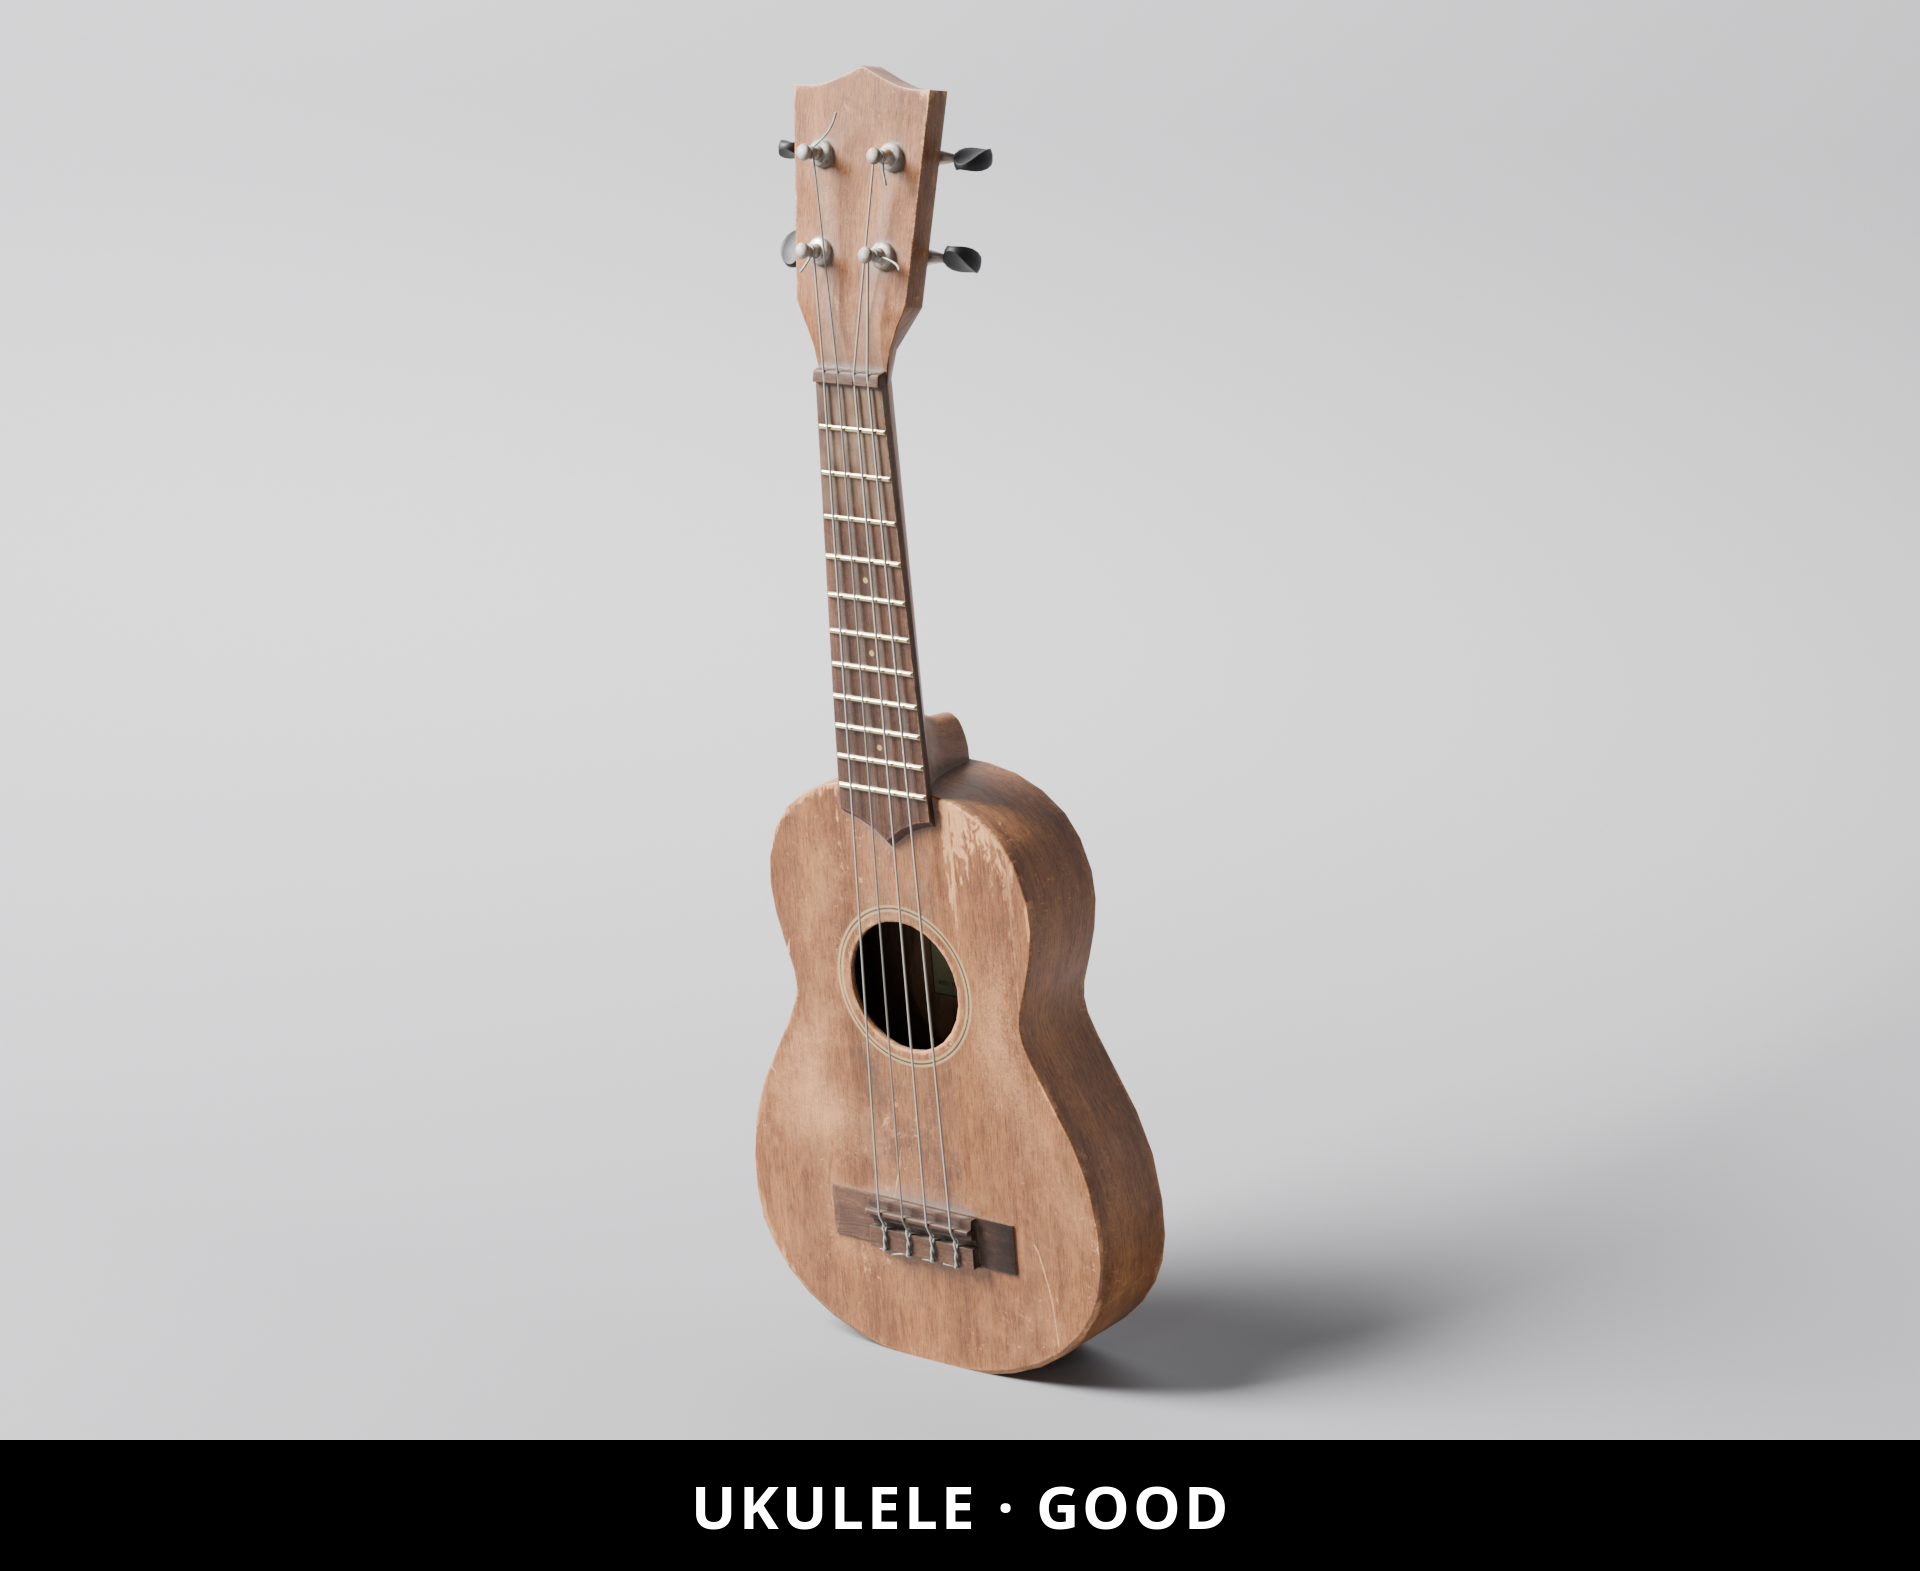
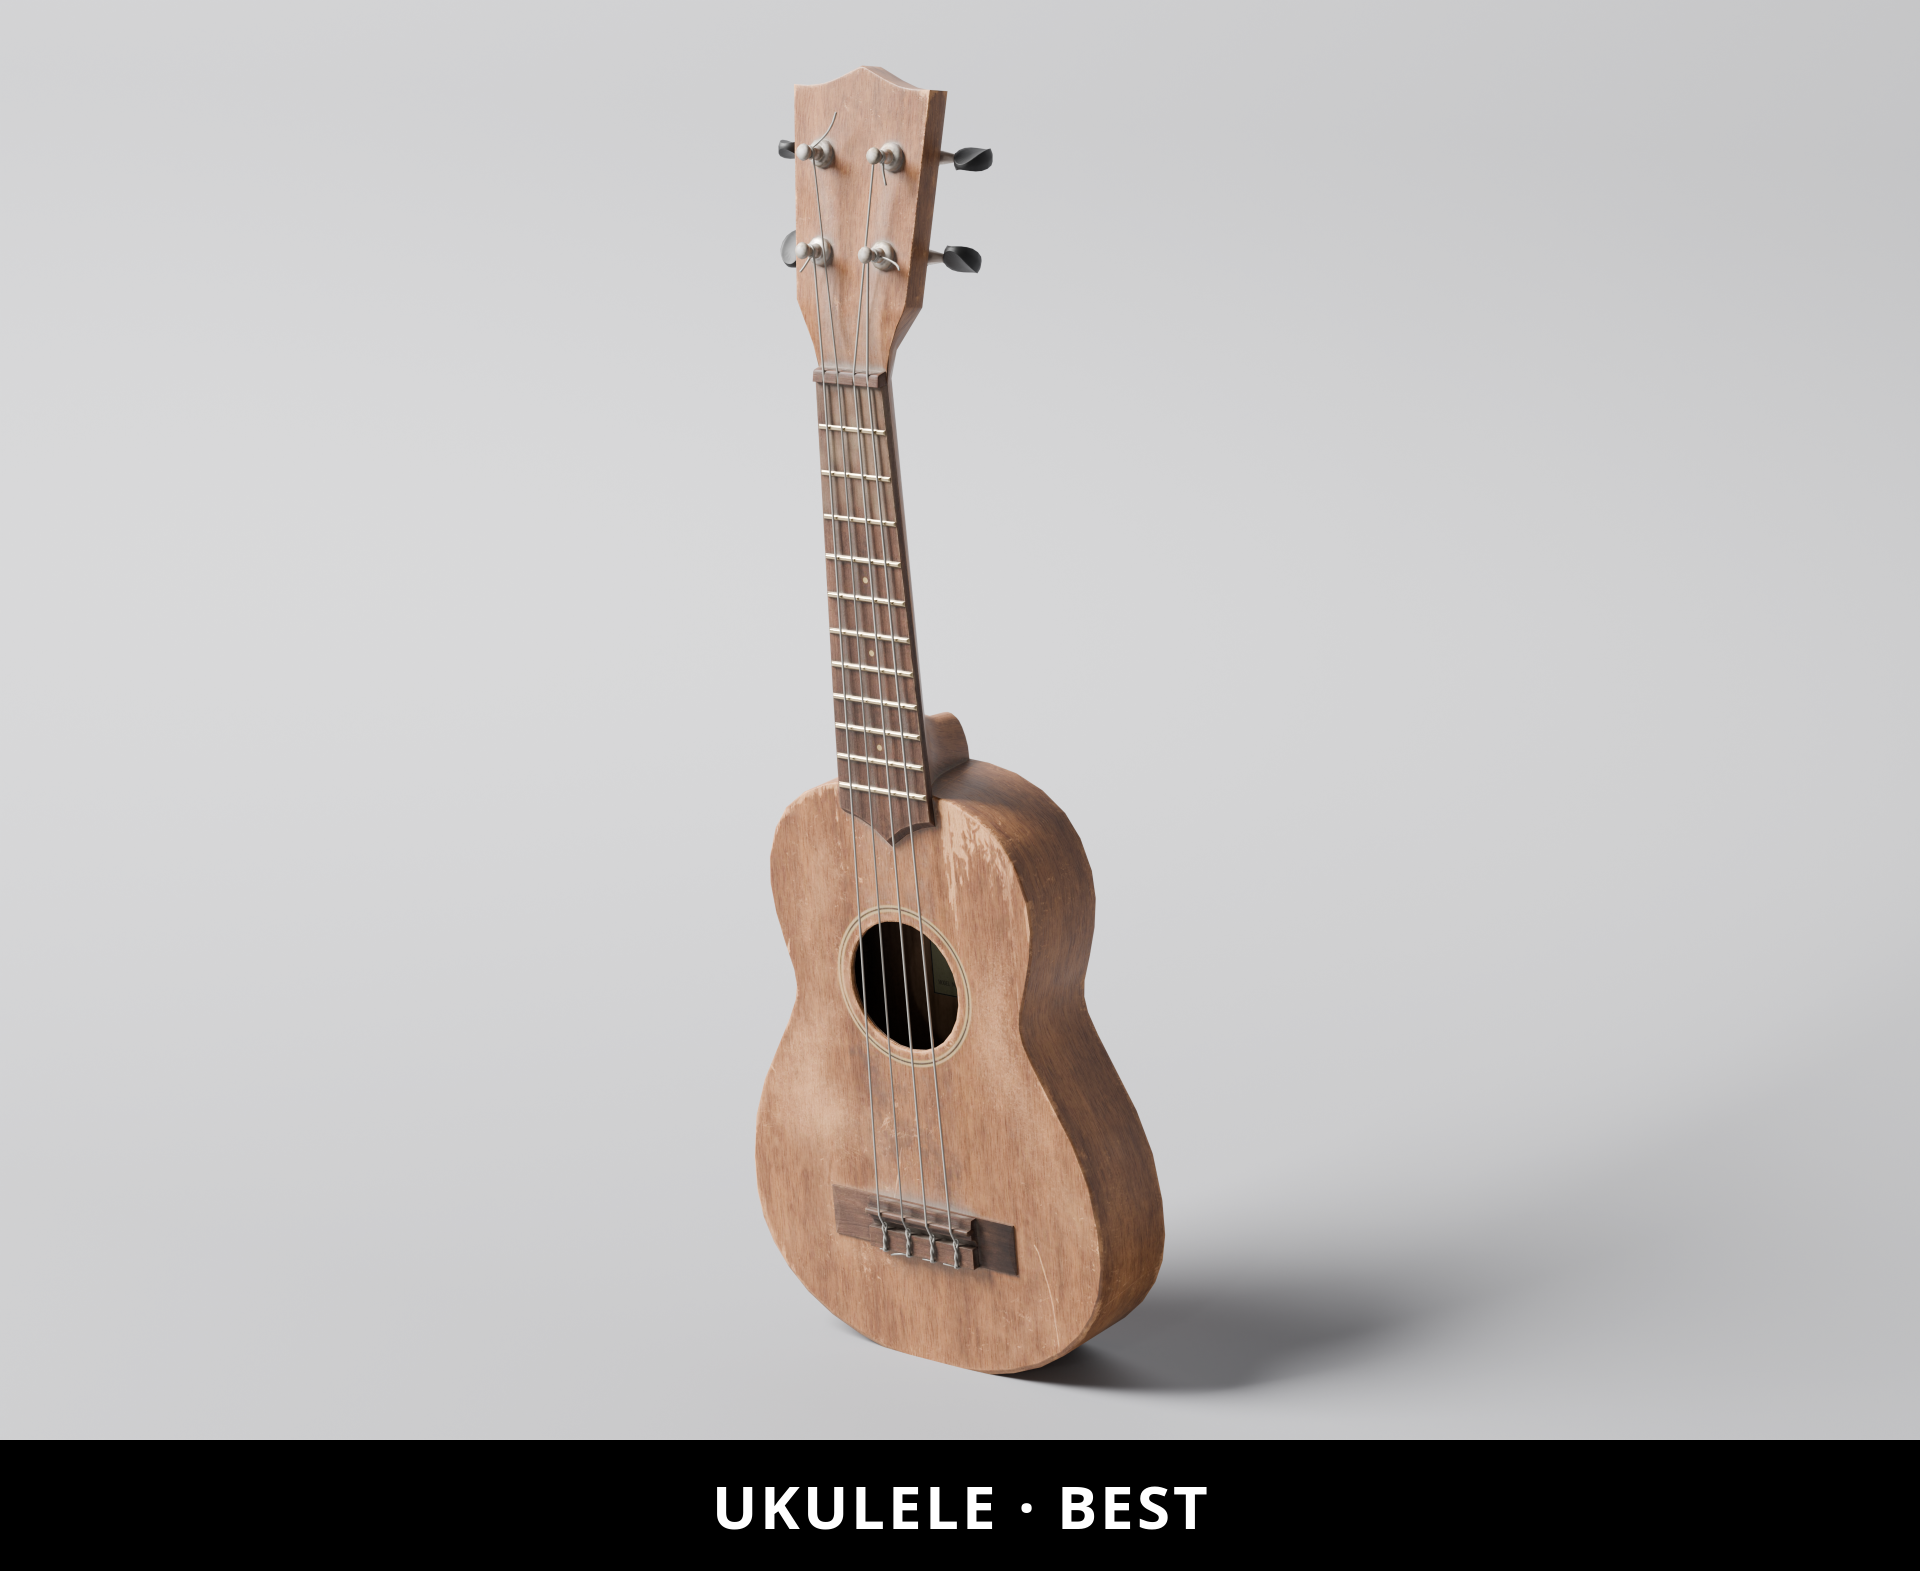
Strings and fret wires are thin, high-contrast, and run parallel—the exact geometry most vulnerable to aliasing and jagged edges. Draft: 3s | Good: 13s | Best: 51s
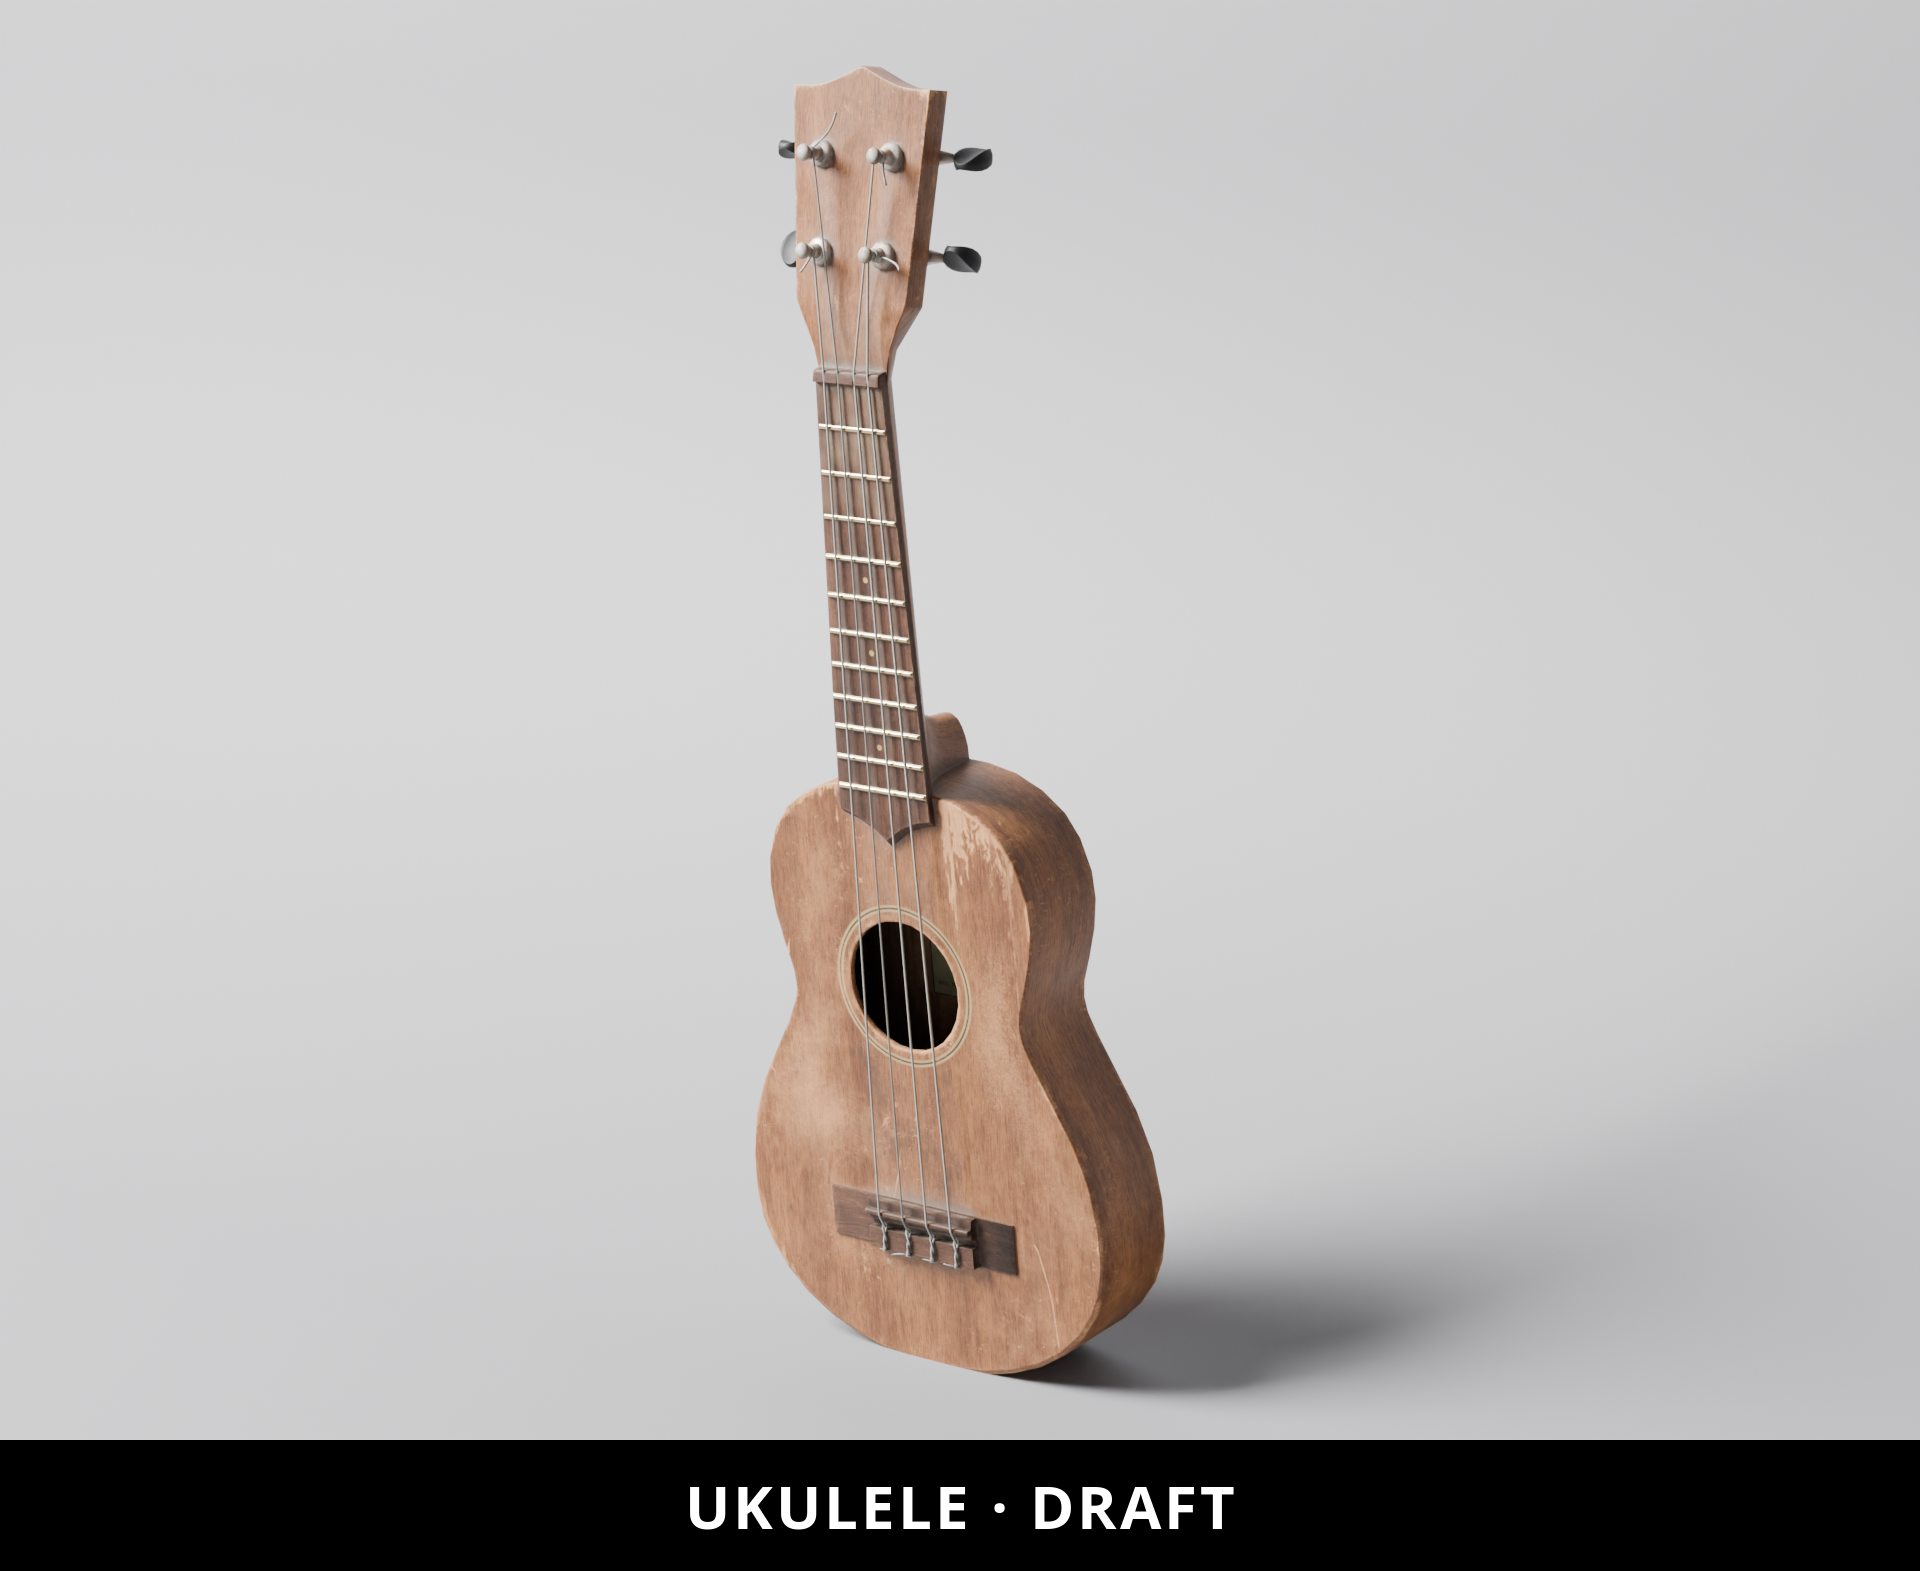
Difference Maps:
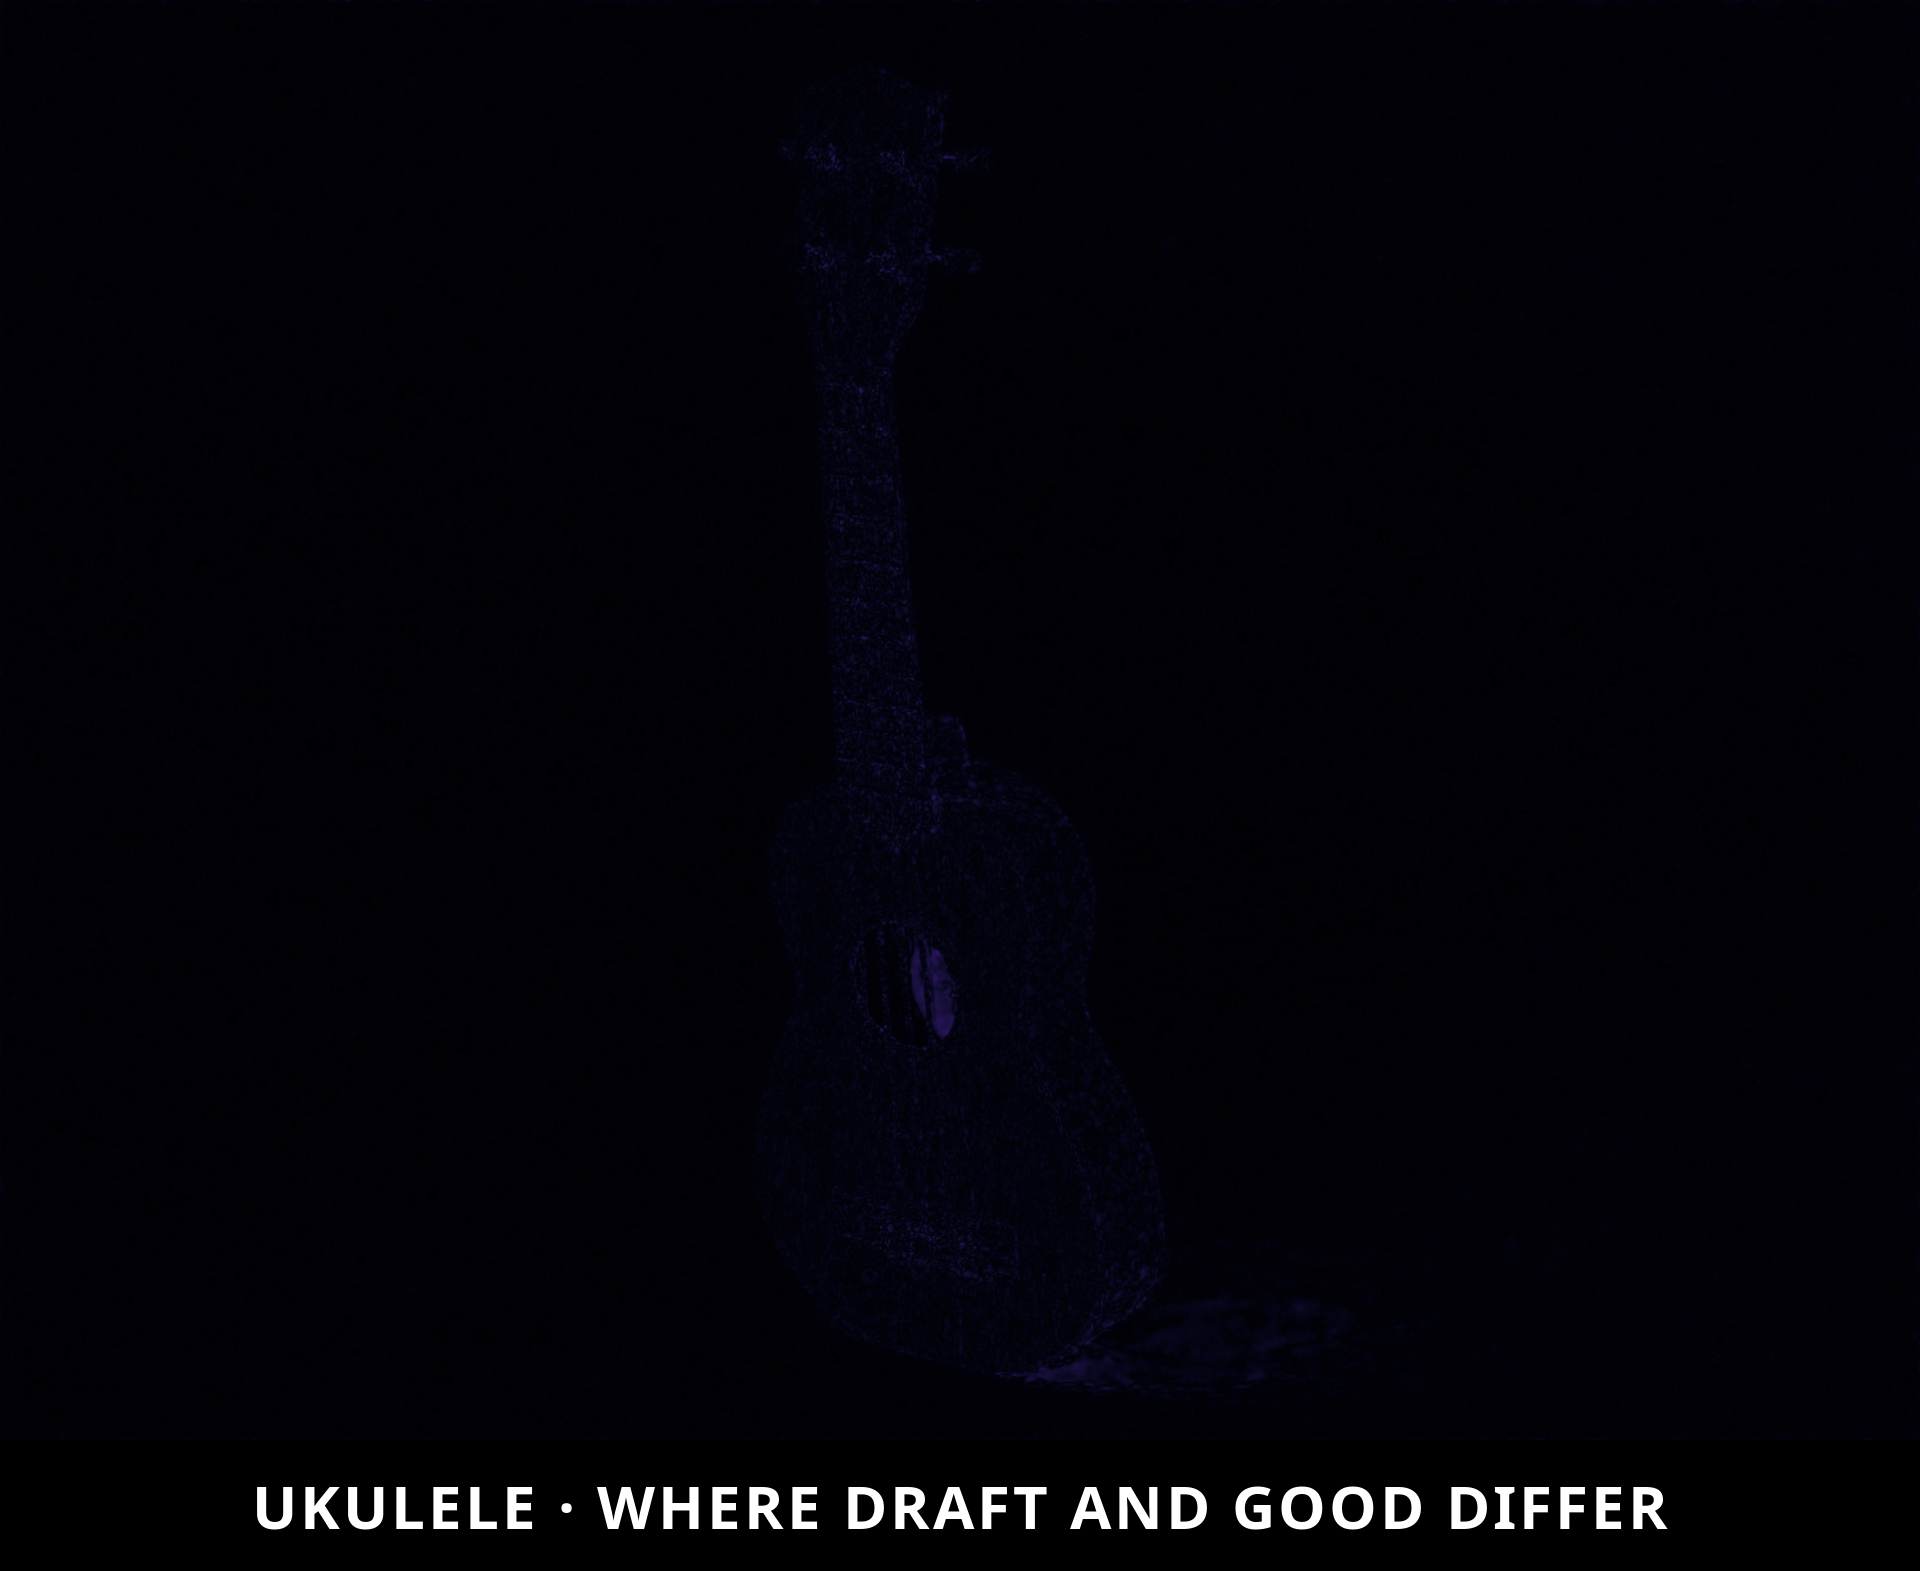
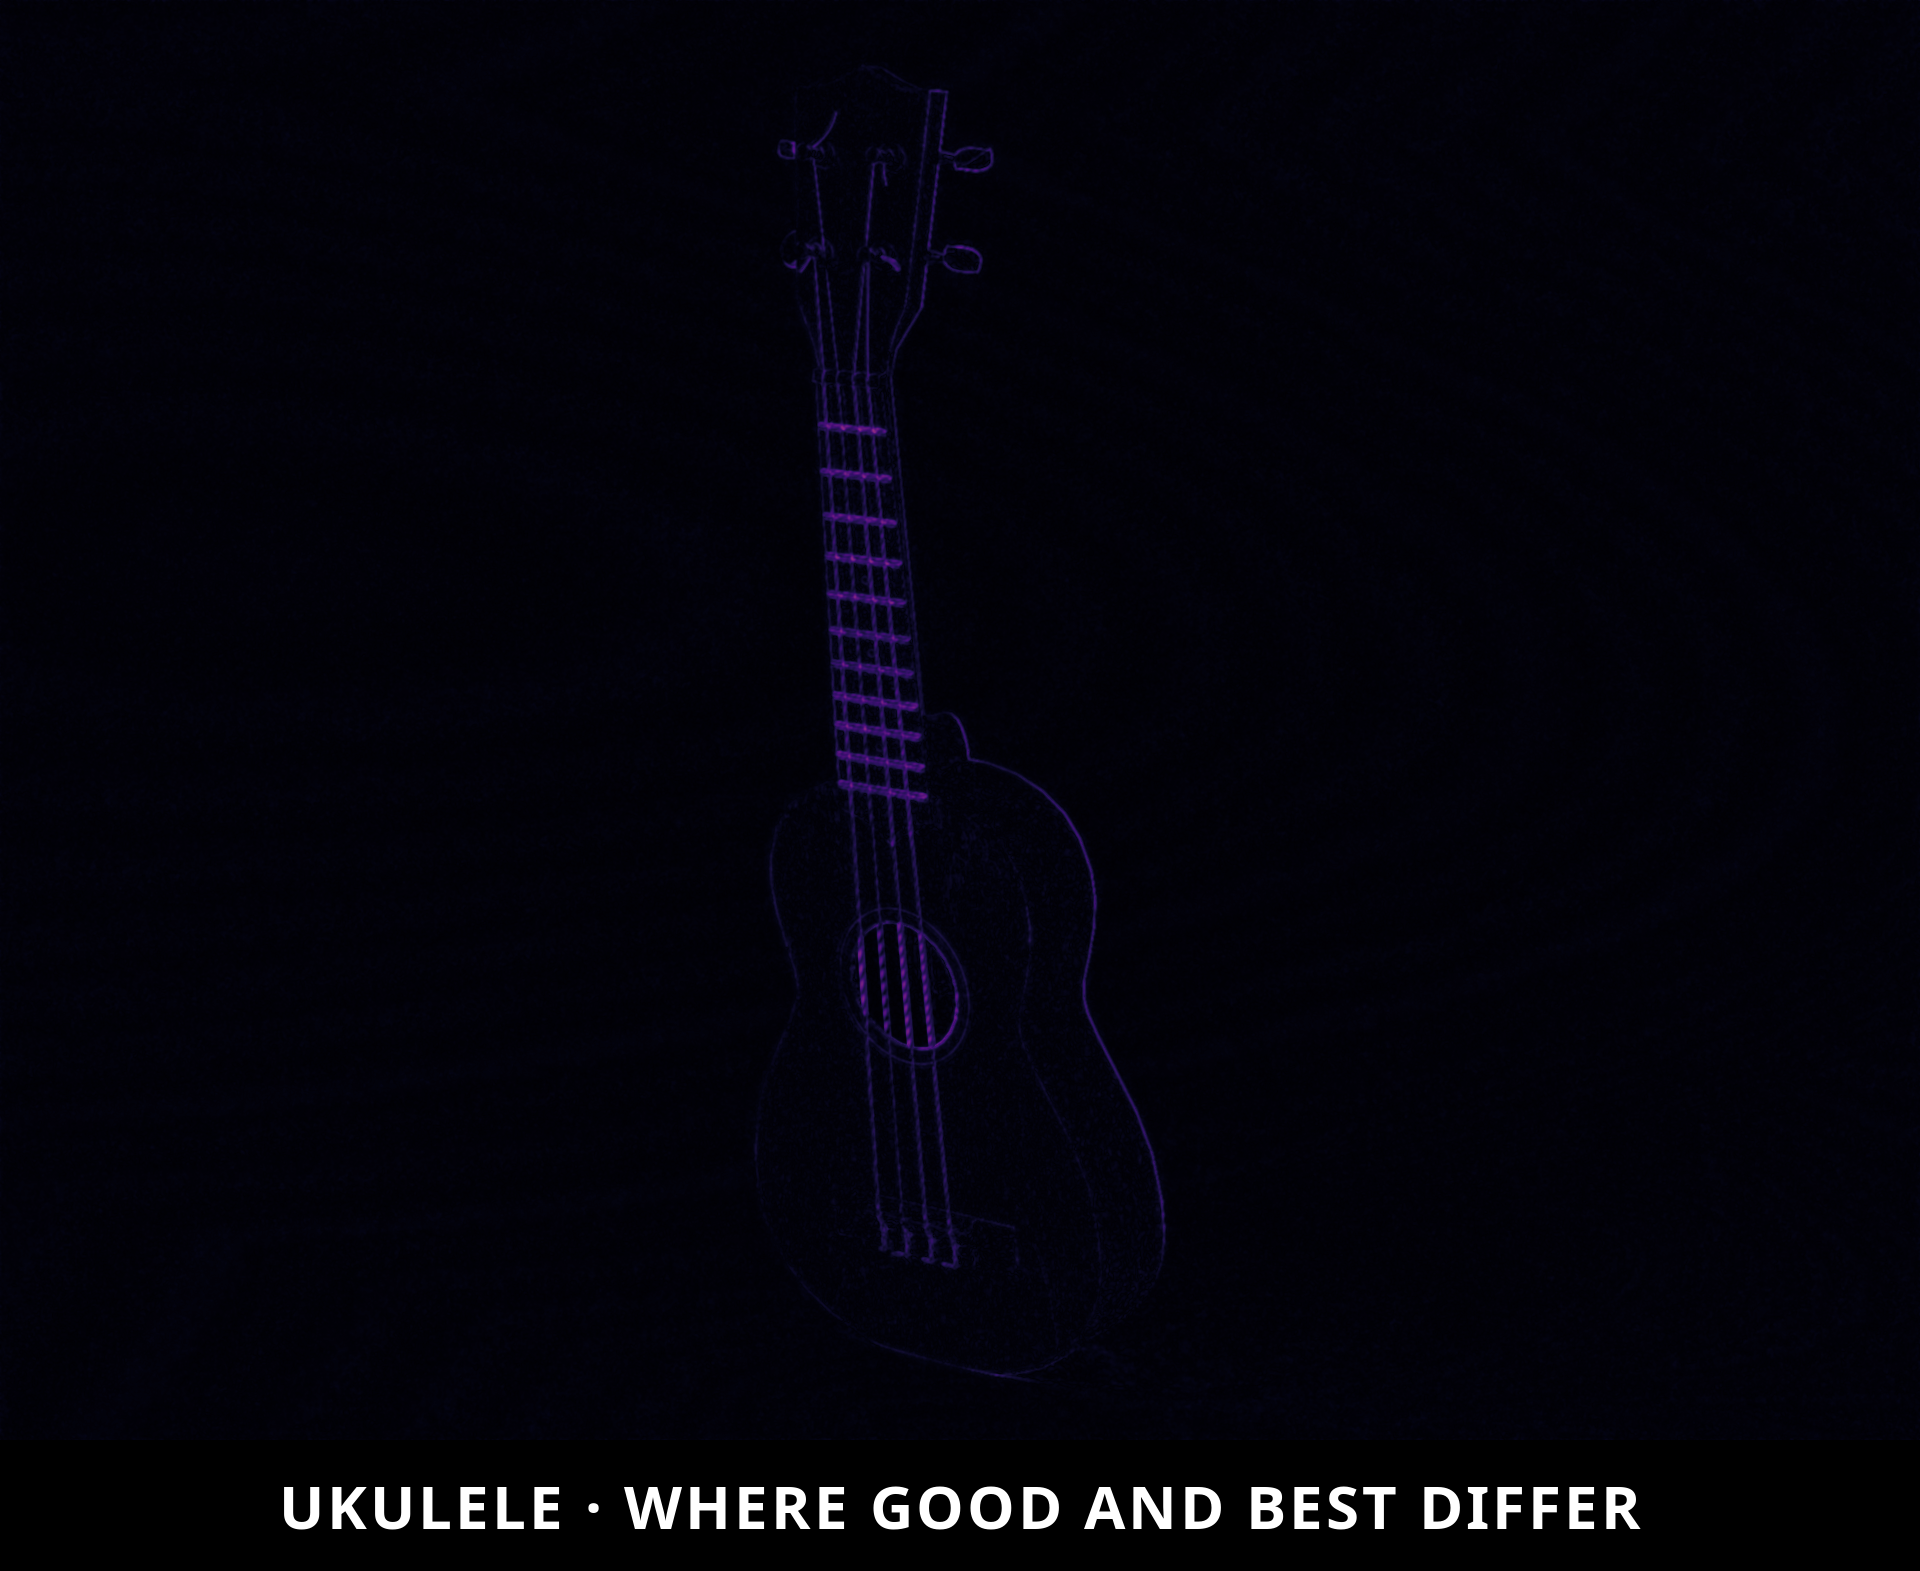
Draft and Good are nearly identical at 0.61% delta. Upgrading from Good to Best yields an active 0.86% delta focused entirely on the strings and frets. This represents the premier scenario for super-sampling.
Benchmark Case 2: Classroom Interior
Lit entirely via window apertures, relying heavily on indirect bounce rays. Draft: 7s | Good: 1m 33s | Best: 6m 13s
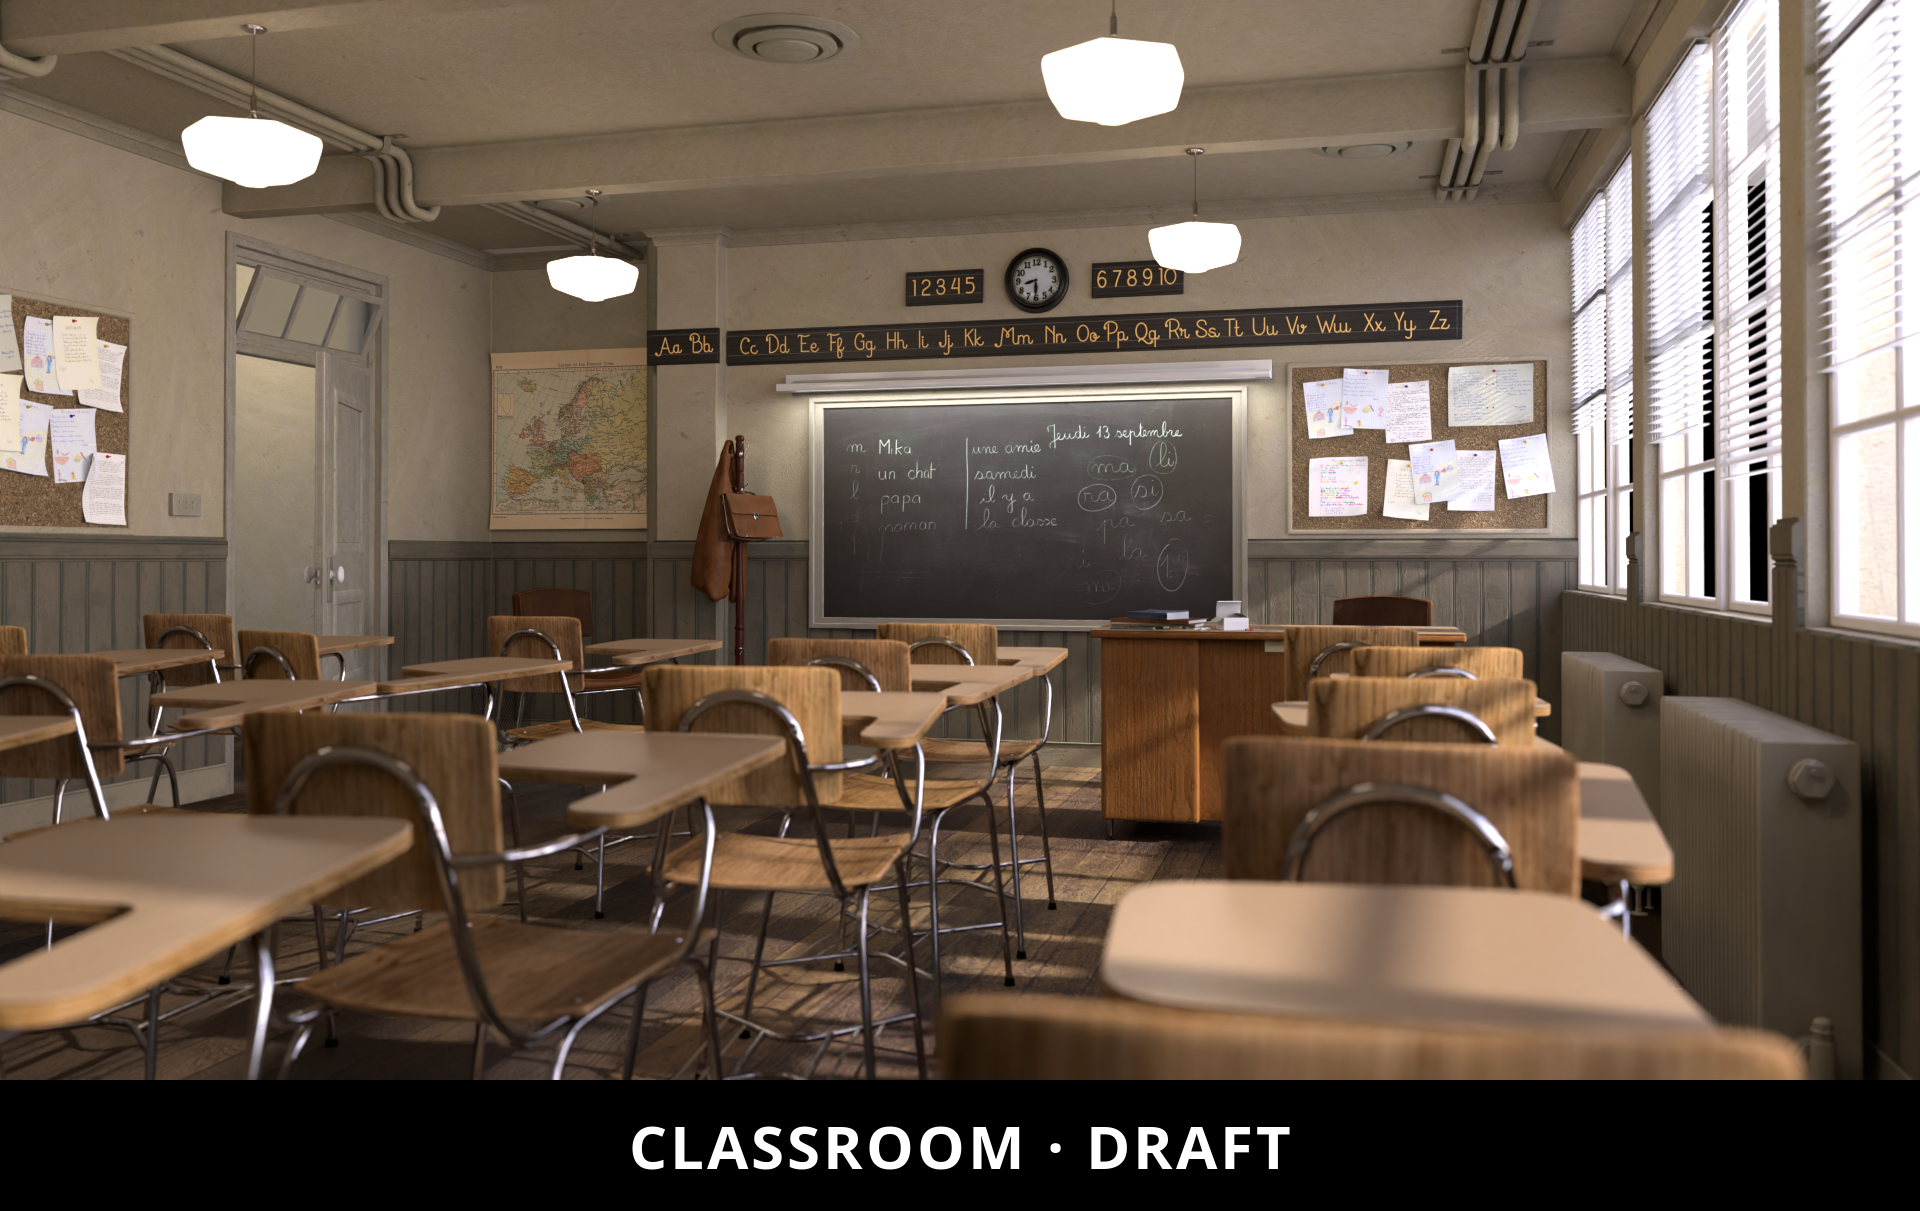
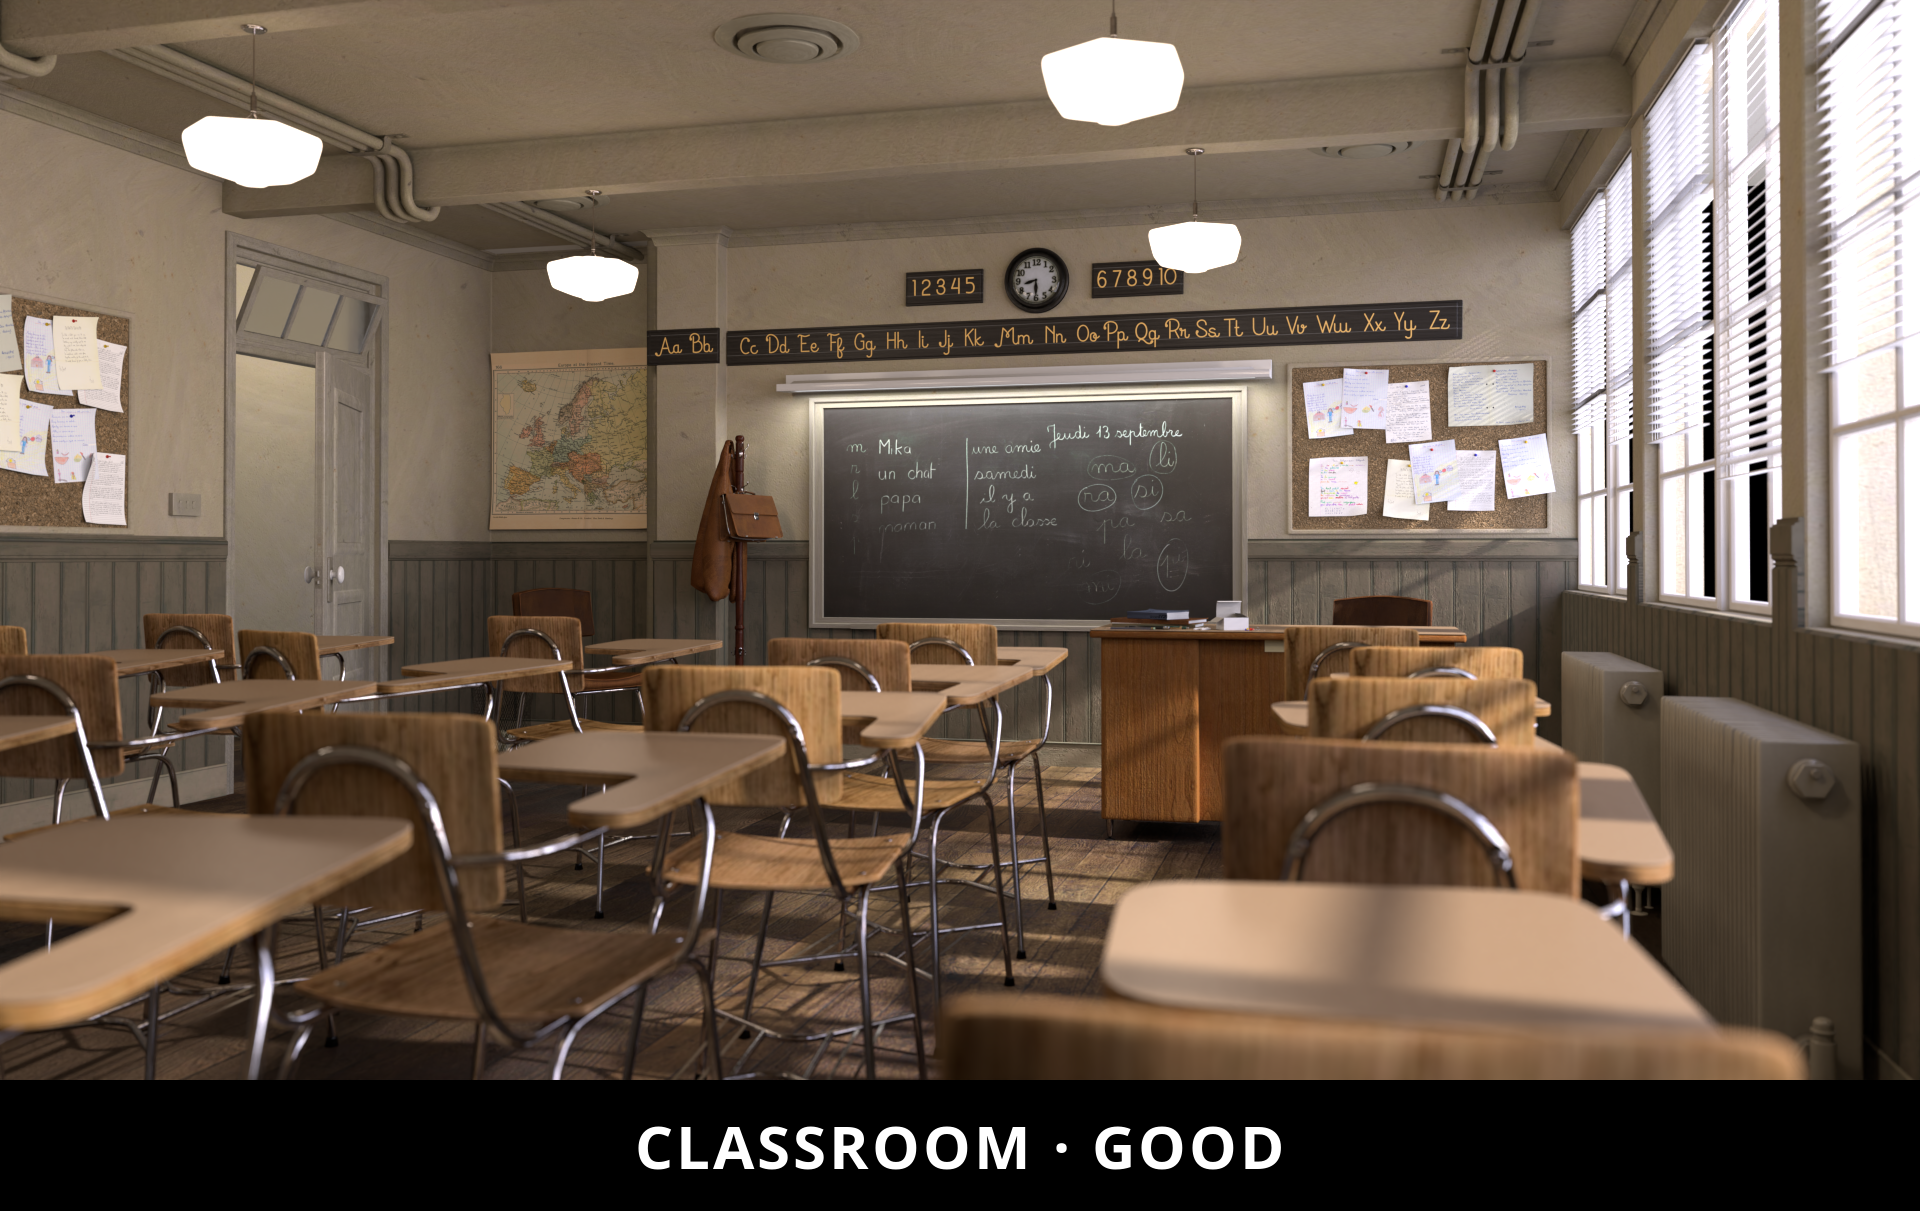
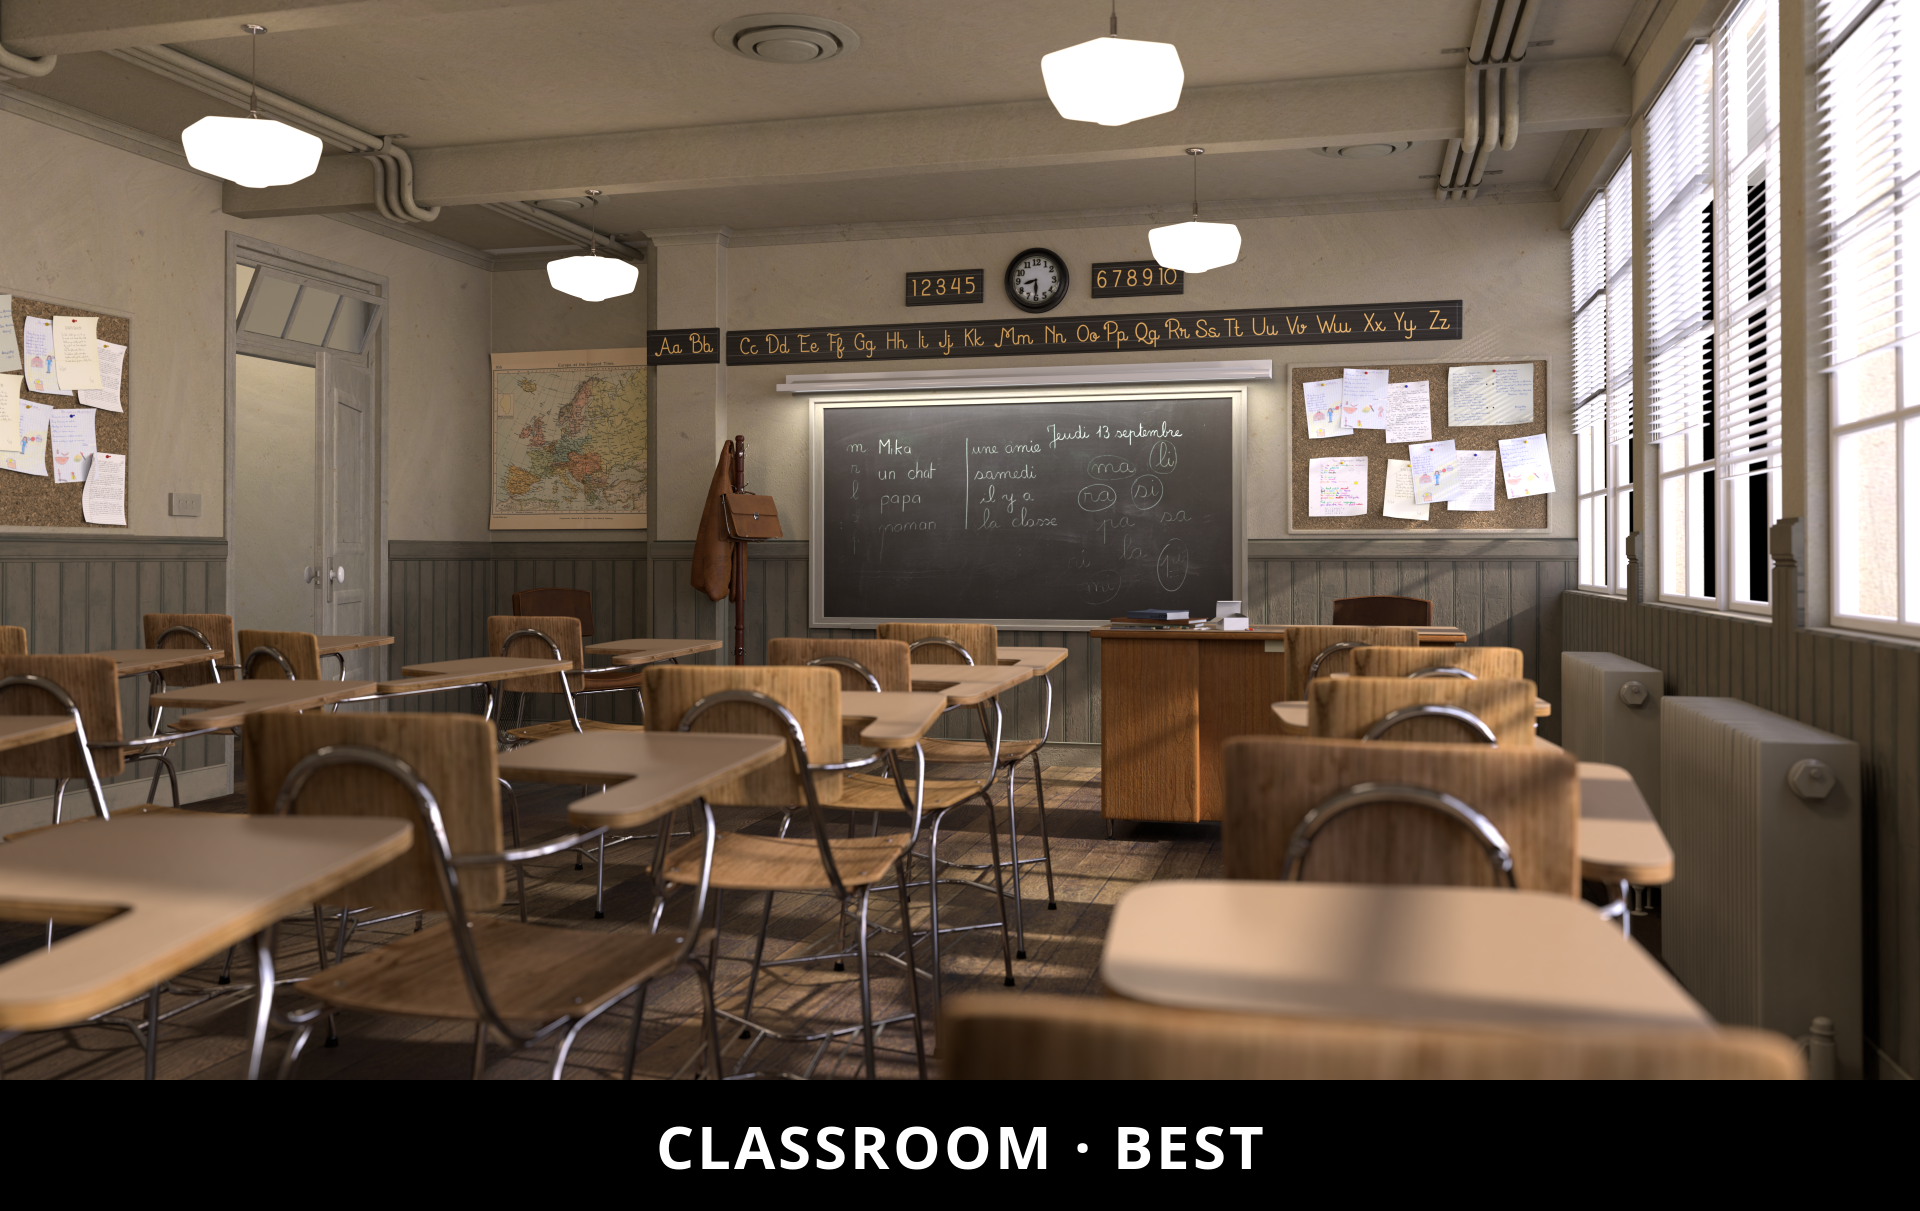
Difference Maps:
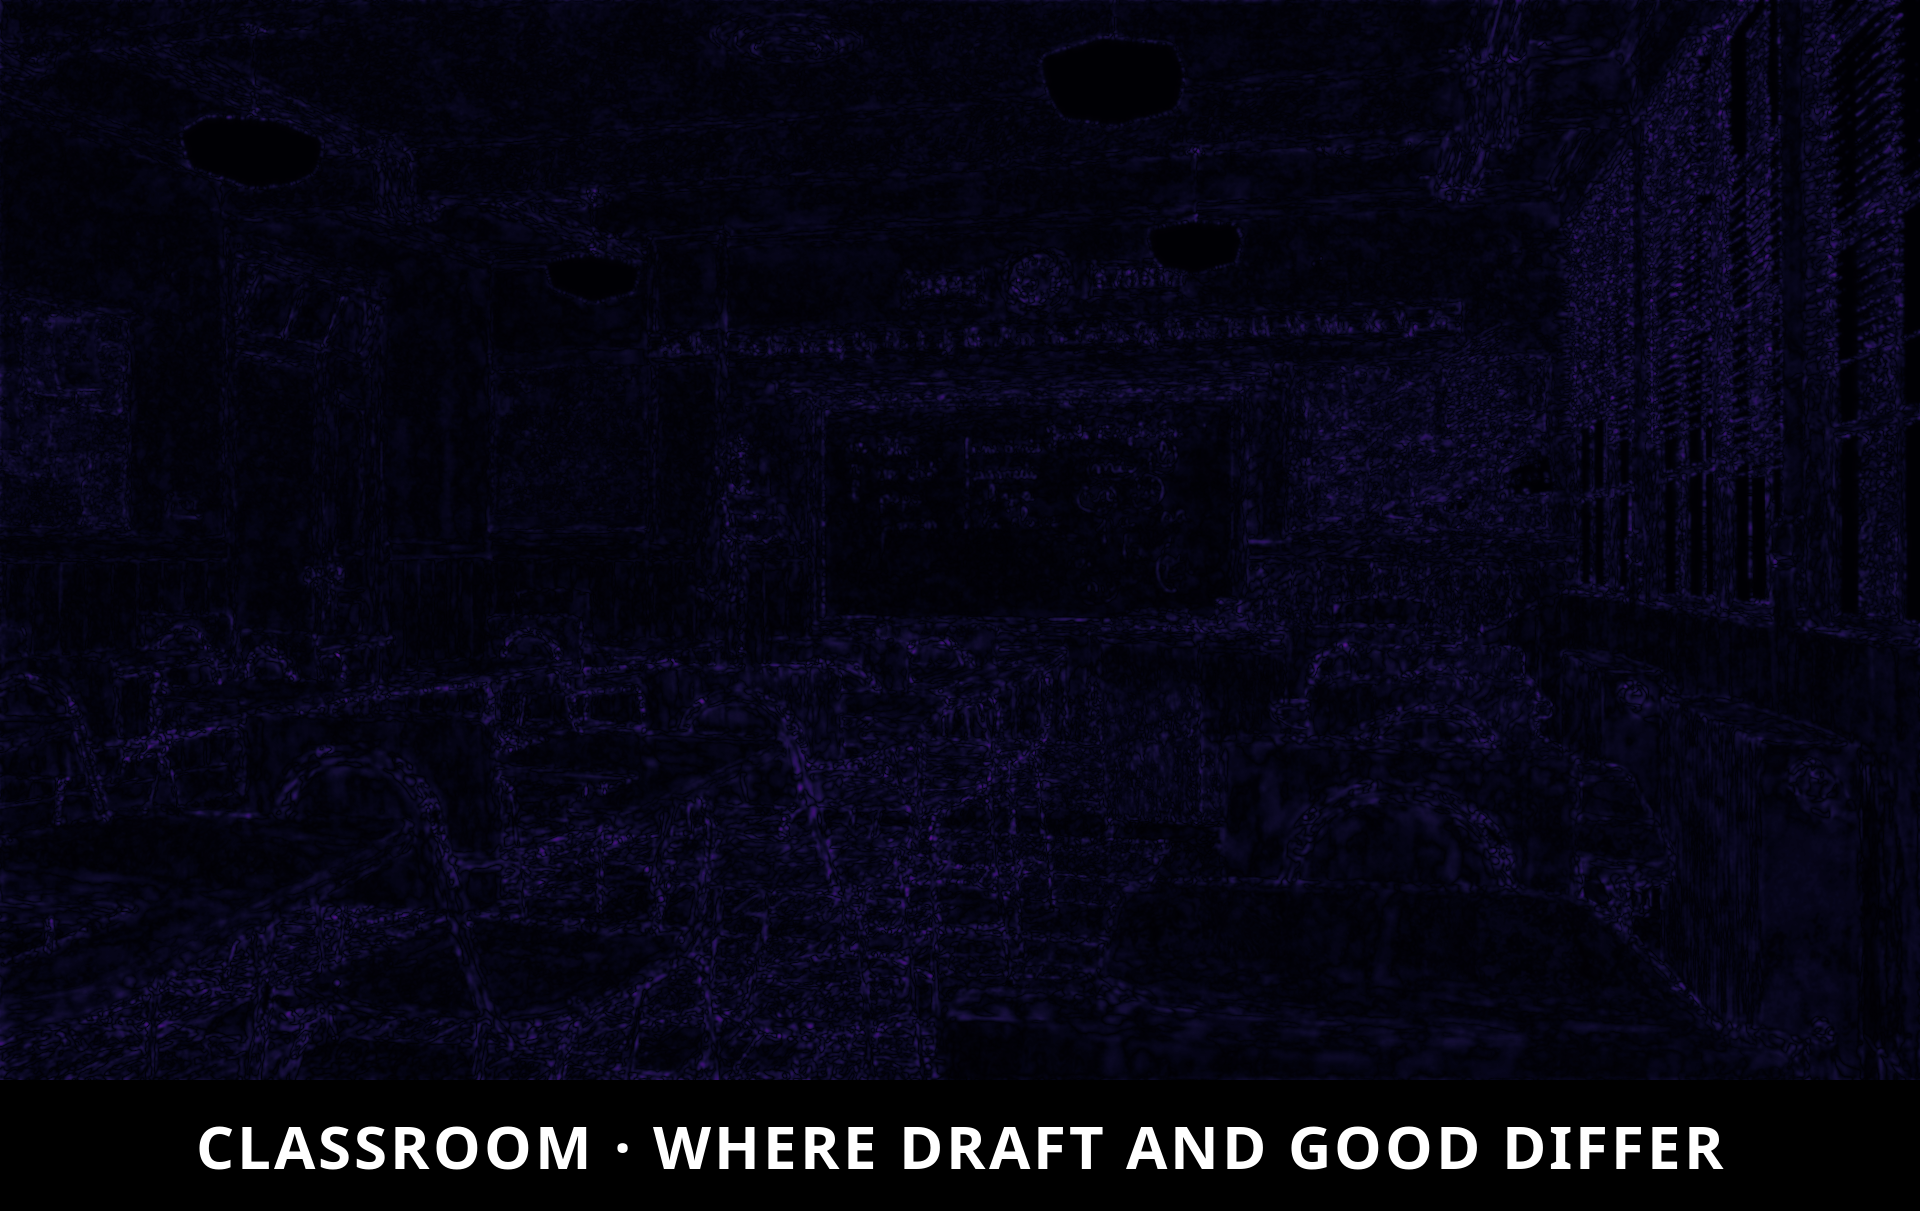
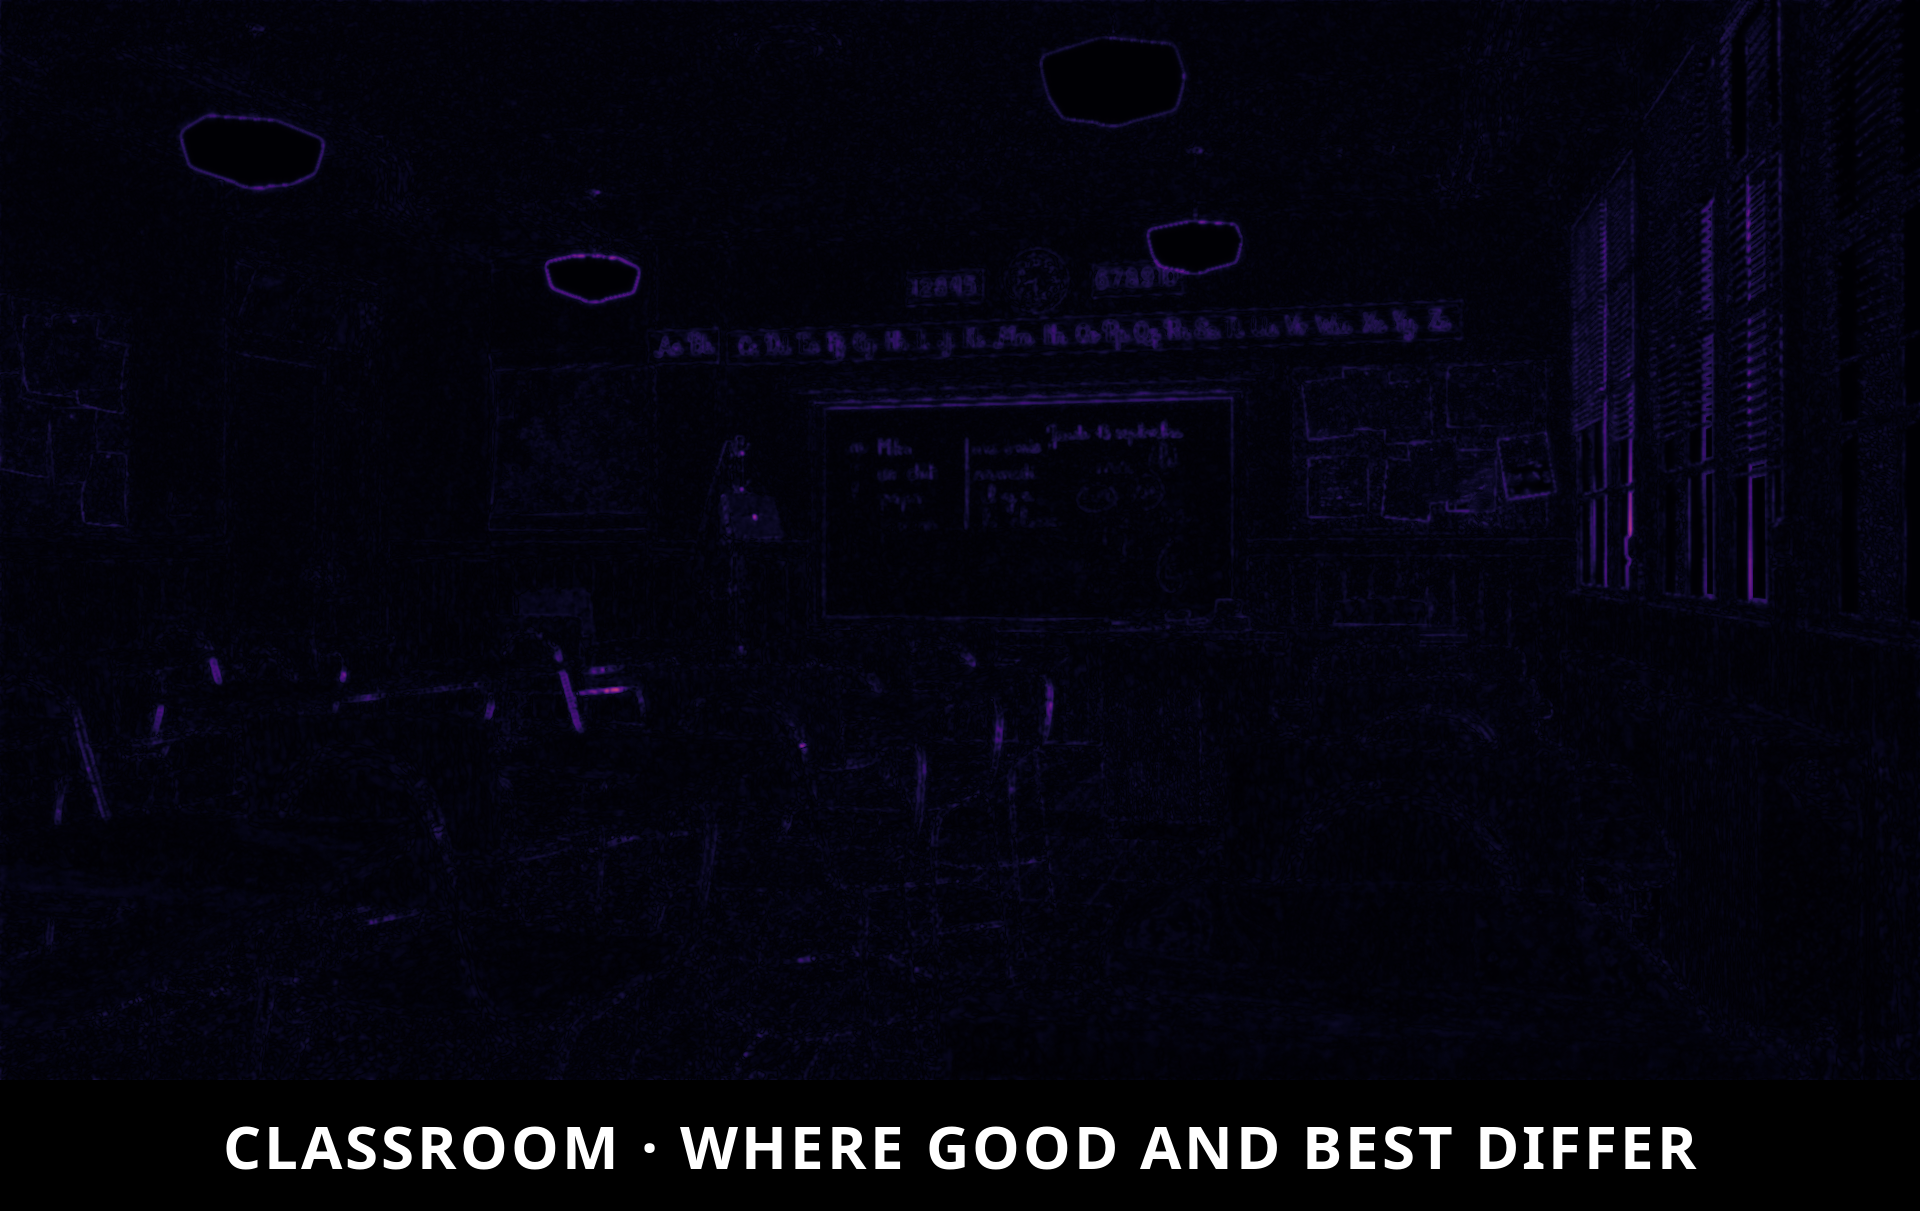
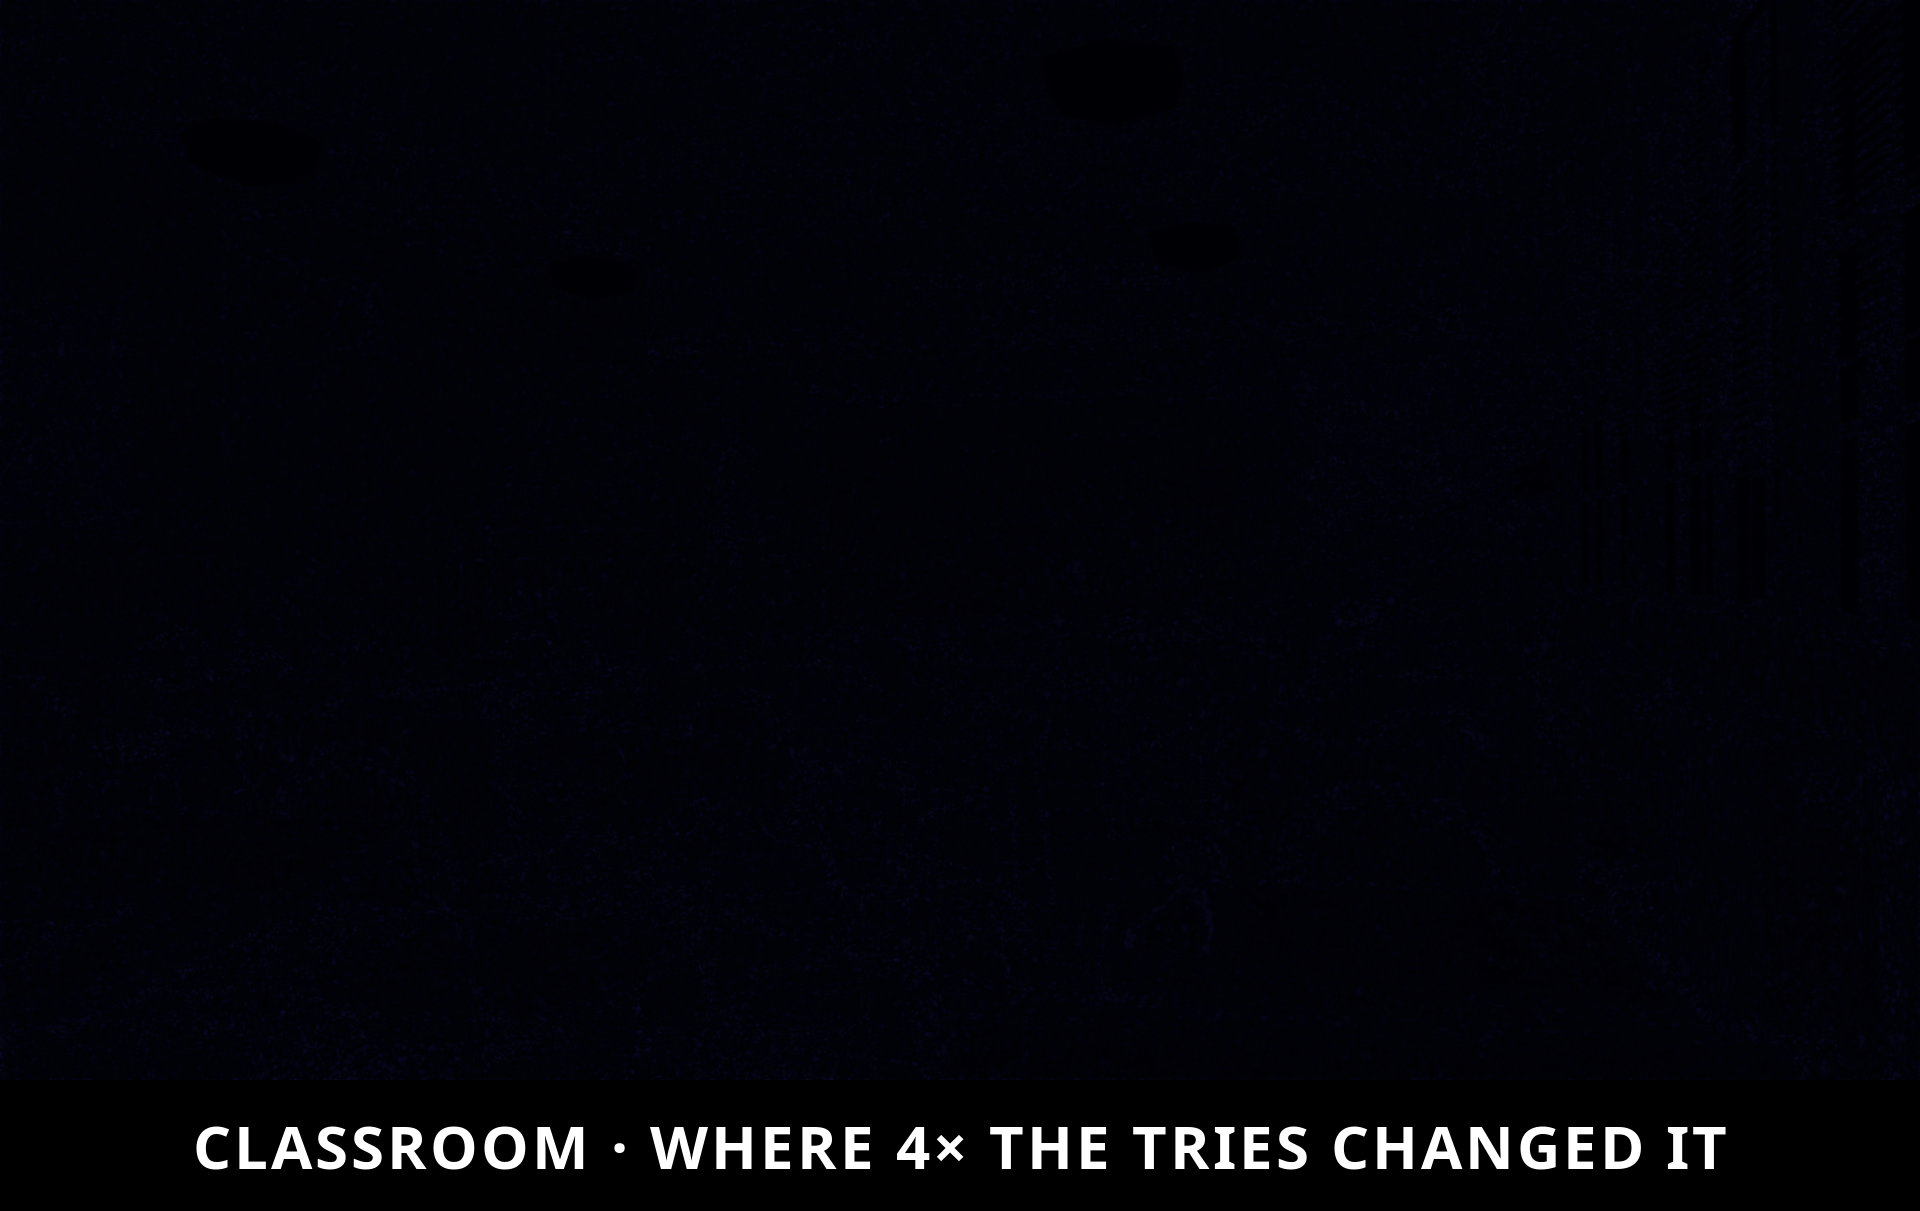
Draft to Good cleans shadow noise across 7.84% of the frame. Good to Best sharpens window blind slats across 3.36%. Notice how 4× the sample attempts yielded no meaningful gain.
Benchmark Case 3: Junk Shop Prop Clutter
Dense geometry containing tiny typography, metal edges, and wiring. Draft: 10s | Good: 48s | Best: 2m 50s
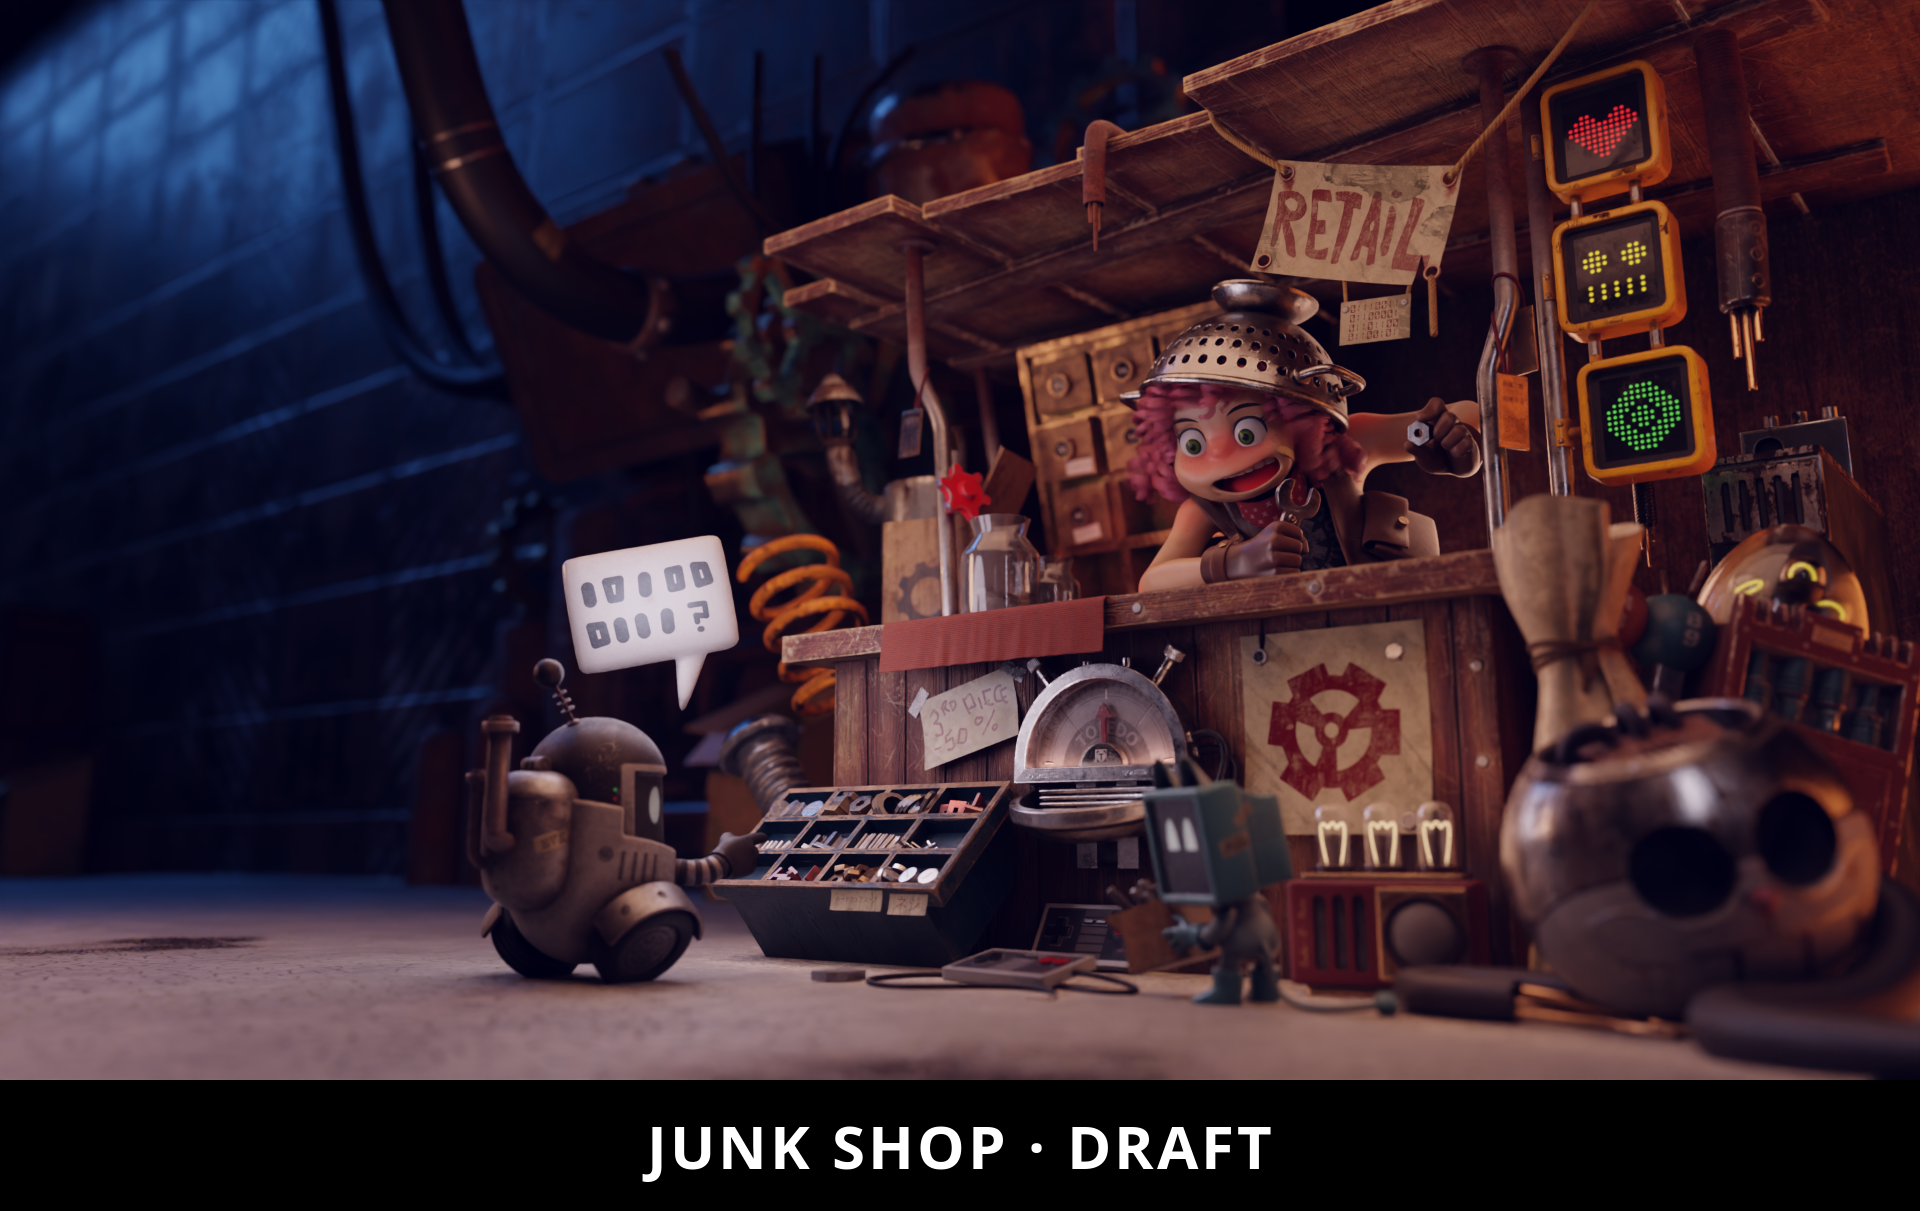
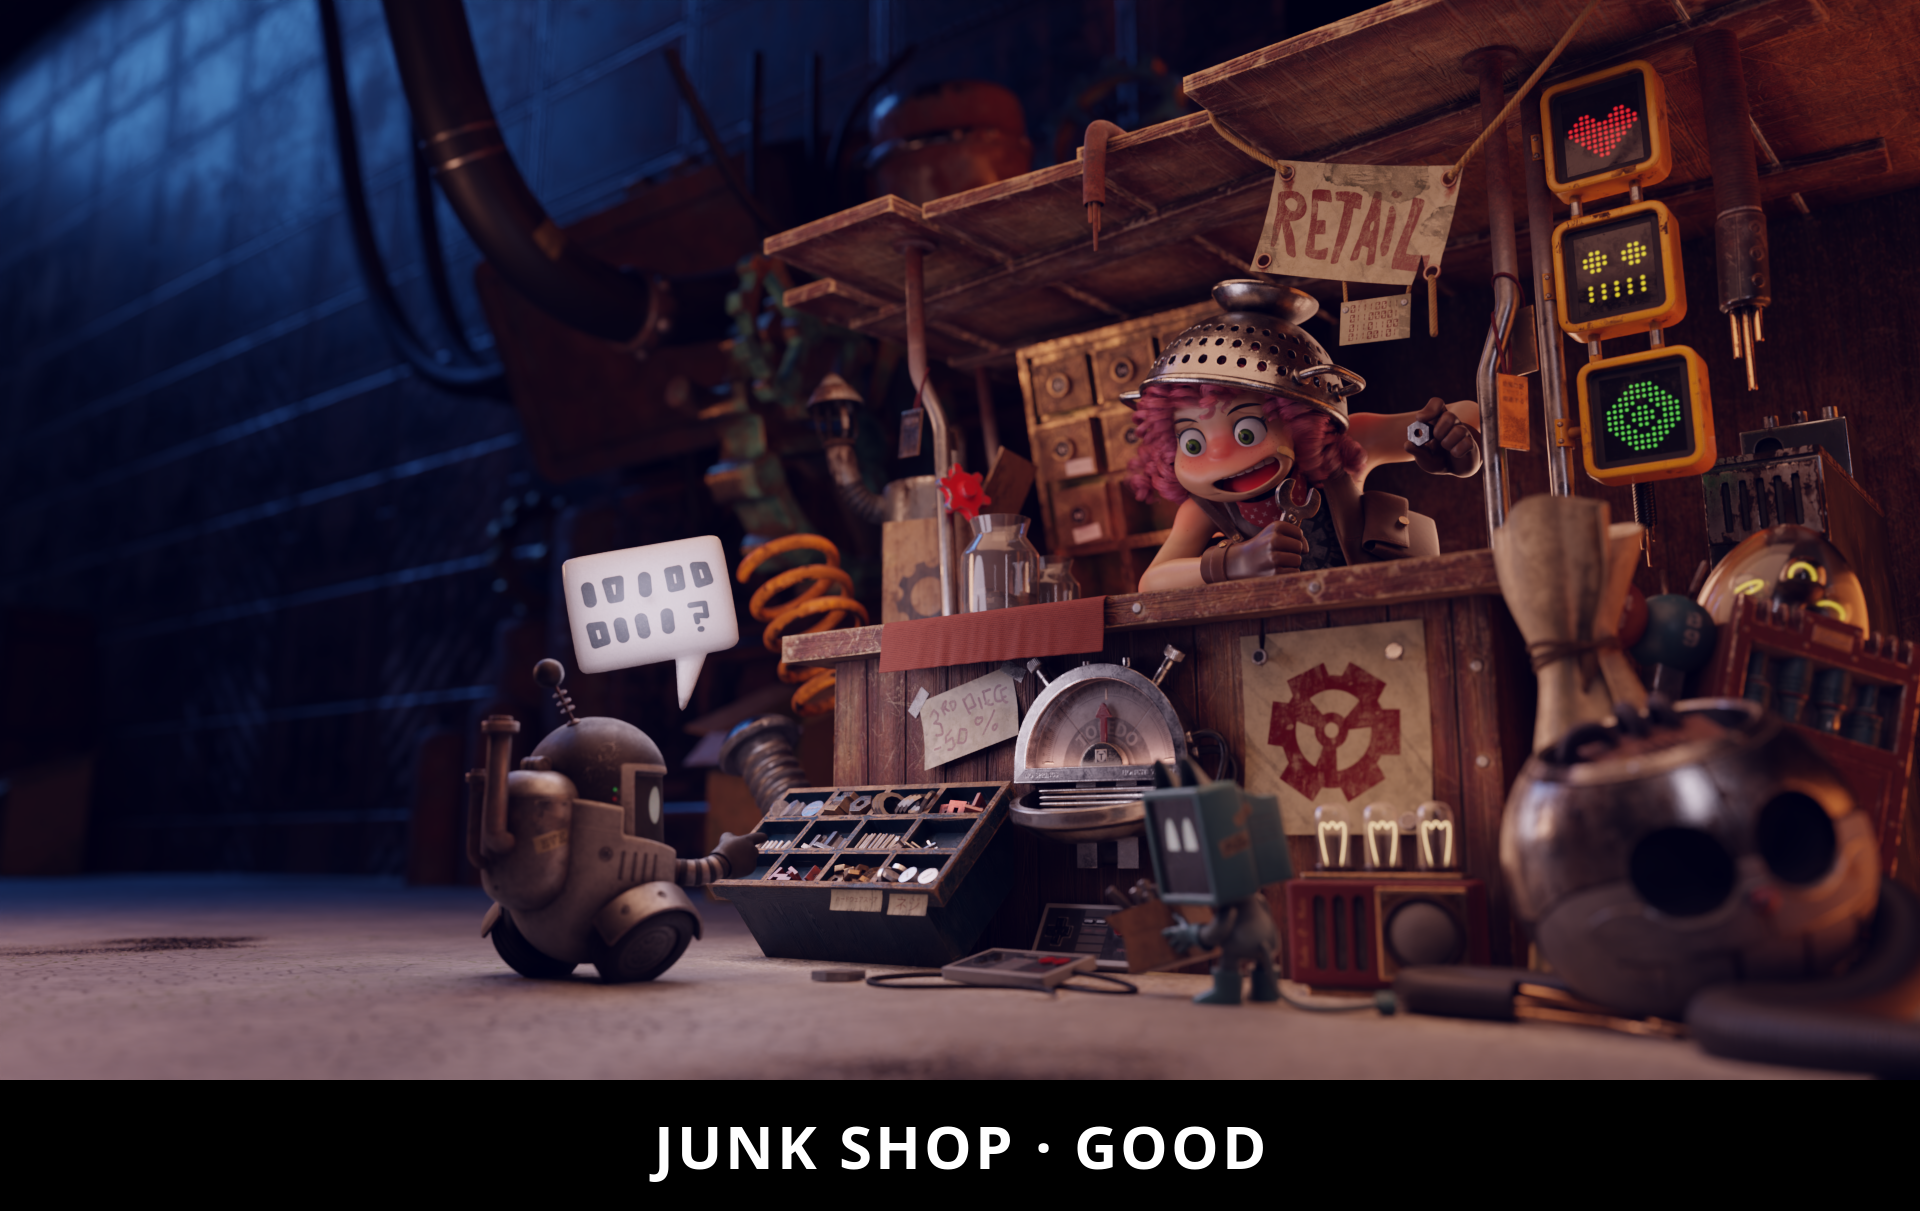

Difference Maps:
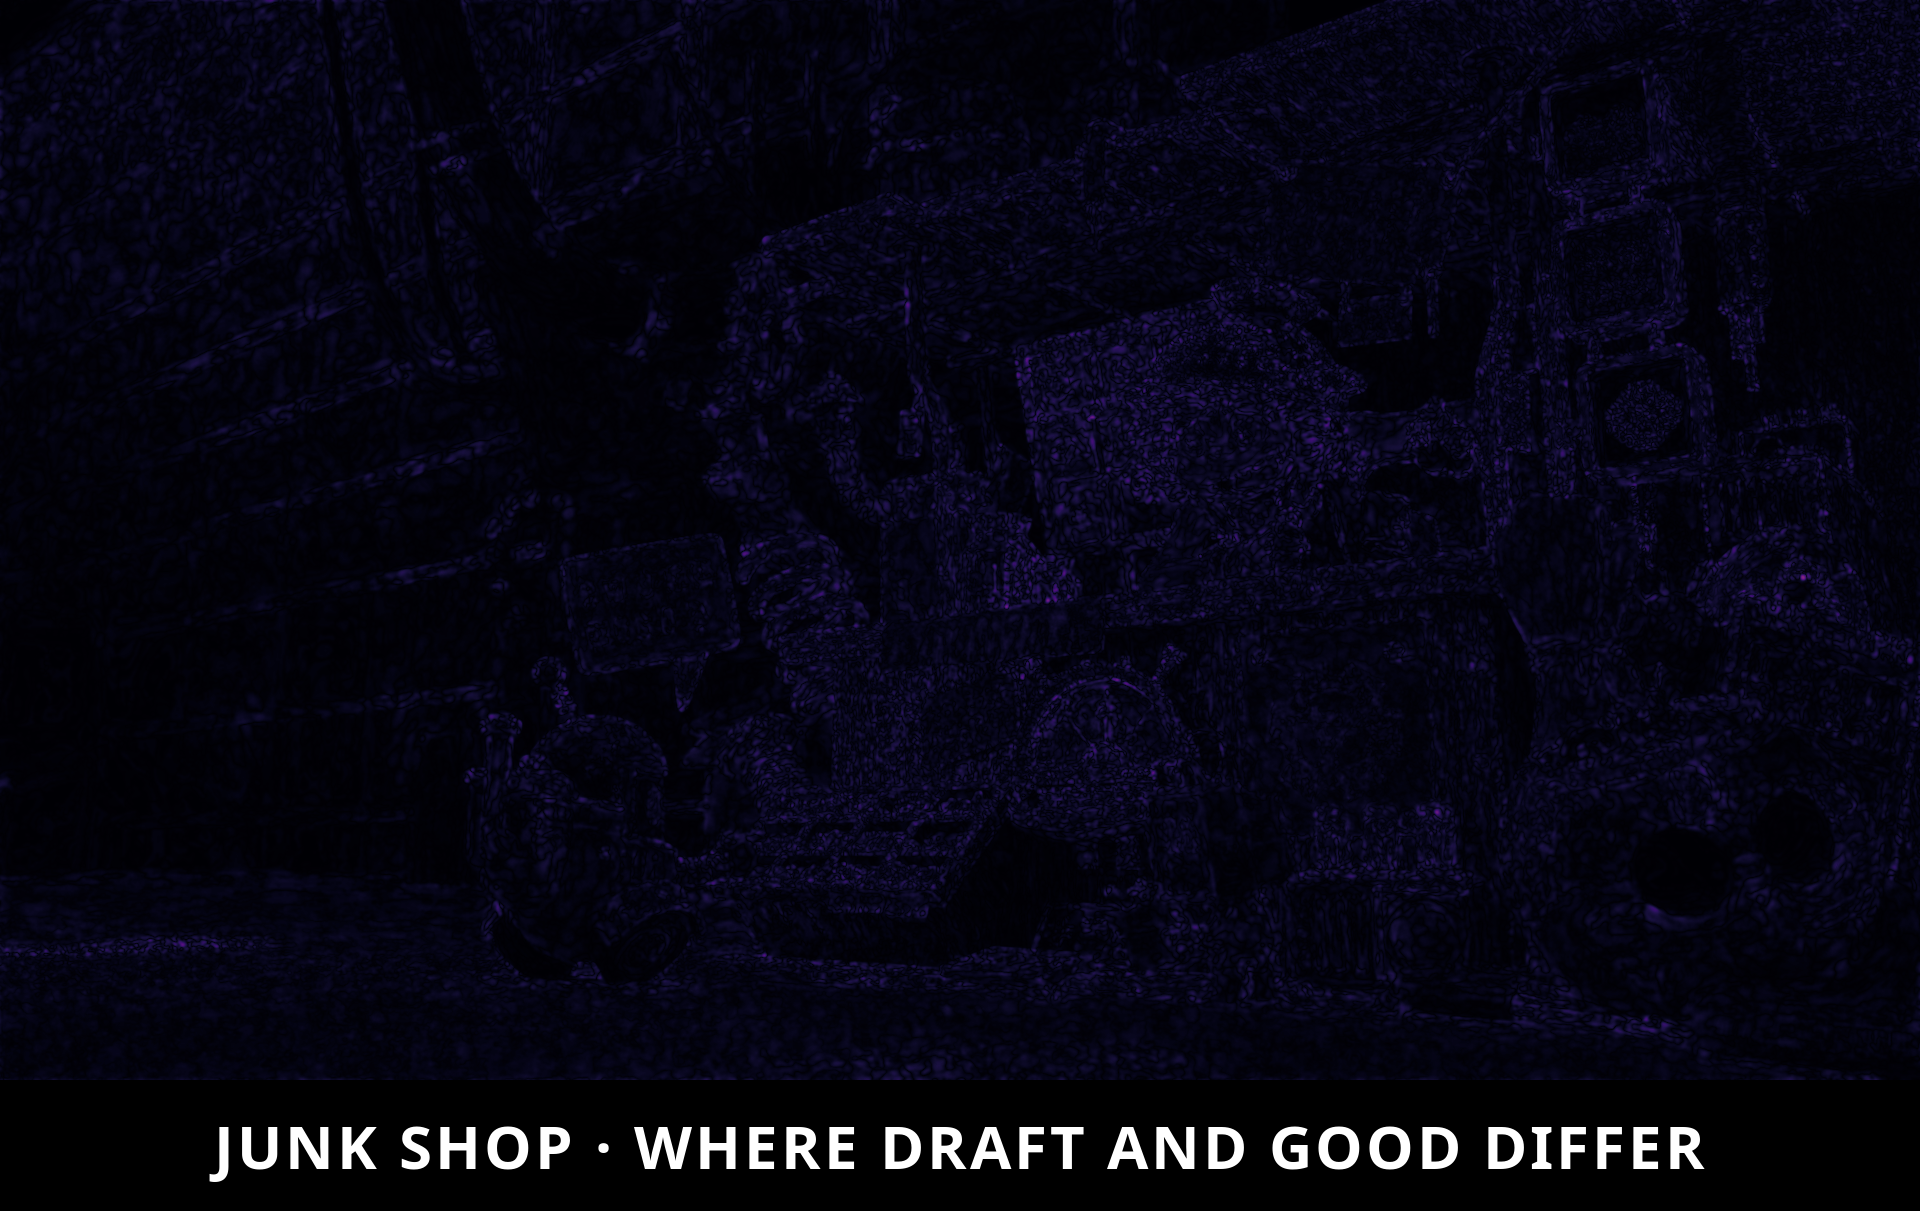
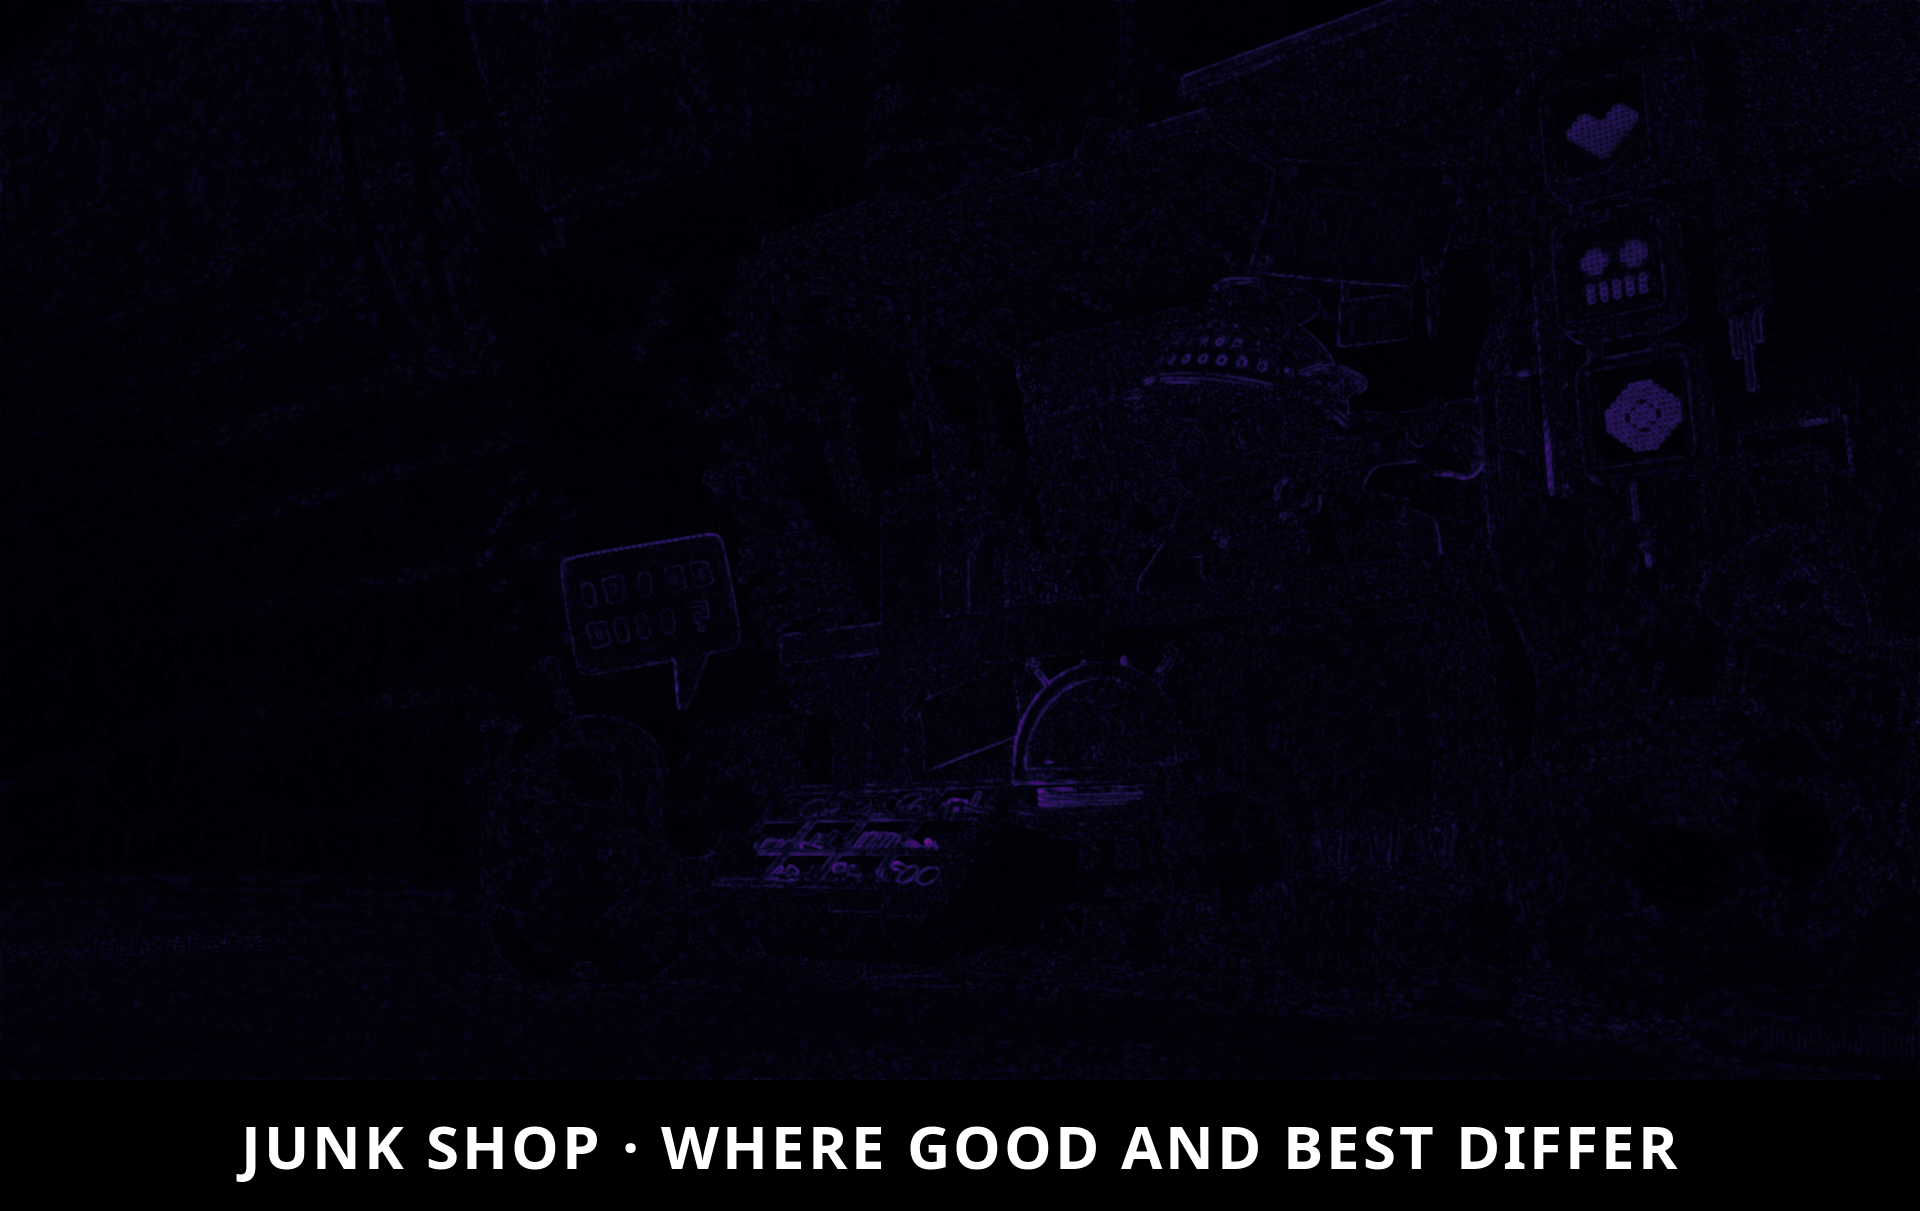
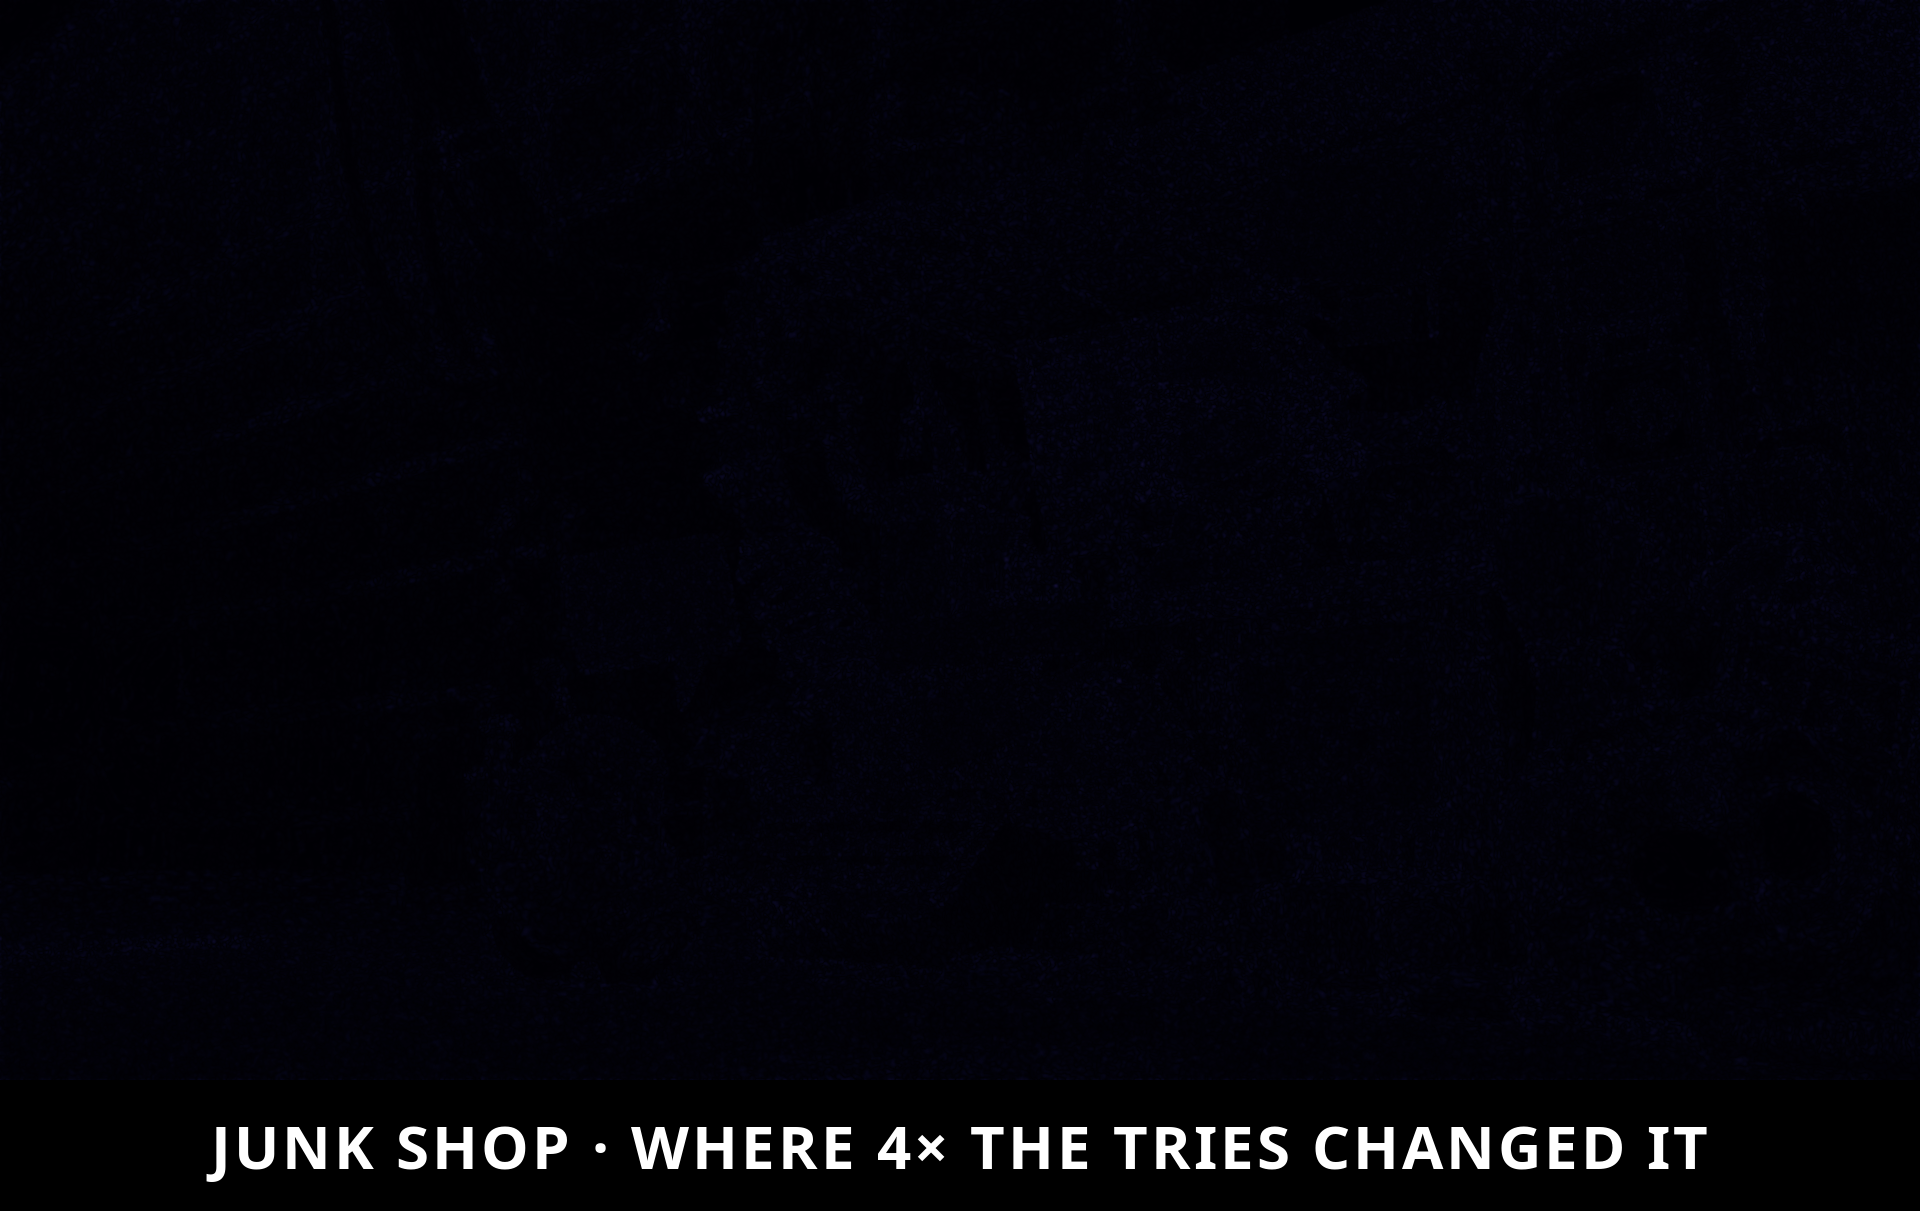
Draft is strictly for framing. Good produces delivery-ready results. Best resolves fine wire details, crisp tool profiles, and readable small decals across 2.58% of the scene.
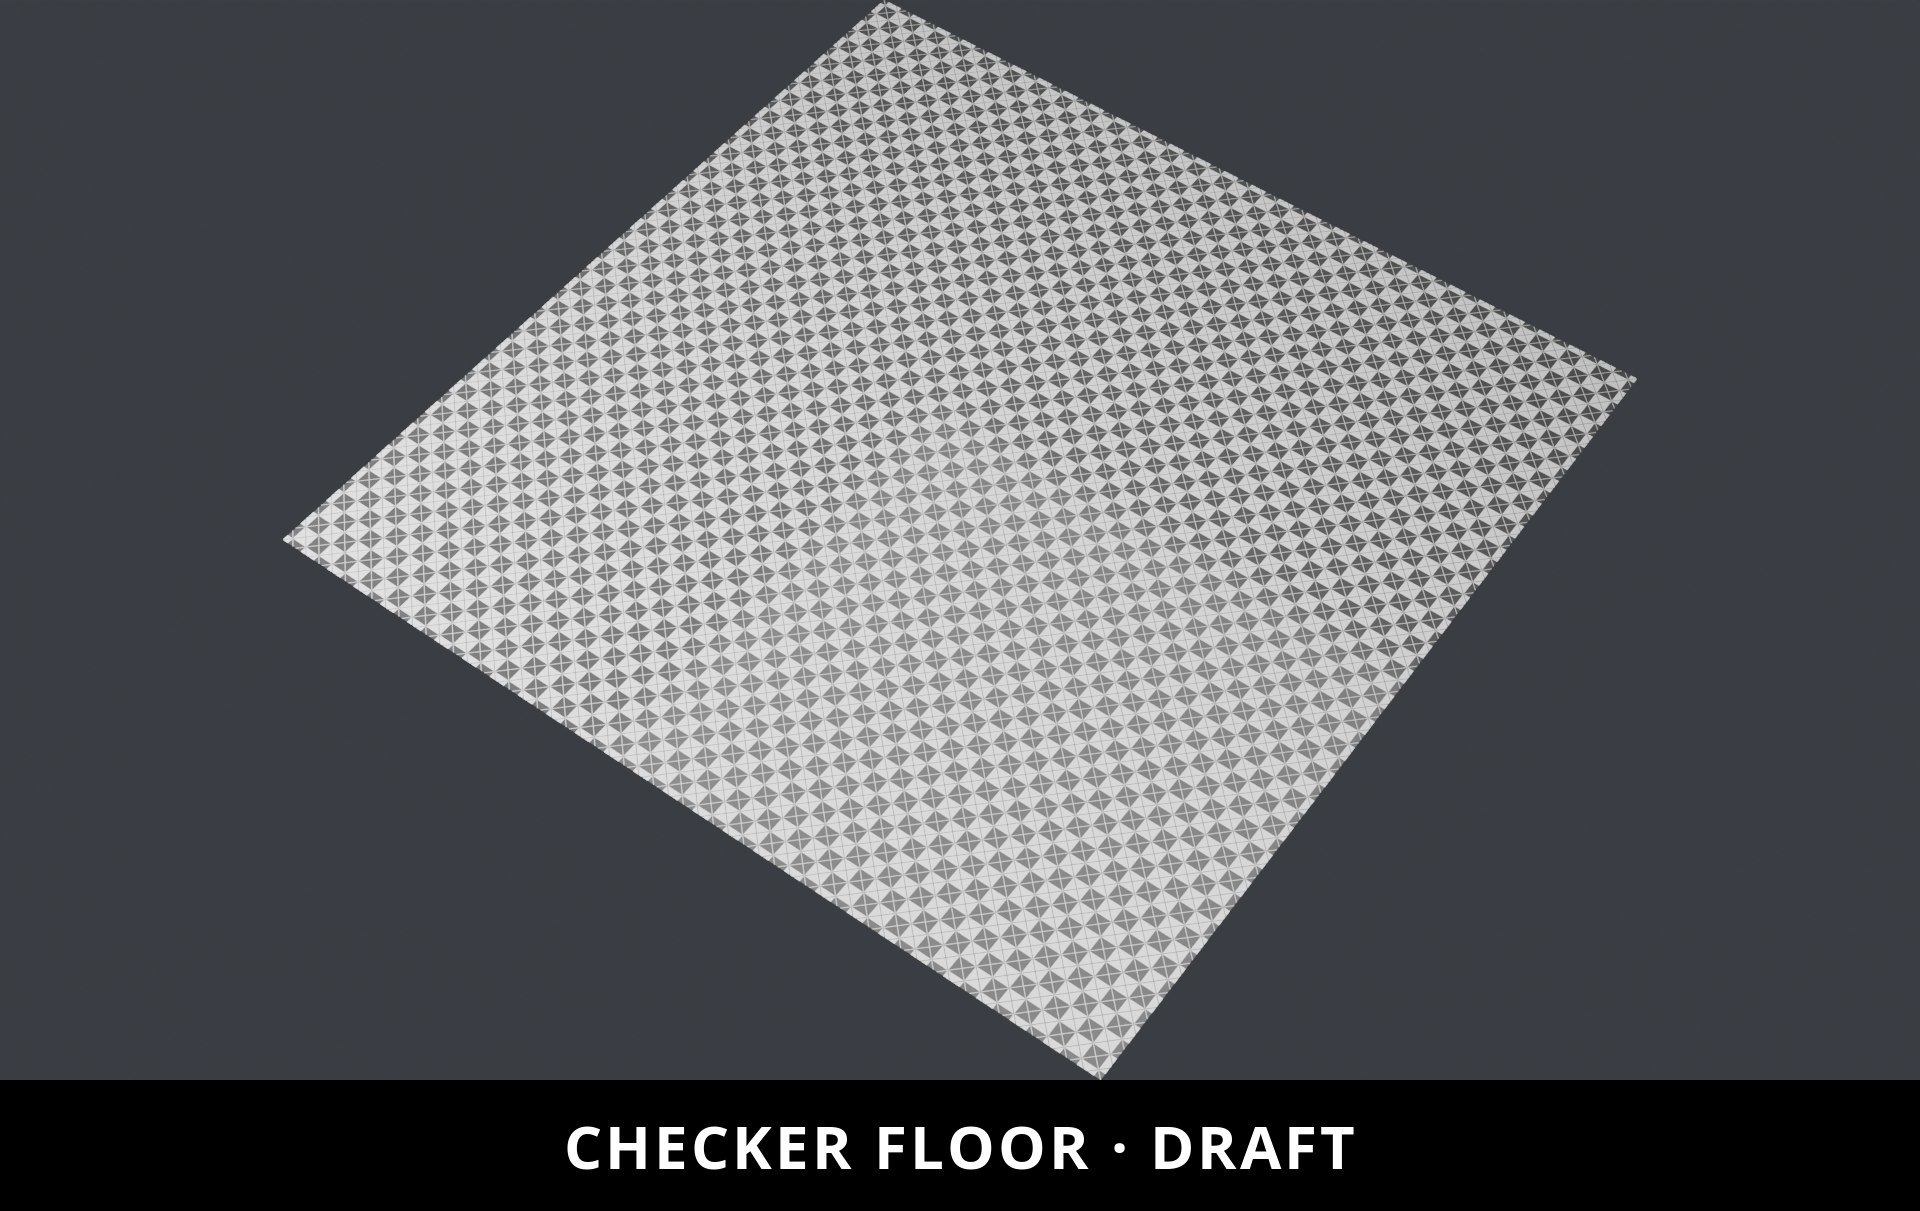
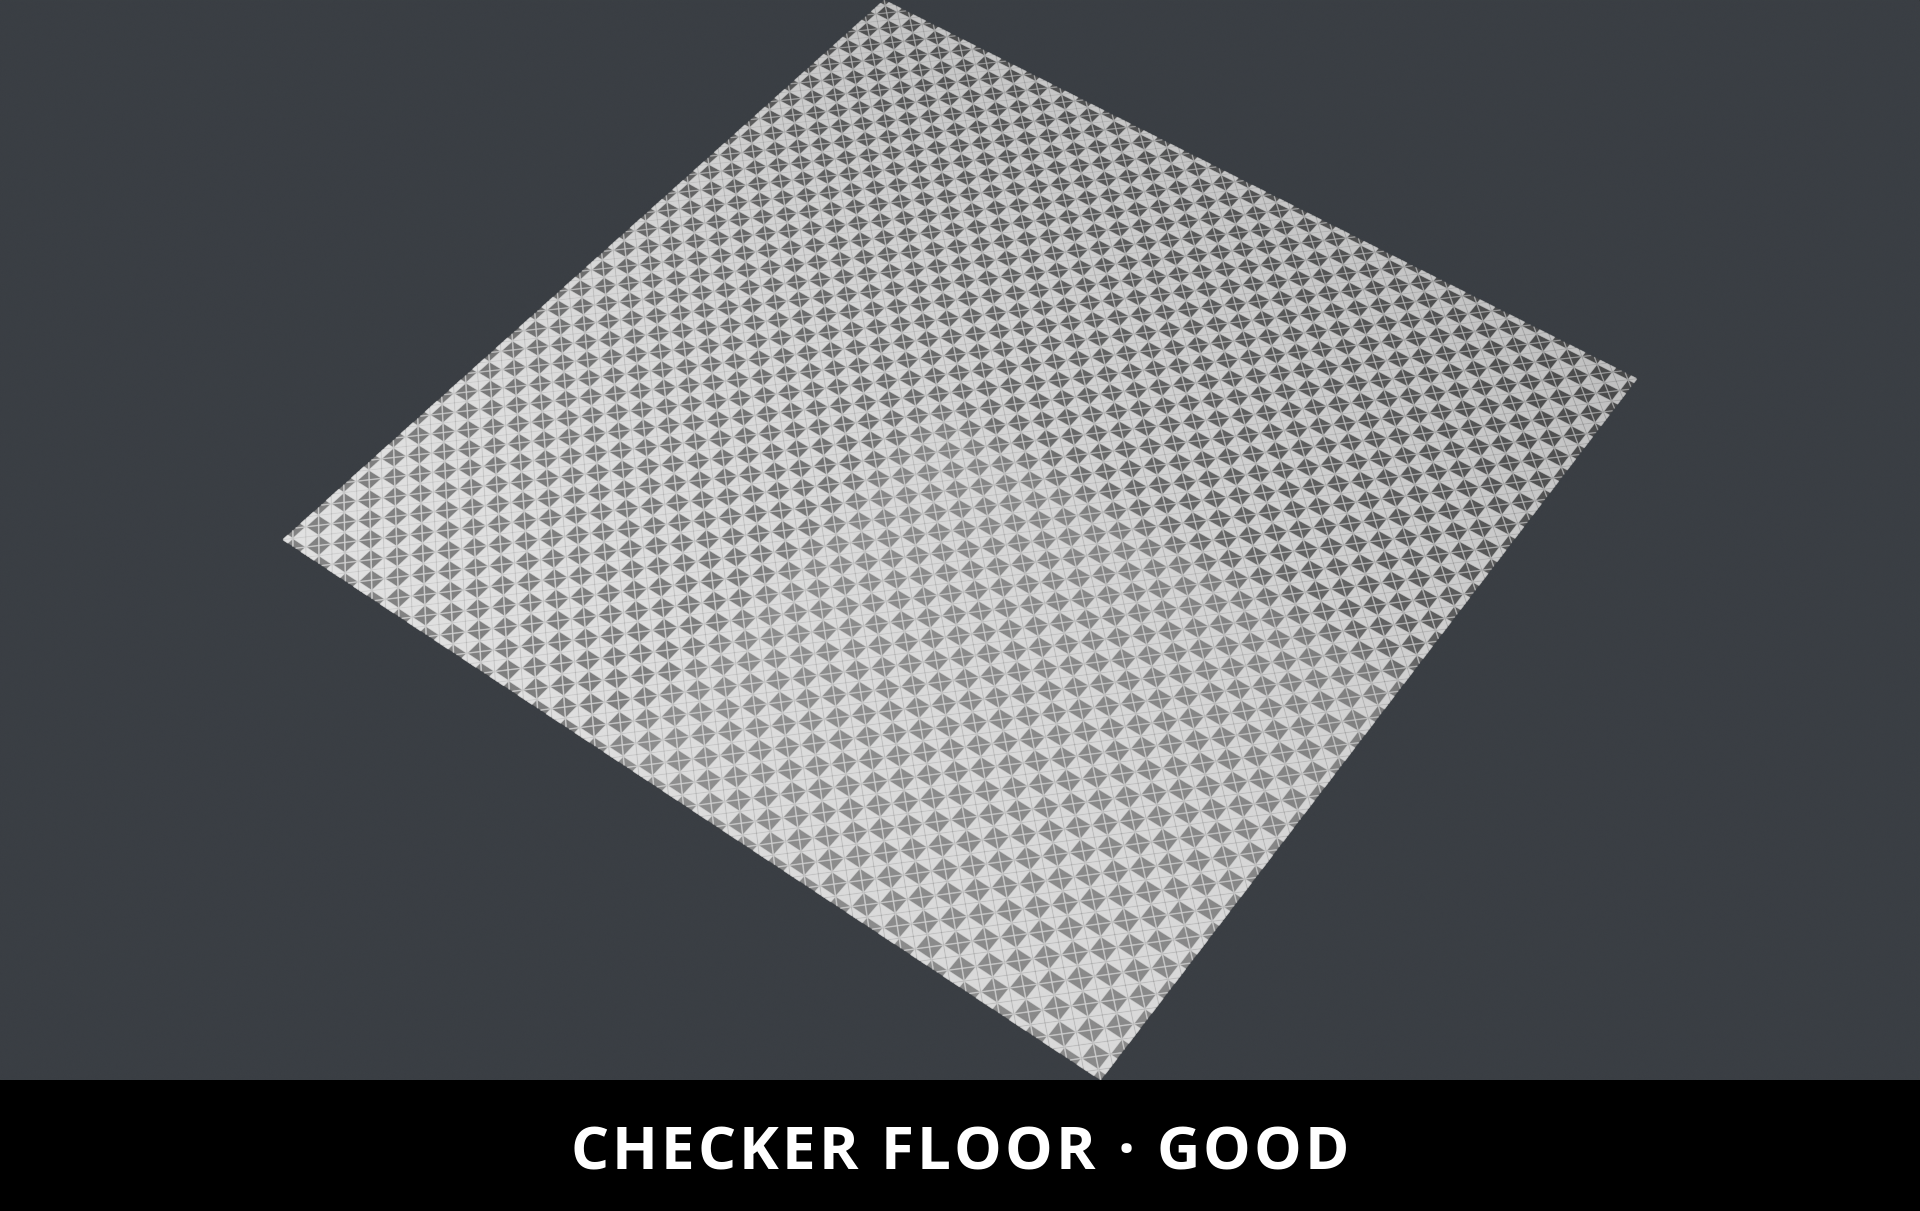
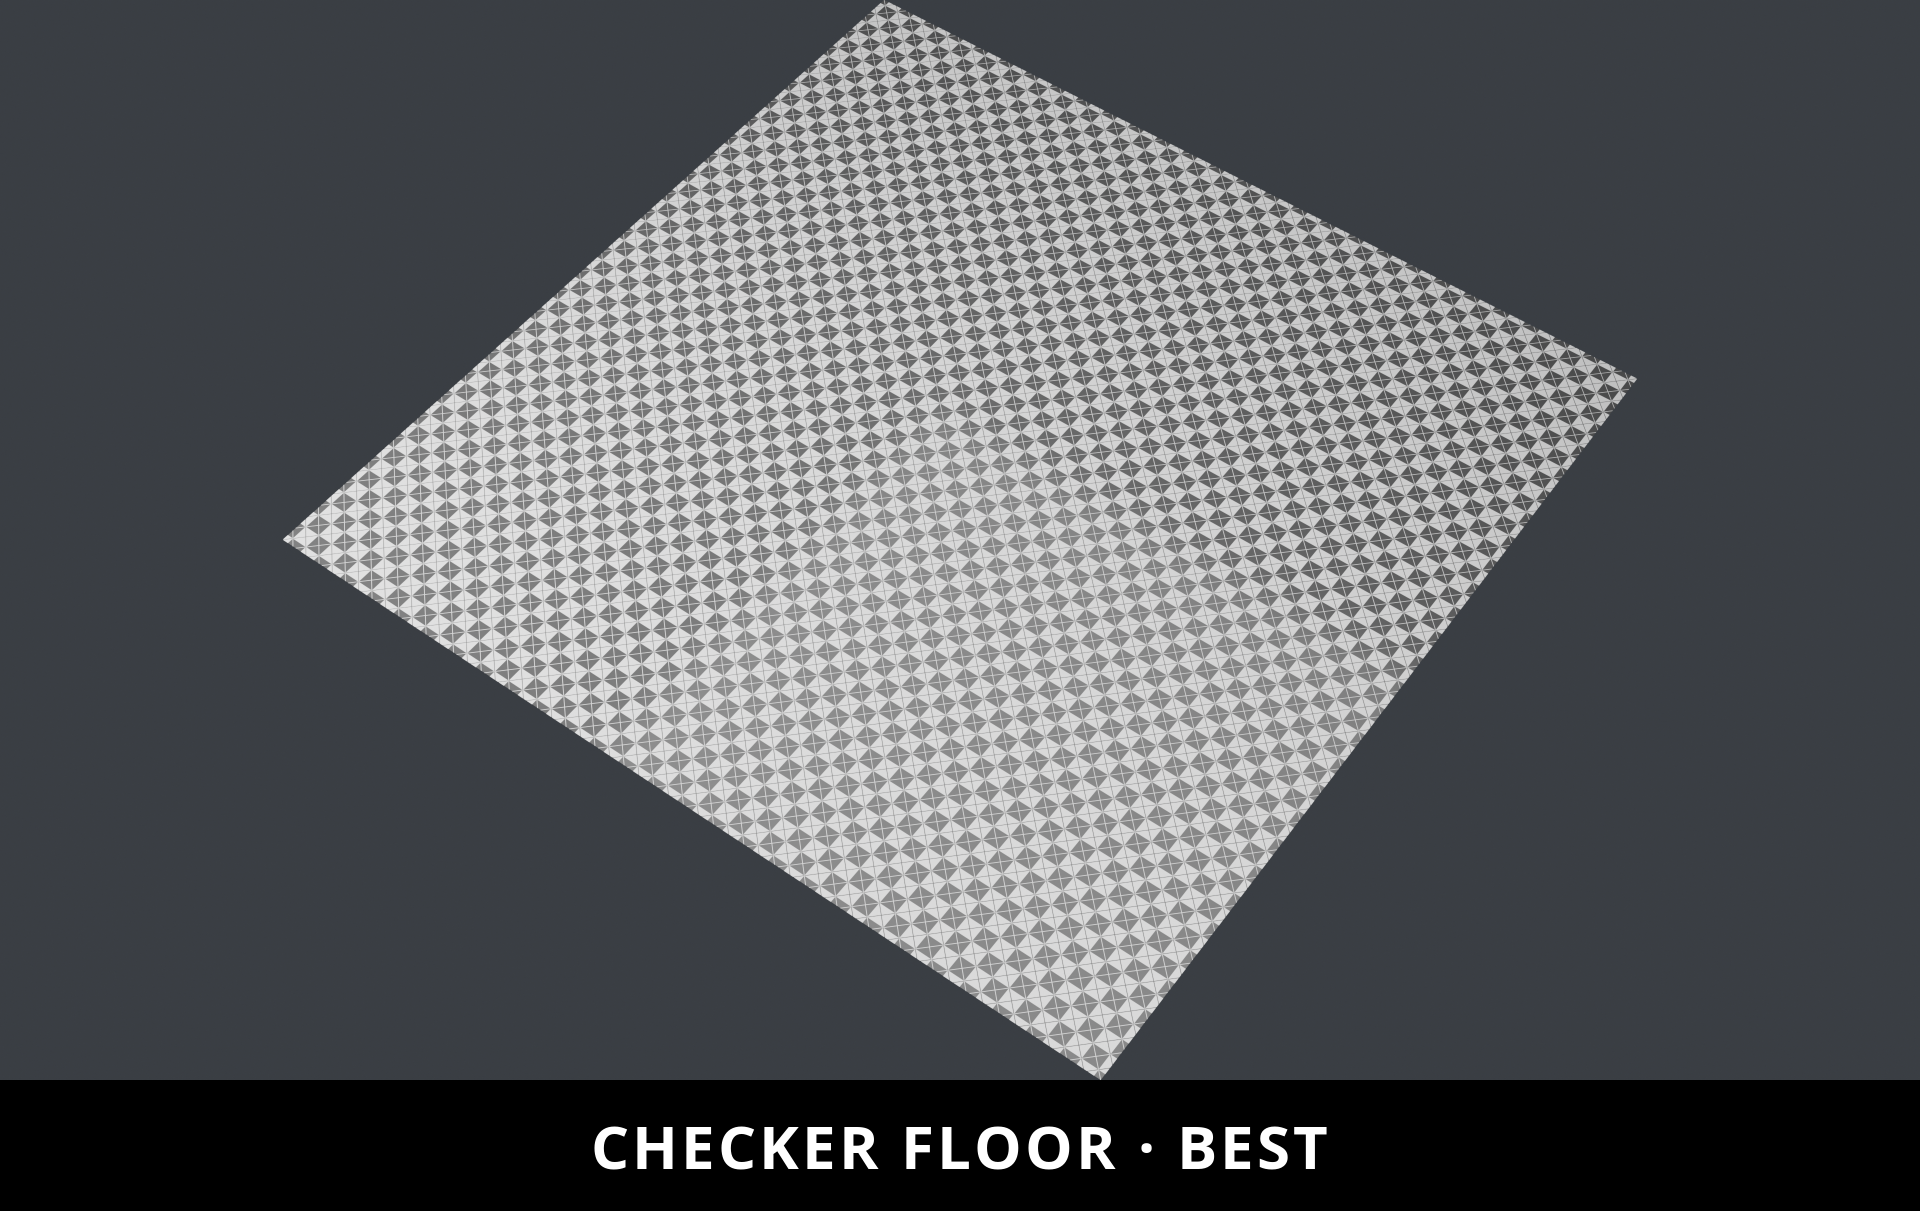
Benchmark Case 4: Checker Test Floor
Isolates high-frequency repetitive patterns that trigger moiré and aliasing. Draft: 2s | Good: 9s | Best: 28s
Difference Maps:
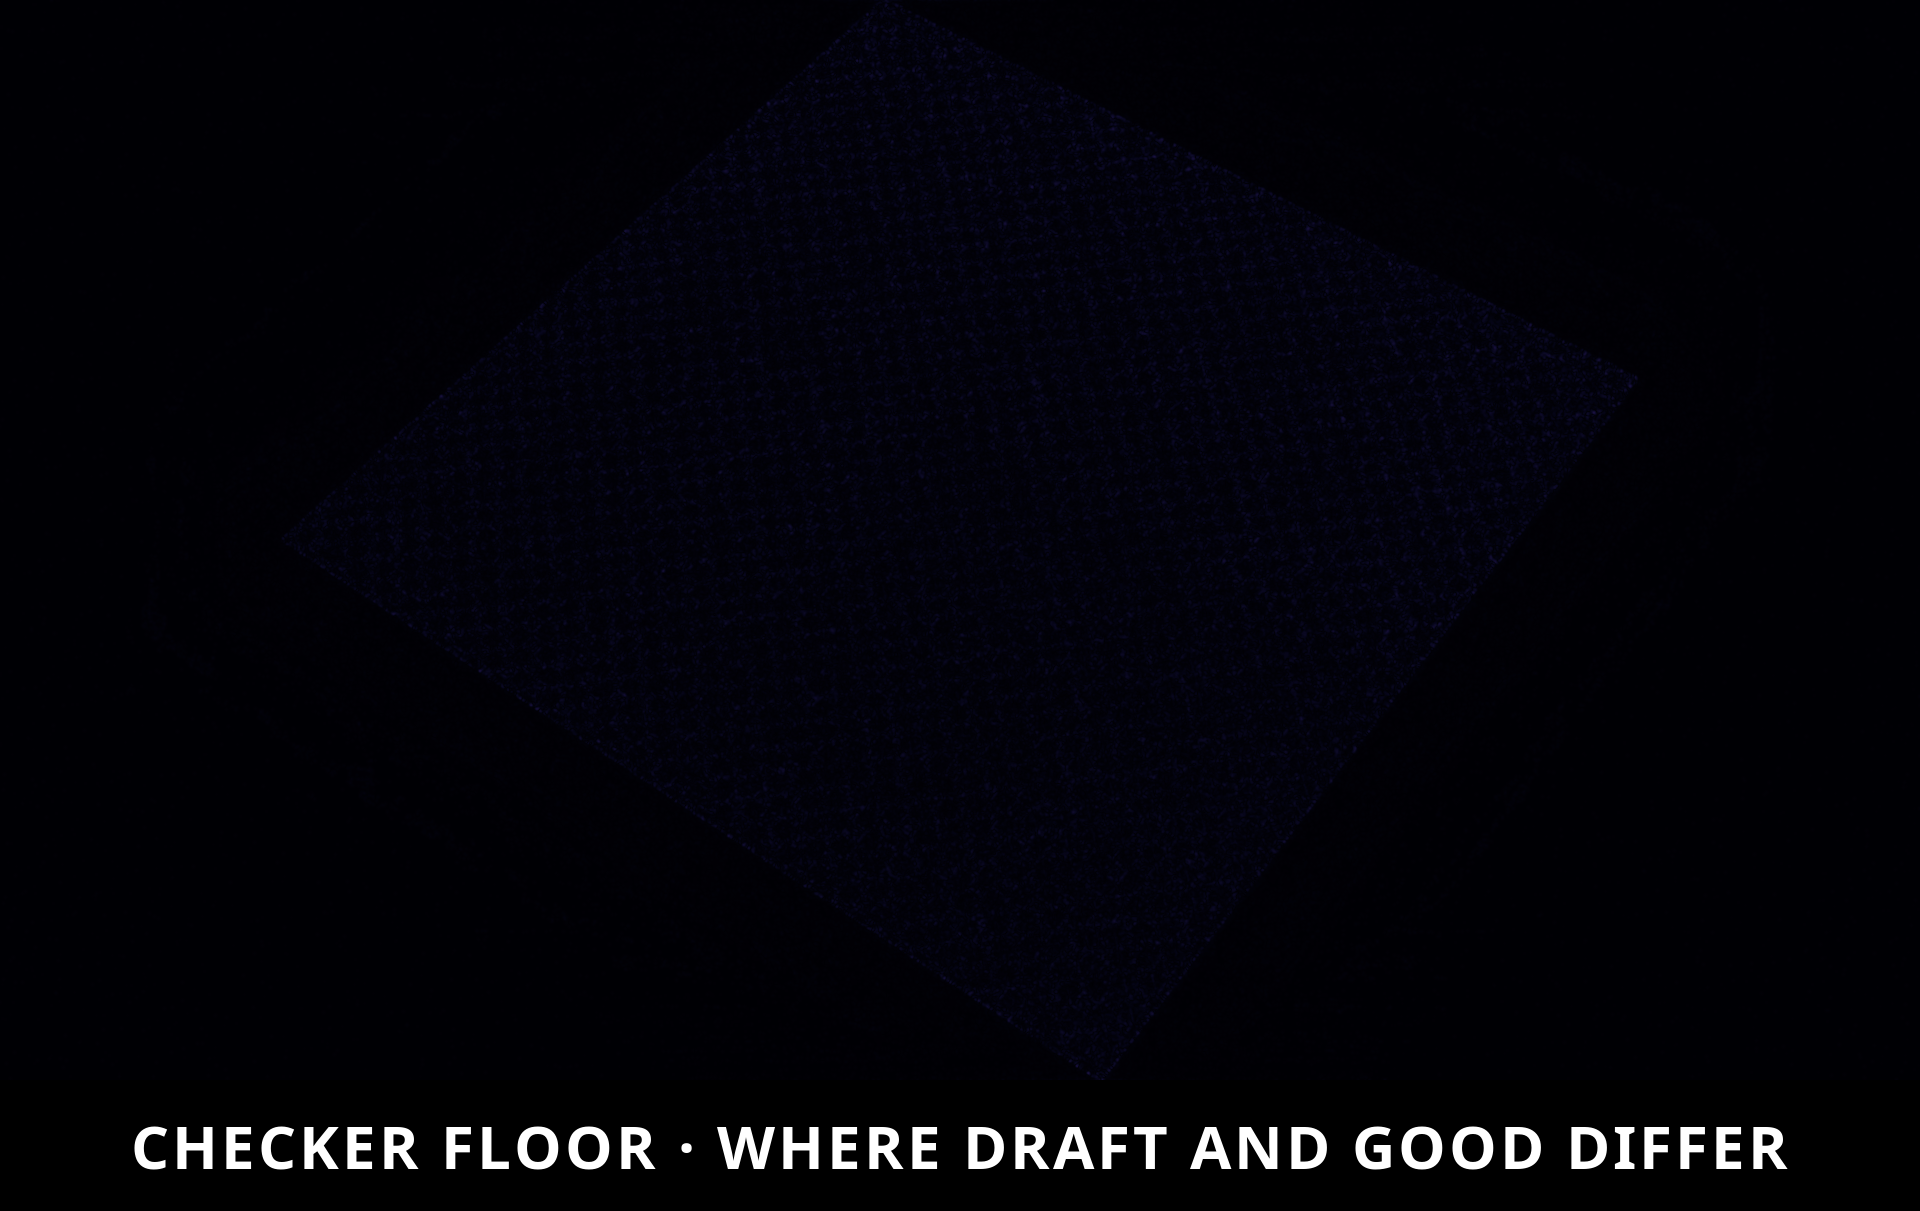
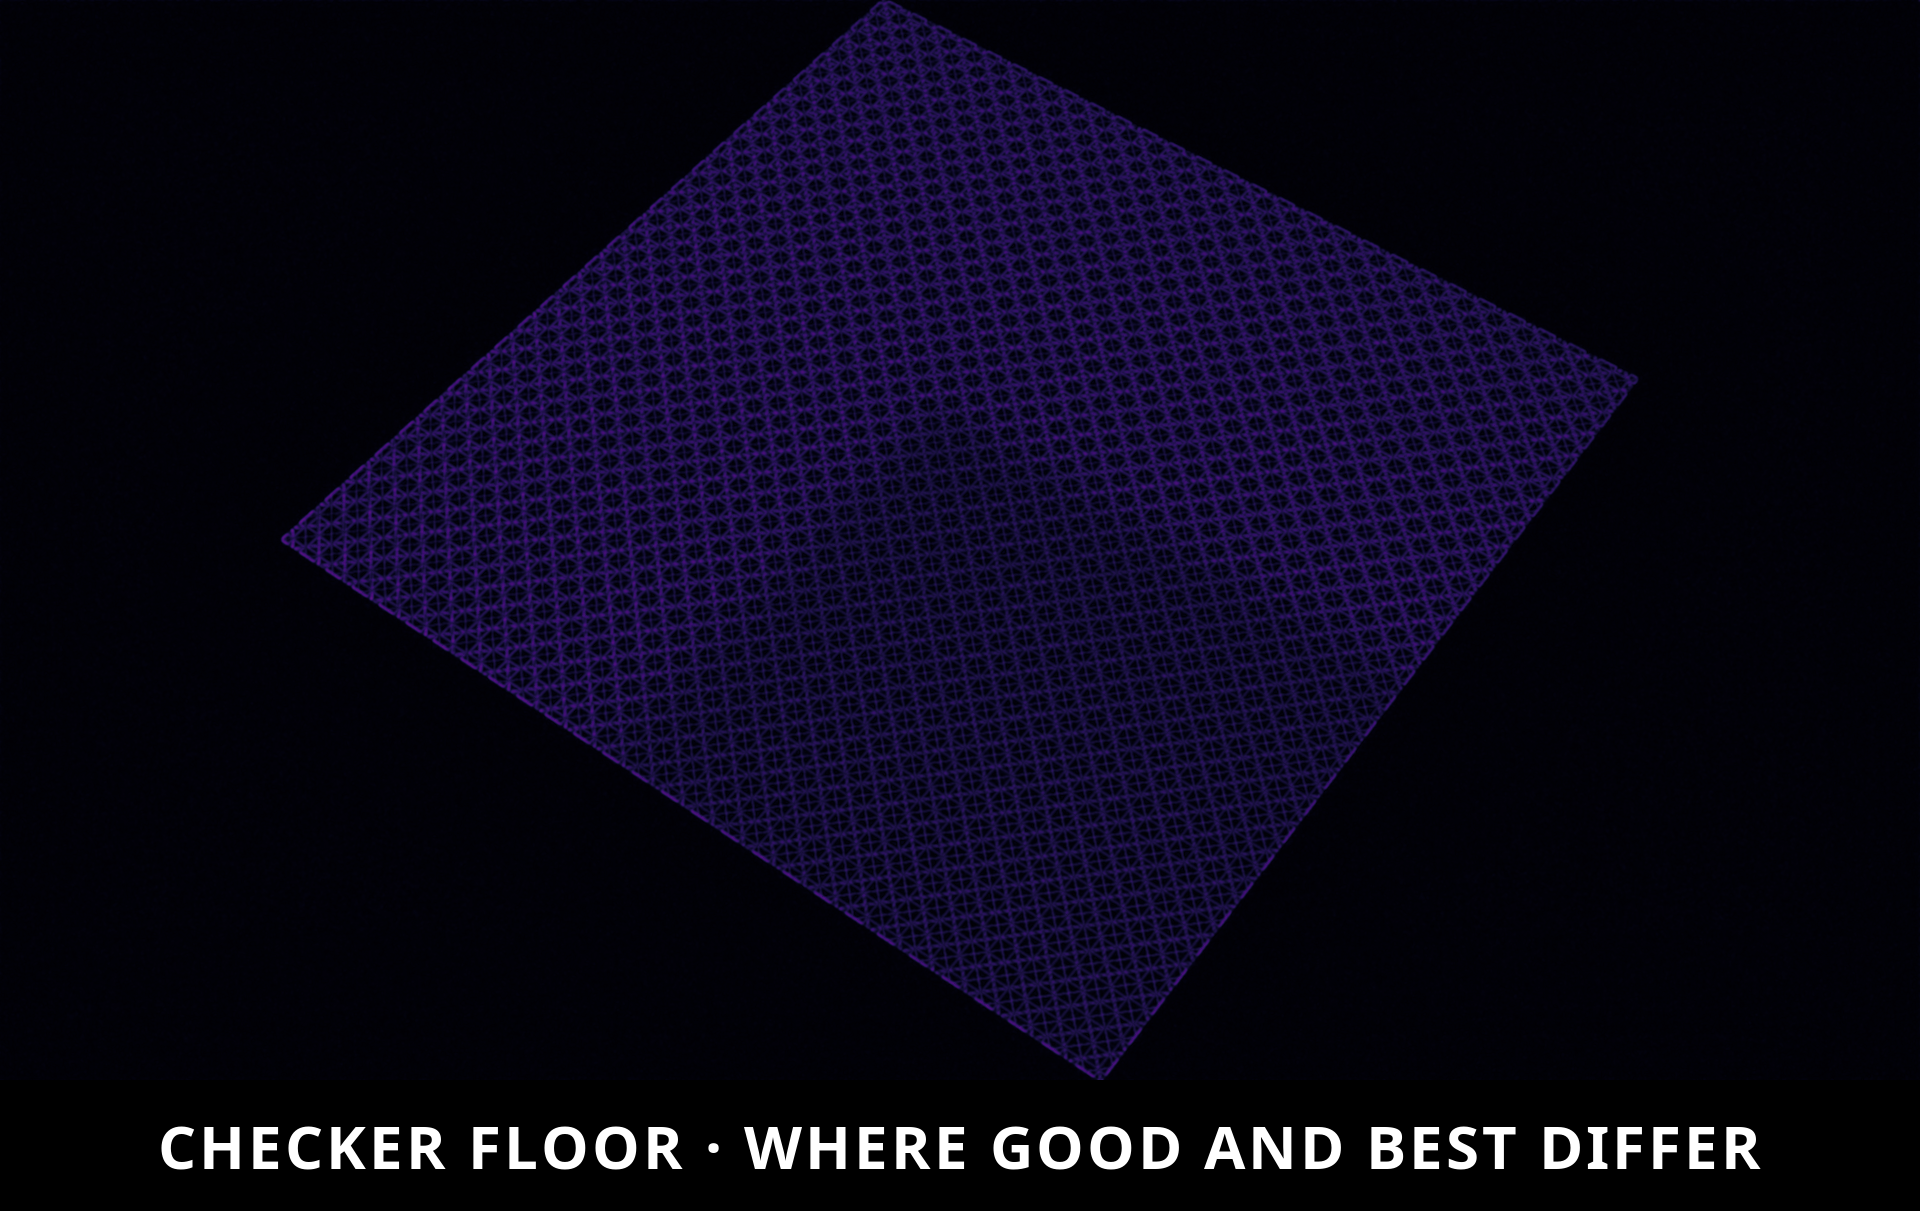
Super-sampling resolves staircasing across 12.43% of the image—dwarfing the 2.29% shift from Draft to Good. Staircasing is a resolution problem, not a sample problem—and Frame Perfect fixes it automatically. When fine lines converge toward the horizon, no amount of extra render samples can smooth them out; doubling the resolution is the only method that eliminates the shimmer.
The Trade-Off: Extra Render Time vs. Real Visual Impact
Every jump in quality costs extra render time to earn a cleaner image. To show where that extra compute actually went, the standout visual improvement in each row is bolded:
| Scene | Draft → Good Time | Visual Change | Good → Best Time | Visual Change |
|---|---|---|---|---|
| Ukulele on Backdrop | 3.9× | 0.61% | 3.8× | 0.86% |
| Classroom | 12.9× | 7.84% | 4.0× | 3.36% |
| Junk Shop | 5.0× | 6.91% | 3.5× | 2.58% |
| Checker Test Floor | 4.6× | 2.29% | 3.0× | 12.43% |
"Visual Change" measures frame areas shifting color by more than 4 steps out of 255 (filtering out imperceptible dithering).
The Science Behind the Engine Settings
Noise Threshold: Lowering the noise threshold from 0.01 down to 0.005 on the ukulele increased render time by +136% while altering only 607 pixels out of 2.7 million. Frame Perfect avoids adjustments that waste render time without delivering visible quality gains.
Sample Cap Optimization: Best maintains the same sample cap as Good because super-sampling naturally handles anti-aliasing. Quadrupling the sample cap from 4,096 to 16,384 under super-sampling yielded minimal visible impact:
| Scene | Extra Time Cost | Actual Visual Delta |
|---|---|---|
| Ukulele on Backdrop | +52% | 0.007% |
| Classroom | +44% | 0.03% |
| Junk Shop | +35% | 0.11% |
| Checker Test Floor | +47% | 0.0003% (6 pixels out of 2M) |
Why the Third Map is Always Black: Quadrupling your sample count added nearly 50% more render time across every test scene, but changed as few as six pixels out of two million. Frame Perfect locks sample limits at proven efficiency caps so you never waste GPU hours on invisible calculations.
Extreme sample counts only benefit edge cases: thick absorption glass, complex caustics, or dark interiors lit through single slits. When you encounter those, the control is readily accessible under The Details → Most Tries Per Pixel.
Transparent Verification: Re-Run the Benchmarks
Public test scenes let you verify these benchmarks directly on your own hardware:
- Classroom Scene by Christophe Seux (CC0)
- Junk Shop Scene by Alex Treviño (CC-BY)
- Poly Haven Ukulele_01 (CC0)
- Checker floor is a custom anti-aliasing calibration chart.
All comparisons keep camera angle, aspect ratio, exposure, and random noise seed locked. Consistency ensures visual improvements stem from sub-pixel geometry calculations rather than exposure drift.
Every duration was logged and every pixel delta calculated on open-access benchmark scenes you can download and verify on your own machine.
Tested in Blender 5.2 LTS · AMD Ryzen Threadripper · NVIDIA RTX 3090 (OptiX) · 1920×1080 (1920×1440 for Ukulele).
Support & Troubleshooting
Need assistance or have a question about your shot? Reach out anytime:
- Video Tutorials: Watch full workflow breakdowns on YouTube at TheRealVeeVeeVee.
- Instant Shot Reports: Every camera features a one-click Shot Report button that logs your framing size, angle, focal length, and silhouette calculations. Paste it into a message, and I can identify any scene issue immediately.
If Frame Perfect ever behaves differently than documented here, reach out and I will address it directly.
 Included
Includes 12 months of
- Support from VeeVeeVee
- Product updates
Extend this product’s Support Period +12 months: 75% of product price
Have questions before purchasing?
Login to message
| Blender Extension Compatible | Yes |
| Dev Fund Contributor | |
| Published | about 2 months ago |
| Blender Version | 4.5 - 5.2 |
| Extension Type | Add-on |
| Render Engine Used | Cycles, Eevee |
| License | GPL |
Discover more products like this
composition rendering camera angles frame aspect ratio framing depth of field camera cinematography batch render