 VeeVeeVee
Major
-
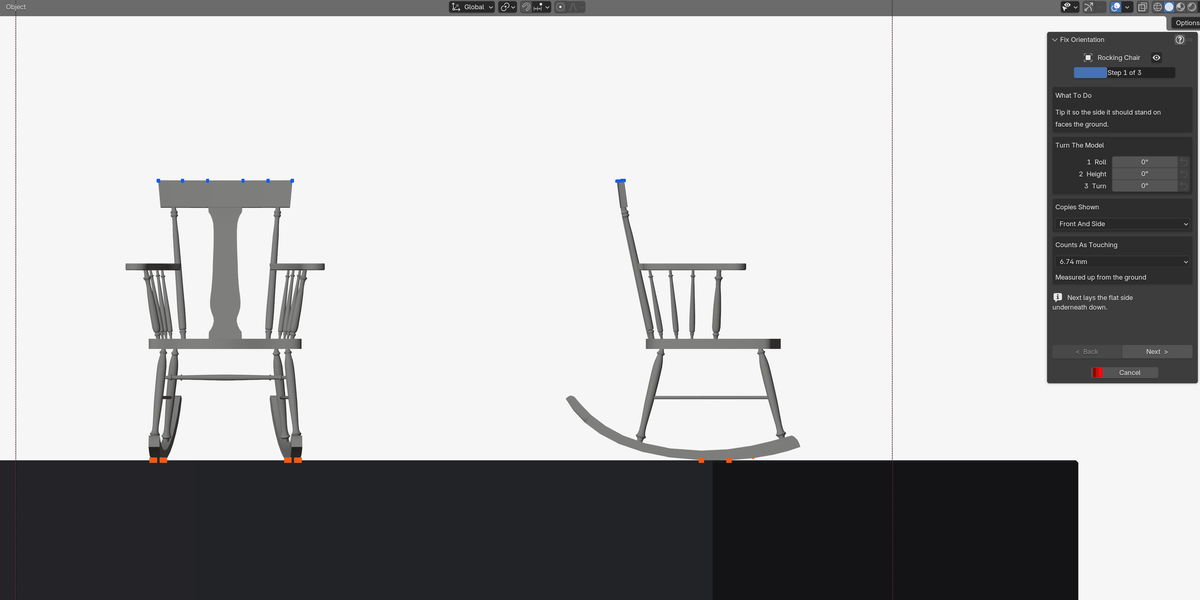
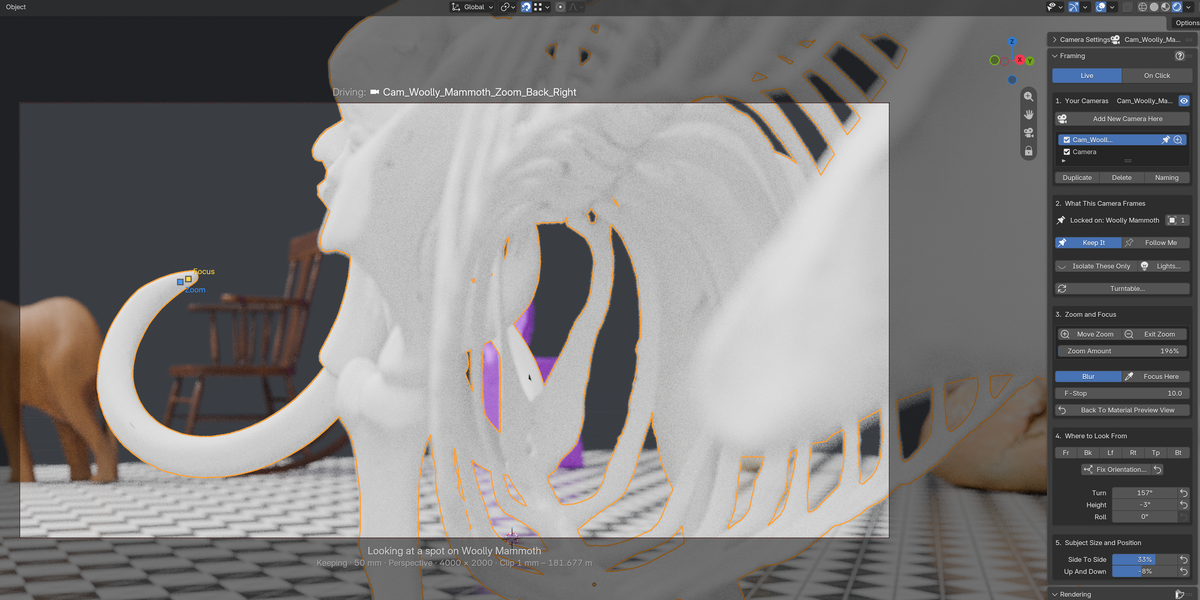
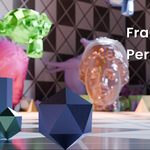
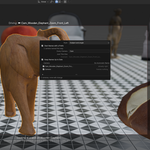
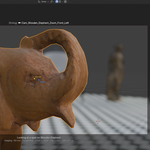
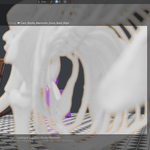
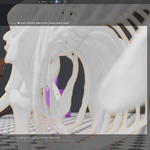
Fix Orientation — make any model face the right way, in a few clicks. Downloaded models, scans and imports often arrive lying on their side or facing sideways, so Front shows you an ear and every camera angle is a fight. Fix Orientation sorts that out for good. One button under the direction buttons in Where To Look From opens a clean studio with just your model in it, shown from the front and the side at once.
-
Tip it with three sliders. Roll, Height and Turn. Point the side that should be on the floor towards the ground. You do not need to be exact.
-
See where it would rest. Dots light up wherever the model would touch the ground, and they grow as more of the model comes to rest. You can tell at a glance whether it is sitting on a side or balanced on a corner.
-
Press Next and it settles. The model drops as far as it can onto the side you picked, and you go straight on to choosing its front.
-
Turn it until its front faces you. Copies of the model stand beside it turned a quarter round each, so you can see the front, the side and the back at the same time.
-
Refine By Eye when you want more. If the model has no flat side to settle on, or you want it set a little differently, adjust each of the three directions one at a time for a perfect orientation.
-
Apply, your way. Turn the model so it matches the world's own directions, or fix it and leave it exactly where it sits in your scene. Nothing touches your model until you press Apply, and Cancel leaves it as it was.
-
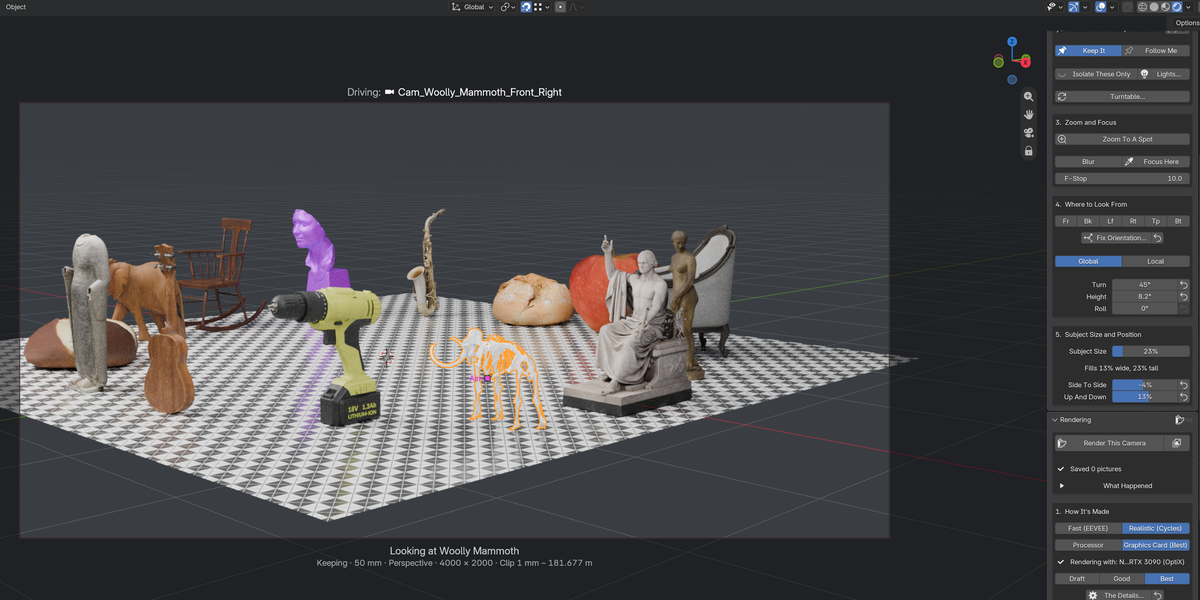
Now its directions are right. After a fix, Front, Back, Left, Right, Top and Bottom mean the model's own sides. Press Front and you see its face. Switch to Local, rotate the model, and the camera's directions follow it.
-
Undo Orientation Fix puts the model back exactly as it arrived, even after you have saved and reopened the file.
-
Local orientation now follows the whole object. Choose Local, and Turn, Height and Roll are measured against the object's real front, top and sides. Press Front on a model lying at an angle and you see its face square on. Rotate the model and your camera views rotate with it.
-
Cameras using Quaternion or Axis Angle rotation now frame correctly. Rigs, imported files and cameras that once had a Track To constraint often end up on these modes. Every rotation mode now frames identically, so a camera that seemed to point the wrong way just works.
Fix Orientation — make any model face the right way, in a few clicks. Downloaded models, scans and imports often arrive lying on their side or facing sideways, so Front shows you an ear and every camera angle is a fight. Fix Orientation sorts that out for good. One button under the direction buttons in Where To Look From opens a clean studio with just your model in it, shown from the front and the side at once.
- Tip it with three sliders. Roll, Height and Turn. Point the side that should be on the floor towards the ground. You do not need to be exact.
- See where it would rest. Dots light up wherever the model would touch the ground, and they grow as more of the model comes to rest. You can tell at a glance whether it is sitting on a side or balanced on a corner.
- Press Next and it settles. The model drops as far as it can onto the side you picked, and you go straight on to choosing its front.
- Turn it until its front faces you. Copies of the model stand beside it turned a quarter round each, so you can see the front, the side and the back at the same time.
- Refine By Eye when you want more. If the model has no flat side to settle on, or you want it set a little differently, adjust each of the three directions one at a time for a perfect orientation.
- Apply, your way. Turn the model so it matches the world's own directions, or fix it and leave it exactly where it sits in your scene. Nothing touches your model until you press Apply, and Cancel leaves it as it was.
- Now its directions are right. After a fix, Front, Back, Left, Right, Top and Bottom mean the model's own sides. Press Front and you see its face. Switch to Local, rotate the model, and the camera's directions follow it.
- Undo Orientation Fix puts the model back exactly as it arrived, even after you have saved and reopened the file.
Medium
-
Big, detailed models are framed exactly. Heavy scans and dense meshes are now measured on their real shape, so Fill 100% means 100% on every model. The first adjustment on a very heavy model pauses once to measure it. After that everything is as fast as before.
-
Orbit while looking through the camera. Drag with the middle mouse button in camera view and the shot stays perfectly framed the whole time. Side to side goes all the way round. Up and down stops at straight above and straight below, so the picture never flips. Right-click or Esc puts it back where you started.
-
Resize the subject with a drag. Hold Ctrl and drag up or down with the middle mouse button in camera view to make the subject bigger or smaller smoothly. While zoomed to a spot, the same drag resizes the zoom.
-
Fling to a side. A short Alt + middle-mouse drag in camera view swings the shot straight onto the front, back, left, right, top or underneath, without ever leaving camera view. It lands exactly where the matching direction button would.
-
Put It Back. A new button beside the quality buttons lists every render setting Draft, Good or Best changed, and what it was before. Tick the ones you want back and press it. Anything you changed yourself is left alone.
-
See what Best really does. The Details now shows when a picture is rendered at double size and shrunk back down, the one thing Best does that Good does not. With Explain on, the quality buttons also show how long this camera's last render took on each setting, measured from real renders.
-
Deleting your only camera now clears its old message from the Framing panel and shows "No cameras in this scene".
Minor
- Shifting the subject off centre no longer warns that the frame is the wrong shape. The panel says plainly that part of the subject sits outside the frame because you moved it there.
- Pressing Undo right after leaving camera view can no longer leave the view black. It repairs itself on the next redraw.
- The heading warning in Step 4 now shows only on the camera it was measured for.
- Camera actions in the search menu now say "No camera in the scene" when they are greyed out.
- With no cameras, the Framing panel shows one message and one full-size Add New Camera Here button, and nothing else. Every no-camera message now says the same thing and points at that button.
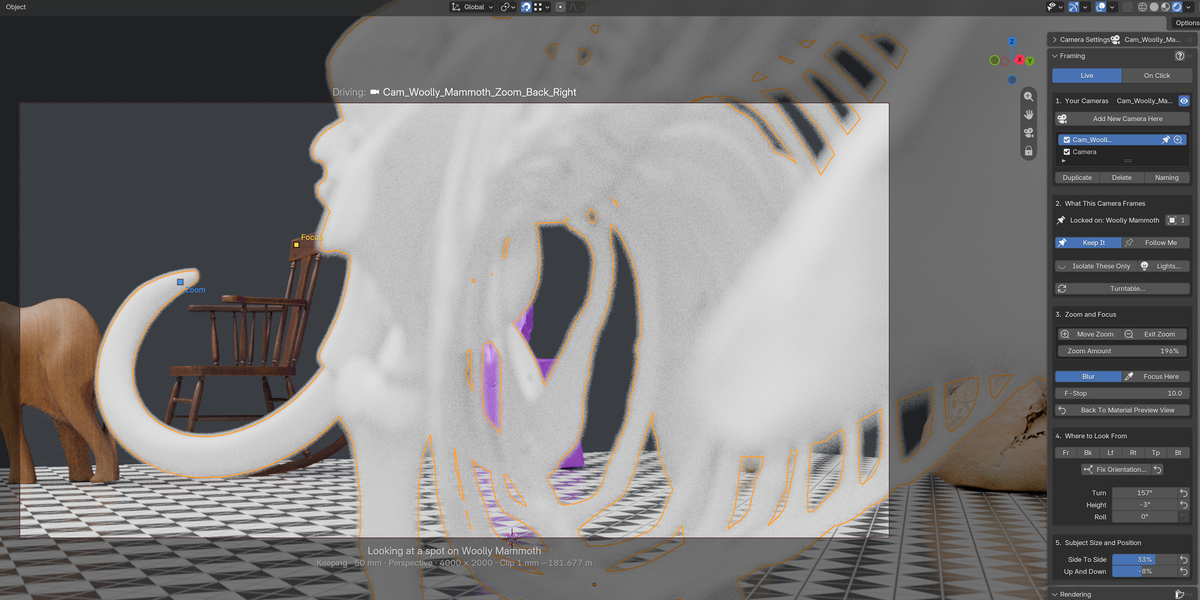
- The Framing panel is more compact while zoomed to a spot. The zoom is named once, and the explanations follow the Explain switch.
- Panels no longer end on empty space when Explain is off.
- The Lens panel inside Camera Settings starts collapsed, like the others.
- The Fit All button has left the Clip Range header. The same fit is still inside the panel and in the clipped-subject warning.
- Where To Look From's Explain text now says the direction settings belong to each camera, so switching cameras switches settings too.
- Clearer wording on the Uninstall, camera row and Turn On Cycles tooltips and in the Naming and Cycles noise help.
$24.99
 Included
Includes 12 months of
- Support from VeeVeeVee
- Product updates
Extend this product’s Support Period +12 months: 75% of product price
Have questions before purchasing?
Login to message
| Blender Extension Compatible | Yes |
| Dev Fund Contributor | |
| Published | about 2 months ago |
| Blender Version | 4.5 - 5.2 |
| Extension Type | Add-on |
| Render Engine Used | Cycles, Eevee |
| License | GPL |
Discover more products like this
depth of field camera cinematography frame rendering batch render composition framing aspect ratio camera angles