 VeeVeeVee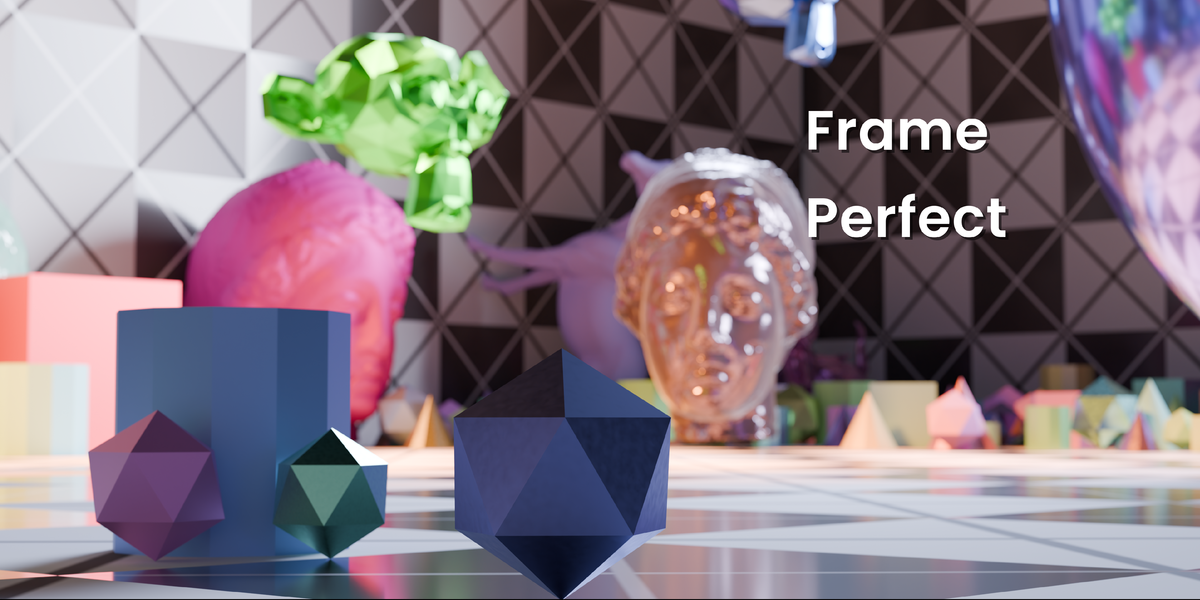
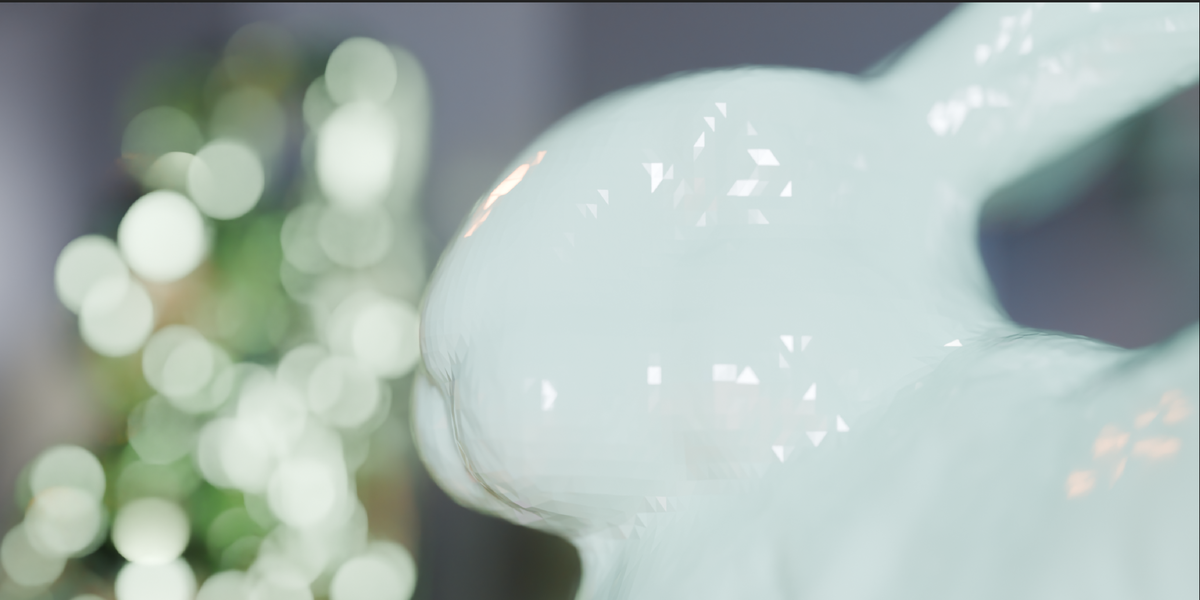
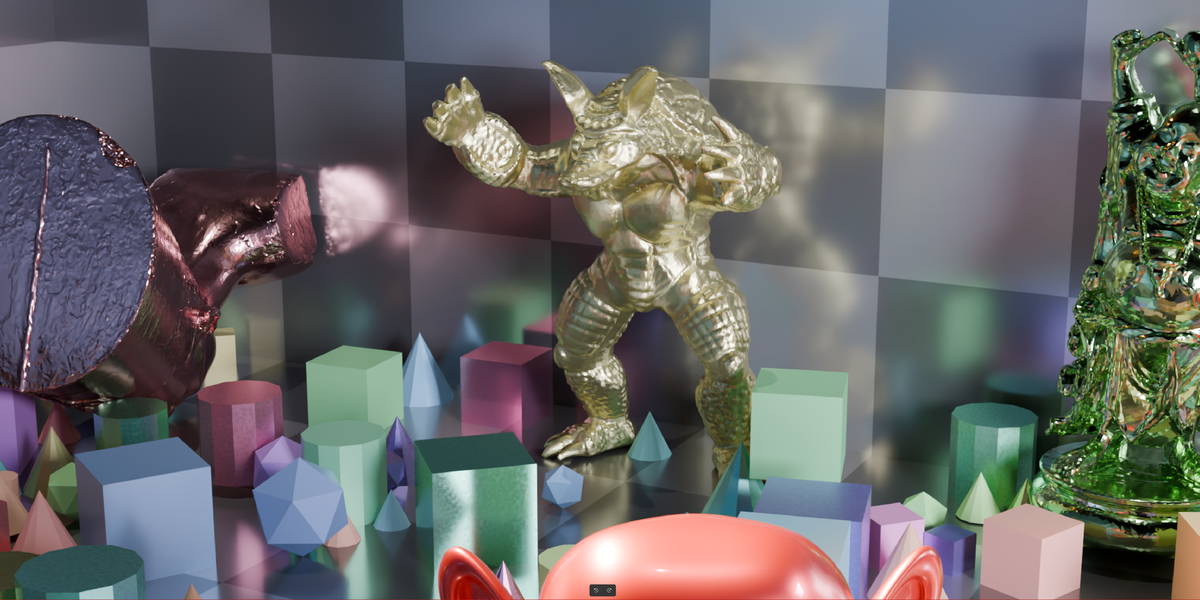
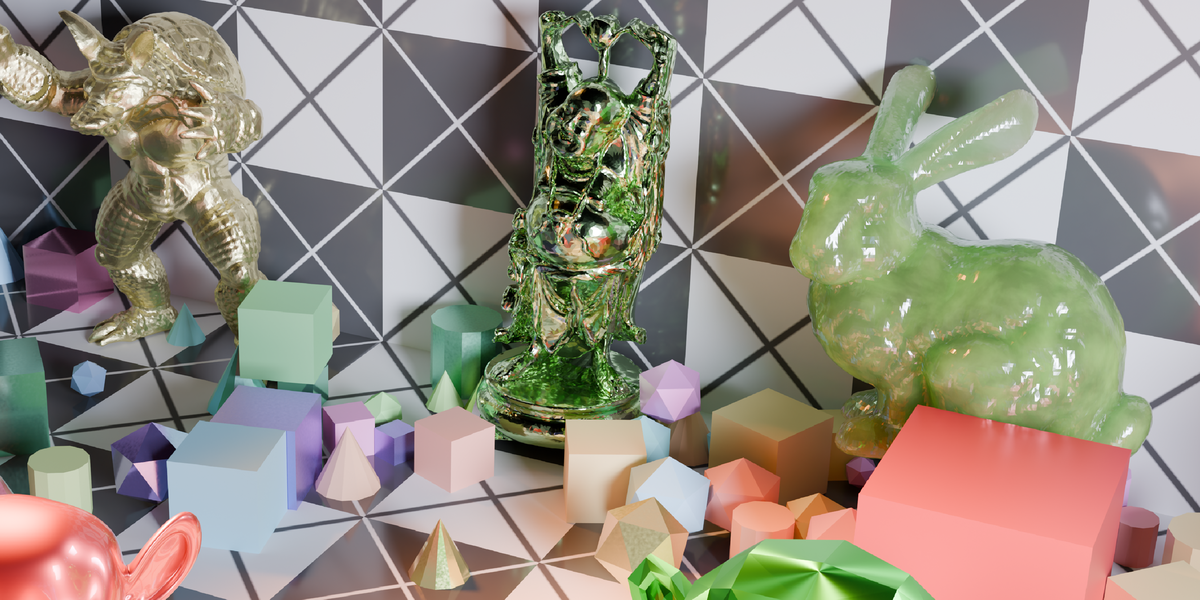
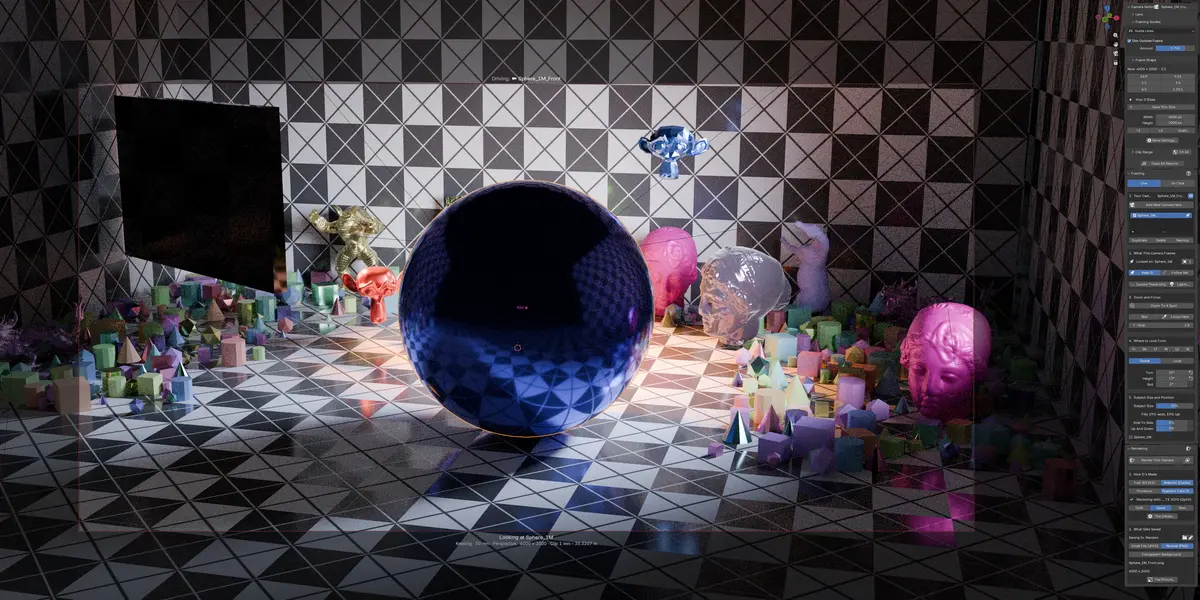
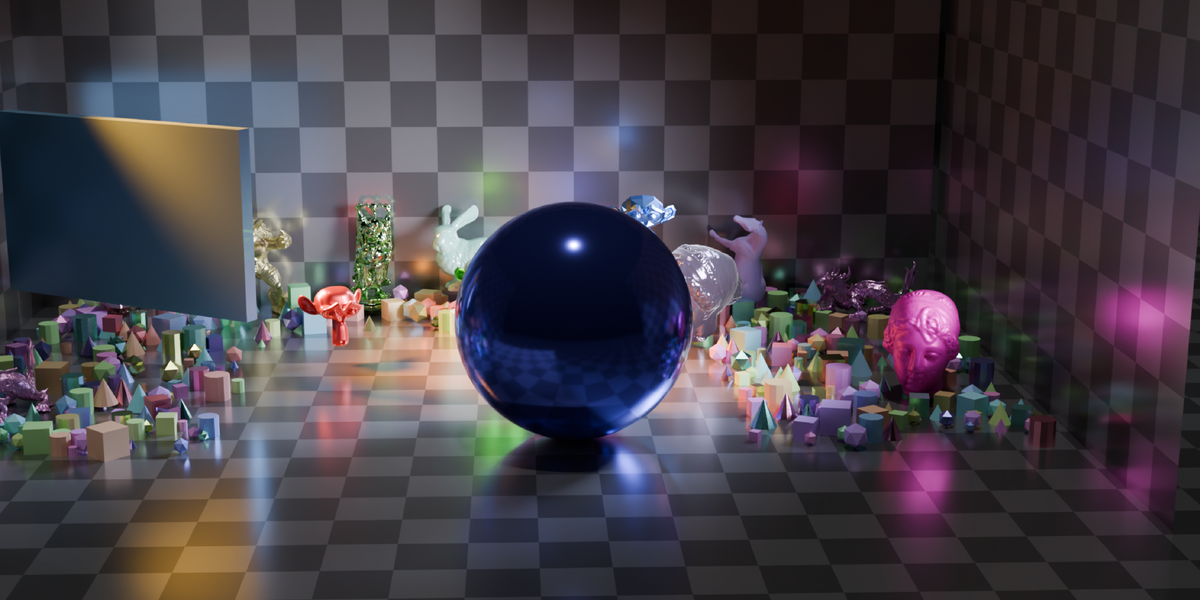

Get the perfect shot every time
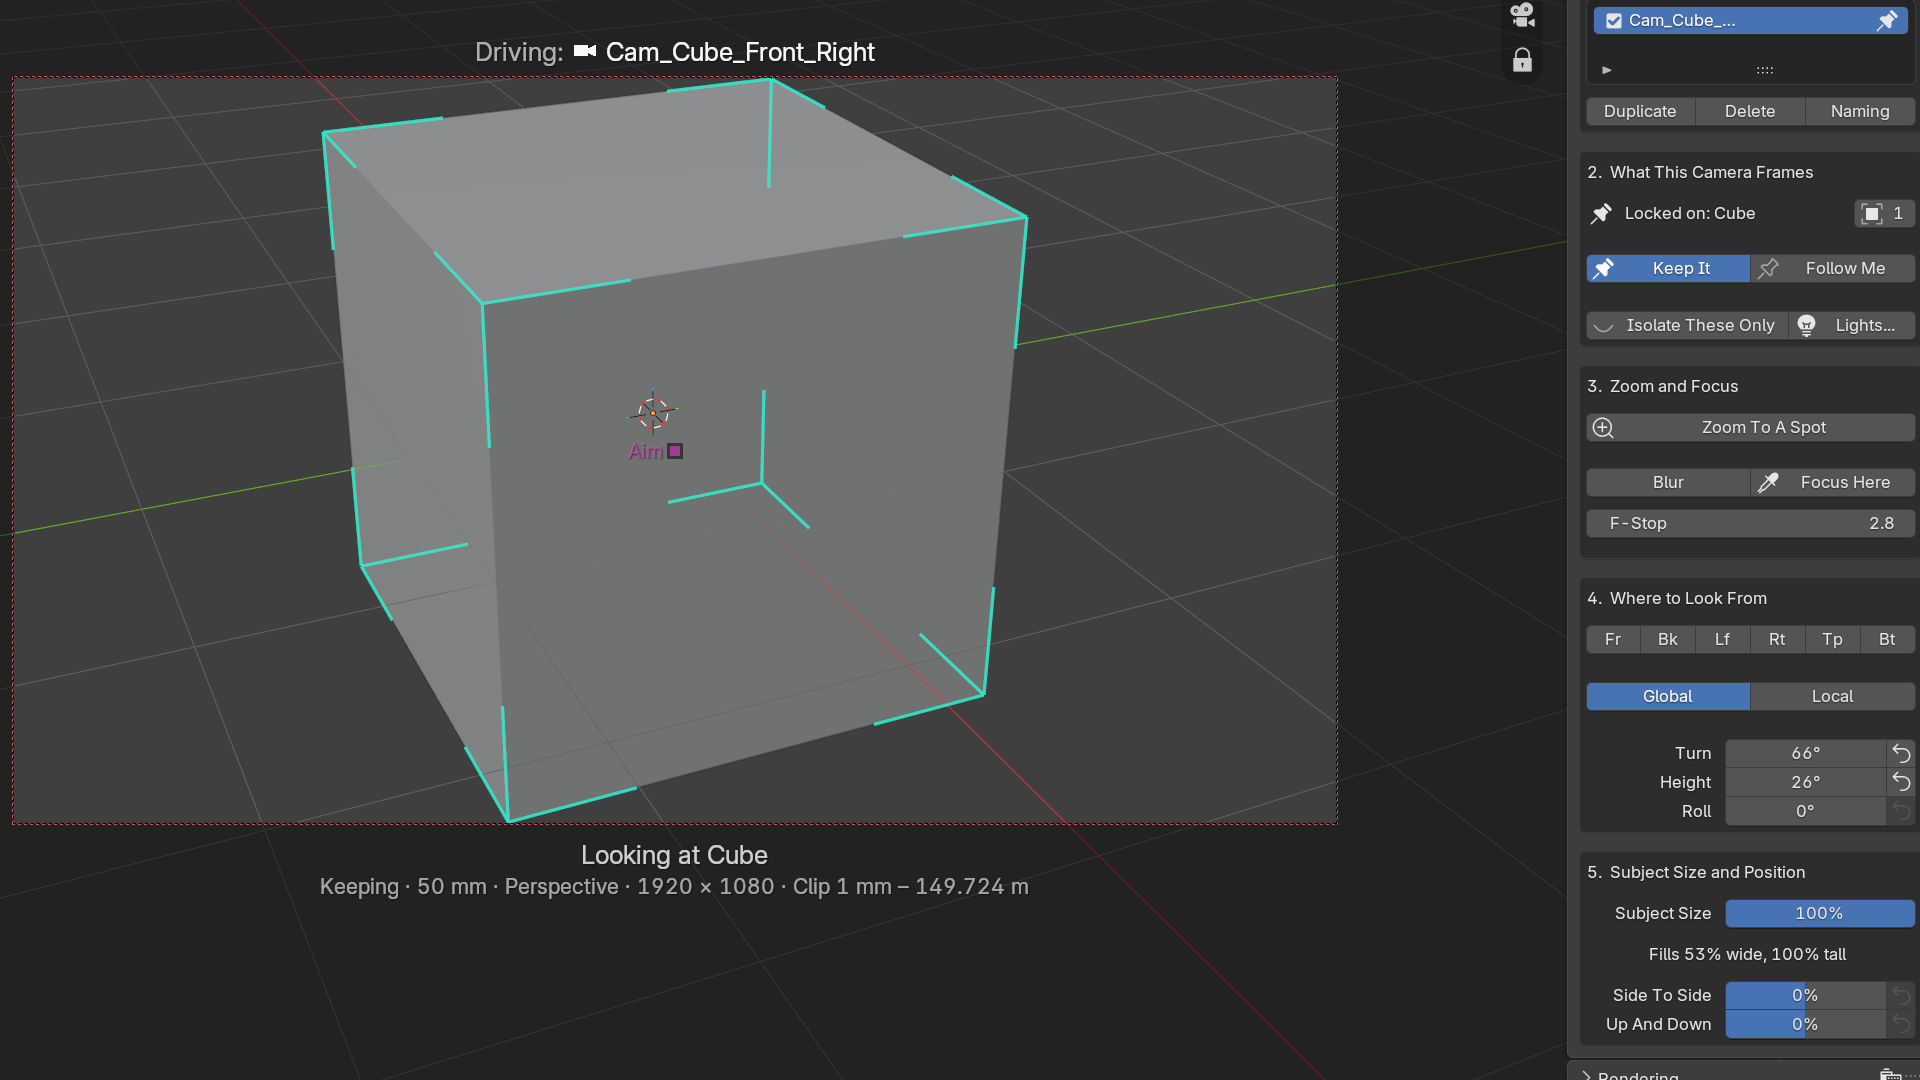
With a single click, every edge of your subject is pulled cleanly into view, filling the frame to the exact percentage you dialed in. Not an estimate—an exact fit.
You put hours into sculpting details and perfecting materials; the last thing you want is a clunky camera setup standing between your model and the final image. Standard Blender lets you point a camera at an object, but never tells you whether the full geometry actually fits or what percentage of the frame it occupies. That leaves you stuck in a frustrating loop: orbiting, nudging, squinting at corners, and hoping for the best. Worse, tweaking resolution for a client can completely break the composition you spent an hour dialing in, forcing you back to square one.
Blender Multi-Camera Setup & Batch Render in One Panel — Frame Perfect Add-on Demo
Frame Perfect breaks that cycle completely. What you see in the viewport is what lands in the render:
-
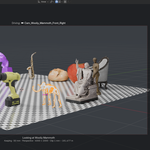
True-Silhouette Fitting: Most tools cheat by framing a standard bounding box around your object. When a model sits at an angle or has an irregular silhouette, that bounding box fills with dead space, leaving your subject noticeably small. Frame Perfect calculates the true silhouette of your mesh, ignoring empty air to fill the frame accurately every time.
-
Rock-Solid Proportions: Works seamlessly across any focal length, custom resolution, or sensor fit setting without drifting or distorting your framing.
-
Multi-Object Group Framing: Select 40 scattered parts, and they are framed as one exact shape, not as a compromise between separate boxes.
-
Deliberately Off-Center: Push your subject off-center on purpose. The exact fit is solved centered and the shift applied on top, keeping your framing perfectly reproducible.
- Effortless Workflow: Lock in your composition, hit render, and move on to your next project without spending another minute fighting viewports.
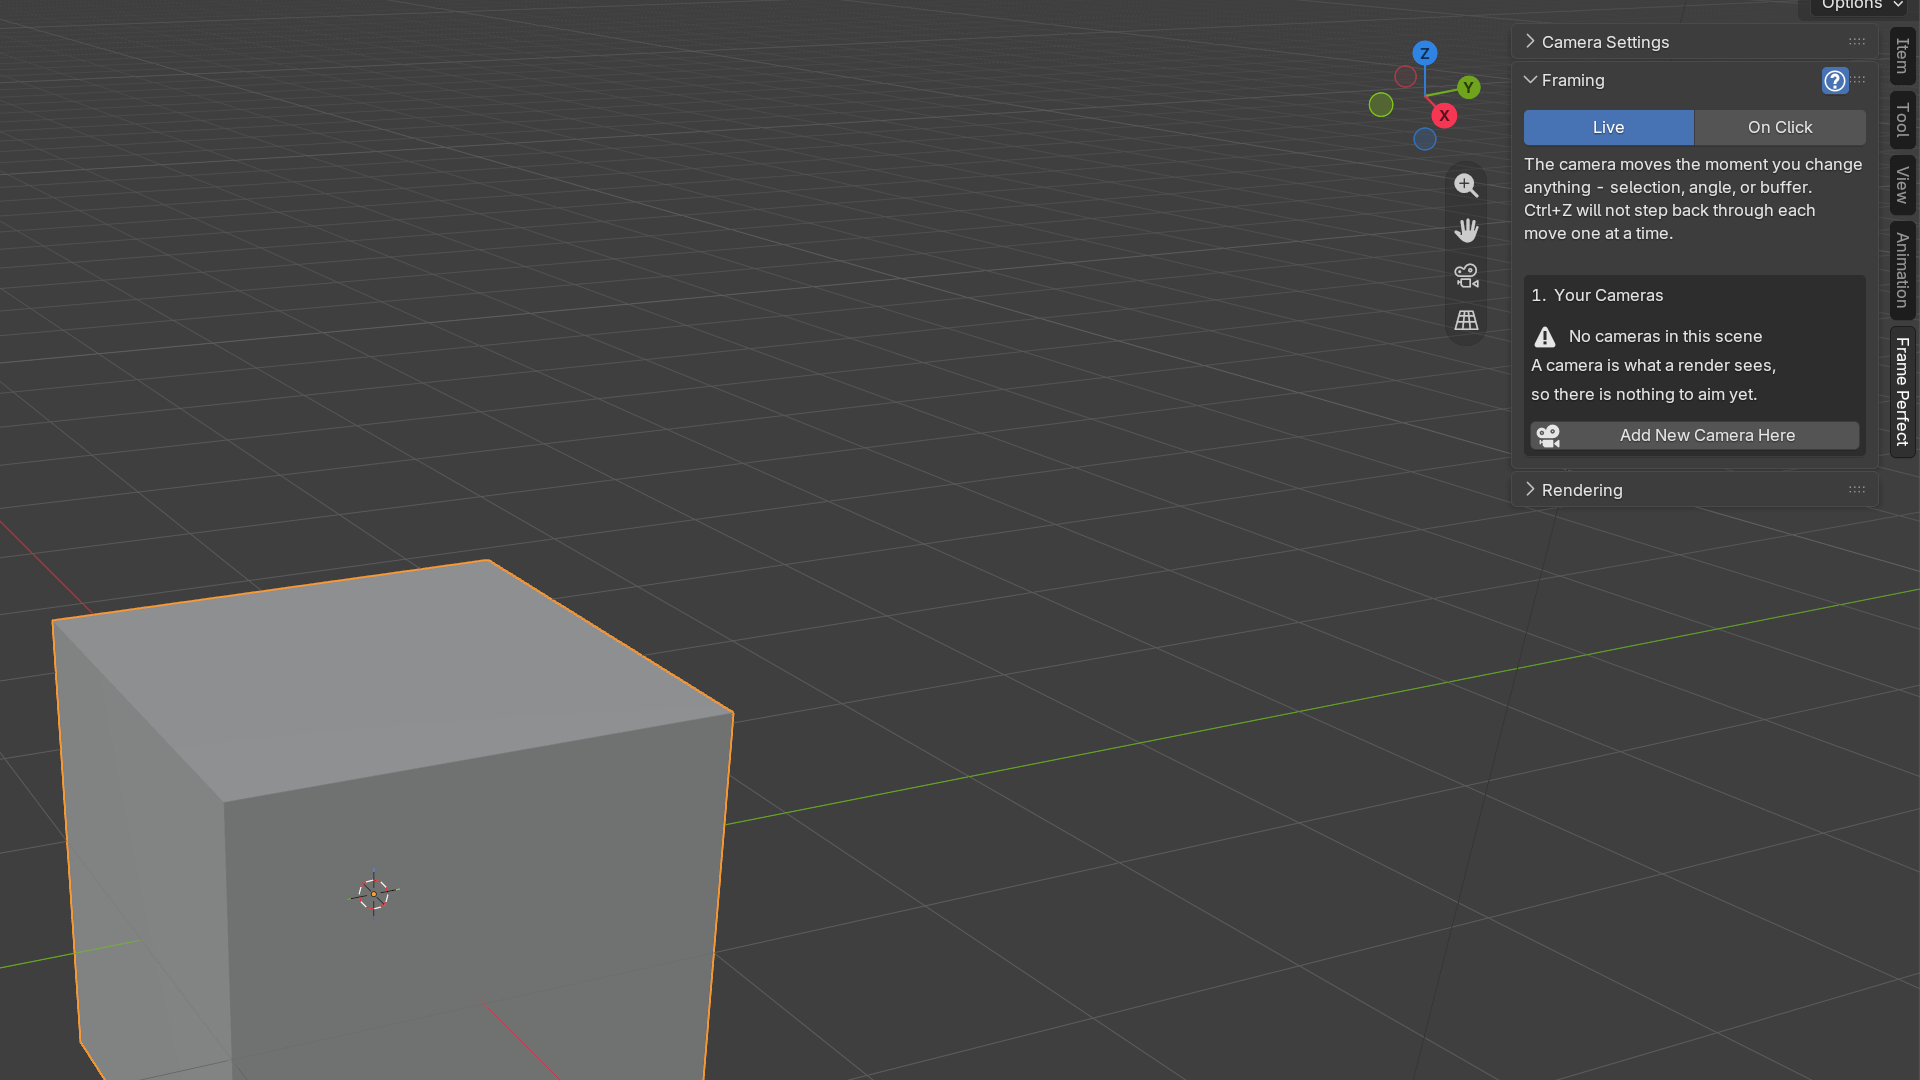
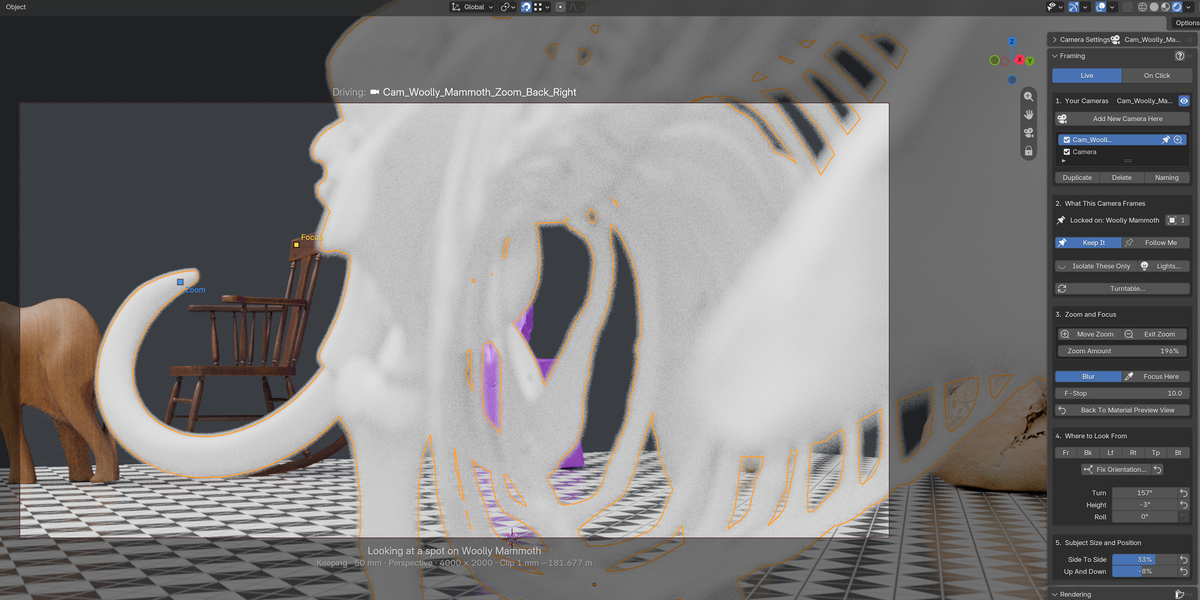
Framing — Five Steps, Top to Bottom
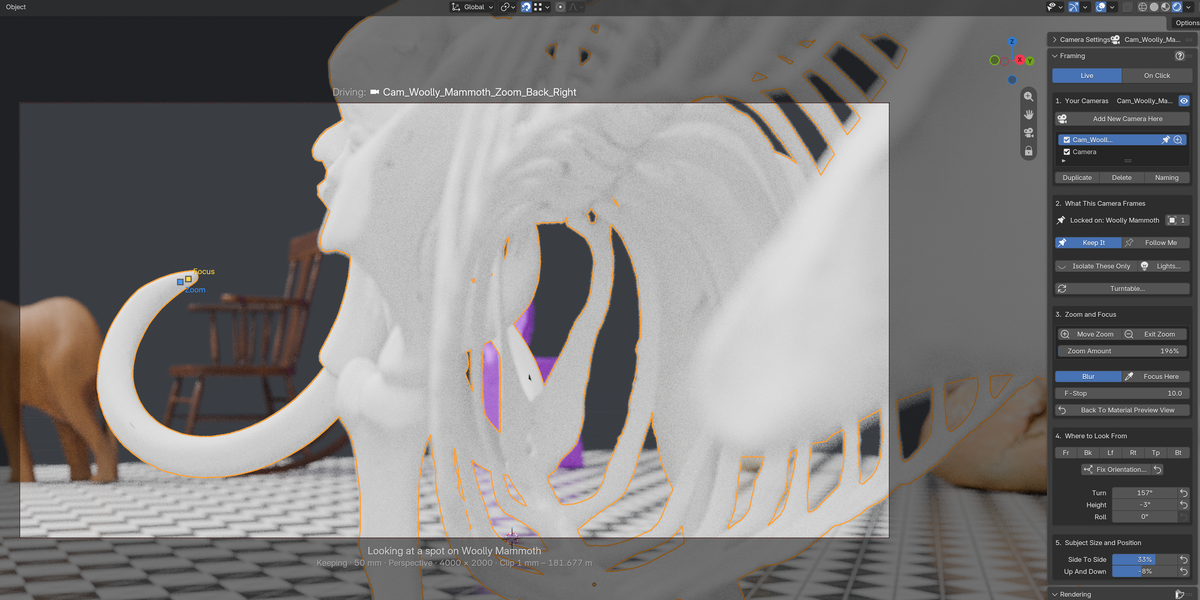
1. Your Cameras.
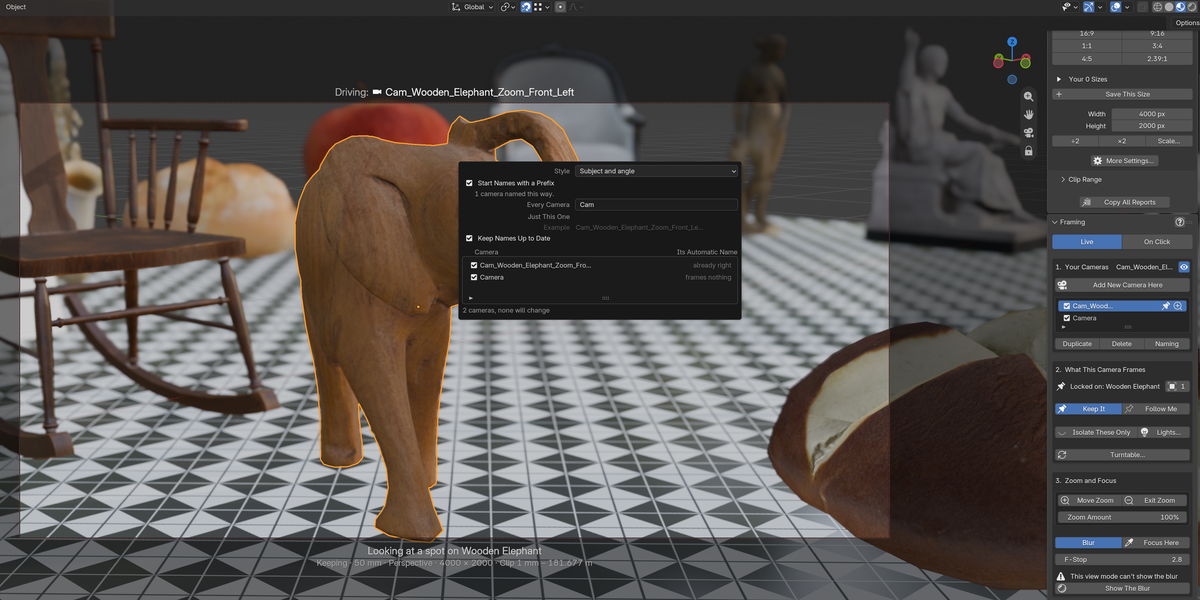
Every camera in your scene lives in one clean list, and jumping into any view takes a single click. Add, duplicate, delete, and rename cameras right from the same row. If a camera can't be freely aimed—like one locked to a rig or linked from an external file—it grays out automatically, and hovering tells you exactly why so you're never left guessing.
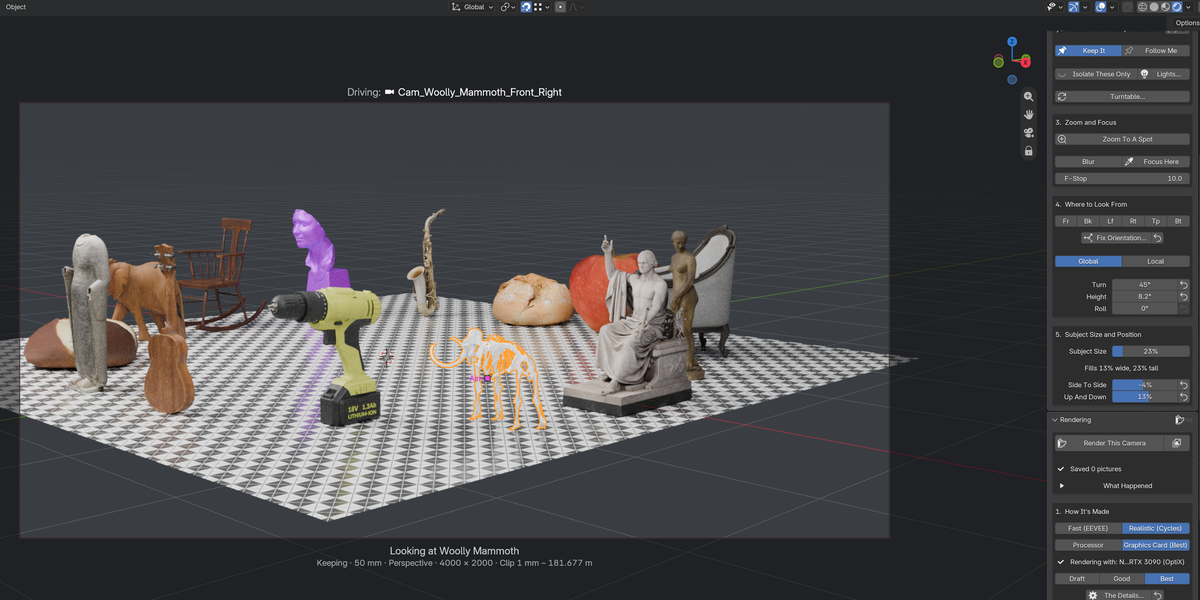
2. What This Camera Frames.
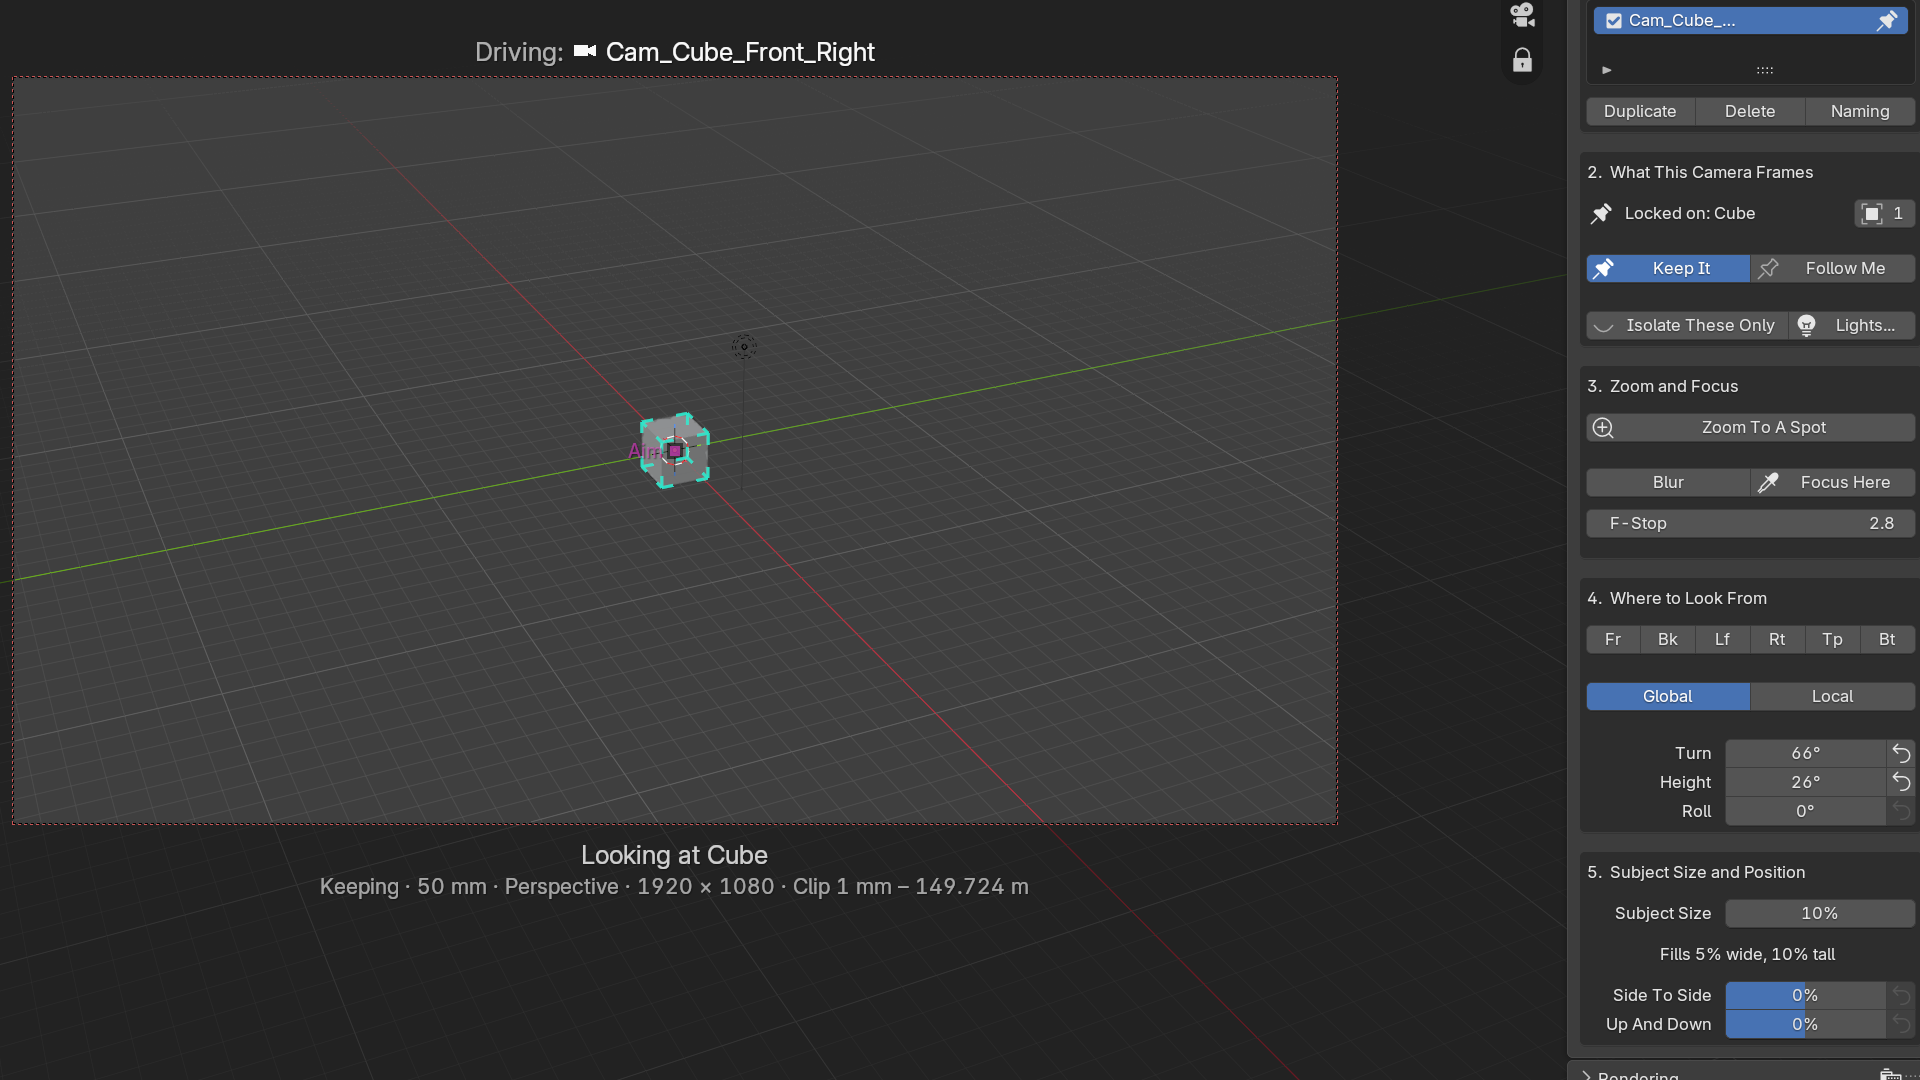
Check off what you want in your shot, or select objects directly in the viewport and let the camera follow along. Hit Keep It to lock your subject in place so you can click around without the camera chasing your cursor. Switch to Follow Me to carry that exact same framing over to whatever you select next. Isolate Framed clears away scene clutter while you compose—with independent control over lighting—and if a framed object is hidden or deleted, the panel alerts you directly instead of quietly shifting your framing.
3. Zoom and Focus.
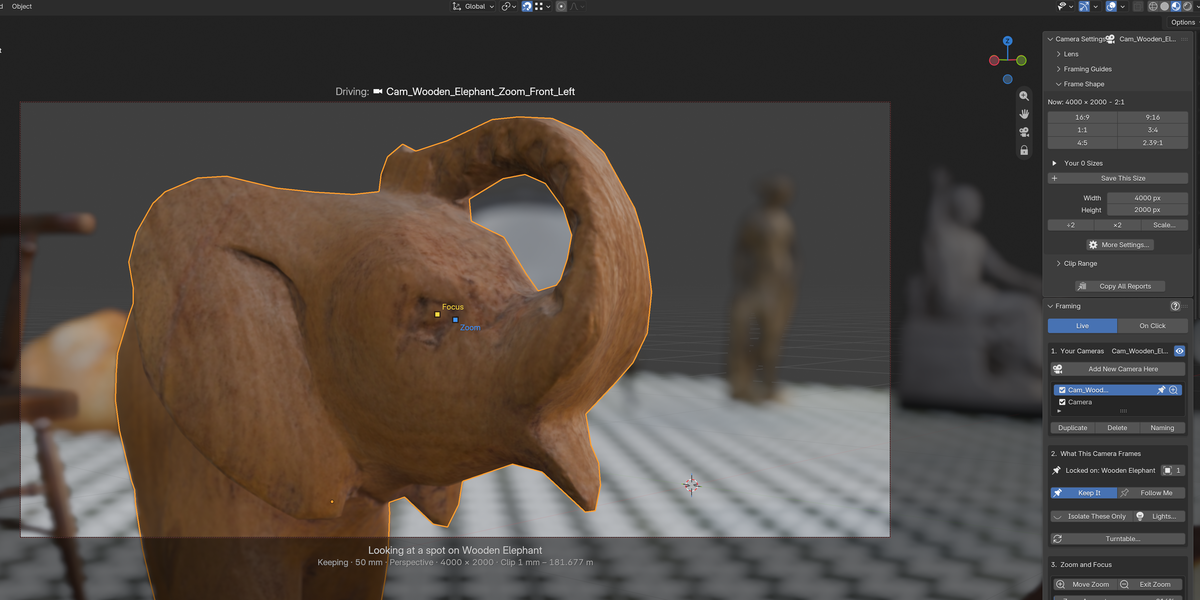
Click any spot on your model to fly the camera right to it, then roll your scroll wheel until framing looks right. If you change your mind, hitting Escape drops you straight back to your original view with lens settings, angles, and focus distance completely intact. Depth of field is just as simple: turn on blur, set your f-stop, and click the exact detail you want sharp. It locks on and stays crisp while you keep working.
4. Where to Look From.
Dial in your angle with dedicated controls for Turn, Height, and Roll. Orbit with your middle mouse button, pan with Shift + middle mouse, hold Shift on the sliders for micro-adjustments, or type numbers directly. Switching to Local lets you orbit around an object's own forward and up axes instead of world space—ideal for inspecting assets from their natural front or sides, even if they arrived tilted.
5. Subject Size and Position.
Subject Size controls how much of the frame your subject fills, expressed as a clean percentage—set it to 100% for an edge-to-edge fit, or drop it to 74% to give your shot breathing room. It displays the actual measured dimensions across width and height so you know the exact fit. From there, Center Subject squares things up instantly, Shift The Framing lets you offset your subject intentionally, and your scroll wheel lets you tweak framing live while looking straight through the lens.
Self-Naming Cameras
When you have a scene filled with default names like Camera.001 through Camera.012, figuring out which camera is which means constantly clicking back and forth through your viewport. Frame Perfect solves this by automatically renaming your camera based on what it is pointing at and the angle it is viewing from—turning a vague label like Camera.003 into something instantly clear, like Cam_Robot_Front. Unlike other renaming tools that run once and quit, Frame Perfect dynamically updates the name whenever you move your camera angle or track a new subject. You stay in full control with a side-by-side preview to approve batch changes, the option to target only specific cameras, and built-in protection so any custom names you type by hand are never overwritten.
Best of all, this organization carries all the way through to your final output. When you render an image, Frame Perfect automatically matches the output file name to the camera that took the shot. You will never have to dig through a folder of generic image files wondering which camera produced which render again, keeping your workflow clean from the first setup to the final export.
Rendering — How Good, and Where Does It Go
1. How It's Made.
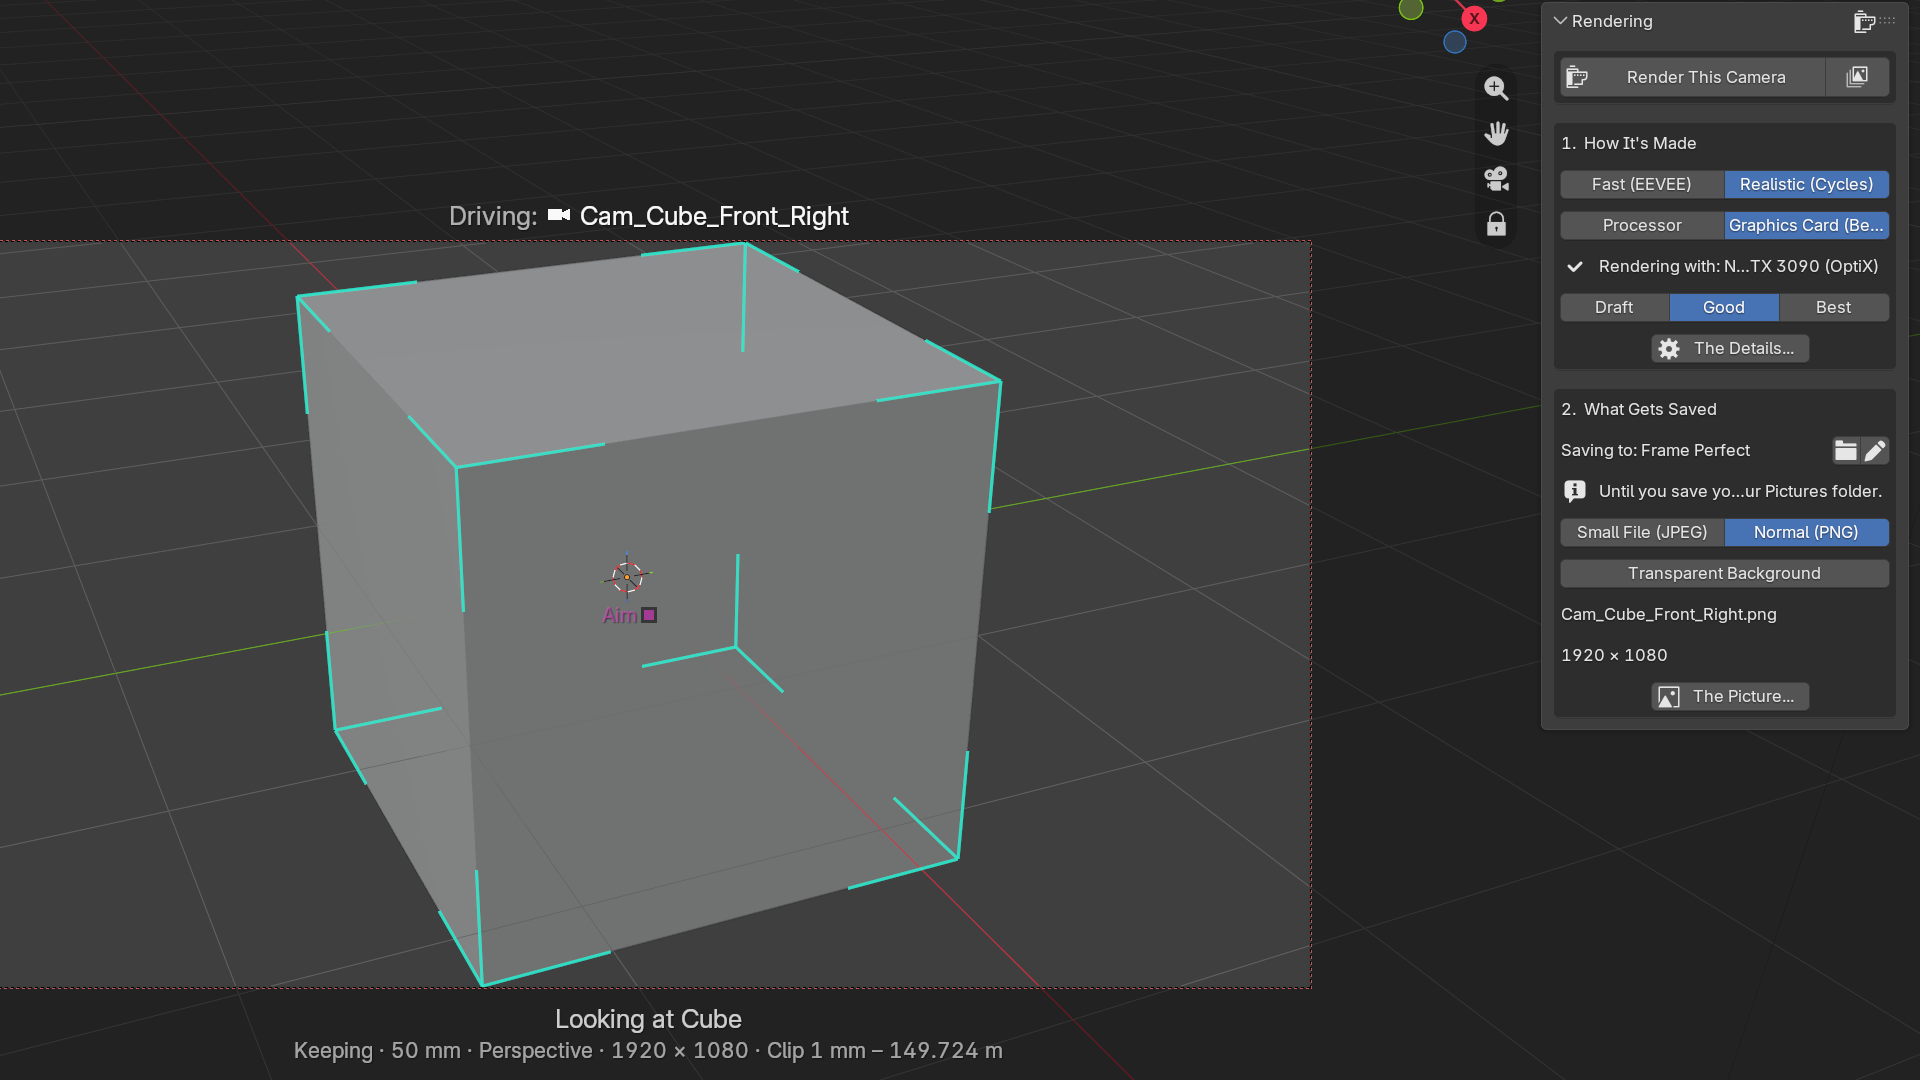
Choose between Fast or Realistic—plain-English names for EEVEE and Cycles. Frame Perfect detects your computer's hardware and highlights whether your processor or graphics card will give you faster results. From there, pick from three simple quality presets: Draft for quick progress checks, Good for dependable day-to-day renders, and Best for your final presentation images. Behind the scenes, Best renders at double resolution and scales down for maximum sharpness, which can take up to four times longer—making Good your ideal daily choice. If you want full manual control, open The Details to fine-tune noise limits, samples, light bounces, denoising, or set a maximum render time. Every preset sets these up automatically, but you can always jump in and tweak them.
2. What Gets Saved.
Saving To displays your output destination, complete with quick buttons to open the folder or choose a new path. By default, your images save into a dedicated Renders folder right next to your project file, automatically numbered so you never accidentally overwrite earlier work. Select JPEG or PNG (with an easy toggle for transparent backgrounds), and review the incoming file name and exact pixel dimensions right on screen before you hit go. You can even click the image preview for extra image output options. Once you're set, render your active view with a single click, or use batch rendering to check off multiple cameras and let them process one after the other—with the freedom to remove a shot from the queue mid-run or stop cleanly after the current frame wraps up.
Independent Camera Settings: Every Shot Keeps Its Own Identity
Everything in this panel belongs strictly to the active camera. Switch between views, and your lens focal length, composition guides, aspect ratio, and clipping distances swap over instantly—no shared settings getting tangled across your project.
-
Lens: Focal length behaves just like physical camera glass. Drop down to 16mm for ultra-wide, dramatic perspectives, or push up to 100mm or 135mm for flattering compression and flatter lines. You can also pick what happens when you adjust the focal length: zoom straight from where you're standing, or have the camera dolly back automatically to keep your framing identical. If two cameras in your scene happen to share linked lens data, a single click of Give It Its Own cuts the cord.
-
Framing Guides: Compose shots using clear overlays like Rule of Thirds, Center, Diagonals, Golden Ratio, Harmonious Triangles, and Safe Areas—labeled in plain English rather than obscure acronyms. You can also dim the viewport outside the frame to any opacity you like, clearing away scene clutter so your eyes focus strictly on the composition.
-
Frame Shape: Each camera stores its own resolution and aspect ratio independently. Keep a square for social feeds, vertical 9:16 for stories, and widescreen landscape for your hero render, all living peacefully inside the same project file. Choose from ready-to-use presets like 16:9, 9:16, 1:1, 3:4, 4:5, and cinematic 2.39:1—complete with helpful tips on where each format shines—or enter custom dimensions without losing the framing angle you built.
- Clip Range: Fine-tune the nearest and farthest distances your camera can see. Fit Subject hugs the clipping boundaries closely around whatever you're framing, while Fit All stretches out to cover your entire environment. If your subject ever disappears past a clipping plane, the panel alerts you on the spot and fixes it with one click.
Interactive Guidance & Setup
Learn as You Build: Explainer mode is enabled right out of the box. As you compose, the panels explain every feature in clear, non-technical language—walking you through controls like Keep It and Follow Me, what each angle adjustment does, and how zoom and focus interact. Once the workflow becomes second nature, click the blue question mark button in the Framing panel to hide the text and reclaim your screen space. Click it anytime you want a quick refresher.
Two-Click First-Run Configuration: When you launch Frame Perfect for the first time, you'll find two quick setup buttons:
- Setup Quality Rendering (Blue): Configures all technical render back-end defaults instantly so your cameras are dialed in and ready from frame one.
- F12 Doesn't Save? Fix It (Red): Seamlessly reroutes the standard F12 render hotkey through Frame Perfect, unlocking automated batch queues, output file naming, and quality presets.
Click both once, and your setup is locked in permanently.
The Story Behind Frame Perfect
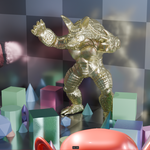
I sculpt, 3D scan, and print my own physical pieces. A while back, after finishing a gold-finished scanned sculpture, I wanted more than just a 3D asset sitting on a hard drive, I wanted hero shots that captured the exact presence, silhouette, and angles I saw in the viewport and in my head. Nailing the shaders was straightforward; wrestling with Blender's default camera setup was an exercise in frustration. After spending hours fighting focal lengths and clipping planes instead of creating art, I gave up and settled for a few flat, generic renders.
I built Frame Perfect so the camera simply gets out of the way. Today, every render I produce runs through it, from clean product renders for digital stores to portfolio showcases of physical prints.
Scope & Considerations
-
Built for Stills First: Frame Perfect is designed from the ground up for still renders and product shots. If you work with animation, the tools will ride along—a moving camera can follow your character across position and size changes—but because my background is in stills, that workflow hasn't been put through the wringer as extensively. If you hit a wall or need a specific animation feature, reach out and I'll look into building it.
-
Supported Render Engines: Both EEVEE and Cycles are fully supported out of the box. Third-party render engines aren't on the list right now, though I'm open to expanding support down the road if there's enough community demand.
- Why This Exists: Most camera add-ons either get bogged down simulating vintage physical camera bodies or only solve one narrow piece of the puzzle. Frame Perfect was built because nothing else on the market handled exact-percentage, true-silhouette framing. You see the view, you nail the view, you render it. Simple as that.
What’s Next: The Roadmap
Development is actively ongoing, guided by what actually makes framing faster and less painful. Here is what is on the workbench next, in rough order:
-
Showcase Turntables: Built-in tools to show off your sculpts, models, and product designs with smooth, professional 360° spins—without having to fiddle with rigs, parenting empties, or manual keyframing.
-
Smart Animation Tracking: Bringing the same framing mechanics from stills into motion, so the camera smoothly tracks and reframes moving subjects dynamically across your timeline.
- Batch Framing: If you have an entire catalog of assets or character variants, you shouldn't have to compose each shot from scratch. Set your framing once on a master object, and Frame Perfect will instantly apply that exact silhouette fit across every remaining model in the batch.
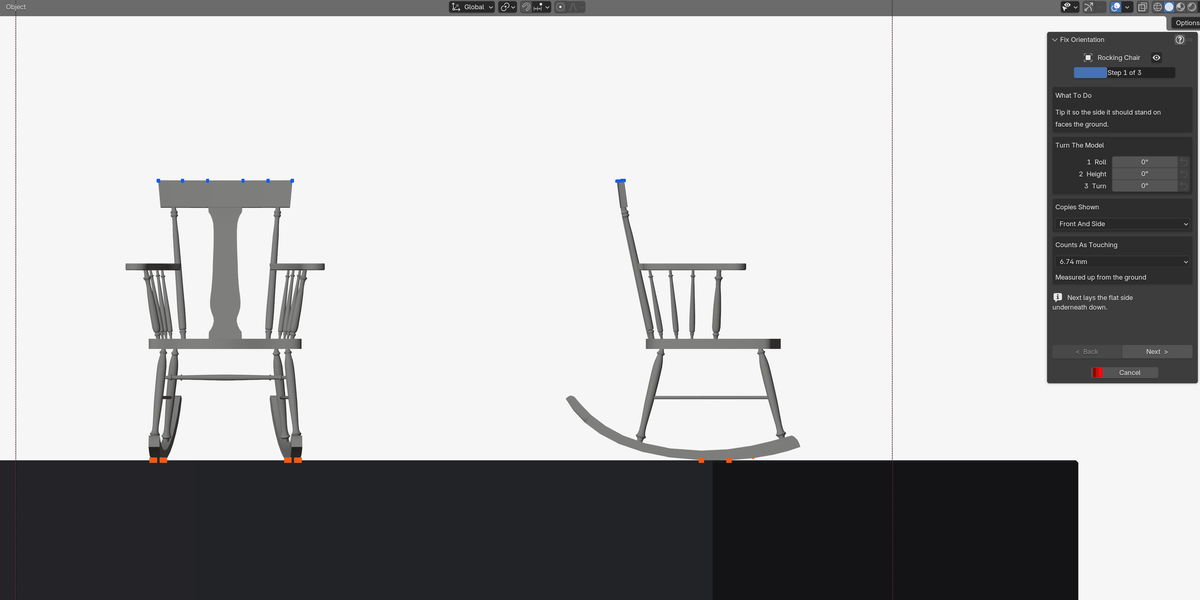
(Just Shipped in v1.1.0: The visual Fix Orientation wizard is now live! If your imported scans or downloaded models arrive crooked, tilted, or upside down, you can now square them up right in the viewport with a couple of clicks.)
Quick Installation & How It Works
Steps are identical across Blender 4.5 LTS and Blender 5.2:
- Download the
Frame Perfect .zipfile from your Superhive dashboard. Leave it zipped. - In Blender, navigate to Edit → Preferences → Add-ons.
- Click the drop-down menu in the top-right corner, select Install from Disk, and select the
.zipfile. - Check the box next to Frame Perfect to enable it.
- In your 3D Viewport, press N to open the sidebar and select the Frame Perfect tab.
- Click both initial setup buttons—Setup Quality Rendering (blue) and F12 Doesn't Save? Fix It (red)—and you're ready.
How It Works in Practice: Orbit around your scene until you find an angle you love, then click Add Camera From View. That perspective instantly becomes an active, fully configured camera. Dial in your composition using Turn, Height, Roll, or the Subject Size slider. Tap F12—your render saves cleanly into a dedicated, numbered folder right beside your project file, displaying the exact destination path on screen. Every camera keeps its own shot properties inside your .blend through saves, undos, and renames without skipping a beat.
Compatibility & Requirements
Built and thoroughly tested for Blender 4.5 LTS (tested on 4.5.12) and Blender 5.2, fully supporting both EEVEE and Cycles render engines.
Support & Troubleshooting
If you ever get stuck, reach out directly—I'm here to help:
- Email: [email protected] (fastest response)
- Direct Message: Send a message right here on Superhive.
- Tutorials: Find step-by-step walkthroughs on my YouTube channel, TheRealVeeVeeVee.
- One-Click Shot Reports: If a shot isn't framing the way you expect, every camera can generate an instant Shot Report detailing your subject, framing size, angles, focal distance, and measured silhouette fill. Copy and paste it into a message, and I can see exactly what your setup did to help you troubleshoot immediately.
Clean Exit Guarantee
Frame Perfect leaves zero clutter behind. A single click completely strips any custom data stored in your project file, and another cleanly uninstalls the add-on—no hidden properties, broken drivers, or orphaned data left behind.
