 Pixonomic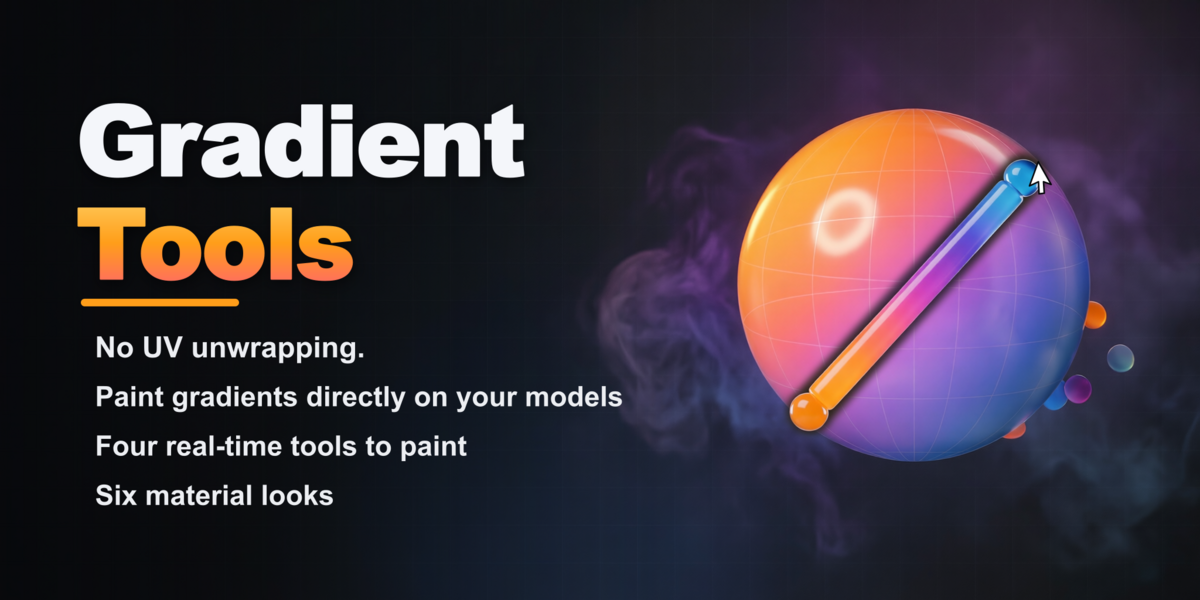


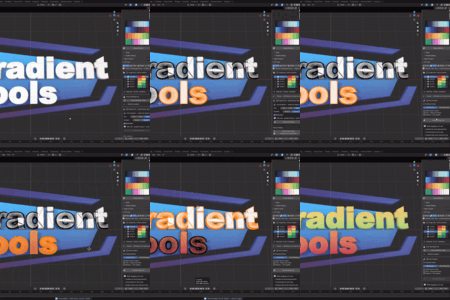
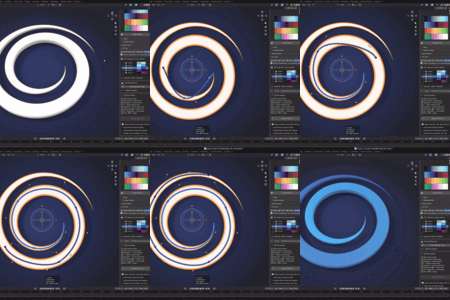
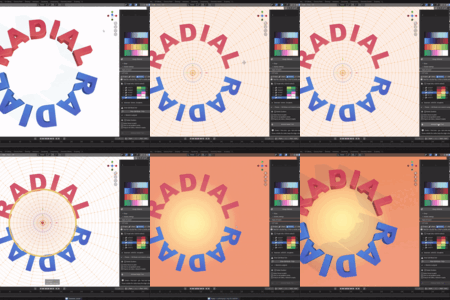
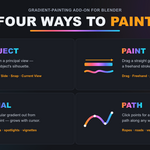
Design palettes & gradients on a simple grid — then paint them onto meshes, curves & vertex colors in real time.
No UV unwrapping. No node wrangling. No external software.
Why Gradient Tools?
It's not just another palette manager — it's a complete, interactive gradient-painting system built right into Blender's viewport and Image Editor. Here's what sets it apart:
|
⚡ No UV Unwrapping — Ever Every tool generates the UVs it needs on the fly. Most palette add-ons assume a clean UV map already exists. This one doesn't. |
🖌️ 4 Live Painting Tools Drag, draw, click or project — every gradient shows a live on-screen preview before you commit, with instant invert (F) and a shortcut HUD. |
|
🧩 Vertex Colors & Curves Bake any palette to per-face vertex colors (texture-free, game-ready), or apply gradients straight to Curve objects. Few add-ons offer either. |
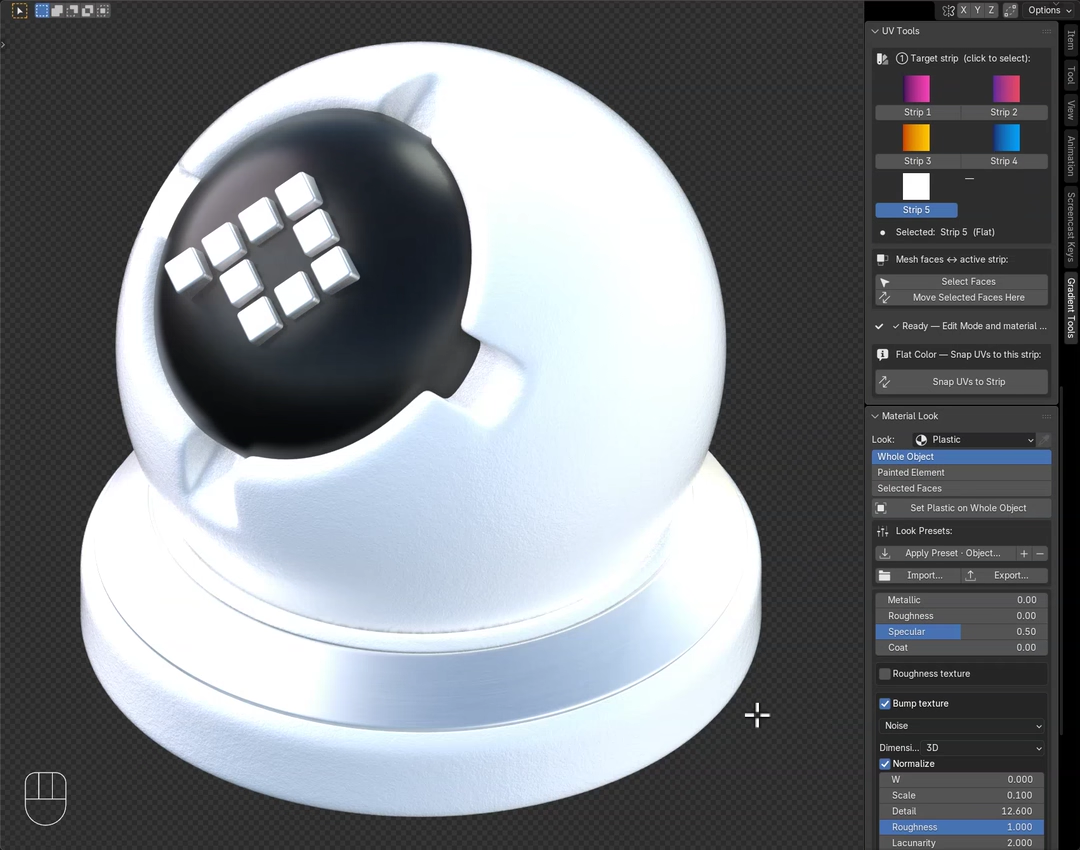
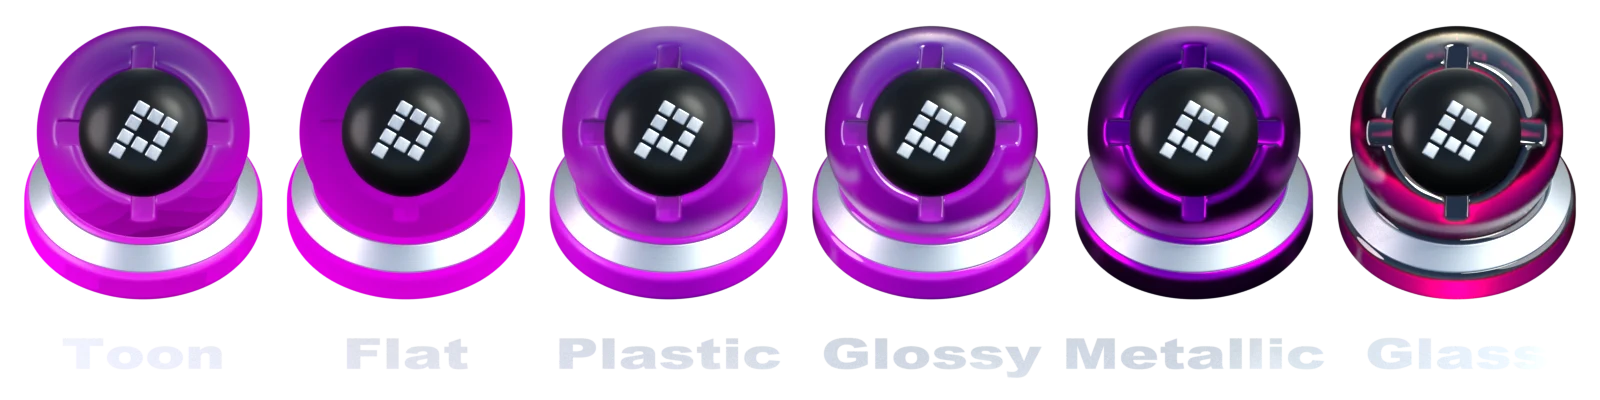
✨ Per-Object Material Looks Turn any palette color into one of six looks — Toon, Flat, Plastic, Glossy, Metal, Glass — that keep the exact hue while showing the model's 3D form. Flat & Toon stay lighting-independent (the Shadeless look, now with real form). |
|
💧 Eyedropper From Any Image Click any pixel of a reference photo or mood-board in the Image Editor and add that exact color as a new strip. No averaging, no shifts. |
🔄 Real Blender Color Ramps Every gradient strip is a genuine Color Ramp node — full interpolation & hue-path control, fully non-destructive, editable forever. |
🎨 Palette grid • 🖌️ 4 paint tools • ✨ Material looks ×6 • 📚 Look presets • 🧩 Vertex colors • 🧵 Curves • 💧 Image eyedropper • 🖥️ Viewport + Image Editor • 🚫 No UV unwrap
Overview
Gradient Tools is a Blender add-on for building color palettes and gradients on a simple 2D grid, then painting them directly onto meshes, curve objects, and vertex color layers — interactively, in real time, without ever leaving the viewport.
Pick a color (or gradient), paint, and watch your model update live. Whether you're hand-painting a stylized character, color-blocking a hard-surface prop, prototyping material variations, or preparing a vertex-color-only asset for a game engine, you get a fast, fully visual, non-destructive pipeline from palette to finished surface.
🖌️ Four Real-Time Tools to Paint Gradients
This is where Gradient Tools really shines. Select faces, pick a strip, choose a tool — and watch a live preview follow your cursor before you commit to anything.
Project — One Click, Instant Results
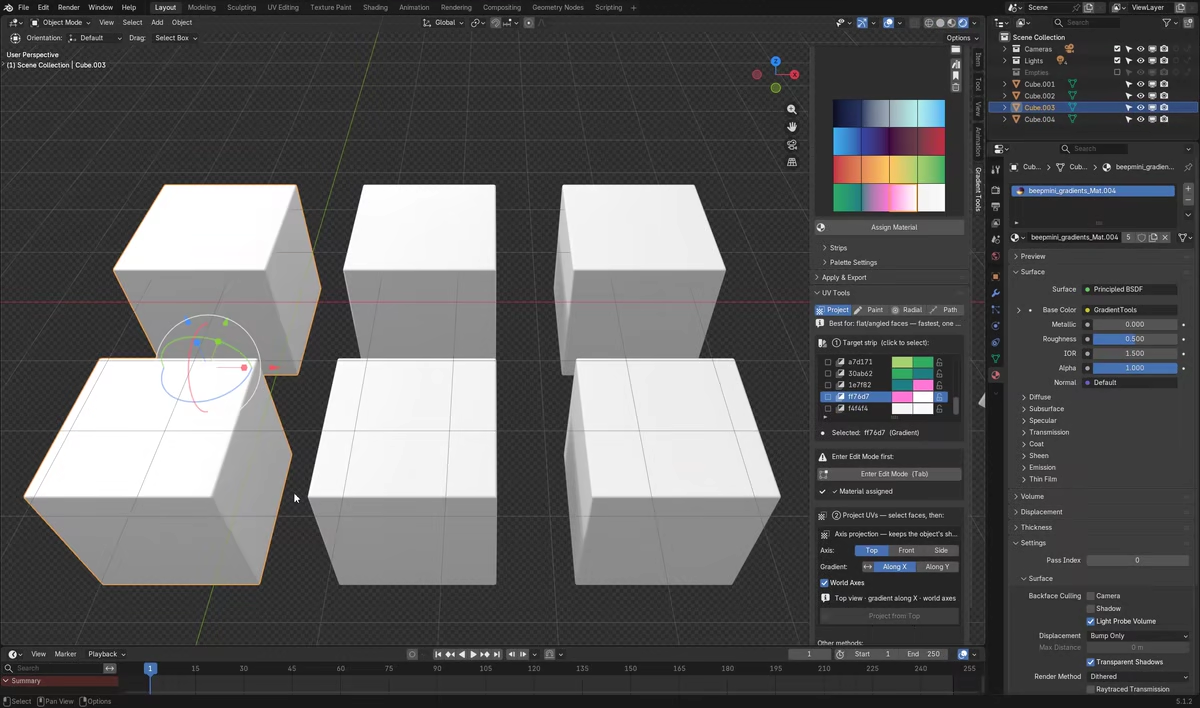
- Axis projection (Top / Front / Side) — projects from a principal view and preserves the object's silhouette on the strip; pick which axis the gradient runs along. Predictable and repeatable.
- Quick Snap — instantly centers the selected strip on the selected faces. Perfect for fast color-blocking, piece by piece.
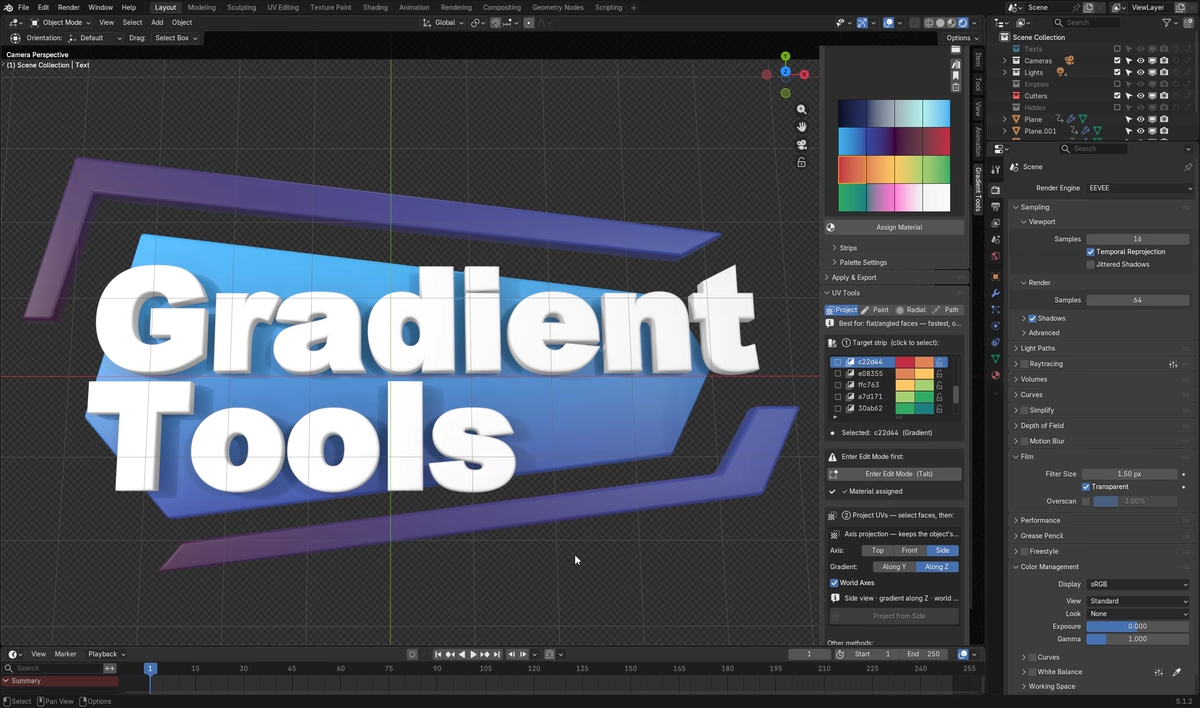
- Current View — projects a gradient using your current viewport angle. Look from the angle you want, click once, done.
Paint — Click, Drag, Done
- Drag — click and drag to lay down a linear gradient; a live ribbon with an arrowhead shows start, end and direction. An optional View Silhouette mode wraps the gradient to match what you see on screen.
- Freehand — draw a flowing stroke by hand; the gradient follows your stroke's shape, smoothed automatically. Ideal for organic surfaces.
Radial — Circles, Glows & Spotlights
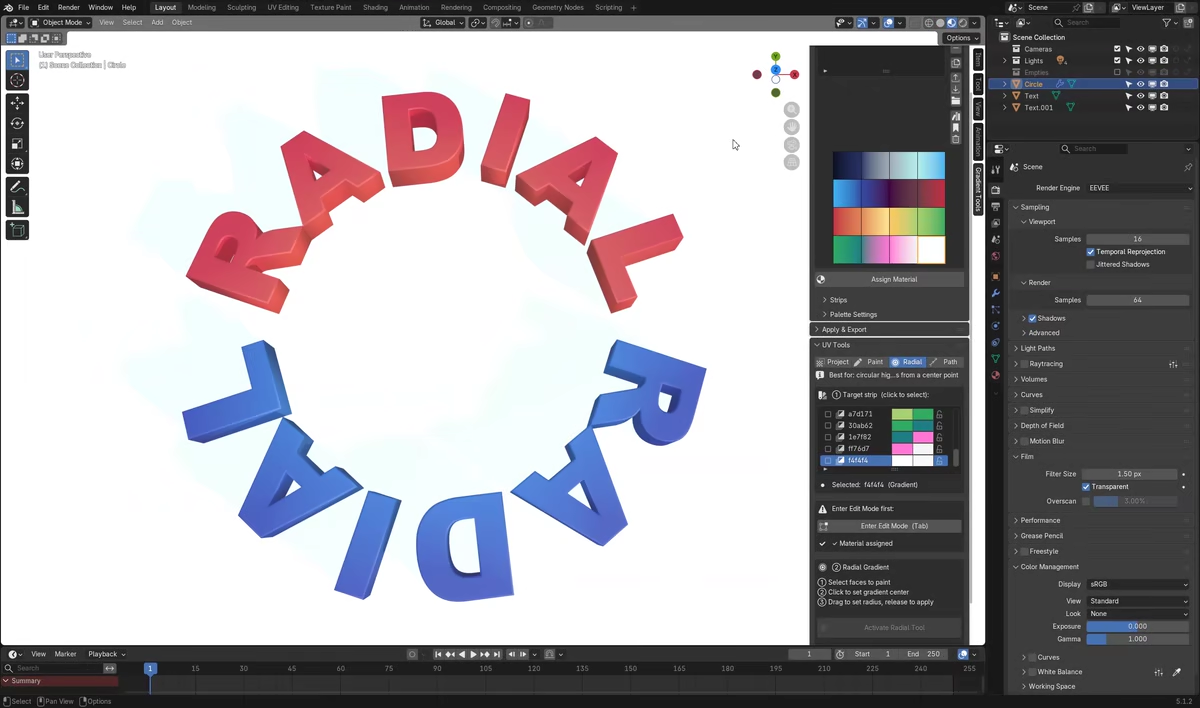
Drag from a center point outward; a live circular preview grows with your cursor. Perfect for eyes, lights, decals, vignettes, or any "glow from a point" effect.
Path — Multi-Point Gradients Along Any Shape
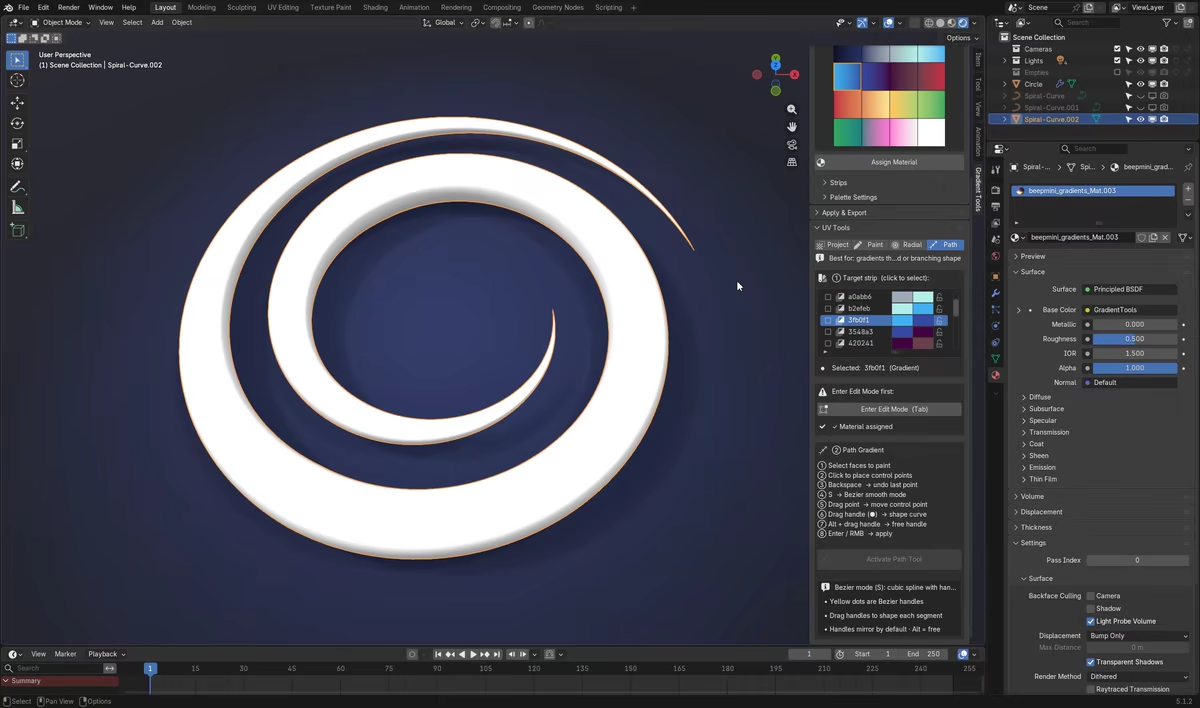
Click to place points and build a smooth Bézier path across your mesh — the gradient flows along it from start to end. Great for ropes, roads, veins and seams a straight line or circle can't follow. Toggle smoothing on/off to compare live.
Every Tool Includes
- A live GPU preview, redrawn every frame — what you see is what you get.
- Press F to invert the gradient at any time, even mid-drag.
- An on-screen shortcut HUD, and the selected-face overlay auto-hides so nothing blocks your colors.
- Robust, artifact-free projection — handles dense or irregular meshes and geometry behind the camera with no stray colors, seams or noise.
✨ Per-Object Material Looks — One Color, Six Looks
New in 2.5.0. Your palette colors now become real per-object materials. Pick any color or gradient and render it as one of six looks — each keeps the exact palette hue and only changes how light plays on it, so the model finally shows its 3D form.
- Toon — crisp cel-shaded bands.
- Flat — soft-shaded but reads the color exactly — the Shadeless successor, still lighting-independent.
- Plastic, Glossy (clear-coat), Metal and Glass (transmissive & refractive) — believable PBR shading, same palette color.
-
Color stays exact where it matters. Flat & Toon keep an emission floor, so a client's
#RRGGBBreads correctly even without lights — the old Shadeless promise, now with real form (best in EEVEE with the Standard view transform, set in one click from the new Color Management panel). - Per object, per face. Looks live in native material slots, so one object can mix looks by face and different objects keep independent looks and colors.
- Tunable per look — metallic, roughness, specular, coat, IOR, transmission, emission floor and Toon band count, plus optional procedural roughness / bump channels with a live color-ramp control.
- Glass that refracts in EEVEE — screen-space + ray-traced refraction turns on automatically (one-click “Enable EEVEE Raytracing” when the scene needs it).
- Apply to the whole object, the painted element, or selected faces.
The new Material Look panel lives in both the 3D Viewport and Image / UV Editor sidebars and auto-selects the look on your current object or faces, so its parameters are ready to tweak.
Open your old files — they just work. .blend files made with the old Shadeless mode migrate automatically to the Flat look on open. No manual steps, no data loss; palettes, painting and curve gradients are untouched.
📚 Save a Look Once, Reuse It Everywhere
Looks are as portable as palettes — save one, then push it anywhere.
- Look presets library — save, apply, import and export looks as JSON, with a searchable Apply popup and your own library folder. Every tunable and the procedural roughness/bump setup round-trips. Ships with 5 built-ins: Chrome, Clay, Frosted Glass, Cel Toon, Matte Plastic.
- Copy Look to Selected — push the active look onto other objects while each keeps its own colors.
- Link Looks (Shared) — selected objects share one material: edit once, all update.
- Eyedropper a look — click any object in the viewport to adopt its look, full fidelity.
- Switch an object's palette in one click — re-point a material to a different palette while keeping the tuned look (matching grids keep the painting; you're warned if they don't).
🧩 Beyond UV Textures — Vertex Colors & Curves
Your palette doesn't have to live only on a UV texture — and this is a genuine edge over other palette add-ons.
- Bake to Vertex Colors — convert your palette assignment into per-face vertex colors in one click, with an optional matching material. A texture-free, game-ready color pipeline.
- Apply to Curves — run a gradient directly along the length of a curve object, no mesh conversion. Perfect for hair, ropes, cables and procedural curve setups.
🖥️ Works Everywhere — 3D Viewport and Image / UV Editor
The full toolset lives in both the 3D Viewport sidebar and the Image / UV Editor sidebar — design, apply and inspect wherever you're working.
- Eyedropper — click any pixel of a reference photo open in the Image Editor to add that exact color as a new strip.
- Grid overlay — cell borders, the active strip highlighted, and optional strip-name labels drawn right over the palette texture (size adjustable).
- Pick Strip — click the palette texture to select that strip instantly.
- Select Faces by Strip — select every face that uses the active strip ("which faces are this color?").
- Move Faces to Strip — retarget a selection's UVs to another strip, preserving their layout: a true palette swap by selection.
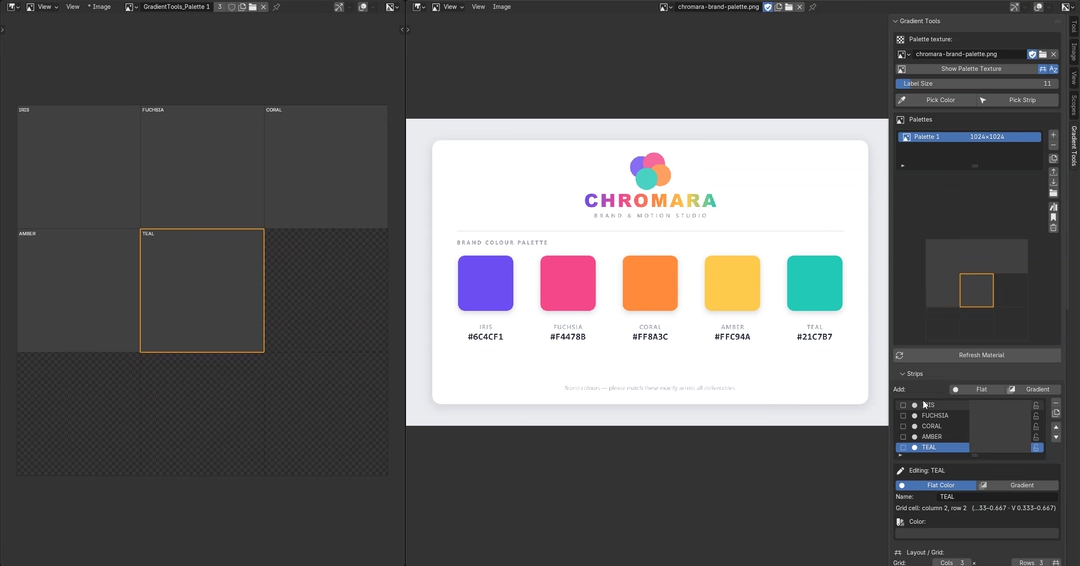
🎨 Build Your Palette — A Visual 2D Color Grid
Every palette is a grid of "strips" — cells you fill with color, like a real swatch sheet. Behind the scenes, Gradient Tools generates a real texture and a ready-to-use material for you.
Two strip types:
- Flat — a single solid color.
- Gradient — a complete Blender Color Ramp: any number of stops, every interpolation mode (Linear, Ease, Constant, B-Spline, Cardinal…) and hue-interpolation mode (Near, Far, Clockwise, Counter-Clockwise).
- Mini Grid Map — see your whole palette at a glance and drag & drop strips to reorder; every UV assignment in your scene follows the move automatically.
- Resolution control from 64×64 to 4096×4096, with optional square lock.
- Color space per palette — Non-Color for in-Blender shading or sRGB for PNG export / game engines.
- Auto-Fit Grid, Compact Slots, multi-select delete, one-click flip, duplicate, and copy a strip into another palette for a shared color library.
- Accurate, gamma-correct live thumbnails everywhere — what you see in the panel is what lands on your model.
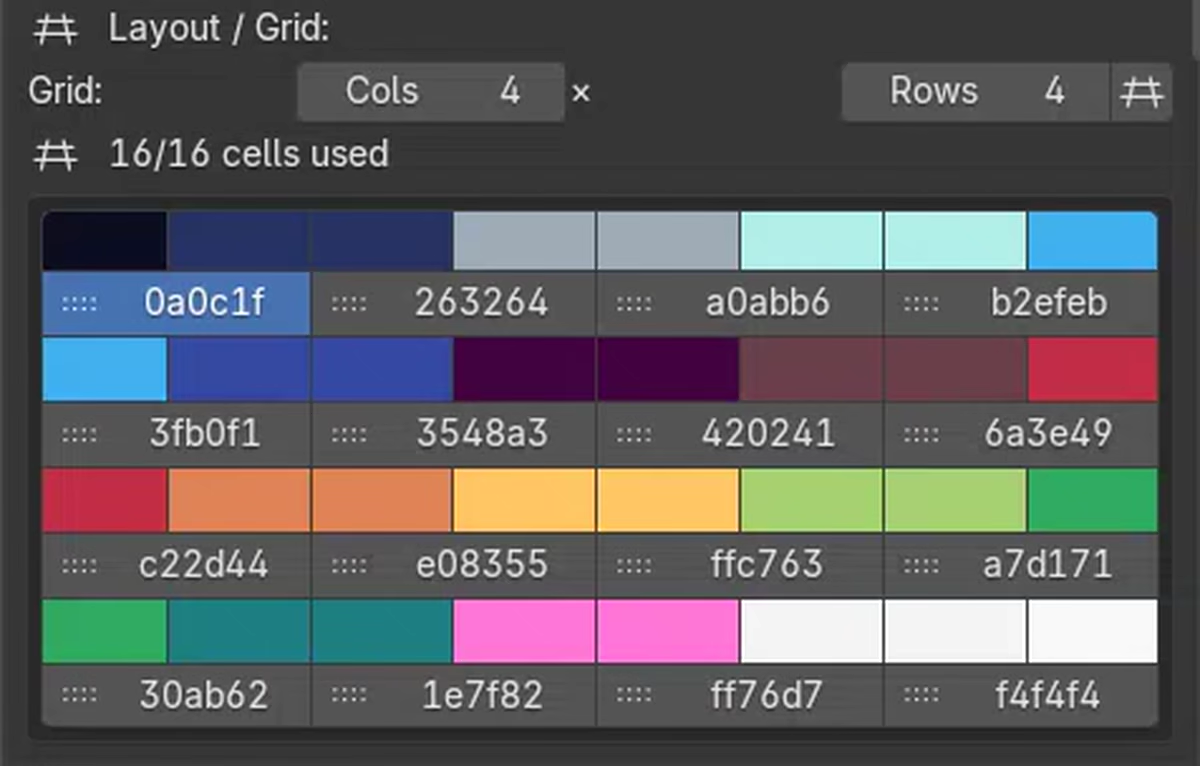
🚀 Presets, Import & Export — Start in Seconds
You don't have to start from a blank grid.
- Built-in presets — Flat Colors, Grayscale and a Gradients sampler, each shown with real color swatches and loaded in one click at your default size.
- Save your own presets and reuse them across every project, with a searchable picker — type to filter, even with hundreds of saved palettes.
-
Universal import — drop in a file and the format is detected automatically: JSON (Gradient Tools' own round-trip format), Adobe Swatch Exchange (
.ase), GIMP Palette (.gpl), PaintShop Pro (.pal), plain text (.txt) and hex lists (.hex). - Export to JSON to back up, move or share a palette — exported palettes keep their exact size on re-import.
⚙️ Also Includes
- Assign Material to the active object, or to every selected object at once (it reuses a single shared material instead of creating duplicates).
- Save PNG — export the generated palette texture for use outside Blender; or Show in Image Editor in one click.
- A searchable UV Map selector (auto-creates one if your mesh has none).
- Add-on preferences for your defaults — starting grid size, default texture resolution and default strip type. New and imported palettes adopt your default size automatically.
- A cleaner read-only strip picker in UV Tools & Curve — each cell shows the strip's real color or gradient as a crisp swatch (Grid or List style); the full editor stays in the Strips panel.
- A genuinely plain-language interface, organized into clear panels, with a dismissible Quick Start for newcomers.
Great For
- Stylized, hand-painted texturing — flat-shaded characters, props and environments
- Hard-surface kitbashing — fast color-blocking of panels, trims and details
- VFX & motion graphics — exact, lighting-independent brand / client colors (the Flat look)
- Look development — six material looks per object (Toon to Glass) with no node wrangling
- Skin-tone studies and material exploration
- Smooth, procedural-looking gradients with no procedural setup
- Quick palette swaps and color variants across asset families
- Hair, rope, cable and road gradients via Curve support
- Lightweight, vertex-color-only assets for game engines
Technical Details
| Version | 2.5.0 — per-object Material Looks (old Shadeless files migrate automatically) |
| Blender version | 4.2+ (including Blender 5.x) |
| Render engines | Cycles and EEVEE — six per-object Material Looks (Flat & Toon read the exact color, best in EEVEE + Standard) |
| Object types | Mesh and Curve |
| Output | UV texture, vertex colors, or curve gradient — PNG export |
| Texture resolution | 64×64 to 4096×4096, Non-Color or sRGB |
| Dependencies | None — Blender Python API, native shader nodes and NumPy only |
DEMO VIDEOS
Stop unwrapping UVs by hand. Start painting.
Gradient Tools is actively developed and updated — feedback and feature requests are welcome.