Imm Tool - Blender Integration
 Playful Pixel


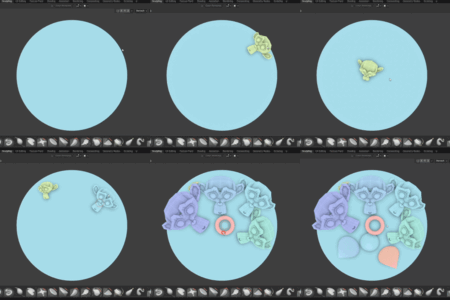
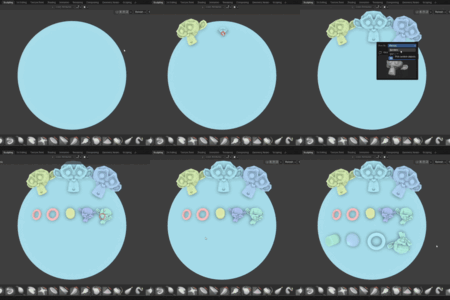
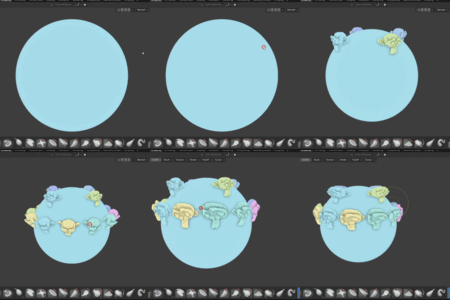
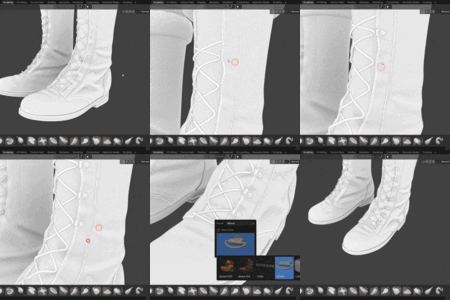
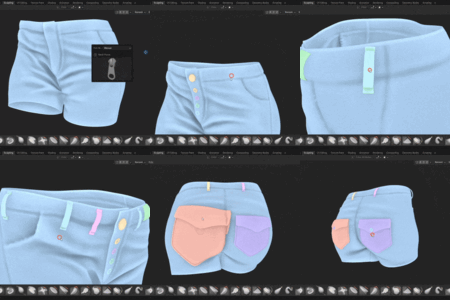
IMM Brush Tool - v1.0.2
blender_version_min = "4.2.0"
📦 Installation
Getting started with the IMM Brush Tool is simple:
- Download the
.zipfile included with your purchase. - Open Blender, go to Edit → Preferences → Add-ons, and click Install from Disk.
📍 Location
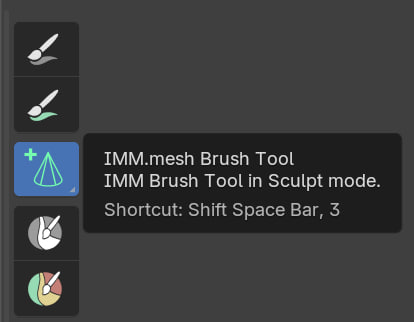
You’ll find the IMM Brush Tool in Sculpt Mode.
🛠️ How to use
🎨 Asset creation
- Open Blender and add your objects.
- Ensure origin, rotation, and scale are correctly set.
- Select all objects, right-click in the Outliner, and choose Mark as Asset. This will create thumbnails.
- Save the file and add its path to File Paths → Asset Libraries in Blender Preferences.
The add-on only scans files in the top-level directory — recursive folder walking was removed due to performance issues and crashes with deeply nested folders.
-
Tip 1: Face objects toward the
-Yaxis for better thumbnail previews. - Tip 2: You can add modifiers to your objects—especially useful when Auto Target is enabled.
🖌️ Using the tool
- Open your project or start a new Blender file.
- Switch to Sculpt Mode.
- Select the IMM Tool.
📁 Asset selection
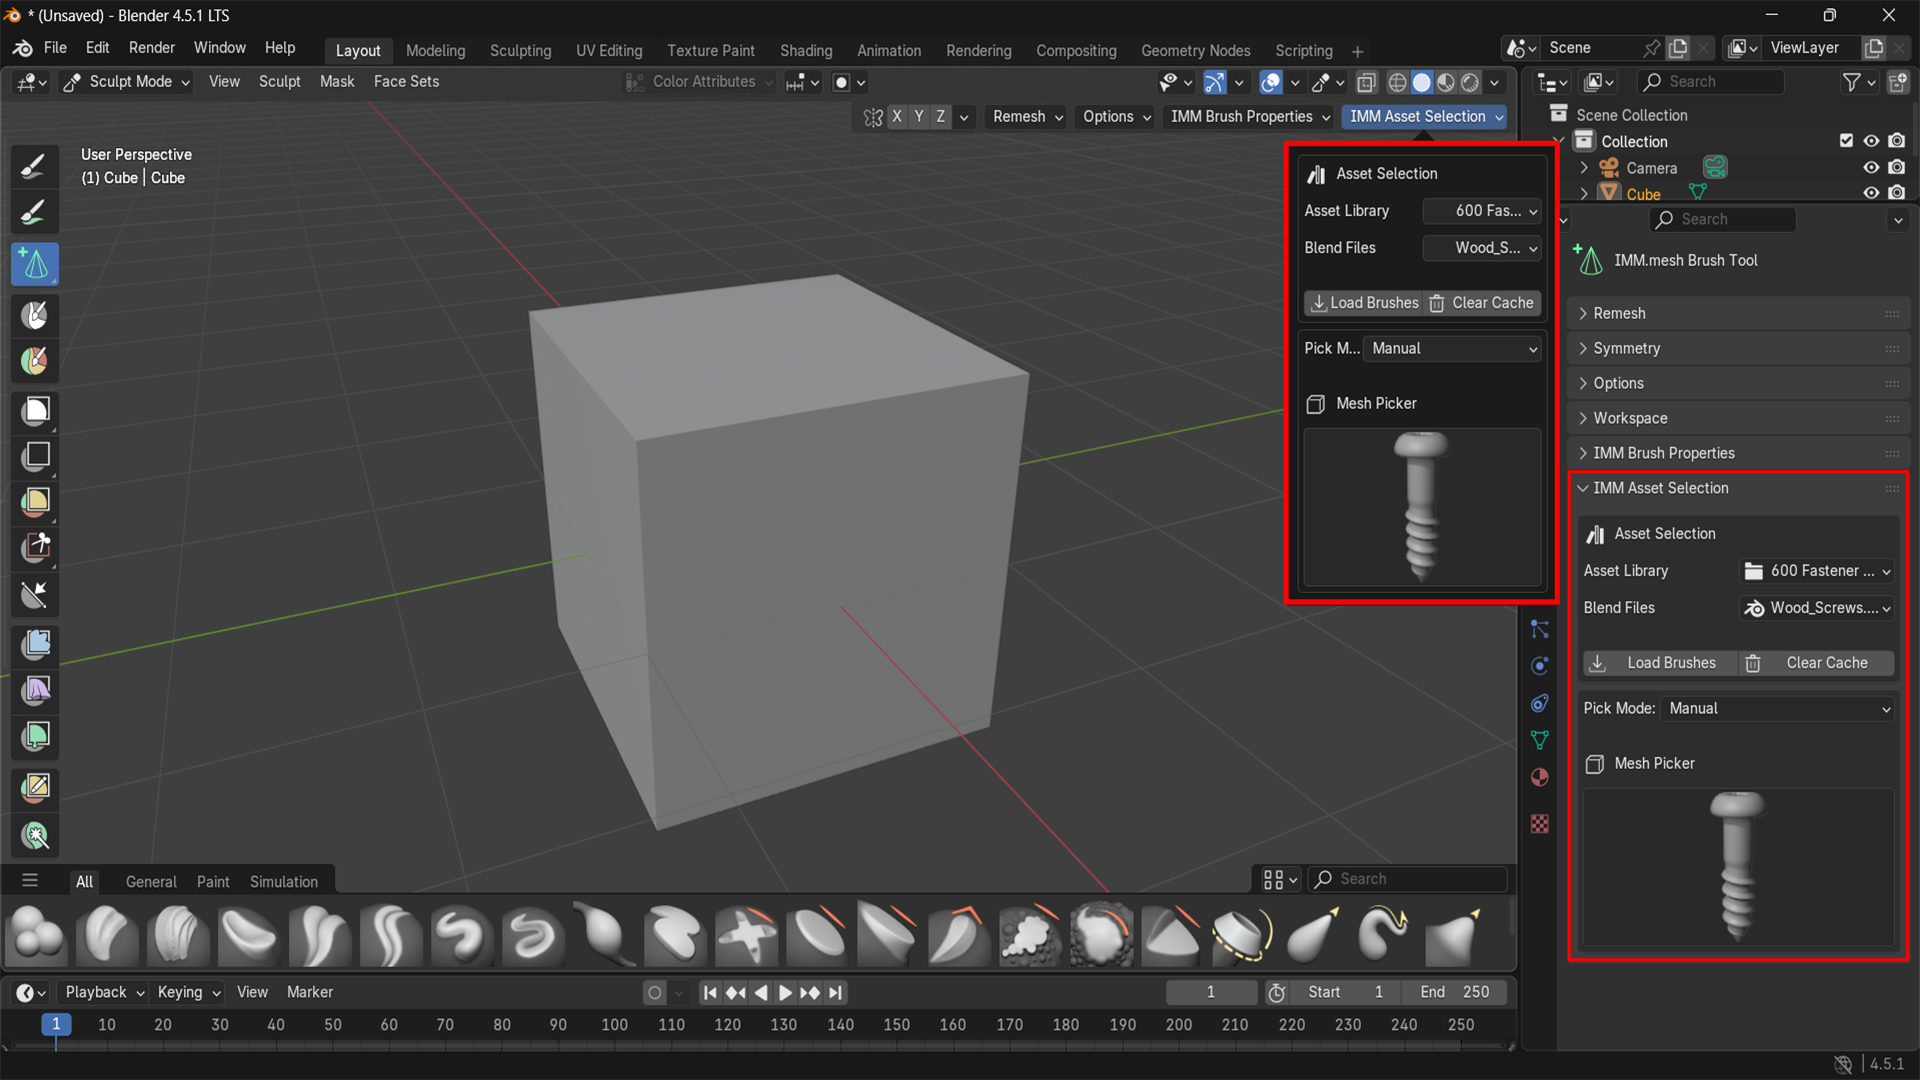
- Panel: Find the IMM Asset Selection Panel in the header or the Tools tab.
- Load: Choose your asset library path and brush file, then click Load to activate the tool.
- Session files: Loaded files are not saved with Blender and are removed when Blender closes, so you generally don't need to clear the cache afterward.
- Quick pick: Right-click in the 3D Viewport to choose your mesh manually, randomly, or sequentially.
⚙️ IMM properties

- Auto Target: Sets the target of brush object modifiers to the active object. Supported modifiers
- SHRINKWRAP
- DATA_TRANSFER
- BOOLEAN
- VERTEX_WEIGHT_PROXIMITY
- MIRROR
- GEOMETRY_NODES
Note: In the Geometry Nodes modifier, the socket name must be"target", and it is not case-sensitive. -
Depth:
- Positive values push the mesh into the surface.
- Negative values pull it outward.
- The slider accepts any numeric input.
-
Scale Lock: Hold
Ctrlto lock scale to the current value. The slider accepts any numeric input. - Scale Sensitivity: Adjusts scaling responsiveness.
- Mirror: Mirror the mesh across the X, Y, or Z axis.
- Radial: Enables radial symmetry.
- Local: Uses the object’s local transform for Mirror and Radial operations.
- Link Object Data: This option shares mesh data only between objects created through Mirror or Radial duplication. It allows synchronized editing across those instances.If you no longer want the duplicated objects to share the same mesh: Switch to Object Mode. Select the objects you want to separate. Go to the Object menu → Relations → Make Single User → Object & Data.This will give each object its own independent mesh, breaking the shared link.
🔄 Important Note on Sculpt Mode
When you sculpt, Blender keeps your strokes in a temporary state. Other tools (like raycasting or snapping) won’t see those changes until you leave Sculpt Mode and come back.
So if something doesn’t line up with your sculpt, just toggle out of Sculpt Mode and back in — this updates the mesh so everything works as expected.
-
$12
This license grants one individual the right to use the IMM Brush Tool for personal, non-commercial projects.
-
$20
This license allows one individual to use the IMM Brush Tool for commercial purposes.
-
$75
This license permits commercial use across multiple workstations within a small studio environment.
-
$500
This license covers unlimited users within a single organization.
Have questions about this product?
Login to message
| Blender Extension Compatible | Yes |
| Sales | 100+ |
| Rating | 4 ratings |
| Dev Fund Contributor | |
| Published | about 1 year ago |
| Blender Version | 4.2 - 4.5 |
| Extension Type | Add-on |
| Render Engine Used | Arnold, Blender-Internal, Blender-Game-Engine, Cycles, Eevee, Freestyle, Luxrender, Mental-Ray, Octane, Vray, Yafaray |
| License | GPL |

Discover more products like this
Brush Presets Sculpt Workflow Modeling tools zbrush Insert Multi Mesh asset library tool Brush imm Custom mesh sculpting