Instant Rig & Animate: Blender Auto Rig Addon With Finger Rig and 15 Character Animations
 Salman Animator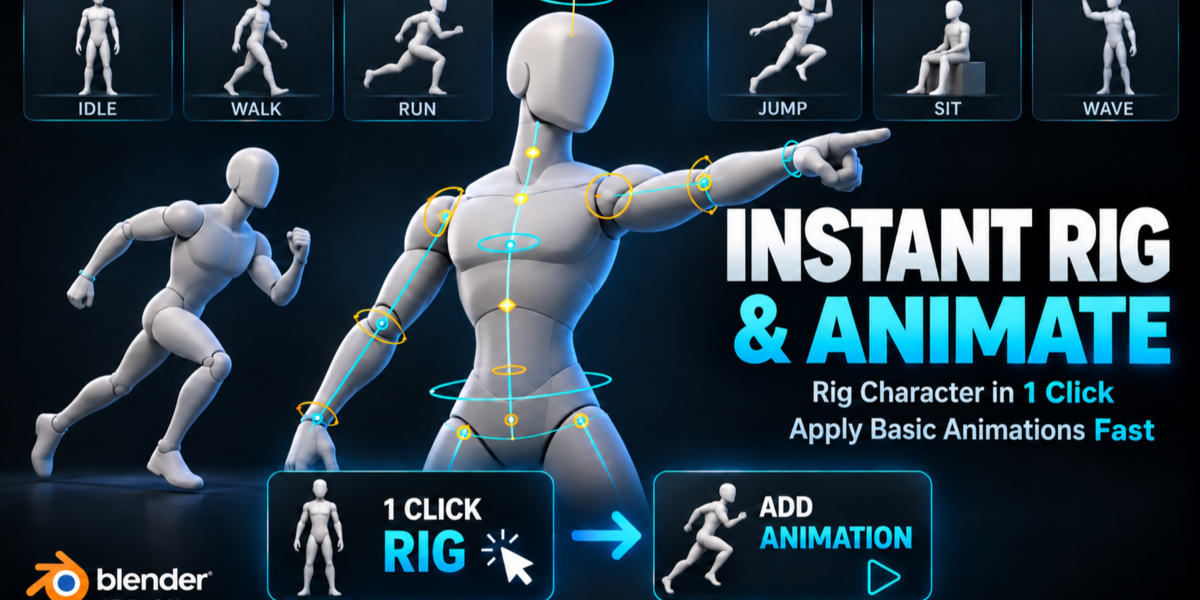
Requirements
- Blender 3.6 LTS or newer
- A humanoid mesh in an upright T-pose or A-pose
- The mesh should be unrigged and face -Y (Blender front). Other facing directions can be set in Advanced Settings.
Installation
Blender 4.2 and newer
- Download the ZIP. Do not extract it.
- Go to Edit > Preferences > Get Extensions (or Add-ons), open the dropdown menu and choose Install from Disk.
- Select the ZIP and enable Instant Rig & Animate.
Blender 3.6 to 4.1
- Download the ZIP. Do not extract it.
- Go to Edit > Preferences > Add-ons > Install.
- Select the ZIP and enable Instant Rig & Animate.
Open the 3D Viewport sidebar with N and click the BU Animator tab.
Updating: disable the old version first, install the new ZIP, then restart Blender if old buttons still show. Do not keep two copies enabled.
Quick Start A: Use a built-in character
- In 1 CHARACTER, choose Test Pilot, Hero Pilot, Agile Pilot or Compact Pilot.
- Click LOAD READY CHARACTER. The character appears at the 3D cursor with Idle applied.
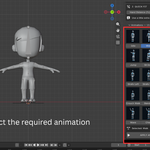
- Pick an animation thumbnail.
- Click APPLY ANIMATION and press Space.
Quick Start B: Rig your own character
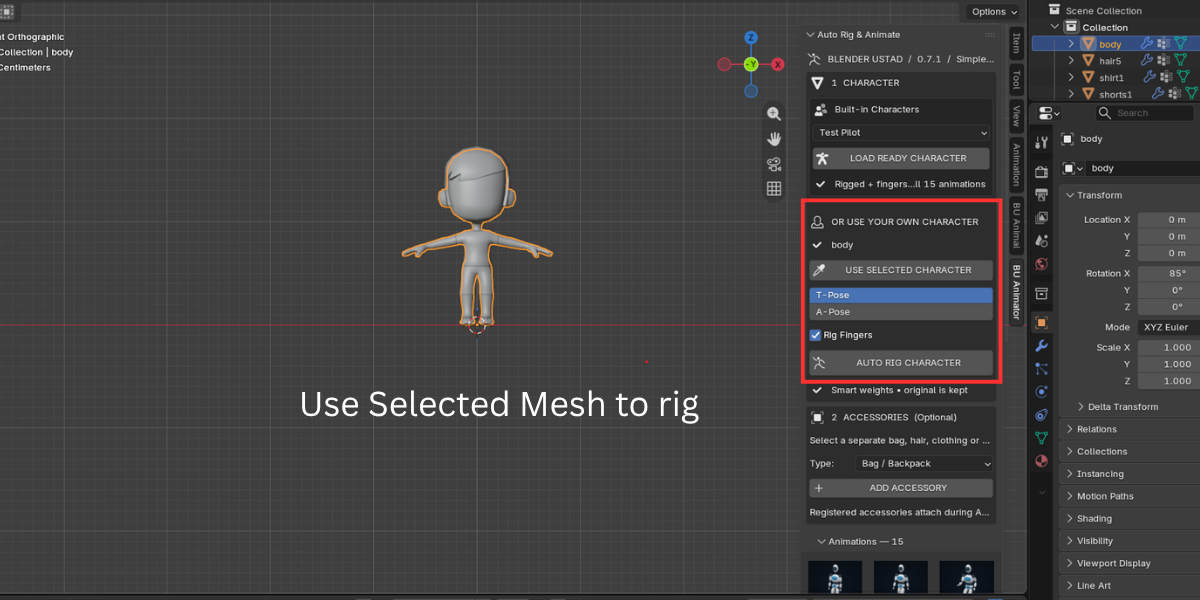
- Select the main body mesh. Do not select hair, bags or props.
- Click USE SELECTED CHARACTER.
- Set Starting Pose to T-Pose or A-Pose.
- Leave Rig Fingers on if you want finger bones.
- Optional: register accessories (see below).
- Click AUTO RIG CHARACTER.
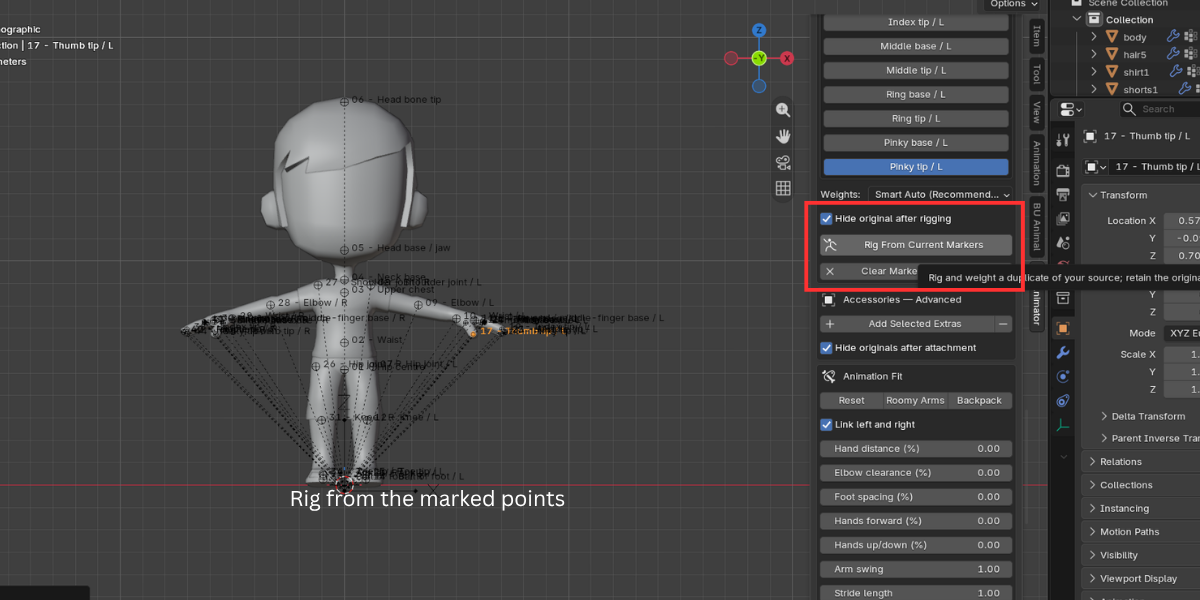
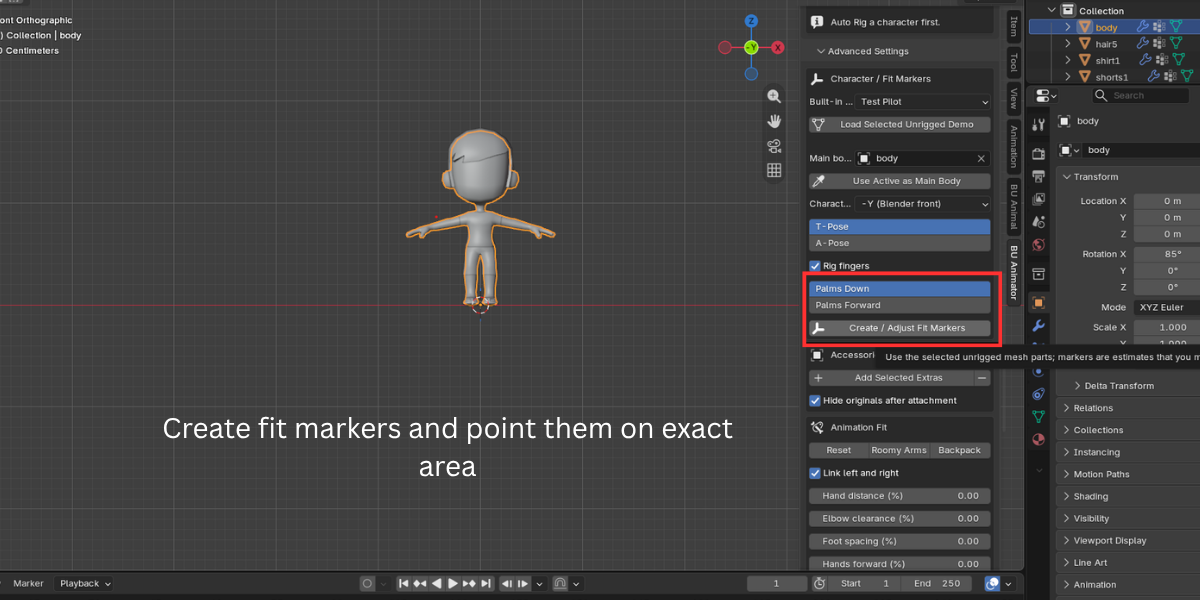
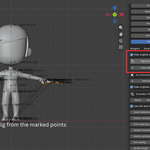
- If something looks wrong, adjust the fit markers and click TRY RIG AGAIN.
Adjusting fit markers
When markers are in the scene, use the arrow buttons to step through each joint. Click Select Marker, press G to move it, and check both the front and side views. With Mirror left to right on, edit the left side only. Turn Mirror off for asymmetric characters.
For fingers, place each finger's Base and Tip marker. Each line is split into three equal bones. Choose Palms Down or Palms Forward in Advanced Settings to get a closer first estimate.
Weight methods
| Method | When to use it |
|---|---|
| Smart Auto (Recommended) | Default. Tries Blender Automatic Weights, falls back to proximity if coverage fails. |
| Blender Automatic | Heat weights only. Stops if Blender's solver fails. |
| Distance / Proximity | Always covers every vertex, but needs a visual check and often some weight paint cleanup. |
If the fallback was used, the panel shows a warning. Check shoulders, hips and hands.
Accessories
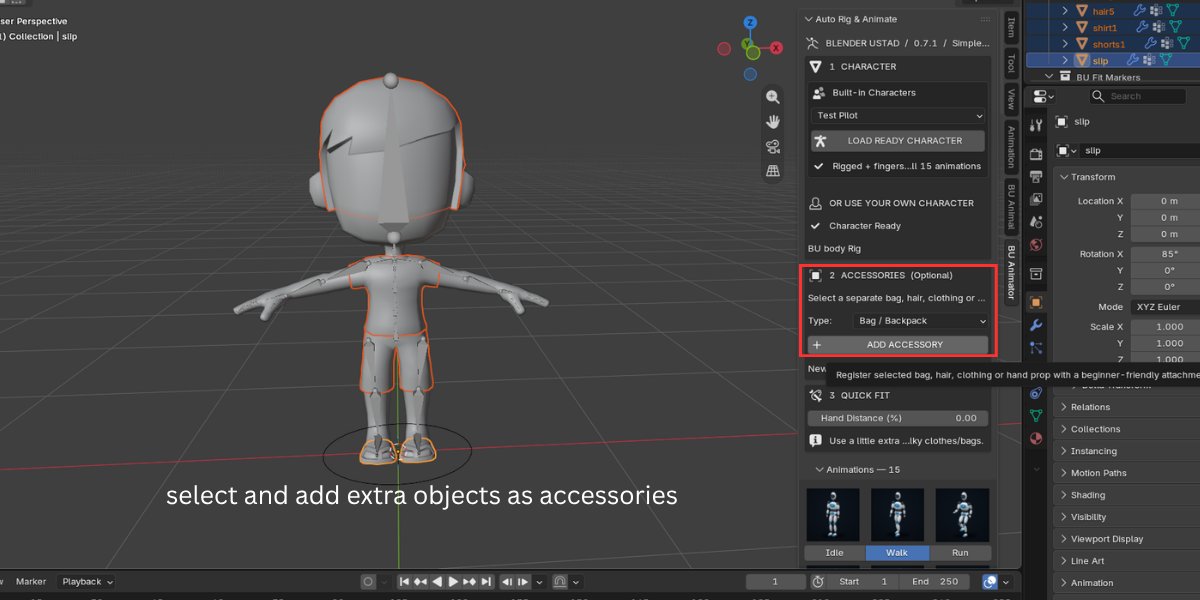
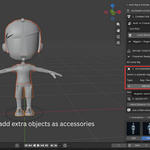
Select the accessory, choose a Type in 2 ACCESSORIES, then click ADD ACCESSORY.
| Type | Behavior |
|---|---|
| Bag / Backpack | Rigid. Follows the chest. |
| Hair / Hat | Rigid. Follows the head. No hair dynamics. |
| Clothes | Copies weights from the body surface. Best for close fitting clothes. |
| Left Hand Prop / Right Hand Prop | Rigid. Follows the hand. |
Register accessories before you auto rig and they attach during rigging. Add them after rigging and they attach straight away. Advanced Settings also offer Pelvis / Belt, Left Foot, Right Foot and any custom bone.
Rigid accessories are aligned in rest pose. For flexible straps, keep them as separate objects and use the Clothes mode.
Applying animations
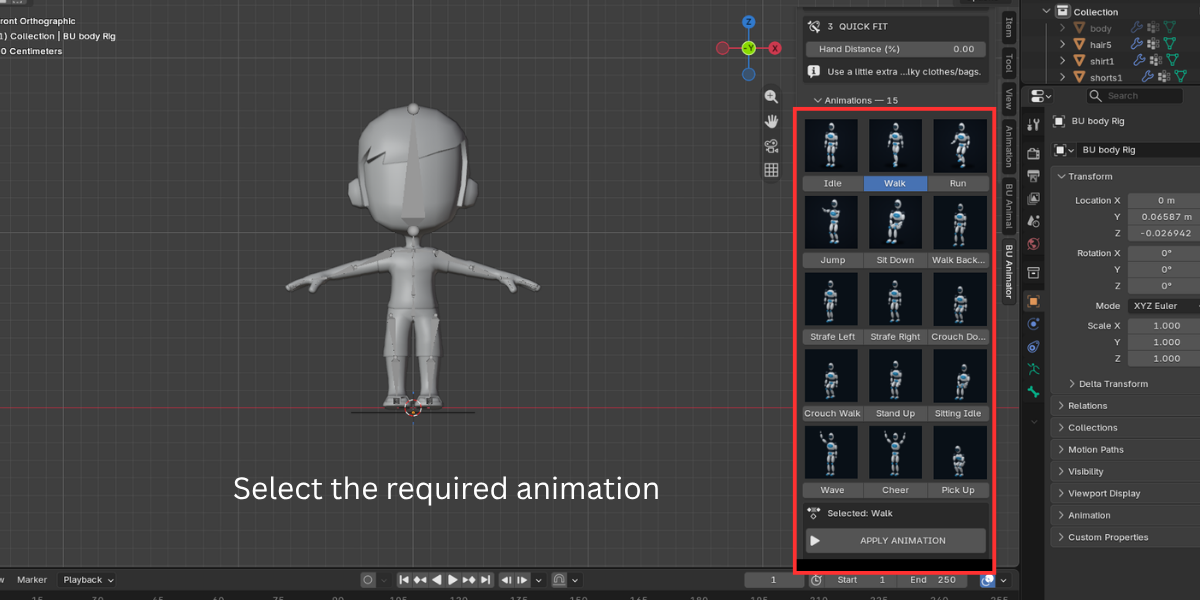
- Pick one of the 15 thumbnails.
- For Wave, choose the Left or Right hand.
- Click APPLY ANIMATION.
In Advanced Settings > Animation / Timeline you can search clips, filter by category, change Speed, Start Frame, Repeat and Cycles, turn on Root Motion for travel clips, and set Seat / height for sitting clips. Use Add to Timeline to append a clip in the NLA after the previous one.
Changing a slider does not change the playing animation. Click APPLY ANIMATION again to bake the new settings into a fresh Action.
Animation fit
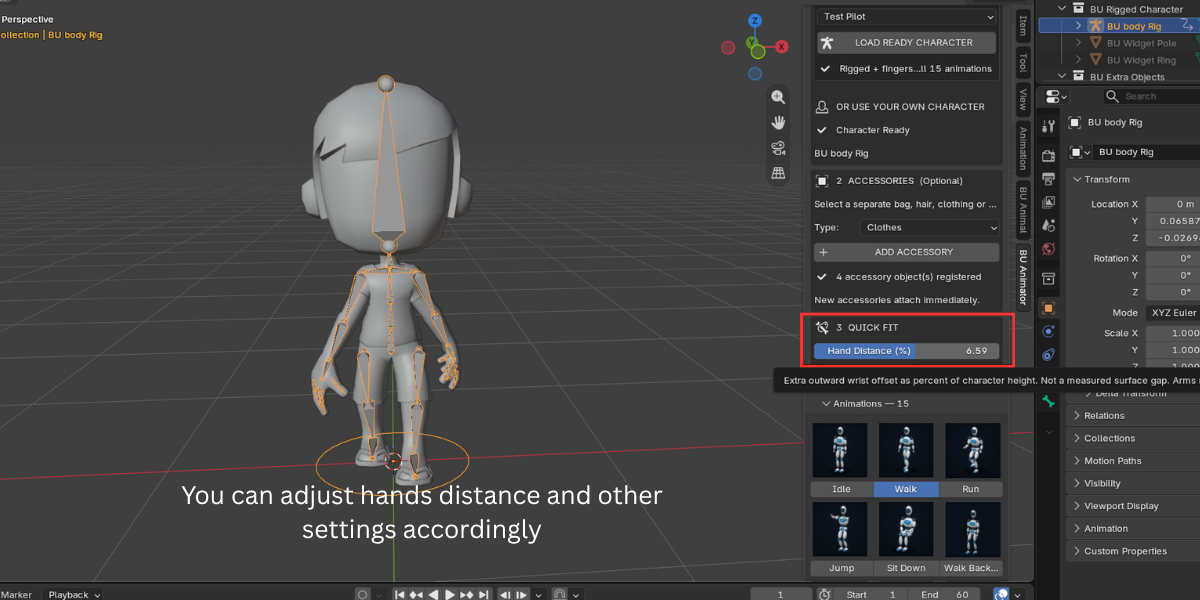
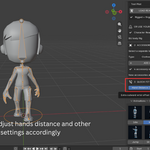
Hand Distance (%) adds outward space for the hands as a percentage of the character's height. At 1.8 m tall, 2% equals about 3.6 cm per hand. A value of 0 keeps the original spacing.
Advanced controls: Link left and right, Left/Right hand, Elbow clearance, Foot spacing, Hands forward, Hands up/down, Arm swing, Stride length, Foot lift and Body lean.
Presets: Reset, Roomy Arms (2% hands, 1% elbows), Backpack (2.5% hands, 1% forward, 1.5% elbows, 0.85 arm swing).
Use Preview Spacing Pose to see offsets on a neutral stance, then Restore Spacing Preview to go back. Save Fit to Rig and Load Rig Fit store settings per character.
If a target is out of reach, the arm is clamped instead of stretched and the panel warns you. Lower the value or shorten the stride.
Pose editing
In Pose Editing & Checks:
- Edit FK Pose or Edit IK Pose pauses the animation so you can adjust a pose. Resume Animation brings it back.
- Rest / Animated Pose switches between rest and animated views.
- Enable Safe Pose Controls locks FK move and scale and disables IK stretch.
- Finger Controls select Left, Right or Both finger sets. Rotate with R and key with I. Reset Fingers clears finger pose changes only.
Checks and repair
-
Inspect Stretching / Rig creates a Text Editor report named
BU Rig Check - <rig name>. - Rebind Selected Body Copies tries new weights on selected body parts and keeps the old copies hidden as backups.
- Show / Hide Originals reveals the original meshes the addon kept.
- Restore Previous Animation returns the Action and NLA state from before the last apply.
Tips for the best result
- Spread the fingers slightly and keep them straight in the rest pose.
- Keep arms away from the torso. A-Pose arms touching the hips make weighting harder.
- Apply scale and rotation on your mesh before rigging (Ctrl+A).
- Separate hair, bags and props into their own objects.
- Work on a saved copy of your file the first time.
Have questions about this product?
Login to message
| Blender Extension Compatible | Yes |
| Published | 9 days ago |
| Blender Version | 3.3 - 5.2 |
| Extension Type | Add-on |
| Render Engine Used | Cycles, Eevee, Freestyle |
| License | GPL |
