 pathnode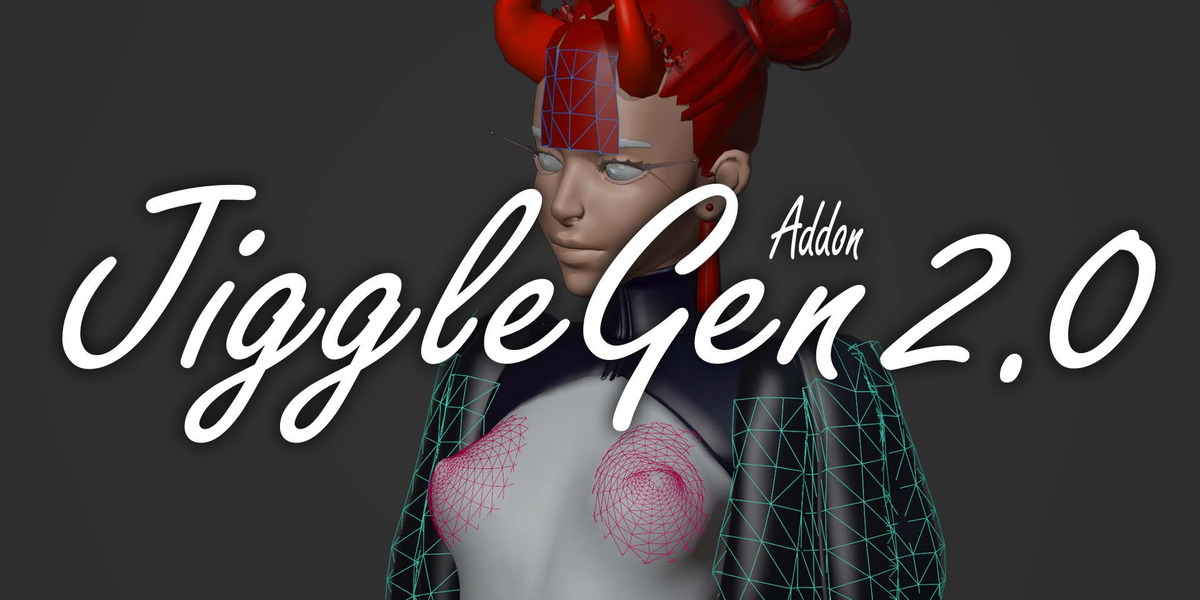


Overview

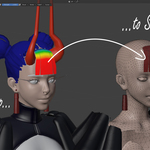
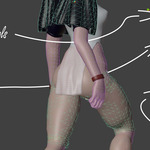
JiggleGen turns any vertex group into a working secondary-motion setup: cloth-driven jiggle for characters, props, or clothing. Pick a mesh, pick a vertex group, press Generate — JiggleGen builds an optimized simulation proxy, sets up Cloth, and binds it back to your original mesh with Surface Deform. No manual proxy-building, no manual Surface Deform setup, no cleanup between iterations.
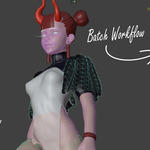
Built for production use on real characters: batch multiple regions across multiple objects at once, reuse tuned Cloth setups as presets, and regenerate as many times as you like without leaving stray objects behind.
Installation
- In Blender, open Edit > Preferences > Get Extensions (or Add-ons on older Blender versions).
- Use Install from Disk and select the downloaded .zip file. Don't unzip it first.
- Enable JiggleGen in the list.
- A new JiggleGen tab appears in the 3D Viewport's sidebar (press N if the sidebar is hidden).
Requires Blender 3.2 or newer.
Quick Start
The fastest path to a working jiggle:
- Select your character mesh and press Add to Batch in the Batch panel.
- With the new entry selected, click + under the vertex-group list and pick the vertex group you want to simulate (e.g. Belly, Breast.L, Ear.R).
- Optionally pick a Preset from the dropdown, or leave it blank to use the Cloth Settings panel's current values.
- Press Generate Jiggle.
That's it. JiggleGen creates a simulation proxy, sets up Cloth on it, and binds it to your mesh. Play the timeline and the region jiggles. Run Generate again any time to apply changed settings; nothing needs to be deleted or cleaned up first.
The Batch Panel
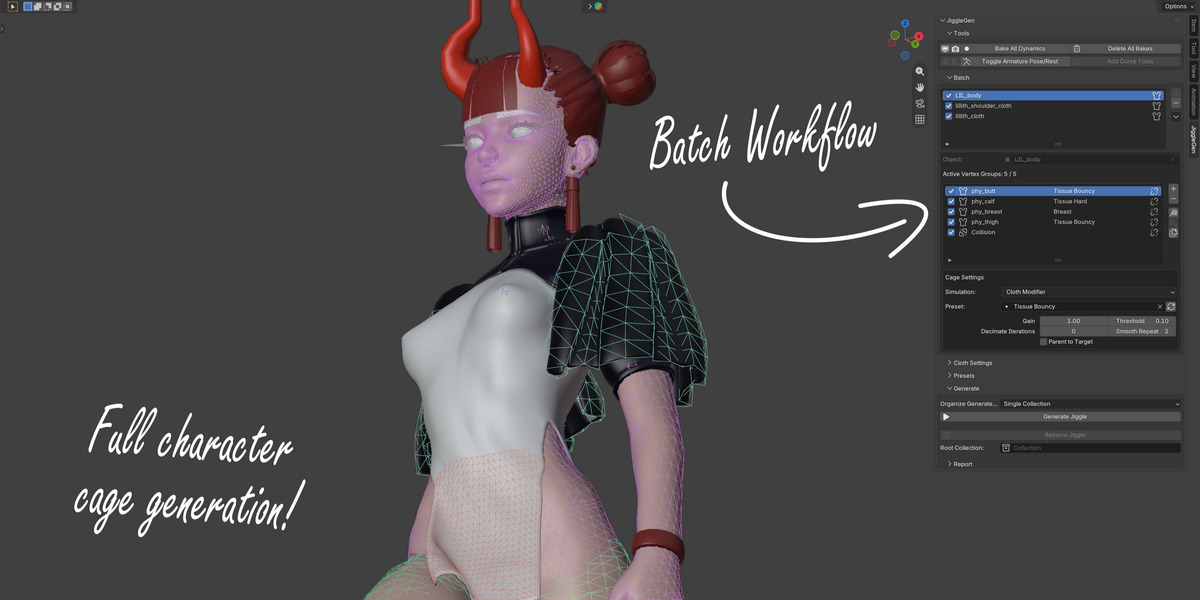
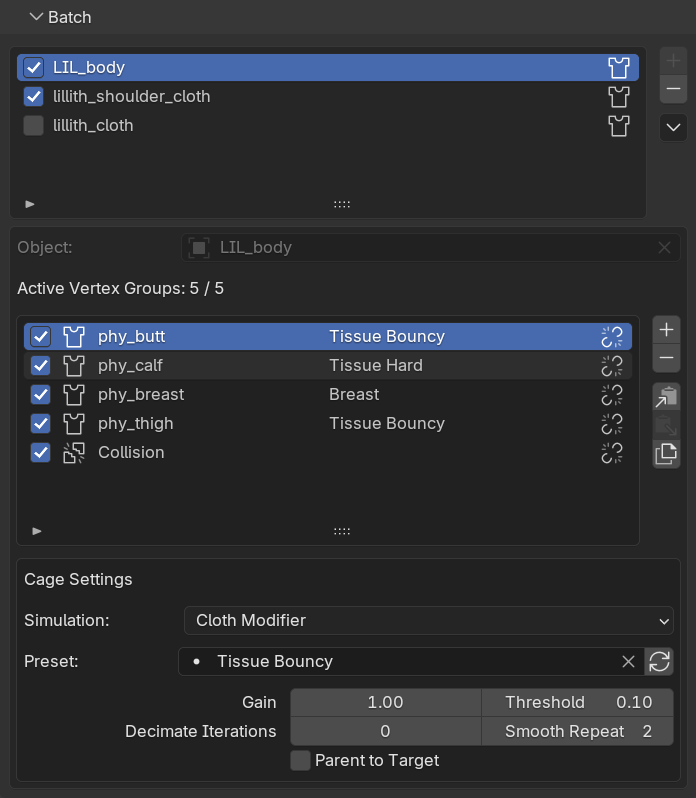
The Batch panel is where you build up a list of every object that JiggleGen should generate.
- Add to Batch / Remove: add the selected mesh (or hair Curves object) as a new entry, or remove the active one.
- Vertex-group tasks: each batch entry holds a list of vertex groups. Every group becomes its own simulated cage object with its own settings.
- Checkboxes: enable/disable a specific task or a whole entry without deleting it. Useful for excluding finished cage objects.
- Batch Entry Jobs (▼): the dropdown next to the batch list lets you transfer settings between entries, and export/import a whole batch setup to reuse it on another object or in another file.
If a batch entry's target object gets deleted or renamed outside JiggleGen, the entry is flagged rather than silently breaking. Reassign it to a different object right there in the panel or remove the entry.
Cage Settings
These settings live per vertex-group task, so different regions on the same character can each be tuned independently.
| Setting | What it does |
|---|---|
| Gain | Multiplies the vertex group's weights before simulating. Turn this up to include more of the region, down to soften its edges. |
| Threshold | Vertices below this weight are excluded from the simulation entirely, sharpening the region's boundary. |
| Decimate Iterations | Reduces the proxy's vertex count for performance. Higher values simulate faster but lose detail. |
| Smooth Repeat | Adds a Smooth modifier after simulation to soften faceting; 0 disables it. |
| Parent to Target | Parents the generated proxy to the target object, so it follows the target's own transform. |
Coming from JiggleGen 1.1?
If you open a .blend that still has a batch set up from JiggleGen 1.1, a banner appears at the top of the Batch panel offering to import it. Your target objects, vertex groups, presets, and per-region settings (Decimate, Smooth, Parent to Target) are carried over automatically. Dismiss the banner if you'd rather not, and the import option stays available afterward from the Batch Entry Jobs (▼) dropdown.
Cloth Settings & Presets
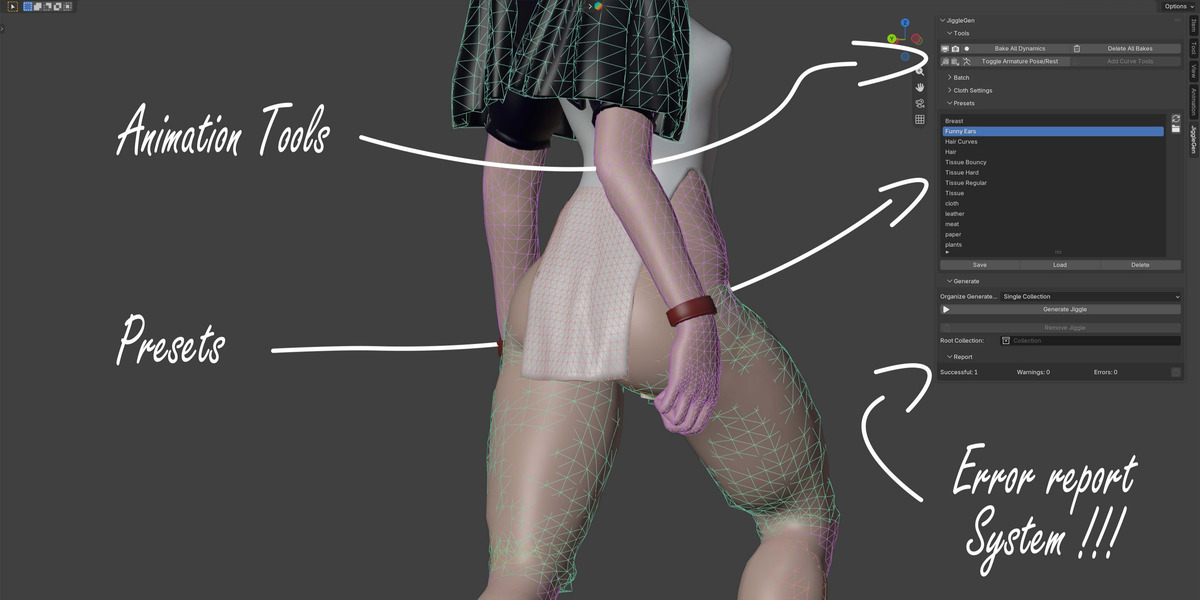
Each vertex-group task uses either the Cloth Settings panel's current values, or a saved preset, if one is selected on that task.
- Cloth Settings mirrors Blender's own Cloth Physics panel, grouped into collapsible sections (Stiffness, Damping, Internal Springs, Pressure, Collisions, and more) so it doesn't turn into one long scroll.
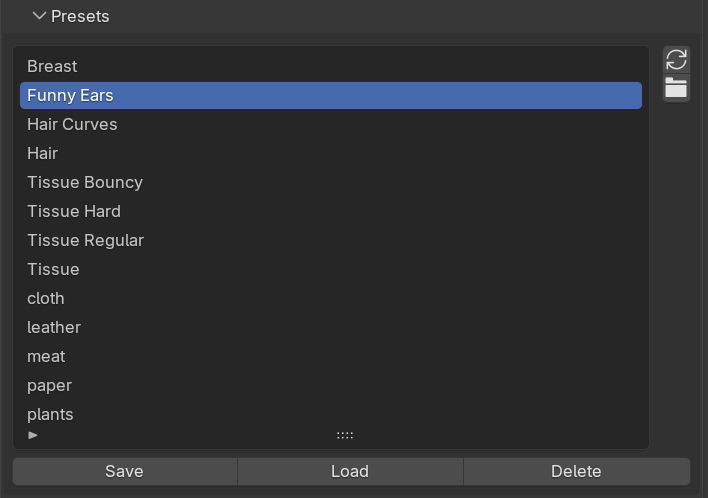
- Presets are saved and loaded through the Presets panel, using Blender's own native preset system — the same files also show up in Blender's own Cloth Physics preset dropdown, and vice versa.
- JiggleGen ships with tuned starting points for several materials — general Cloth, Paper, Hair, Leather, Plants (flowers/grass), and Meat/flesh — alongside the original Breast, Funny Ears, Hair Curves, and three Tissue variants (Regular/Hard/Bouncy). Use one as-is or as a starting point for your own.
- To save your own: dial in the Cloth Settings you want, then use Save in the Presets panel.
- Presets live in the folder Blender itself uses for Cloth presets, so anything you make is available inside JiggleGen and Blender's native Cloth panel. Preferences lets you point JiggleGen at a different folder if you'd rather keep presets elsewhere.
Collision
Collision keeps a jiggling region from passing through the rest of the character. It's its own task type, not a separate toggle:
- Add a task the same way you add a vertex-group task, but choose Collision instead of picking a vertex group.
- JiggleGen builds a collision mesh from everything outside the character's other active jiggle regions on that object. The parts that should stay solid.
- Exclusion Margin grows or shrinks that collision region by whole vertex rings. Positive values widen the hole around the jiggling area, negative values shrink it back down, useful when a jiggle region's edge needs to tuck slightly under the surrounding collision mesh instead of floating just above it.
Simulation Backends
Every vertex-group task can simulate using either system, chosen per task:
- Cloth Modifier (default) More advanced and reliable. Use this unless you have a specific reason not to.
- Geometry Nodes (Experimental) — Blender 5.2+'s newer "Cloth Dynamics" system, with its own settings panel. Still experimental on Blender's side, and requires Blender 5.2 or newer. The option is unavailable on older versions and a task already set to it will show a warning explaining why until you switch it back.
Presets save and load values for both backends independently, so switching a task between them never loses either one's configured settings.
The Geometry Nodes backend requires Blender 5.2 or newer. The classic Cloth Modifier remains the default and isn't going away.
Hair Cage (Experimental)
Hair Cage brings jiggle to Curves-based hair without converting anything by hand:
- Select a Curves (hair) object grown on your character and Add to Batch.
- Configure Ribbon Width and Threshold in the Cage Settings box, and optionally a preset.
- Press Generate Jiggle.
JiggleGen builds a ribbon-shaped proxy from the strands themselves, simulates it, and drives your original hair curves from the result automatically. The hair moves with the simulation without ever being converted to a mesh. Each strand's root stays anchored; how far the stiffness extends past the root is controlled by Threshold.
Enable Add Collision to give the hair something to bump against on the object it's parented to.
This Model is great for Blender Files below 5.2, since it gives an alternative for the Geometry Node Simulation.
Generate & Remove Jiggle
- Generate Jiggle processes every enabled entry and task in the batch. Running it again always replaces the previous result cleanly.
- Organize Generated Objects (top of the Generate panel) chooses where generated objects are linked: a single dedicated collection per scene (default), or alongside each target object's own collection.
- Remove Jiggle deletes everything JiggleGen generated within a collection you choose. It deletes cage objects, collision meshes and the modifiers they added while leaving your batch setup, presets, and original objects untouched. It shows exactly what will be removed before you confirm.
- The Report section (bottom of the Generate panel) shows what happened on the last run: how many tasks succeeded and a clear reason for anything that didn't. One failing region never stops the rest of the batch.
Tools
A compact set of utilities, available whenever their target exists:
- Toggle Jiggle Visibility: show/hide every JiggleGen Cloth simulation in Viewport or Render at once.
- Bake All Dynamics / Clear Bakes: bake or clear the cache for every JiggleGen-generated simulation in one click.
- Copy / Extract Cloth Settings: copy the active Cloth Settings onto the selected object's own Cloth modifier, or pull an existing Cloth modifier's settings back into the panel.
- Toggle Armature Pose/Rest: quickly flip the active armature between Pose and Rest position.
- Add Curve Tools: adds a strand-thinning node setup to a selected hair Curves object, useful before Hair Cage generation to keep the proxy lighter.
Preferences
Found under Edit > Preferences > Add-ons > JiggleGen:
- Proxy Prefix / Collision Prefix / Collection Name — customize the naming JiggleGen uses for generated objects and collections. Defaults match what's described throughout this page; changing them doesn't affect anything already generated.
- Preset Directory — read-only display of where presets currently live, with an optional override field and a button to open that folder directly.
- Debug Logging — prints extra diagnostic output to Blender's system console; leave off unless a support request asks for it.
Troubleshooting / FAQ
Generate says a name is already in use.
JiggleGen never overwrites an object it didn't create itself. If the exact name it needs to use already belongs to something else in your scene, that task fails safely rather than risk deleting your data. Rename the conflicting object, or remove it if it's no longer needed.
A region doesn't seem to bind to the target.
Check the Report section at the bottom of the Generate panel. A failed Surface Deform bind is reported there with the specific reason. Change parameters in the cage settings Tab.
Geometry Nodes option is greyed out.
That backend requires Blender 5.2 or newer, since it depends on a node group Blender itself only ships from that version onward. Use the classic Cloth Modifier backend on older Blender versions.
My old JiggleGen 1.1 batch didn't show up.
Check the top of the Batch panel for the import banner, or the Batch Entry Jobs (▼) dropdown if you already dismissed it. Hair/Curves entries from 1.1 aren't imported automatically, since 1.1's hair handling doesn't map onto 2.0's Hair Cage workflow.
My Cage Object falls off the character.
Select your cage object and check the wether or not the pin group has a valid vertex group. The border of the mesh island should have 100% influence.
Compatibility
- Requires Blender 3.2 or newer for the core add-on.
- The Geometry Nodes Cloth backend requires Blender 5.2 or newer.
- Tested against current Blender LTS releases; the classic Cloth Modifier workflow is the one to reach for if you need the widest version compatibility.
Support
Found a bug, or something in this page doesn't match what you're seeing? Reach out through the Superhive inbox on this product page, or:
- YouTube: youtube.com/@pathnode
- X: x.com/path_node
- Bluesky: bsky.app/profile/pathnode.bsky.social
Have questions about this product?
Login to message
| Blender Extension Compatible | Yes |
| Sales | 700+ |
| Published | about 1 year ago |
| Blender Version | 3.2 - 5.2 |
| Extension Type | Add-on |
| Render Engine Used | Cycles, Eevee, Freestyle |
| License | GPL |
Discover more products like this
tissue hair 3D rigging cloth 3D Simulation advanced geometry nodes generation