Keep It
 ALALONG STUDIO
To read the full documentation please visit this: Full documentation
For support you can join the discord server: Discord
Core Concepts
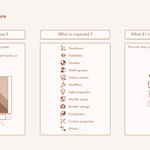
Keep it has a small vocabulary. Once these seven ideas click, the whole add-on makes sense.
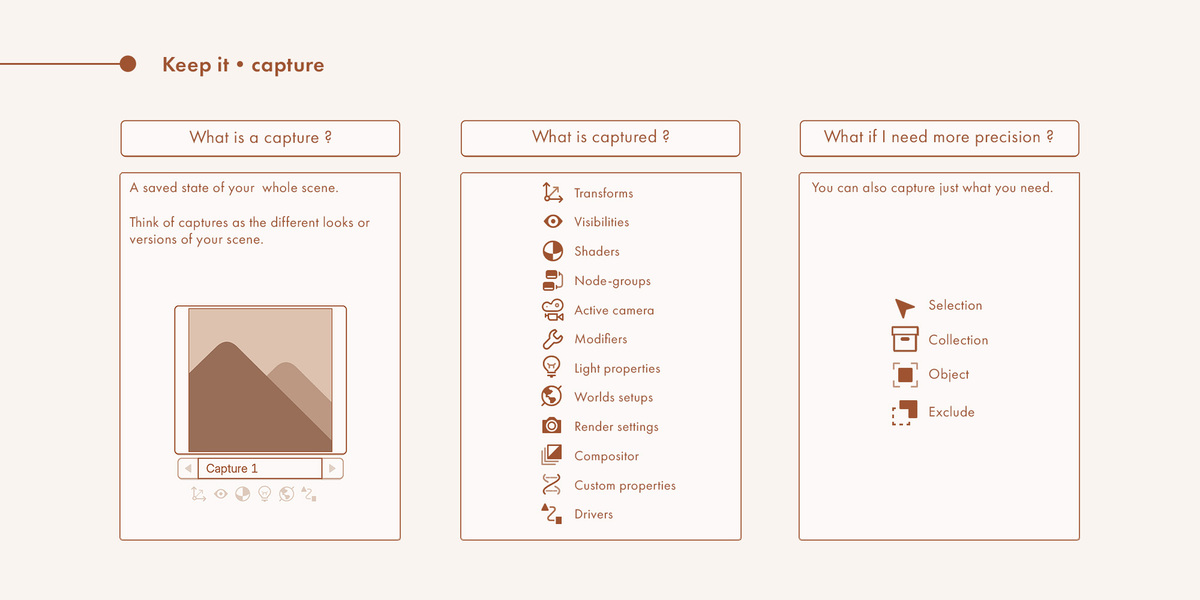
━━━━⬤ Capture
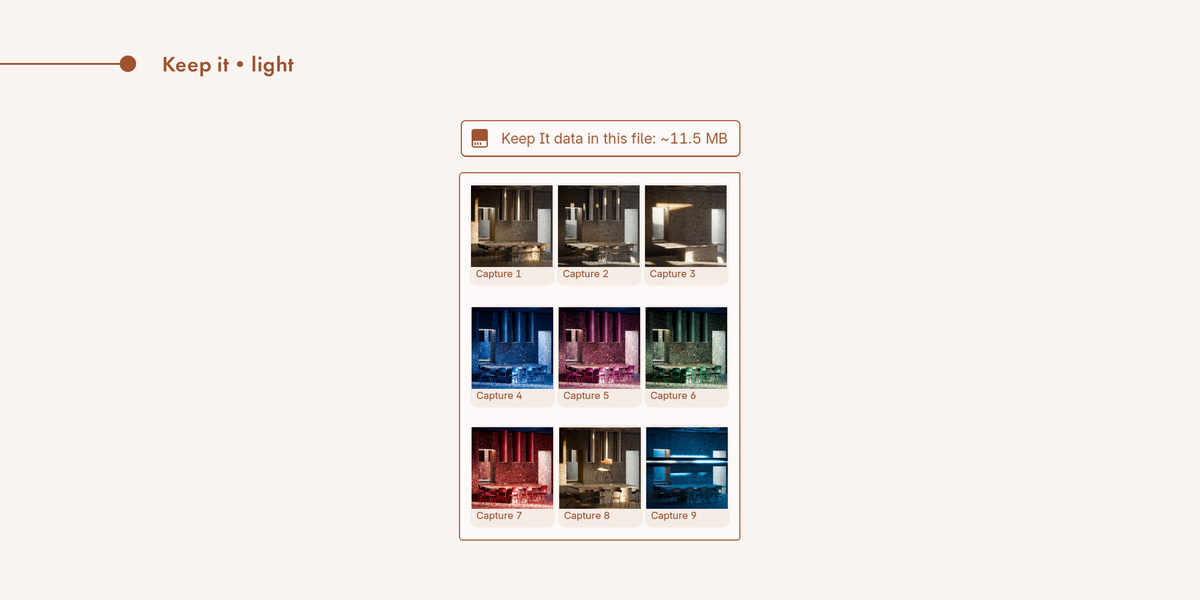
A saved state of your scene — its lights, materials, visibility, world, render settings, and more. You choose which of these categories each capture includes. Restoring a capture brings that state back in one click, without touching anything you didn't save. Think of captures as the different looks or versions of your scene.
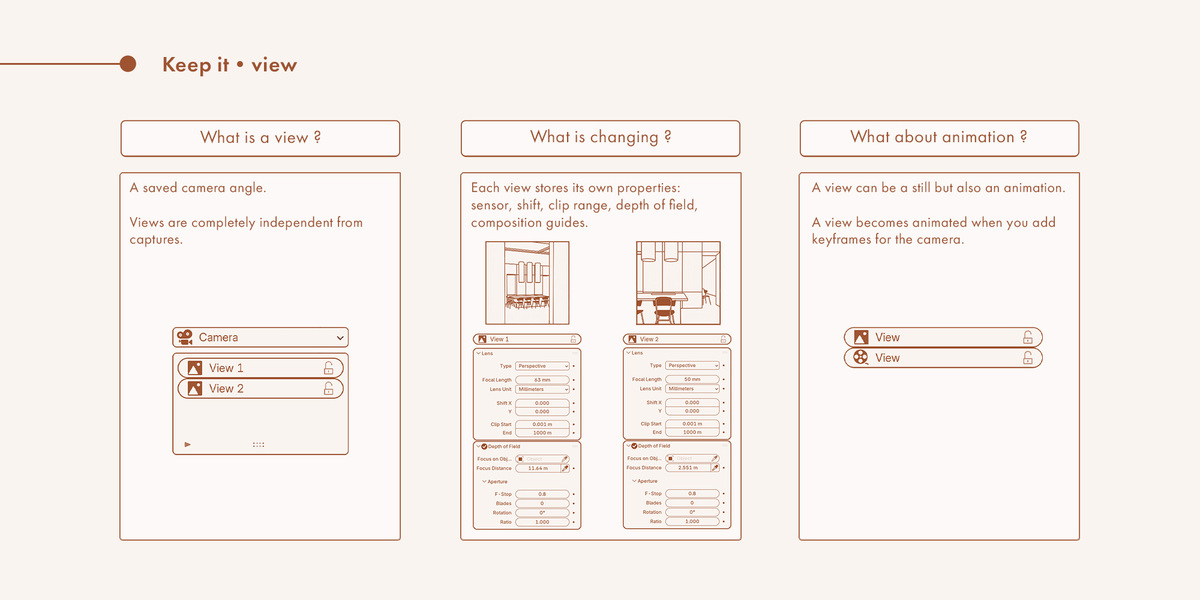
━━━━⬤ View
A saved camera angle and framing — a still shot, or an animated sequence. Views are completely independent from captures, so any view can be combined with any capture. Think of views as the shots you want to see your scene from.
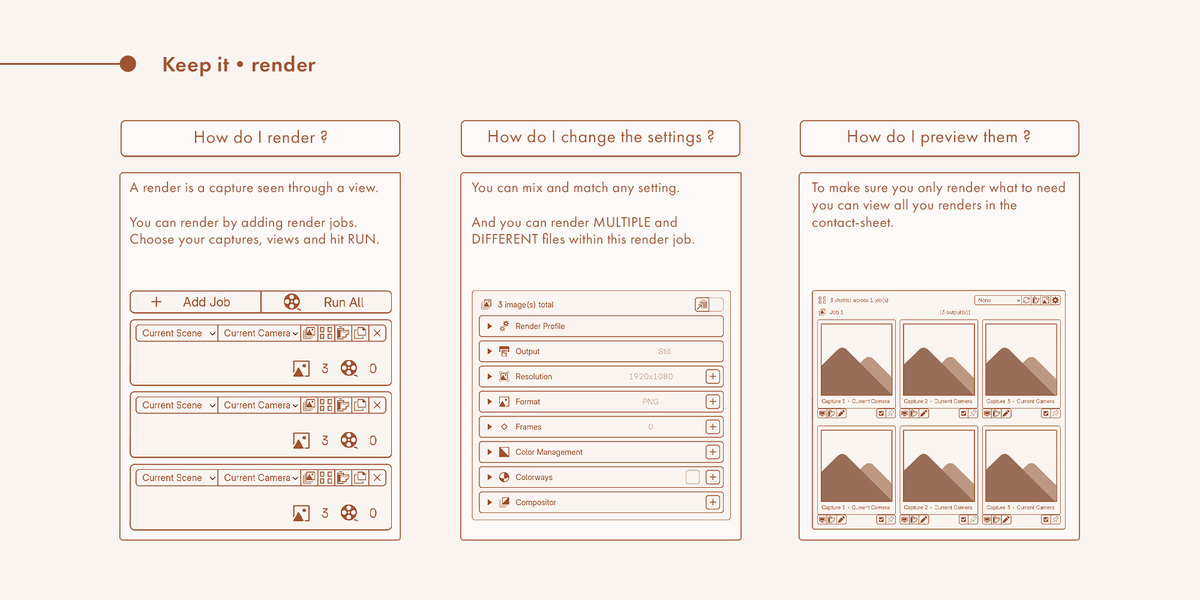
━━━━⬤ Render Job
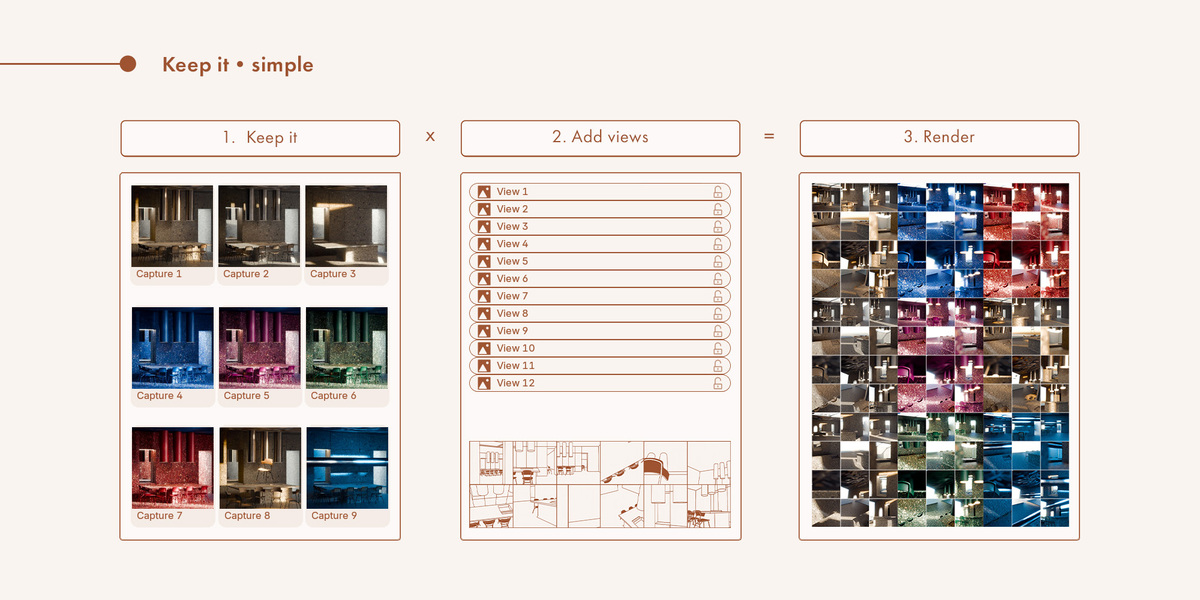
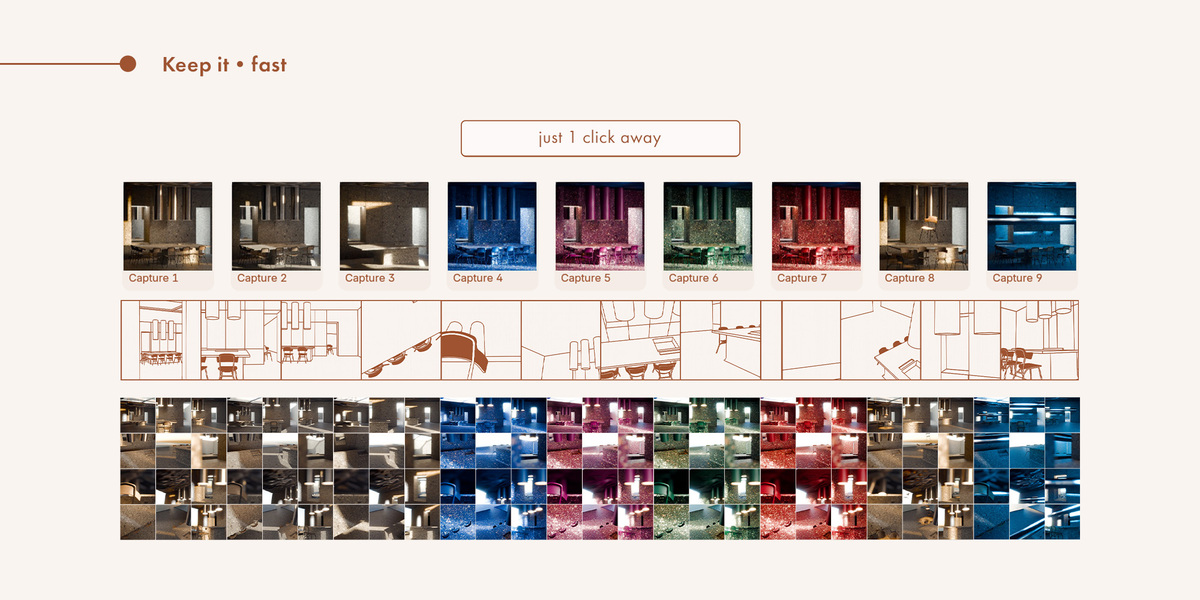
A pairing of captures with views. Select two captures and two views, and the job becomes four shots (every capture seen through every view). This is where captures and views come together into actual output.
━━━━⬤ Variant
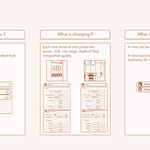
An option that multiplies a job's output — resolution, file format, frame range, frame rate, colour management, compositor, or material colorway. Add two resolutions to a four-shot job and you get eight renders. Variants let one job cover every technical version you need without building separate jobs.
━━━━⬤ Colorway
A named set of material swaps: on this object, in this slot, use this material instead. Applied before a shot renders and reversed after, so the same capture can render in three fabrics without duplicating anything.
━━━━⬤ Render Profile
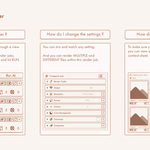
A reusable bundle of render settings (engine, sampling, color management, output format, passes) that you author in Blender's own Render Properties and assign to a job. Set your quality once, reuse it across every job.
━━━━⬤ Cell
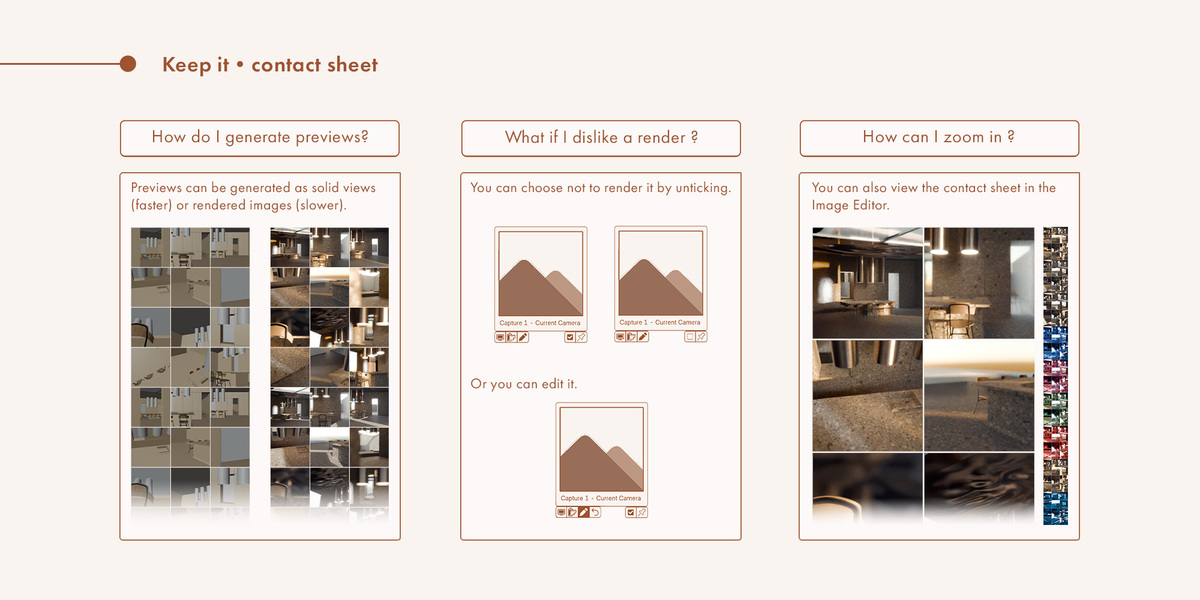
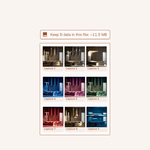
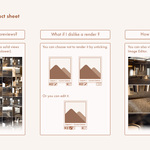
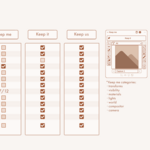
One rendered image: a single capture, seen through a single view, with one combination of variants. A job is a list of shots. The contact sheet shows each one as a cell you can preview.
Quickstart
━━━━⬤ 1. Take your first capture
Set up your scene the way you want it — lights, materials, visibility. In the main panel, make sure the categories you care about are toggled on, then press Keep it (ALT+C).
━━━━⬤ 2. Change the scene and capture again
Adjust your lights or materials to a different look. Press Keep it (ALT+C) again. You now have two captures.
━━━━⬤ 3. Switch between them
Click between the two thumbnails in the gallery (or ALT+ Left/Right Arrow). Each click restores that version of the scene.
━━━━⬤ 4. Add views
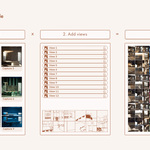
In the views panel, pick your camera. Keep It creates a view at its current position. Move the camera and press Add View (Alt V). You now have two views.
━━━━⬤ 5. Create a render job
In the render panel press Add Job. Select the captures and views. You now have 4 stills.
━━━━⬤ 6. Check the contact sheet
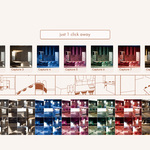
Click the contact sheet button. A grid shows all 4 stills as thumbnails. Keep only what you want by unchecking and adjust anything you want on an individual still level by clicking the edit button.
━━━━⬤ 7. Render
Press render job. Keep It restores each shot and renders it automatically, saving every file to disk. Files are saved to the job's output path.
-
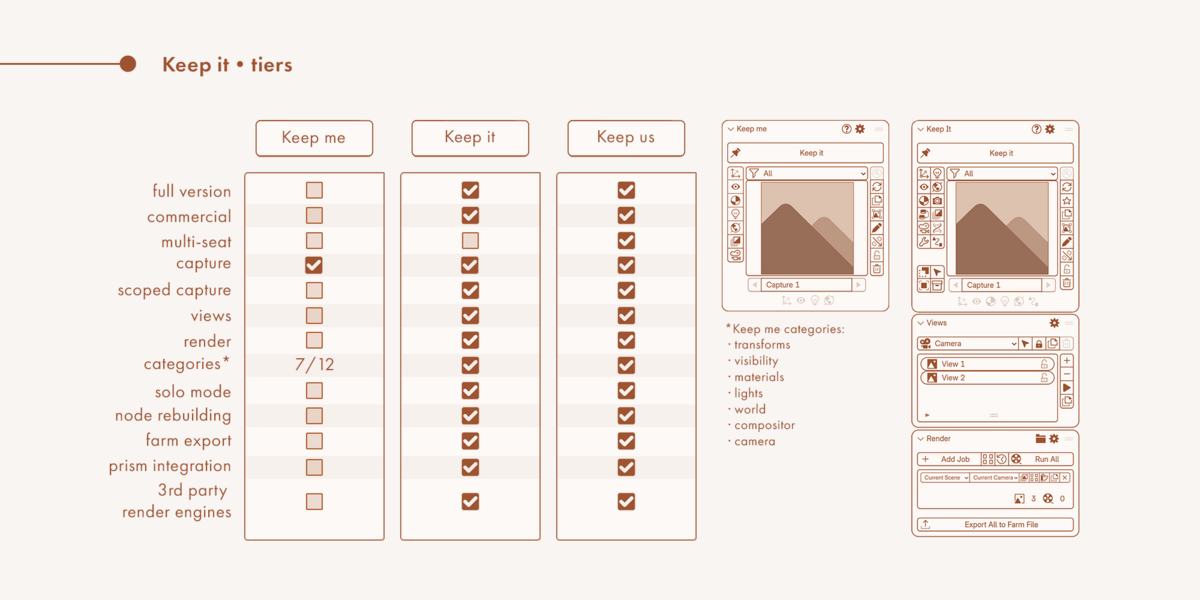
$59
Full version, single seat license.
-
$19.99
Lite version, non-commercial use, single seat license. Includes only the capture feature limited to 7 categories. For full details please see the documentation or reach out.
-
$99
Full version, multi seat license.
 Included
Includes 12 months of
- Support from ALALONG STUDIO
- Product updates
Extend this product’s Support Period +12 months: 50% of product price
Have questions before purchasing?
Login to message
| Blender Extension Compatible | Yes |
| Published | 1 day ago |
| Blender Version | 5.0 - 5.2 |
| Extension Type | Add-on |
| Render Engine Used | Cycles, Eevee, Octane, Vray |
| License | GPL |

Discover more products like this
3D Productivity look development Camera Management pipeline Blender Scene Management 3D workflow render-management