 Rasheed's Edit





















You lit it yourself and it came out flat.
Everything is in the light, so nothing has shape. Light It Up puts a finished lighting rig around your object - the setups photographers actually use, by name - and then hands you every light to adjust. Nothing is baked and nothing is locked: the rig is a starting point you are meant to leave.
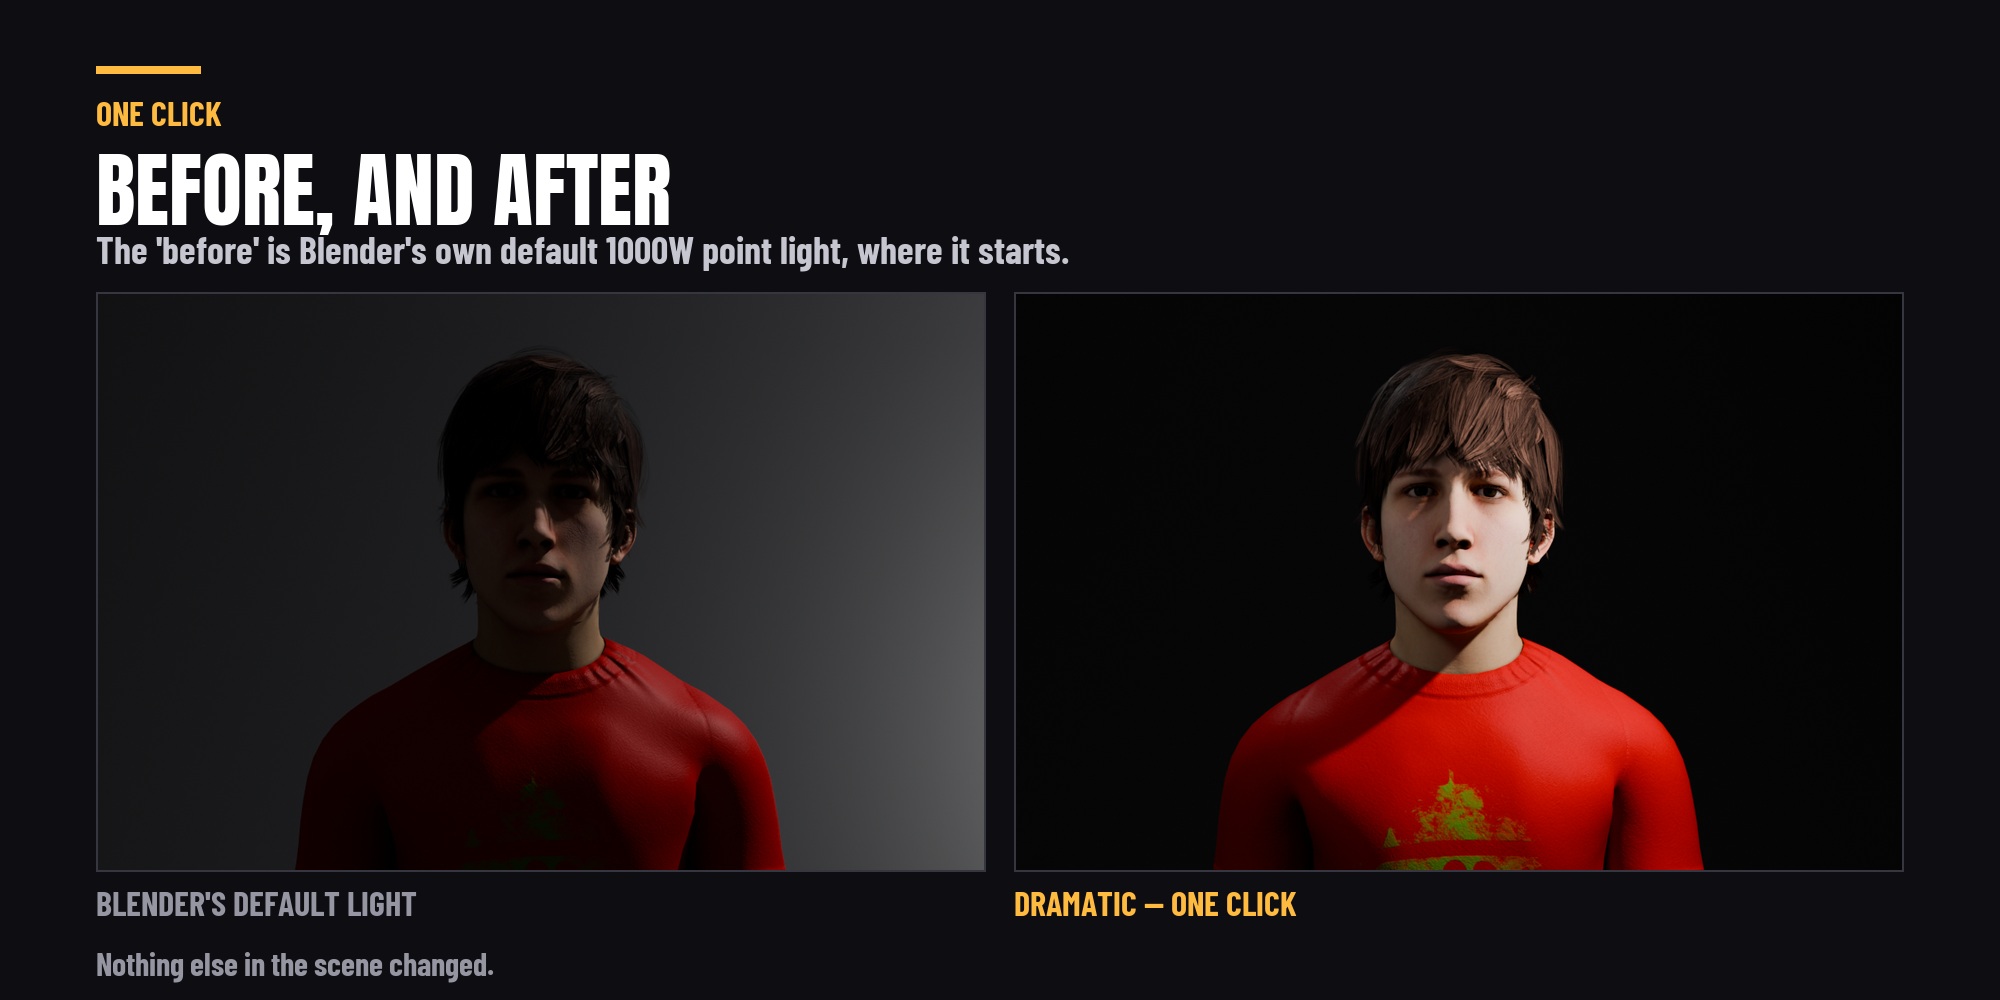
Pick a look. Then take it apart.
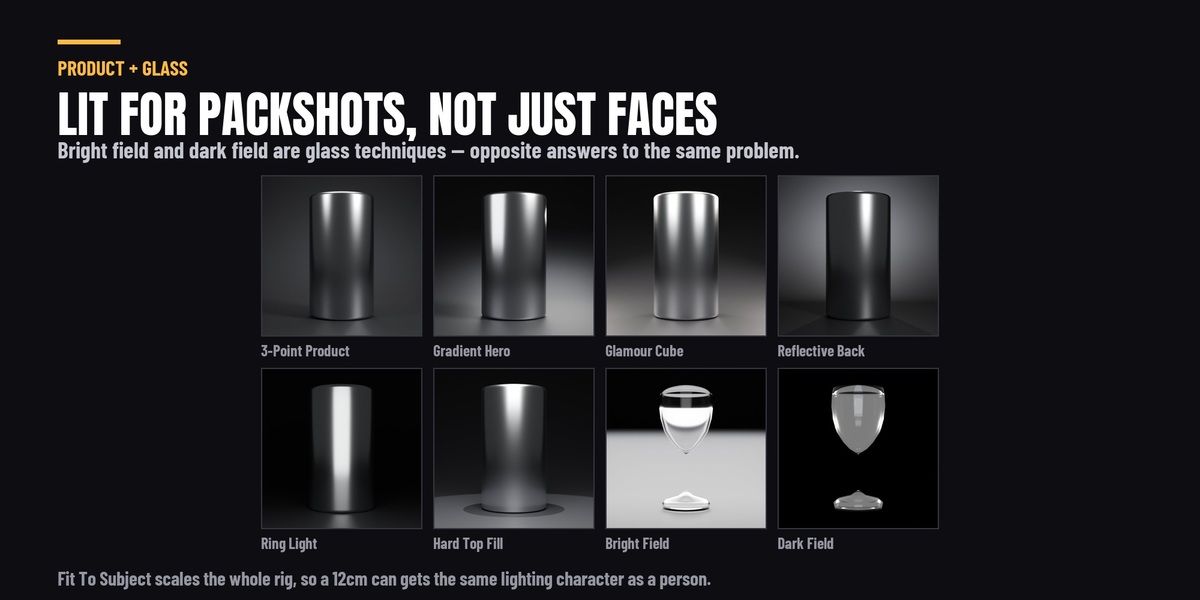
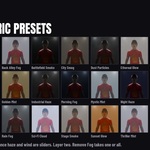
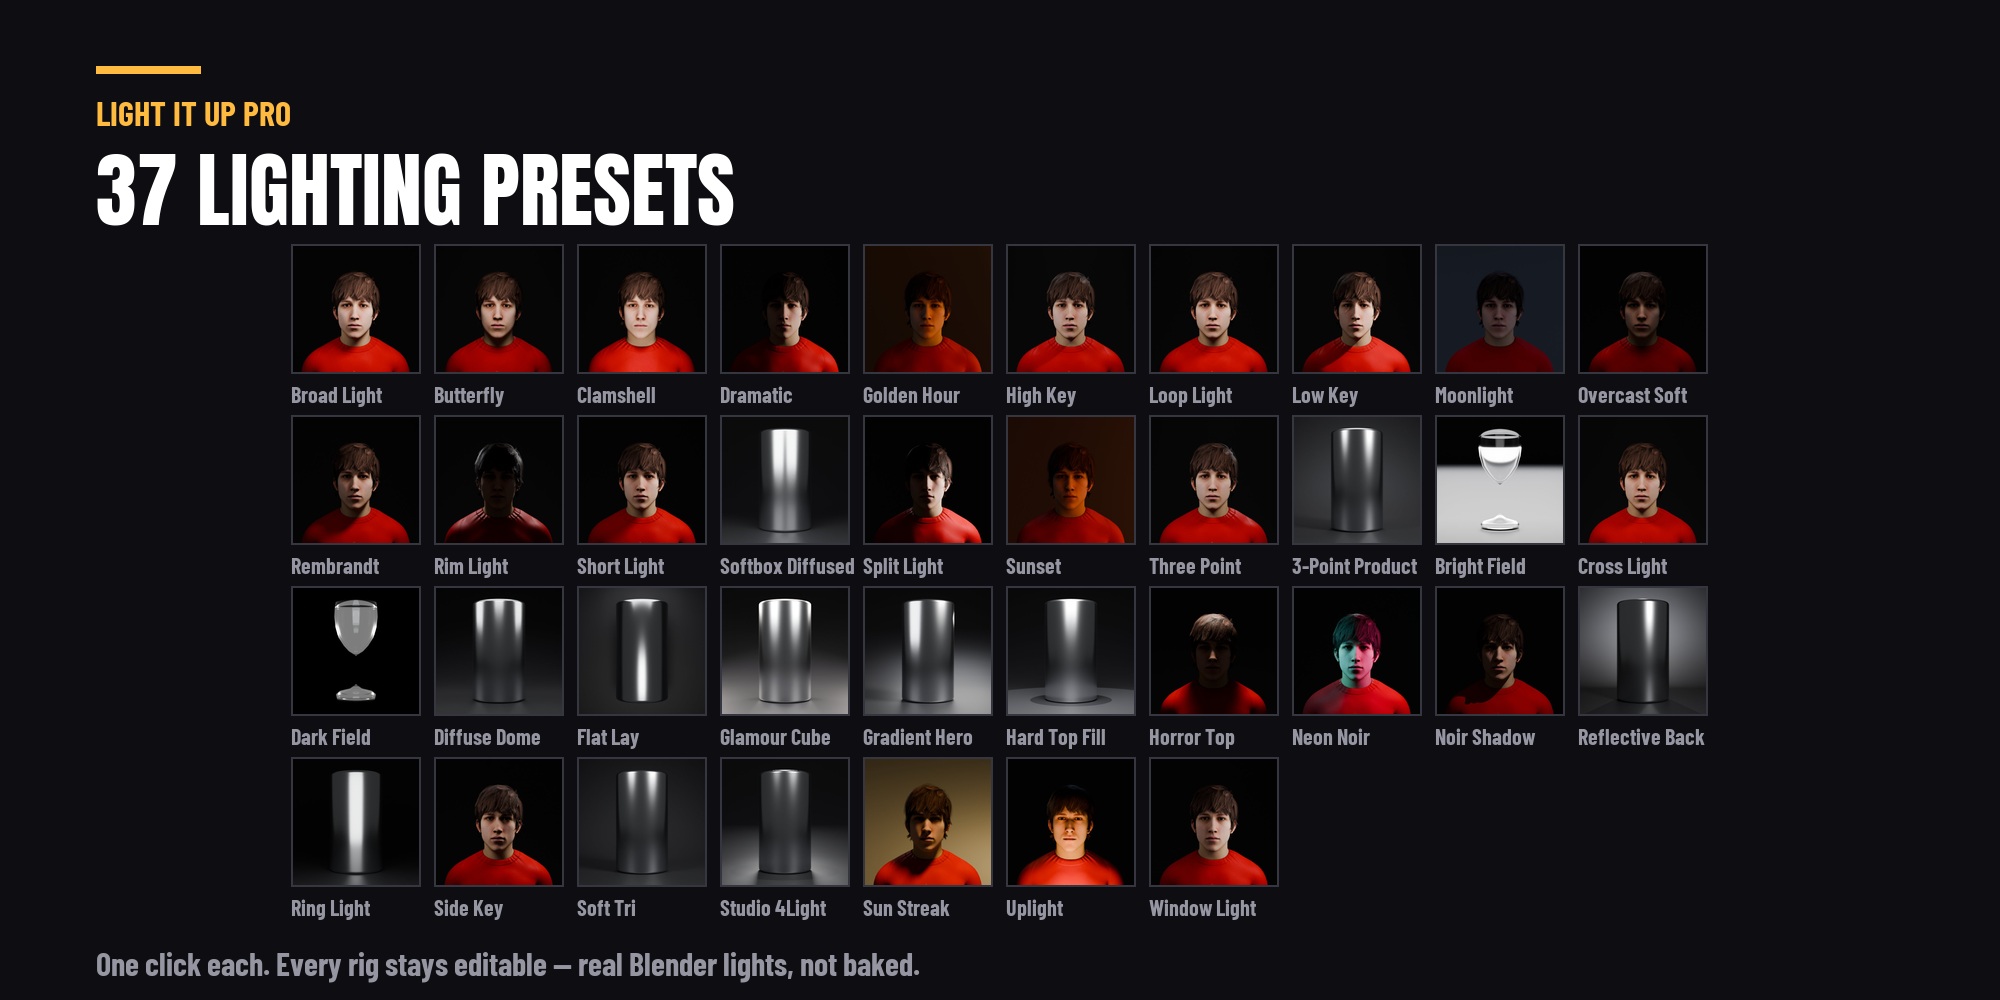
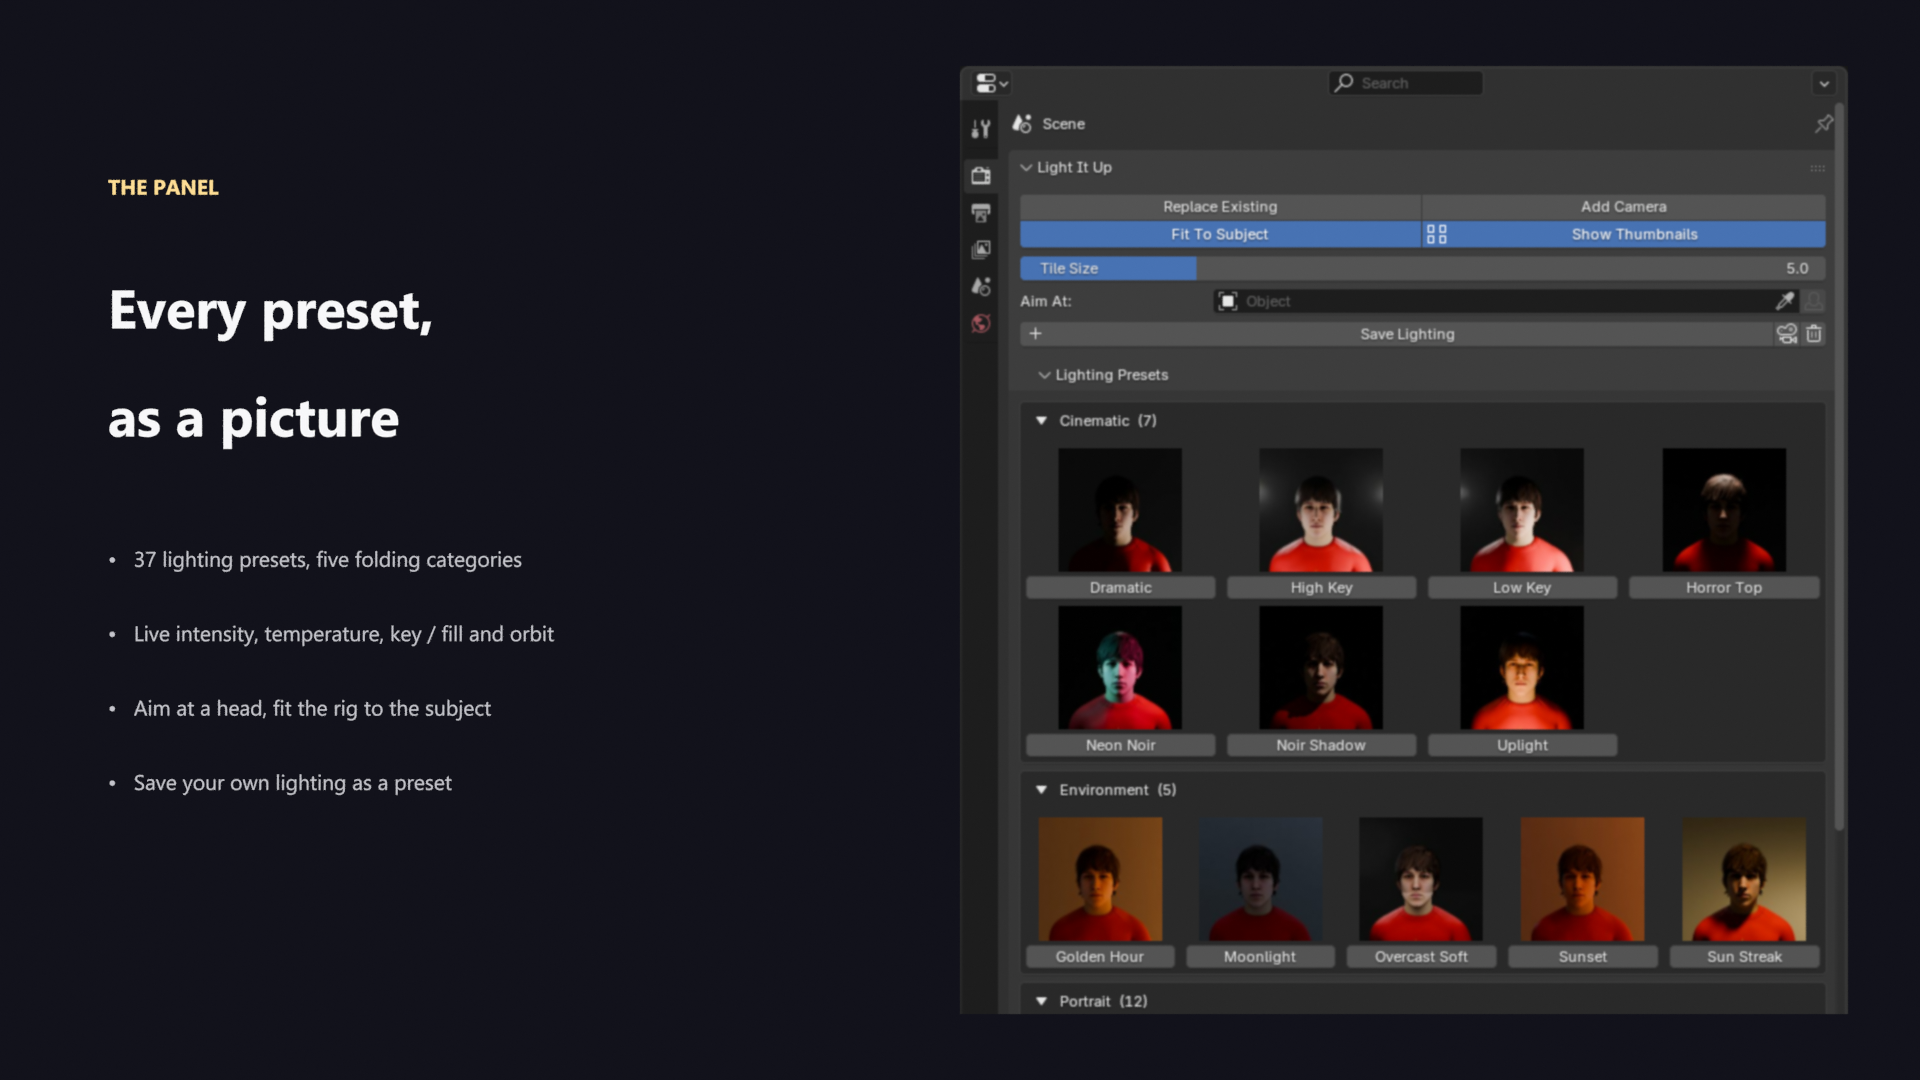
37 rigs by name - Rembrandt, clamshell, bright field, noir, golden hour. Each one is ordinary Blender lights in their own collection. Nothing locked, nothing driven, no custom node group to reverse-engineer.
Four controls move the whole rig
Intensity, colour temperature, key-to-fill ratio and orbit - live, on the rig, holding the relationship between the lights. Key/fill is the one that decides whether a render reads as dramatic or flat, and the one that is most miserable to set by hand.
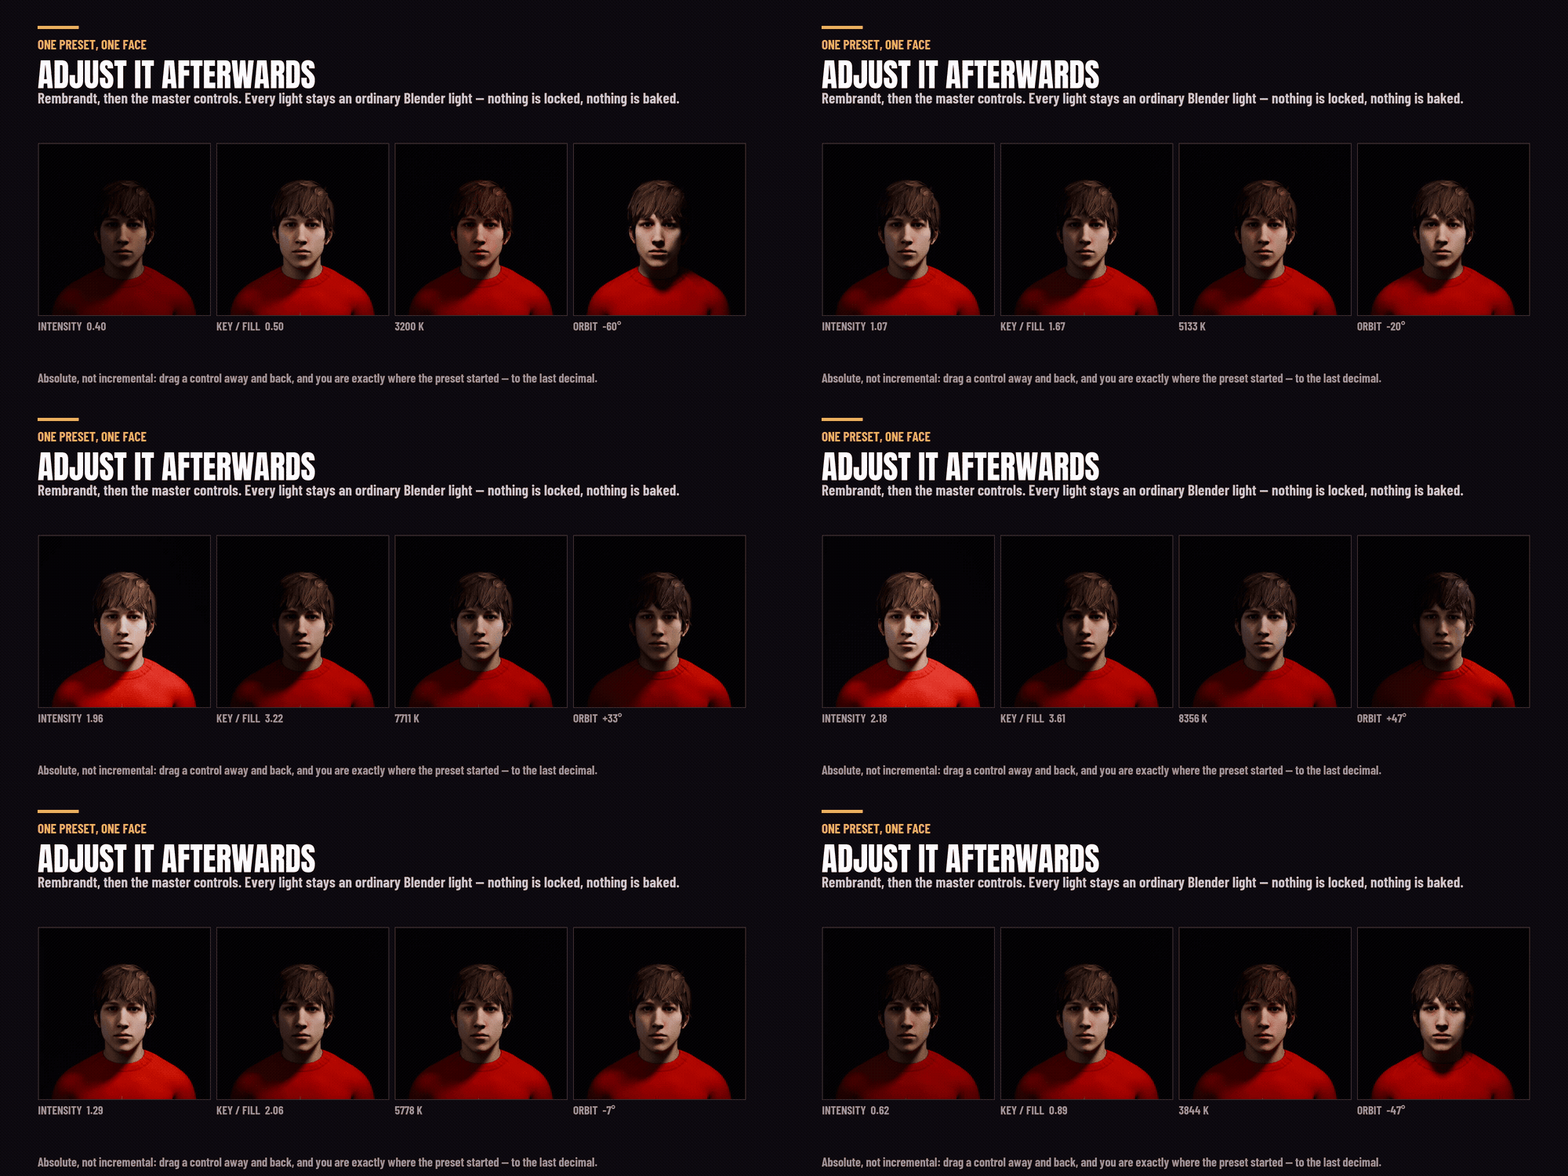
They are absolute, not incremental. Take intensity to 3.0 and back to 1.0 and you are exactly where you started, to the last decimal. That sounds like a detail until the fifth time you have nudged a value and lost the look you had.
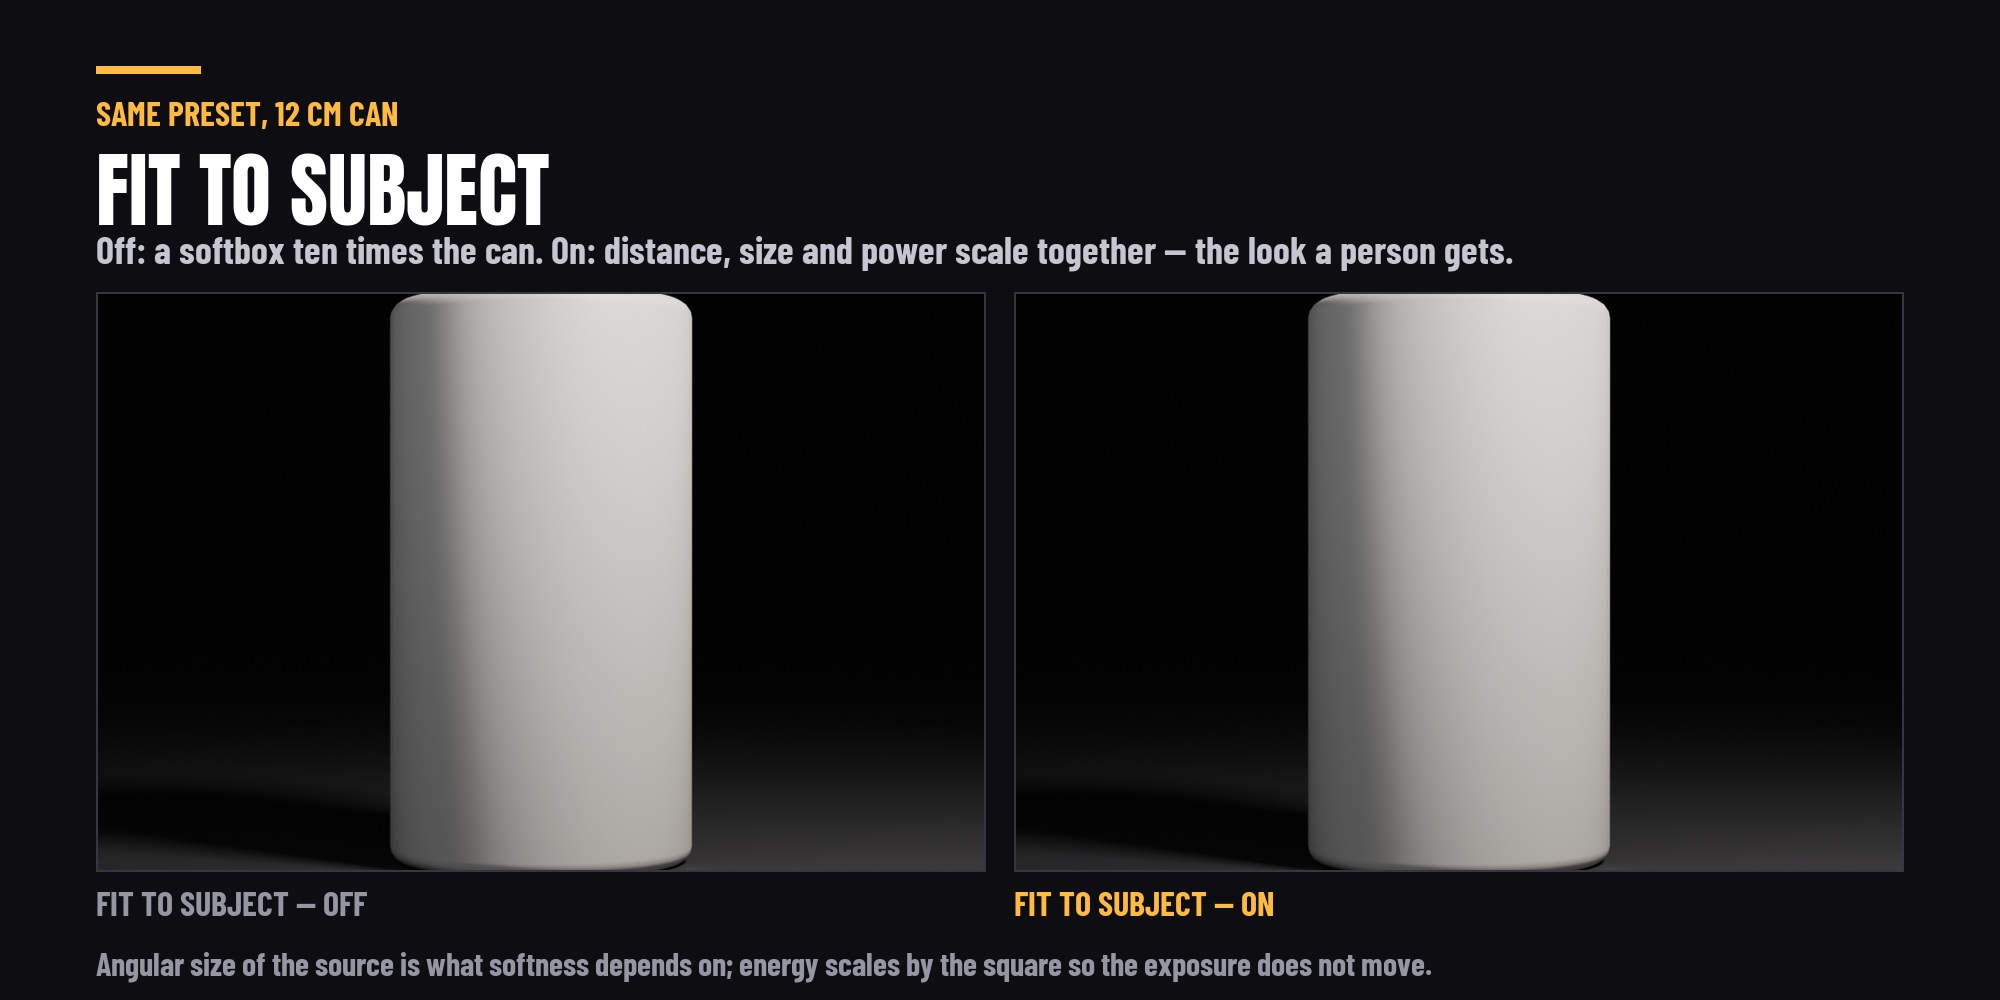
Every rig fits what it is lighting
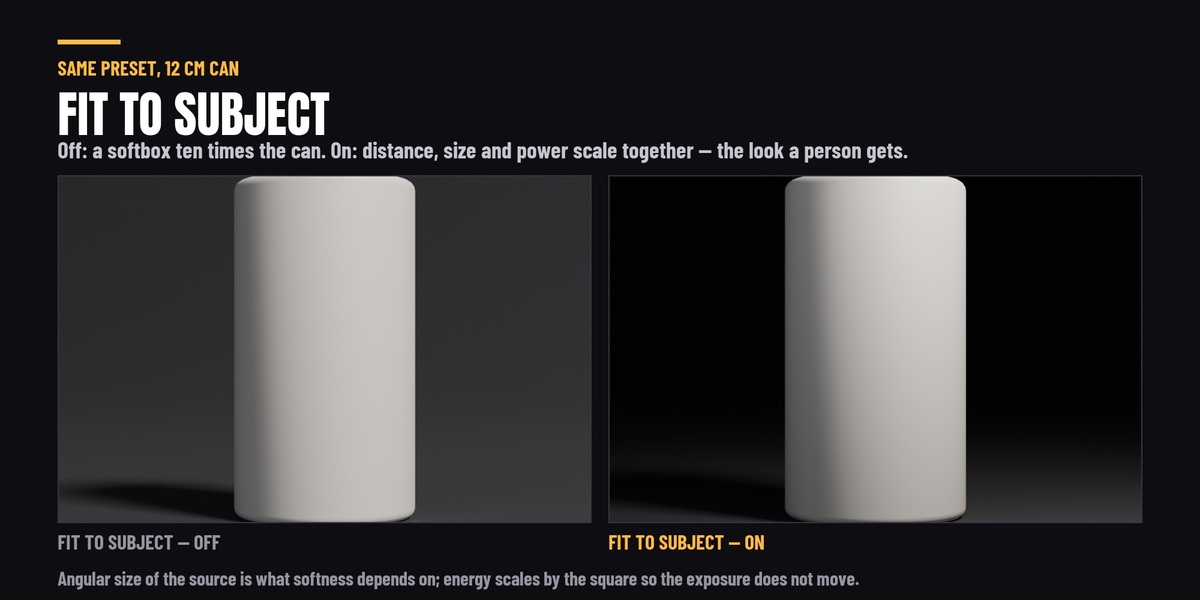
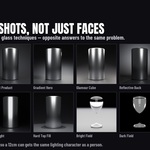
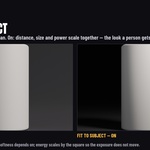
The same preset on a person and on a 12 cm bottle gives the same look - not a softbox ten times the bottle's size. Distance, source size and power scale together, so the exposure does not move.
Stand it on something
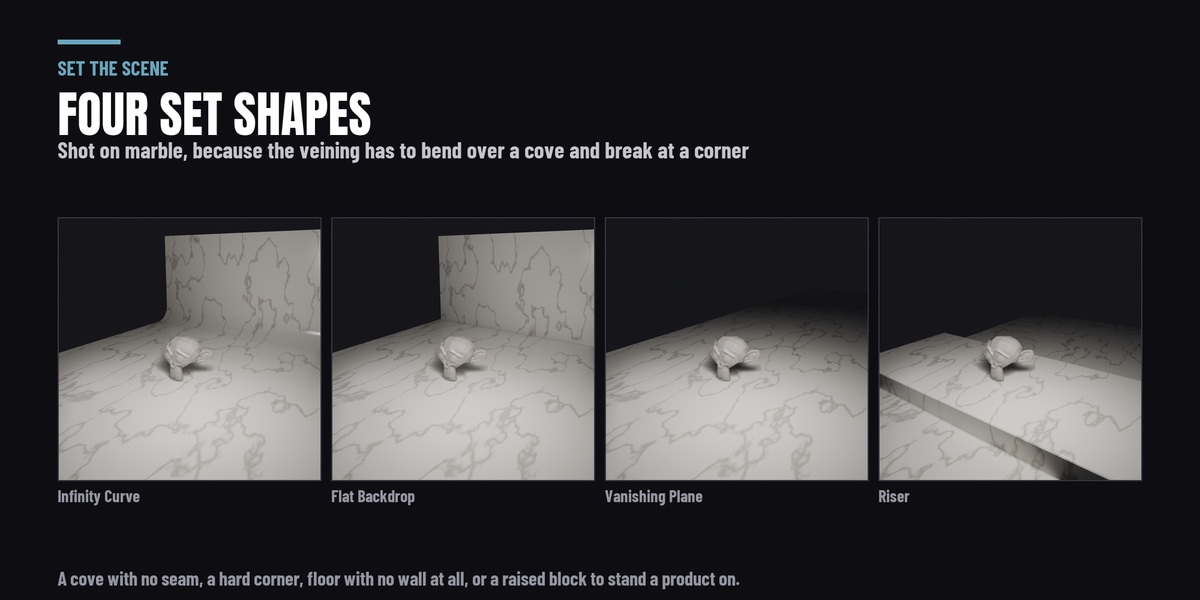
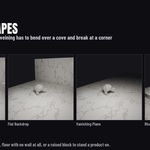
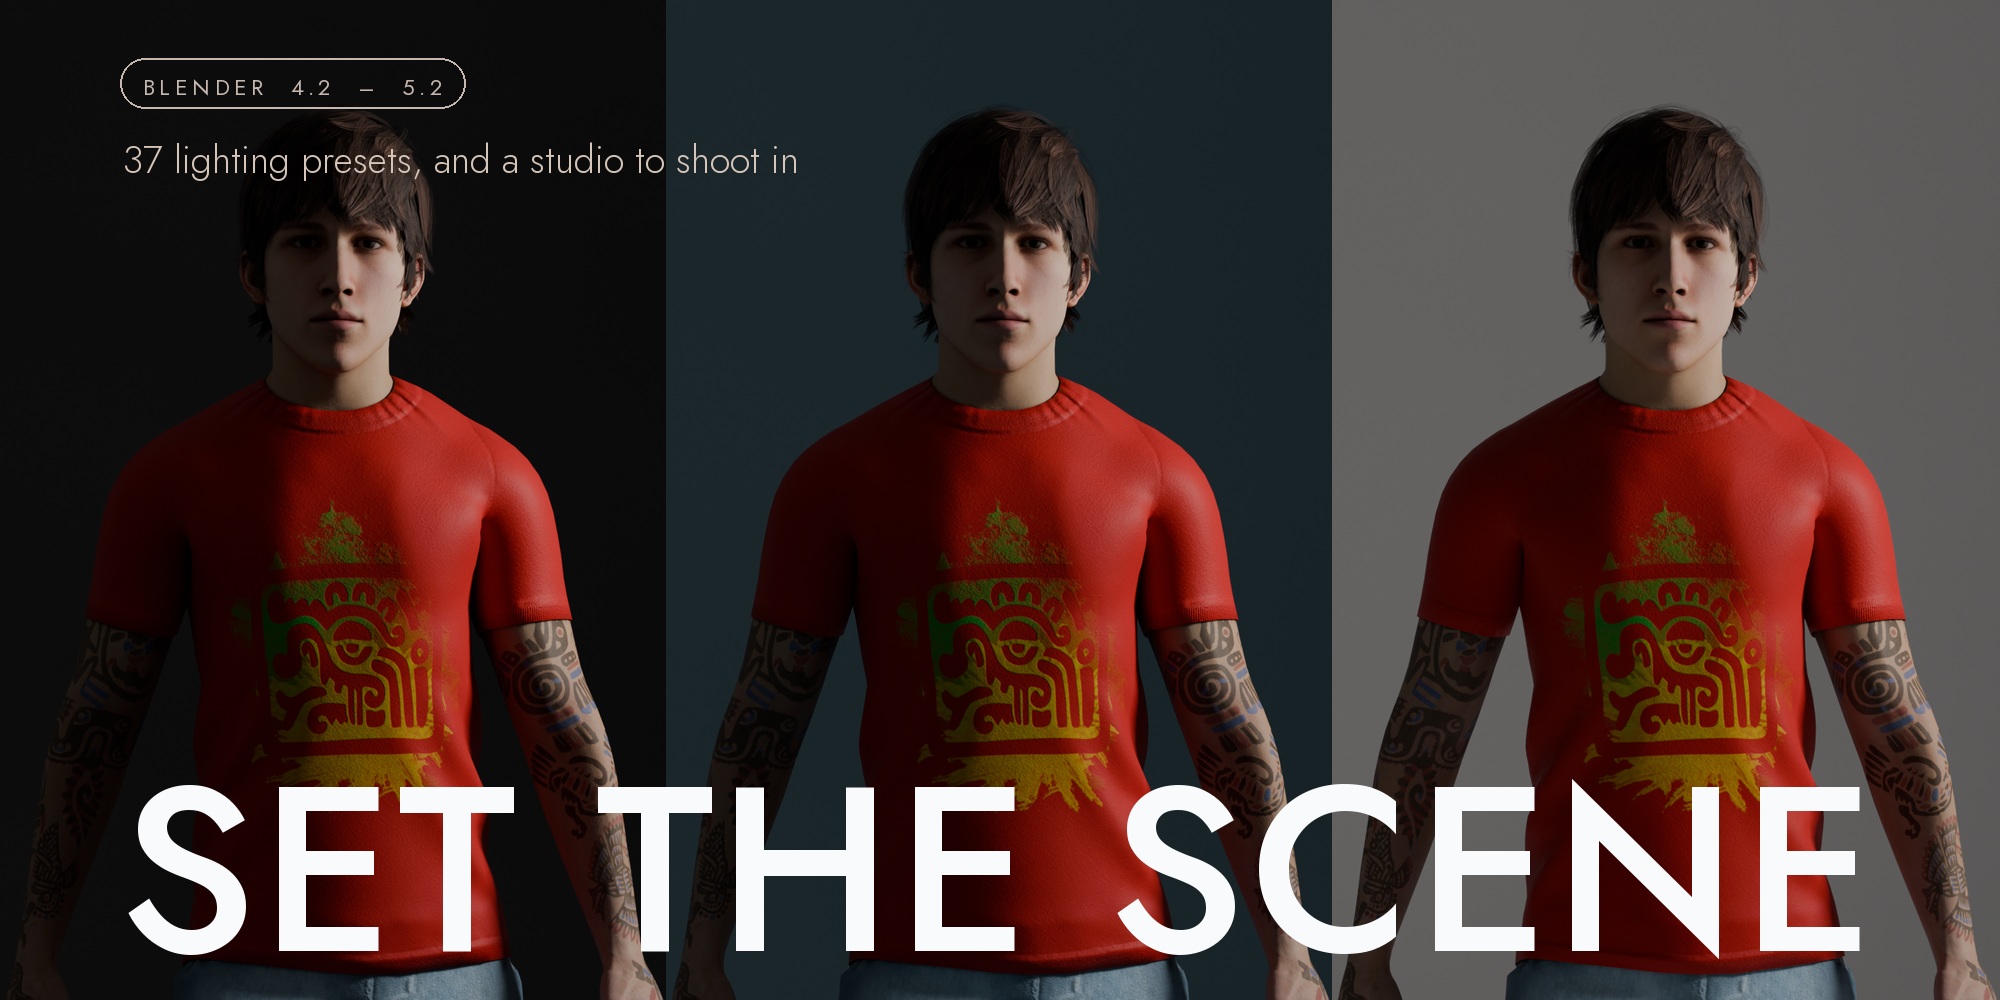
A lit subject floating on the default grey still reads as a 3D render, because there is a hard line where the world ends. Build a studio set behind it — Infinity Curve (the seamless cyclorama), Flat Backdrop, Vanishing Plane or a Riser to stand a product on — across twelve procedural surfaces, from white sweep to marble, slate, concrete, butcher’s block and linen.
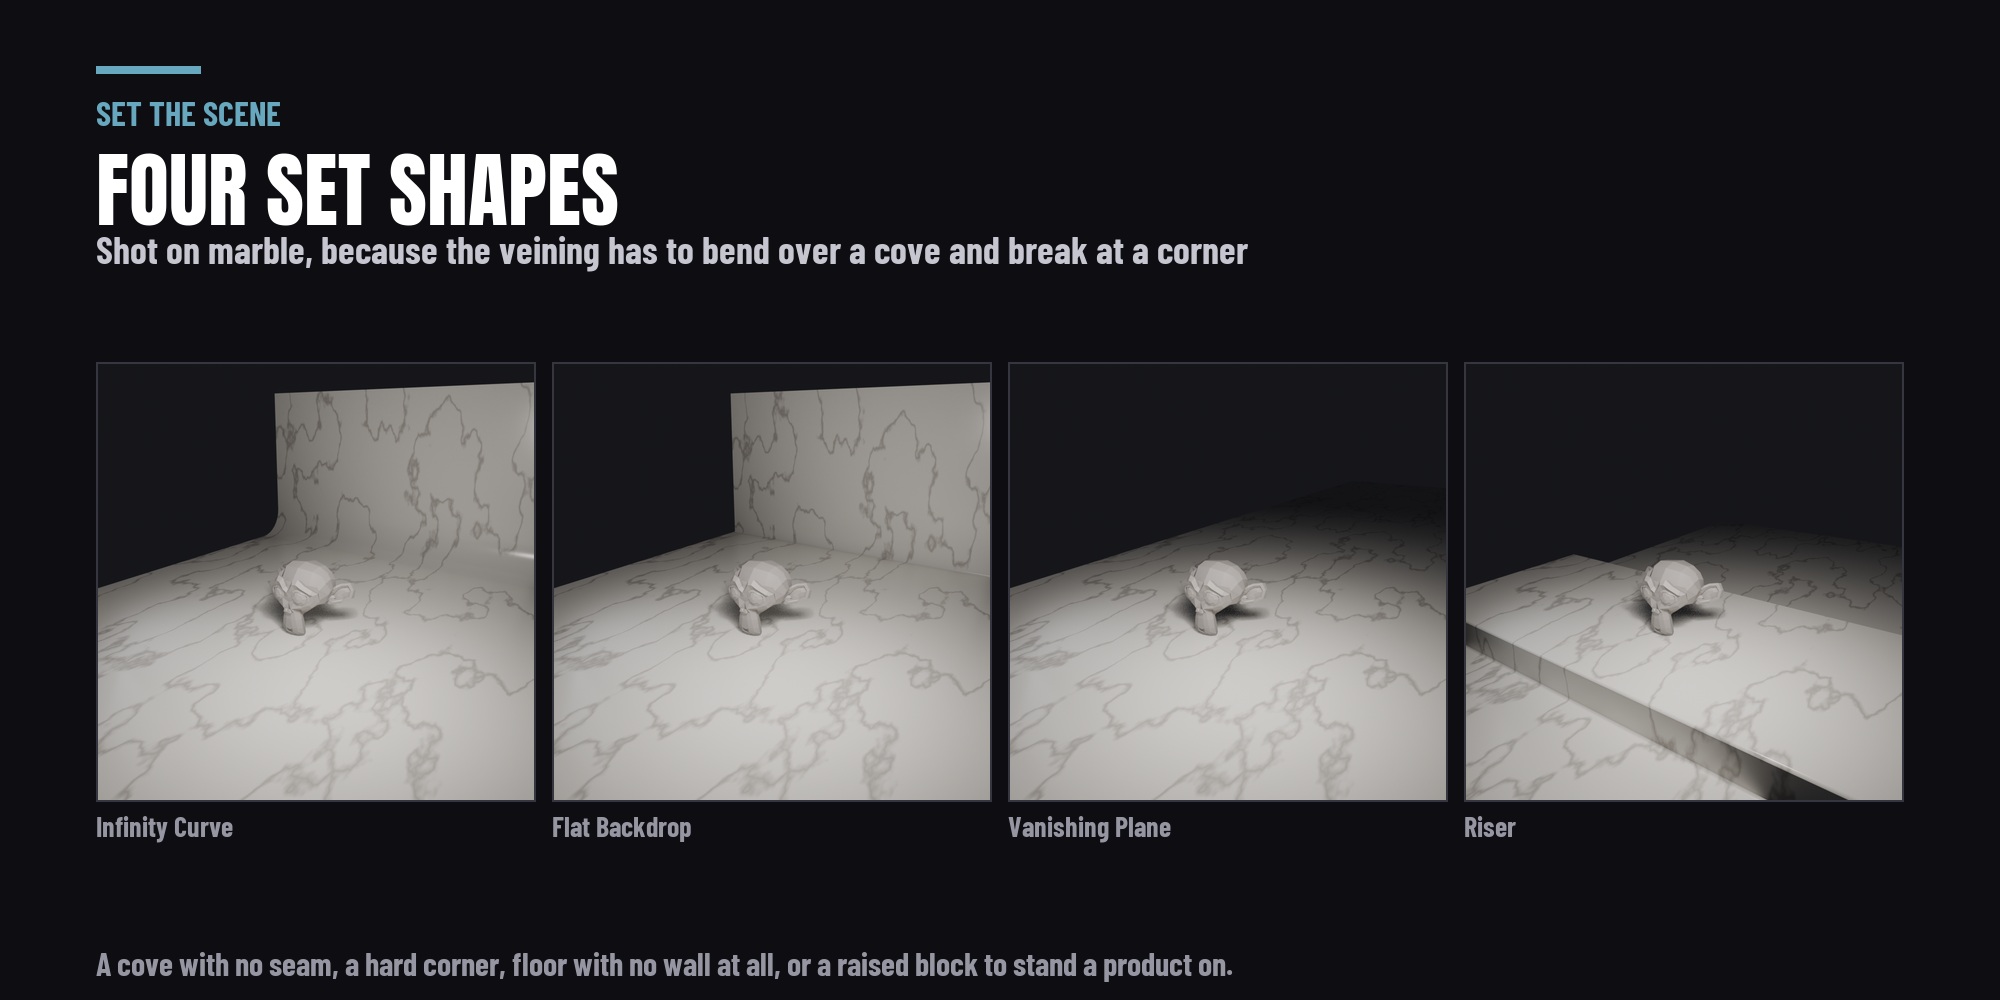
It is measured from your camera, not from your object. A backdrop sized from a bounding box is wrong by roughly fifteen times across the range from a 12 cm bottle to a standing figure, and either way you find out when the edge of it turns up in frame. Sized from the frustum there is no visible background edge at either end, and the wall sits far enough back that a rim light is still behind the subject rather than buried in it.
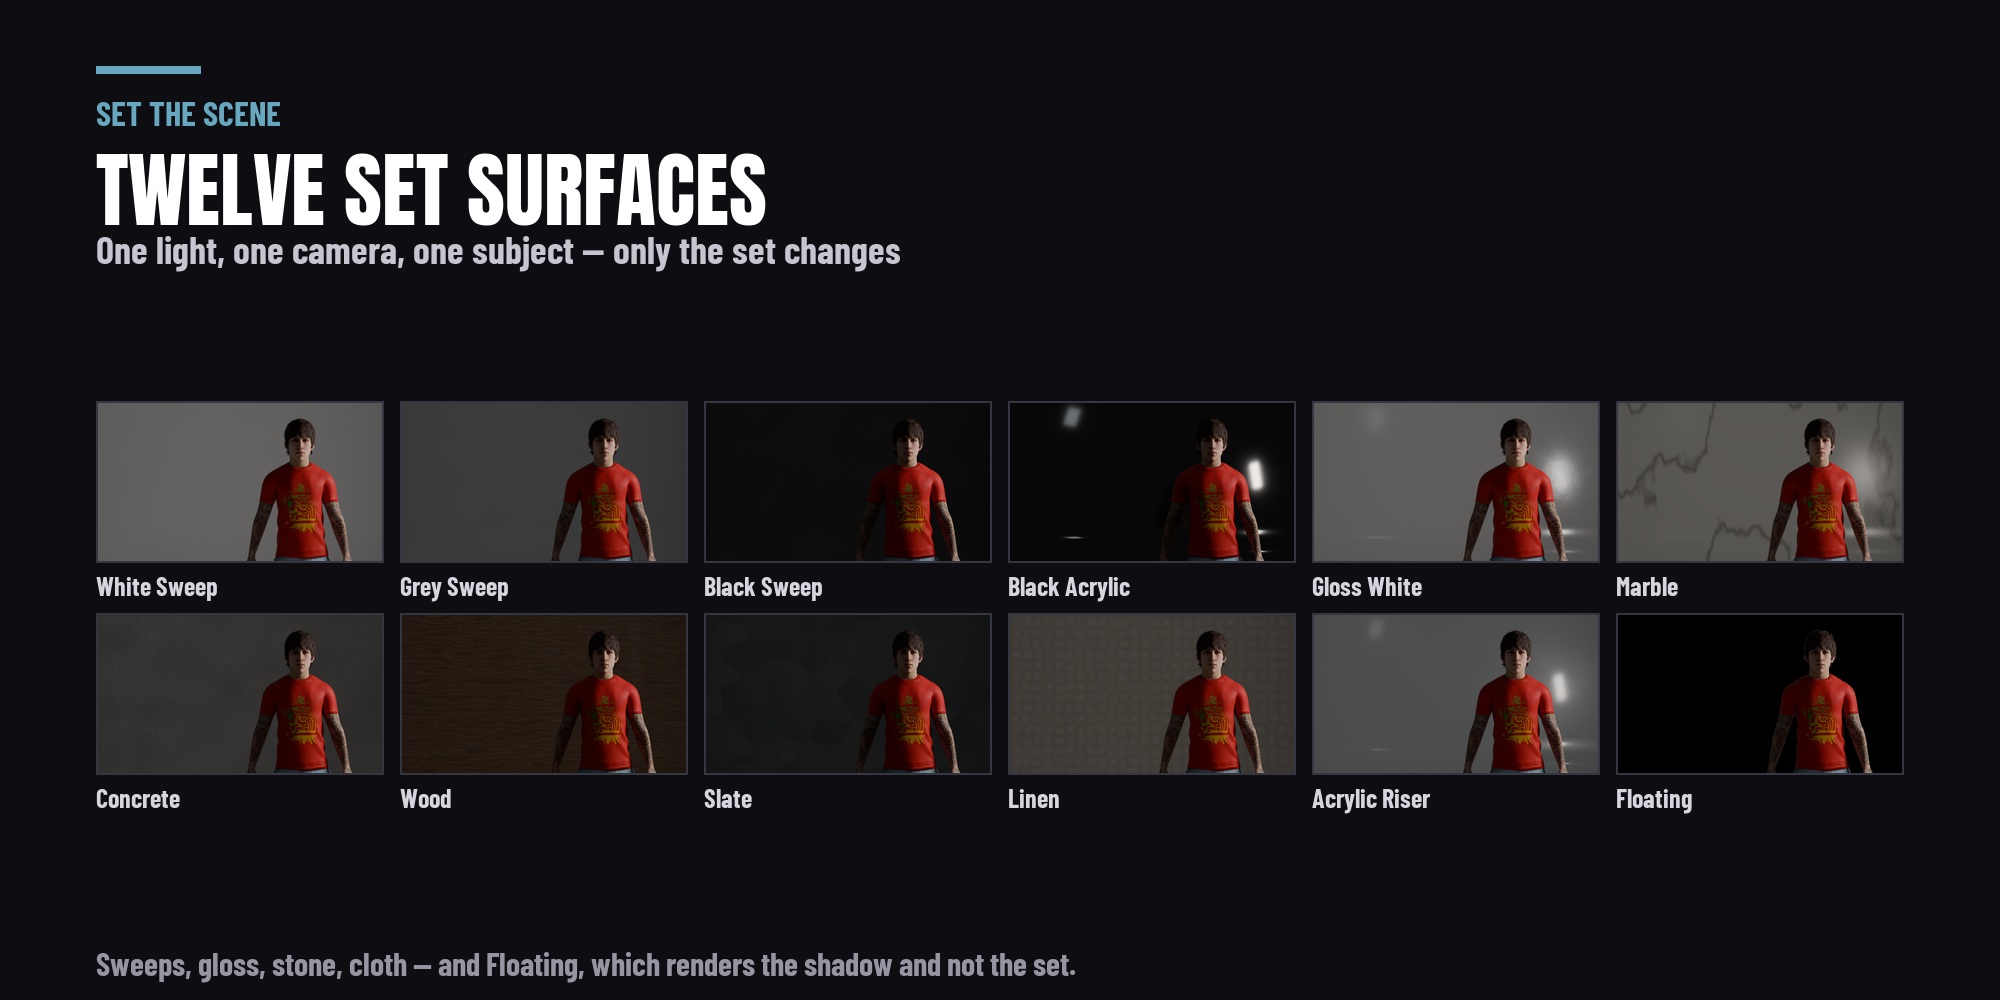
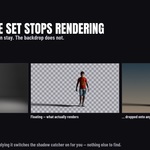
Pattern, roughness, relief, texture scale, rotation and tint are live sliders on whichever surface you picked. Floating drops the set out of the render and keeps the shadow, so your subject lands on transparent, grounded, ready to composite — that one is Cycles only, and the panel says so.
Shape the light - 16 gobos, in EEVEE too
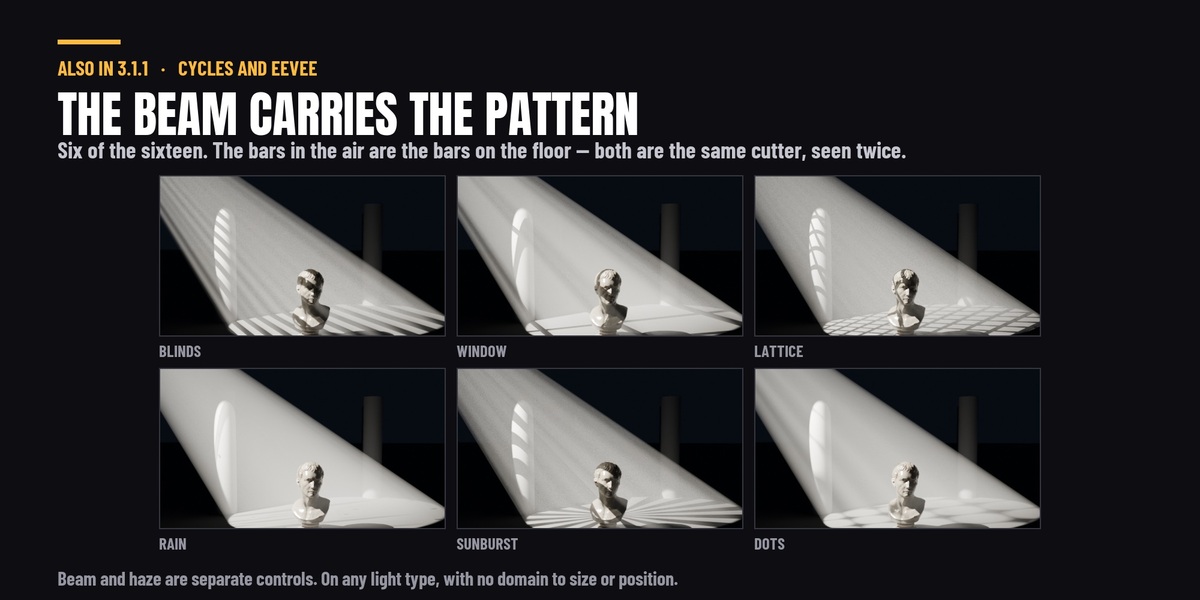
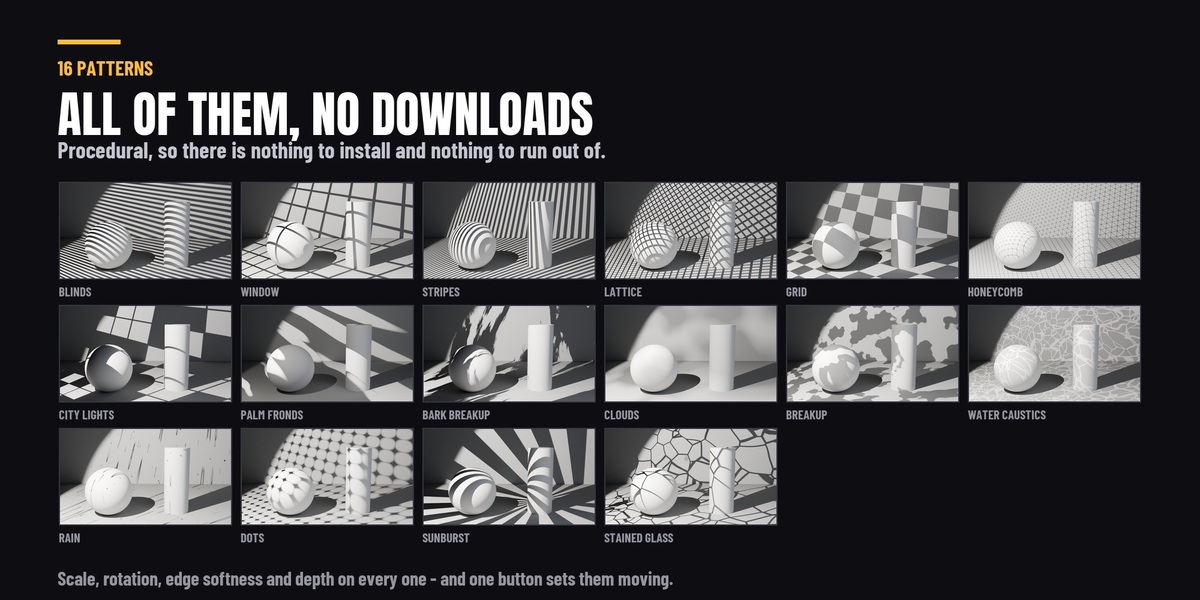
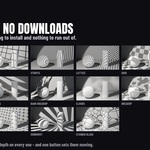
Blinds, window, lattice, palm fronds, water caustics, city lights, stained glass and nine more, each with a rendered thumbnail so you pick a shadow by looking at it. Scale, rotation, edge softness and depth are sliders. One button sets the pattern moving.
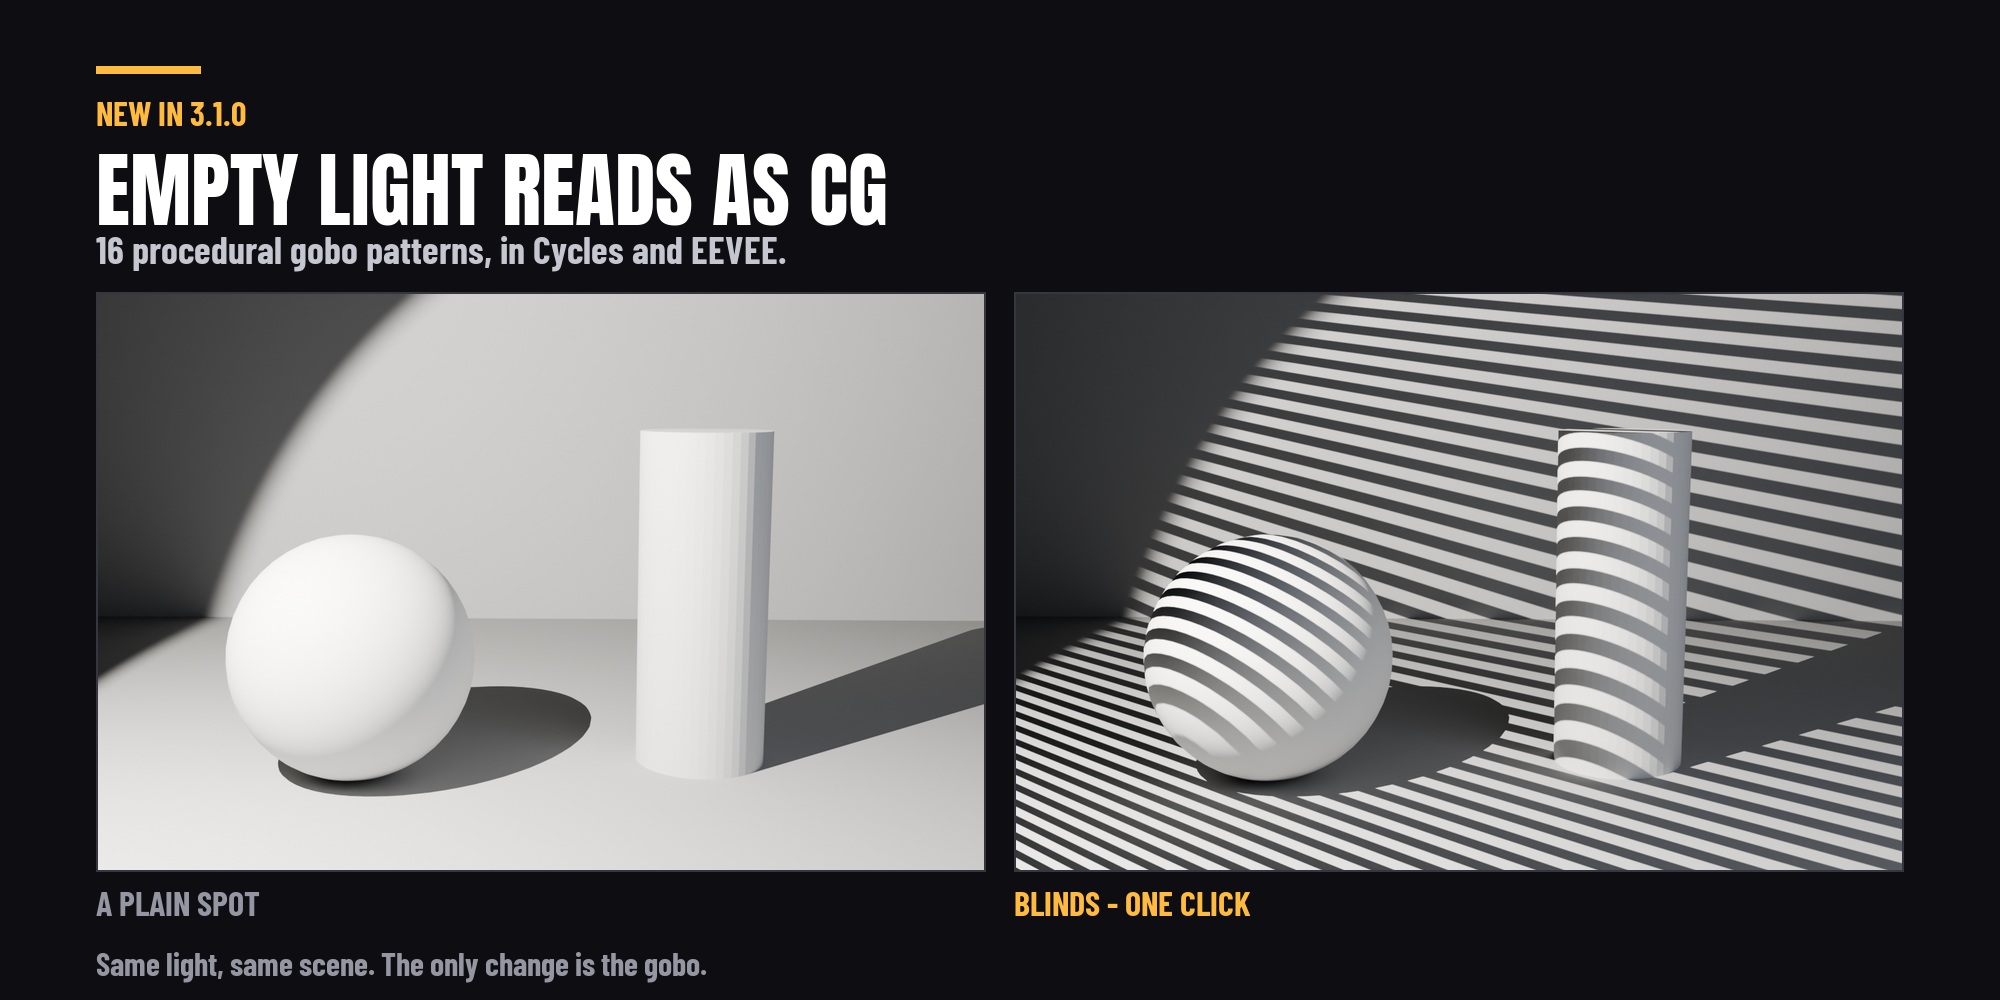
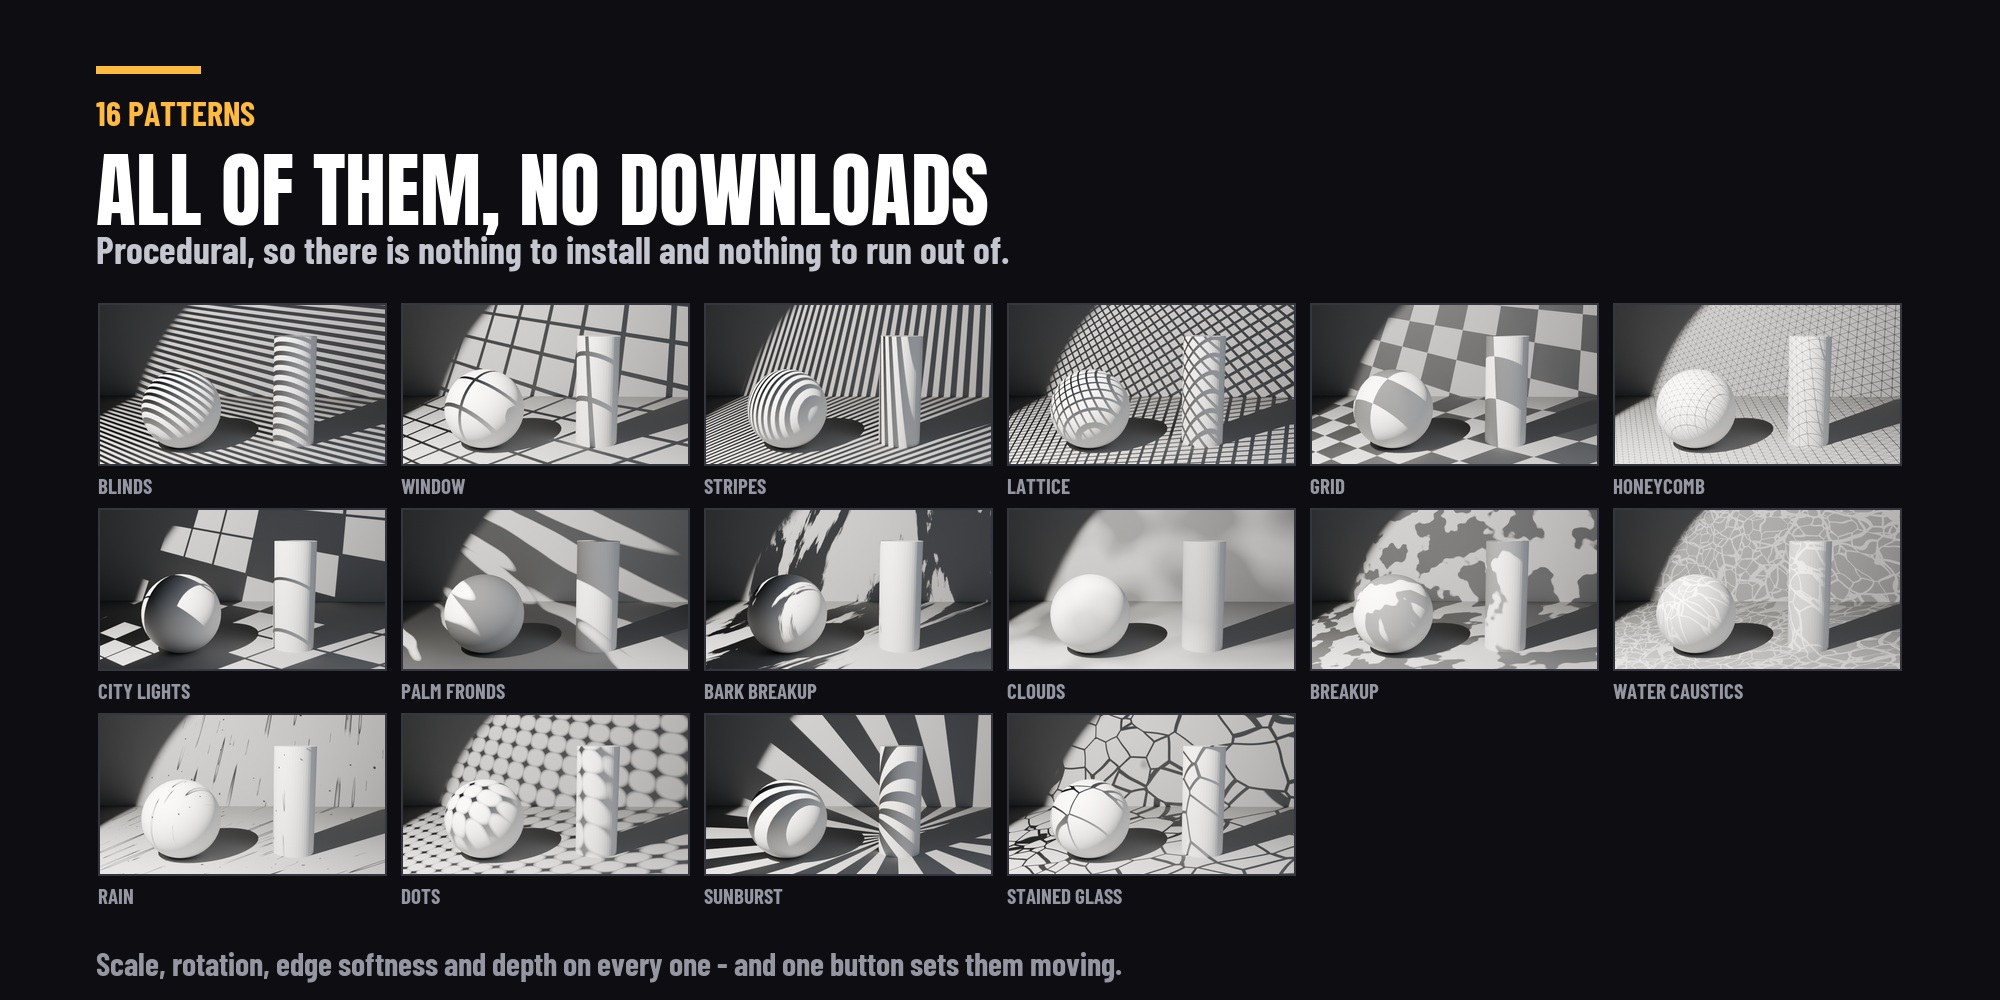
Not a texture pack. These are generated inside the add-on: nothing to download, nothing to run out of, nothing sitting in your project folder - and the card is sized from the light's own throw, so the pattern lands at the right scale instead of at whatever size the texture happened to be.
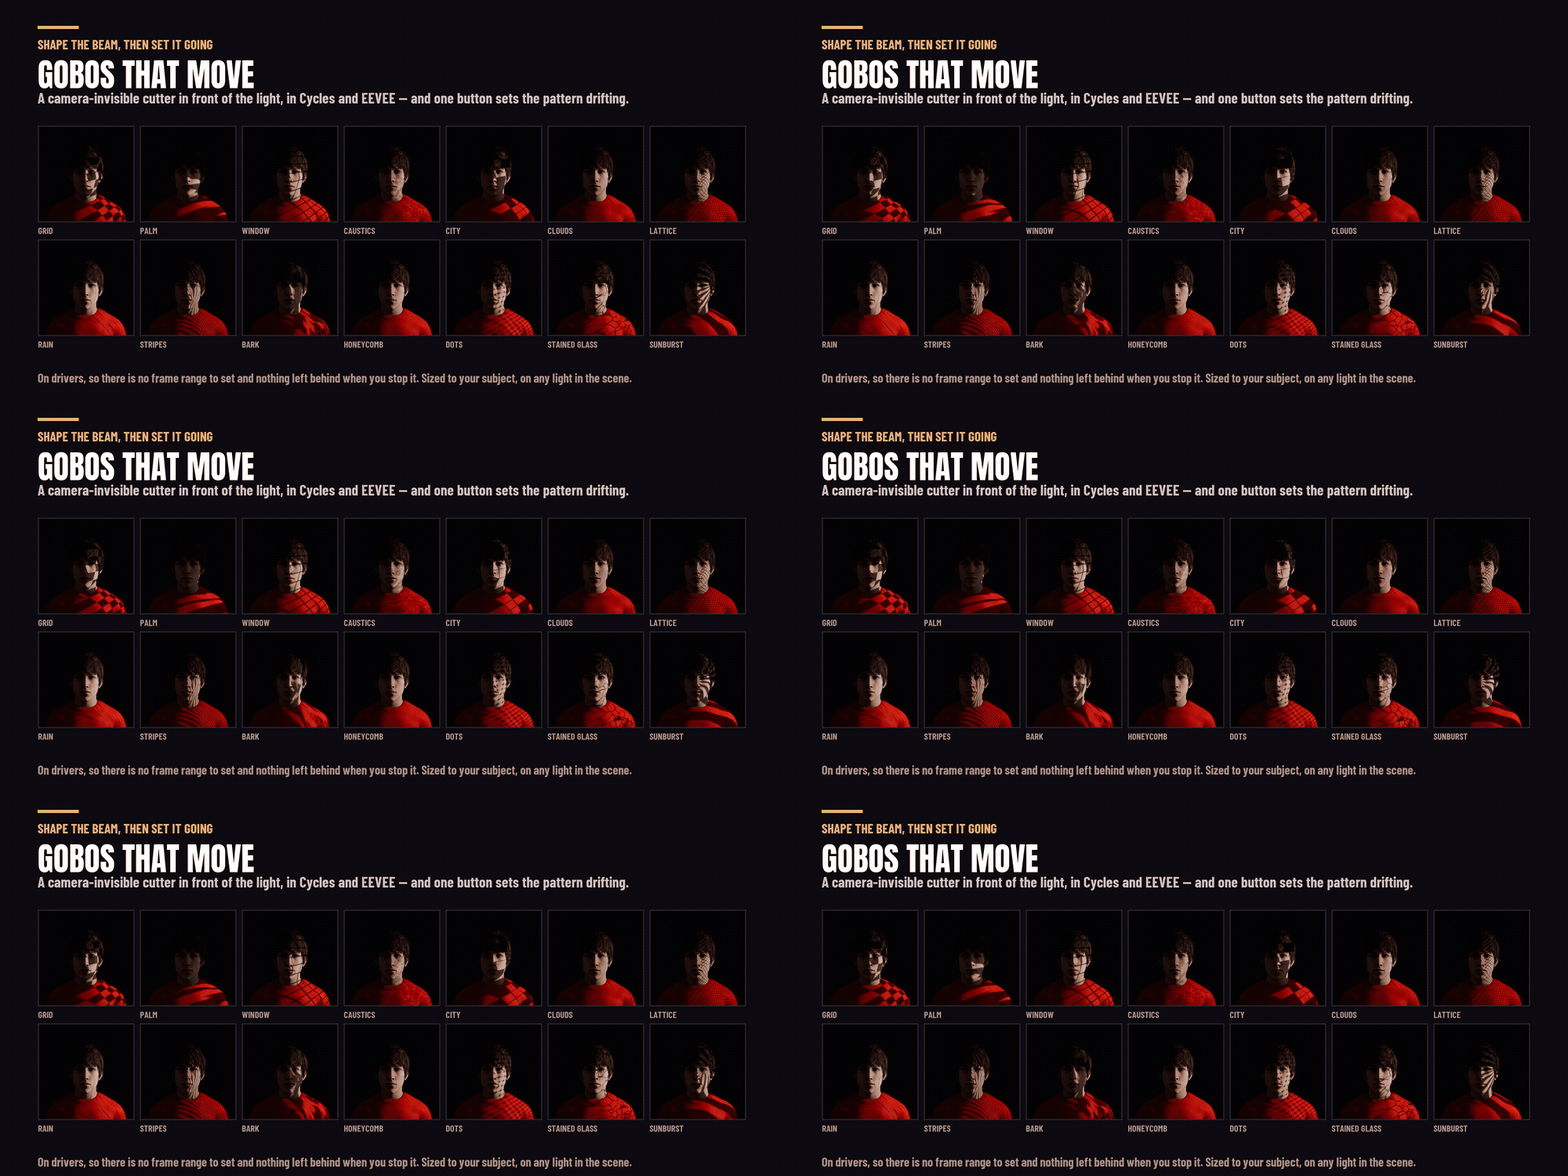
And they work in EEVEE, which most gobo tools do not. EEVEE cannot see a texture wired into a light at all, so the pattern here is cast by a real cutter placed in front of the lamp and hidden from the camera - the same thing a film crew does with a piece of black card. Both renderers understand a shadow.
Draw the beam, not just the shadow
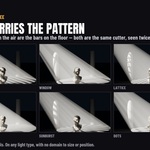
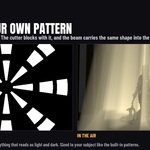
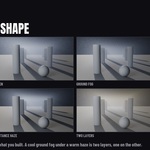
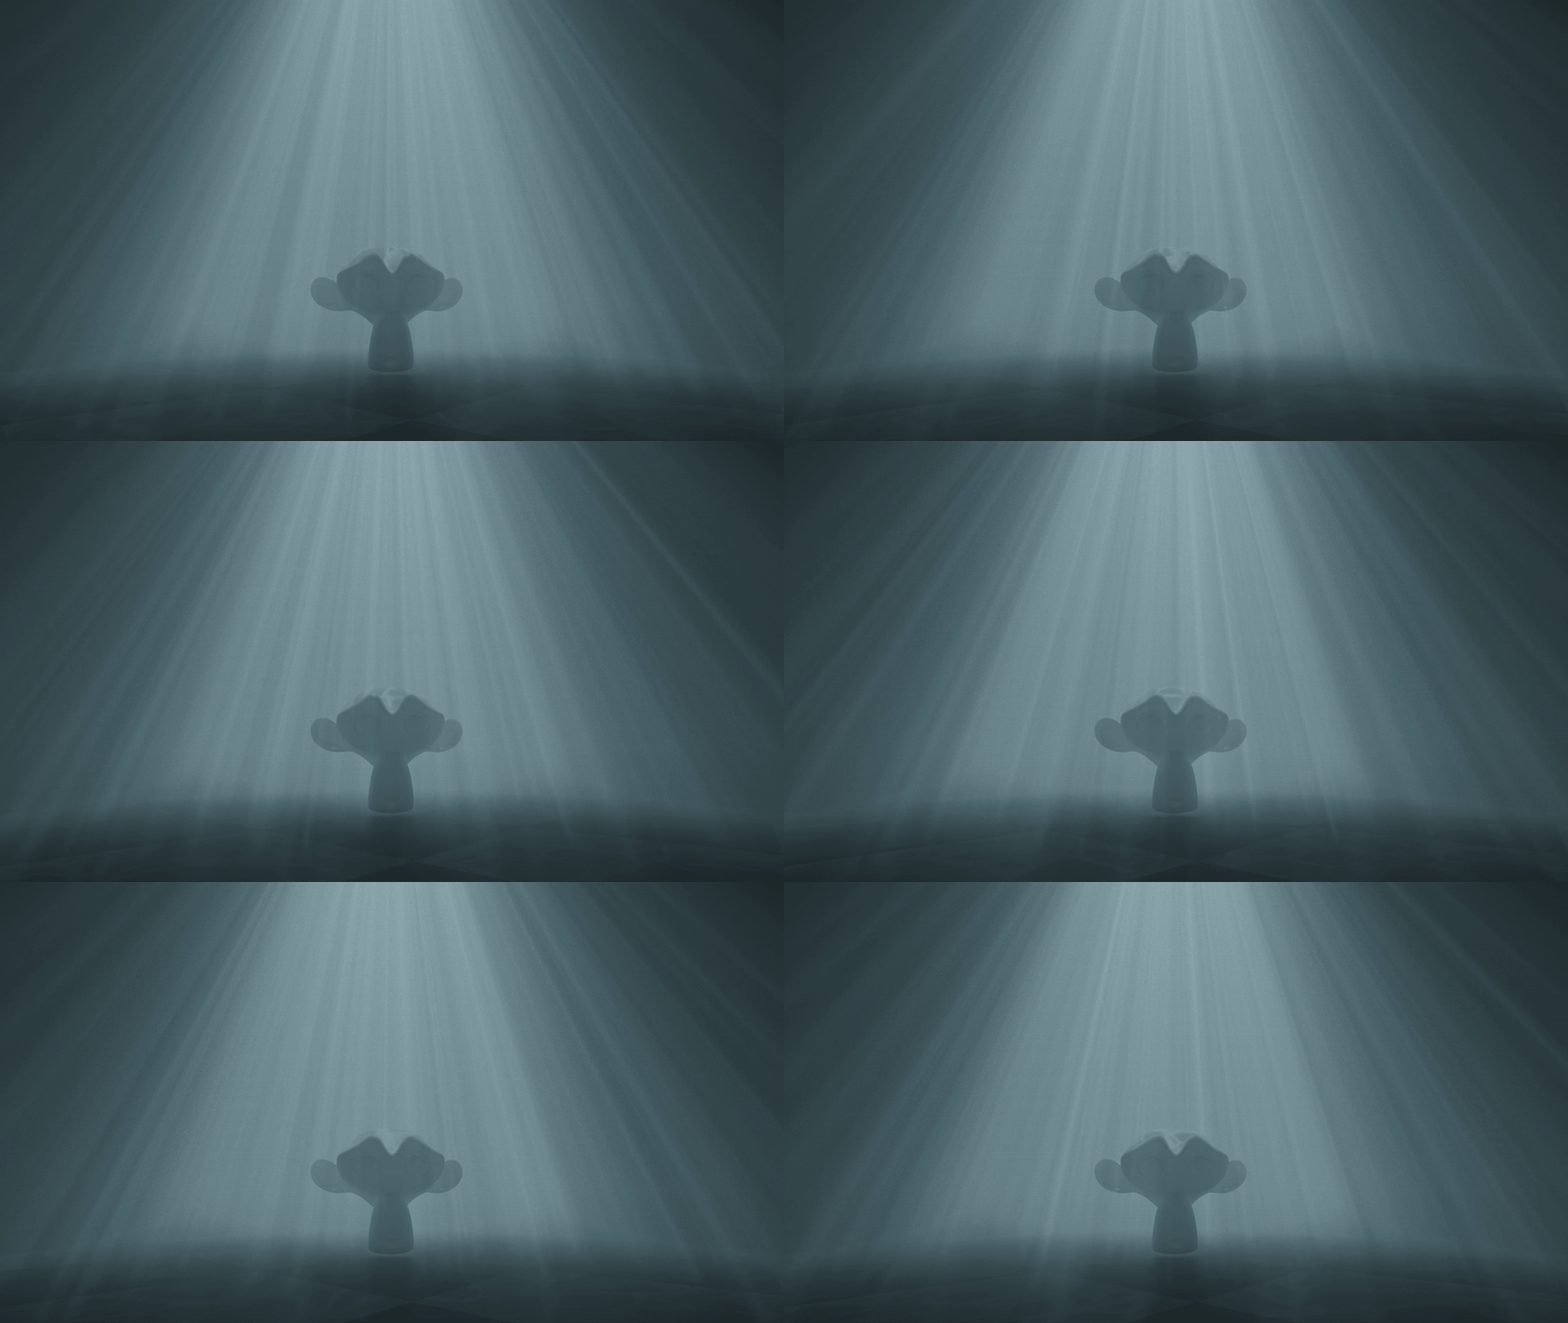
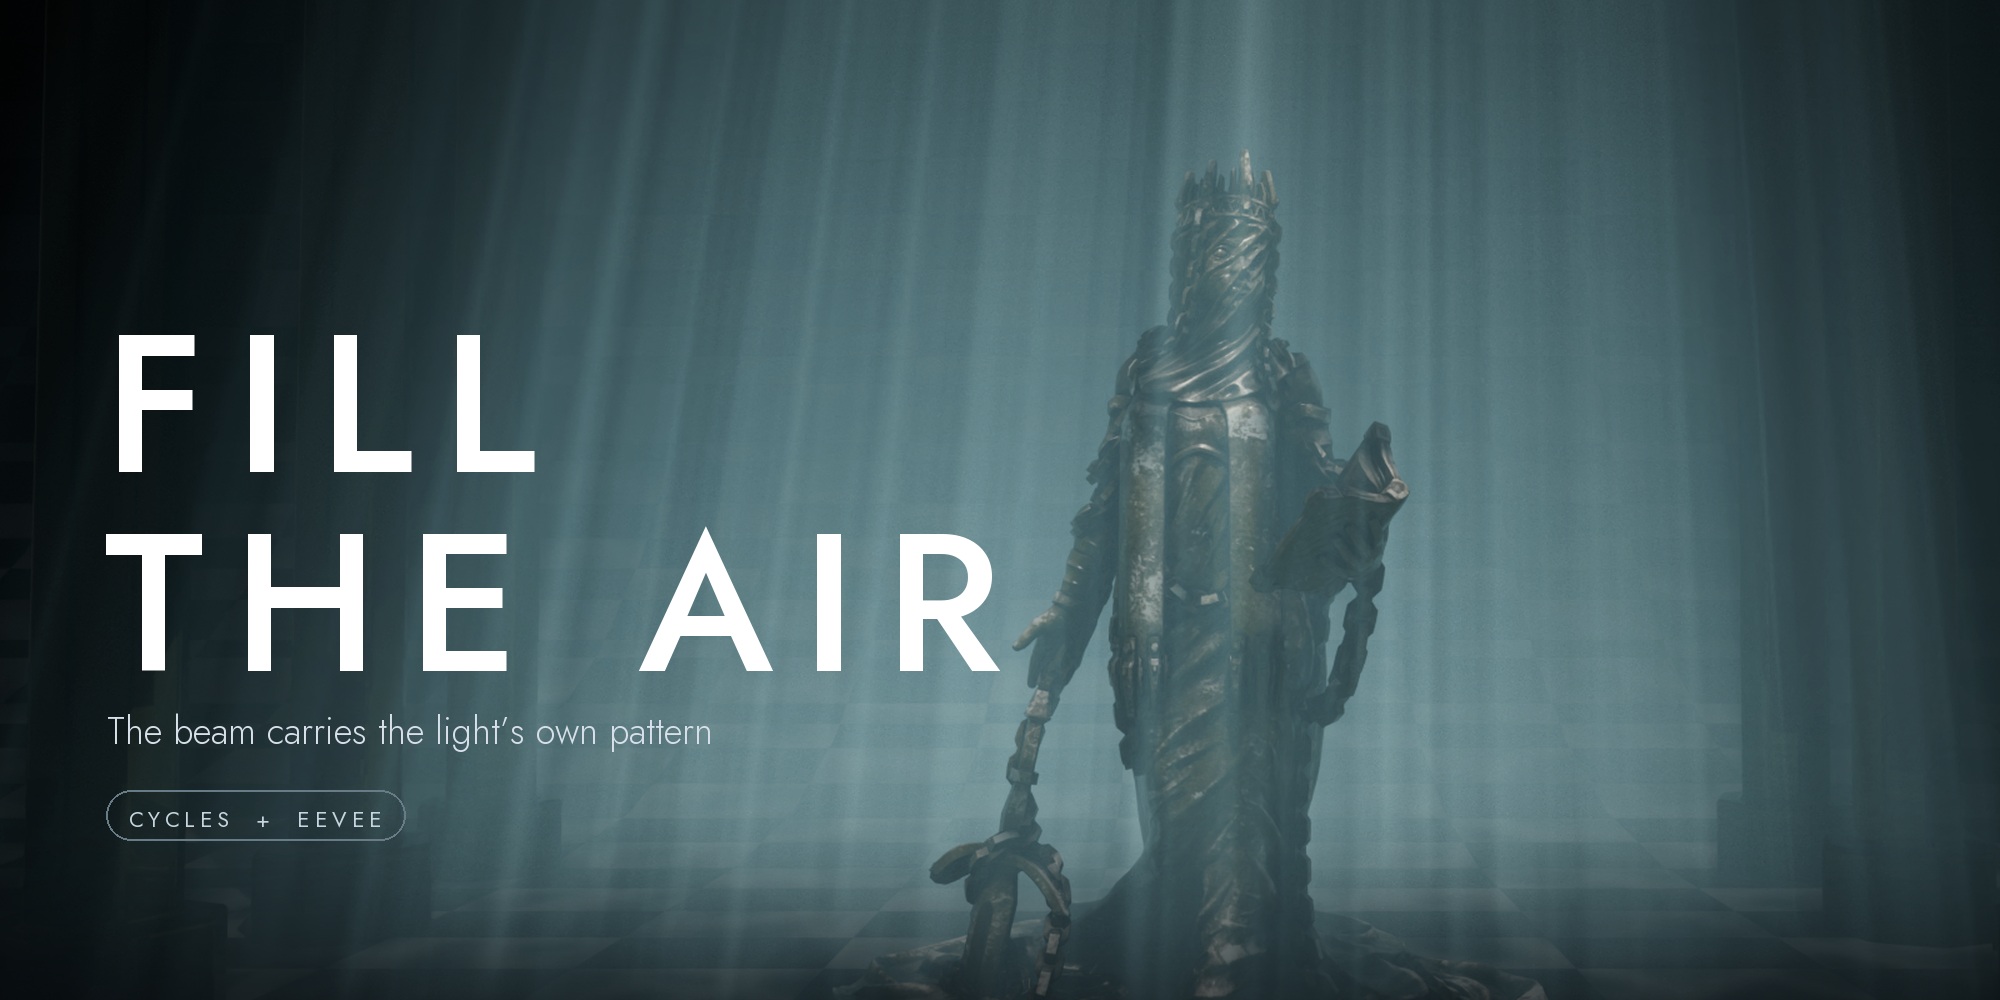
Turn the shaft on and the light becomes visible in the air - carrying its own gobo, so the bars in the air line up with the bars on the floor. Both are the same cutter, seen twice.
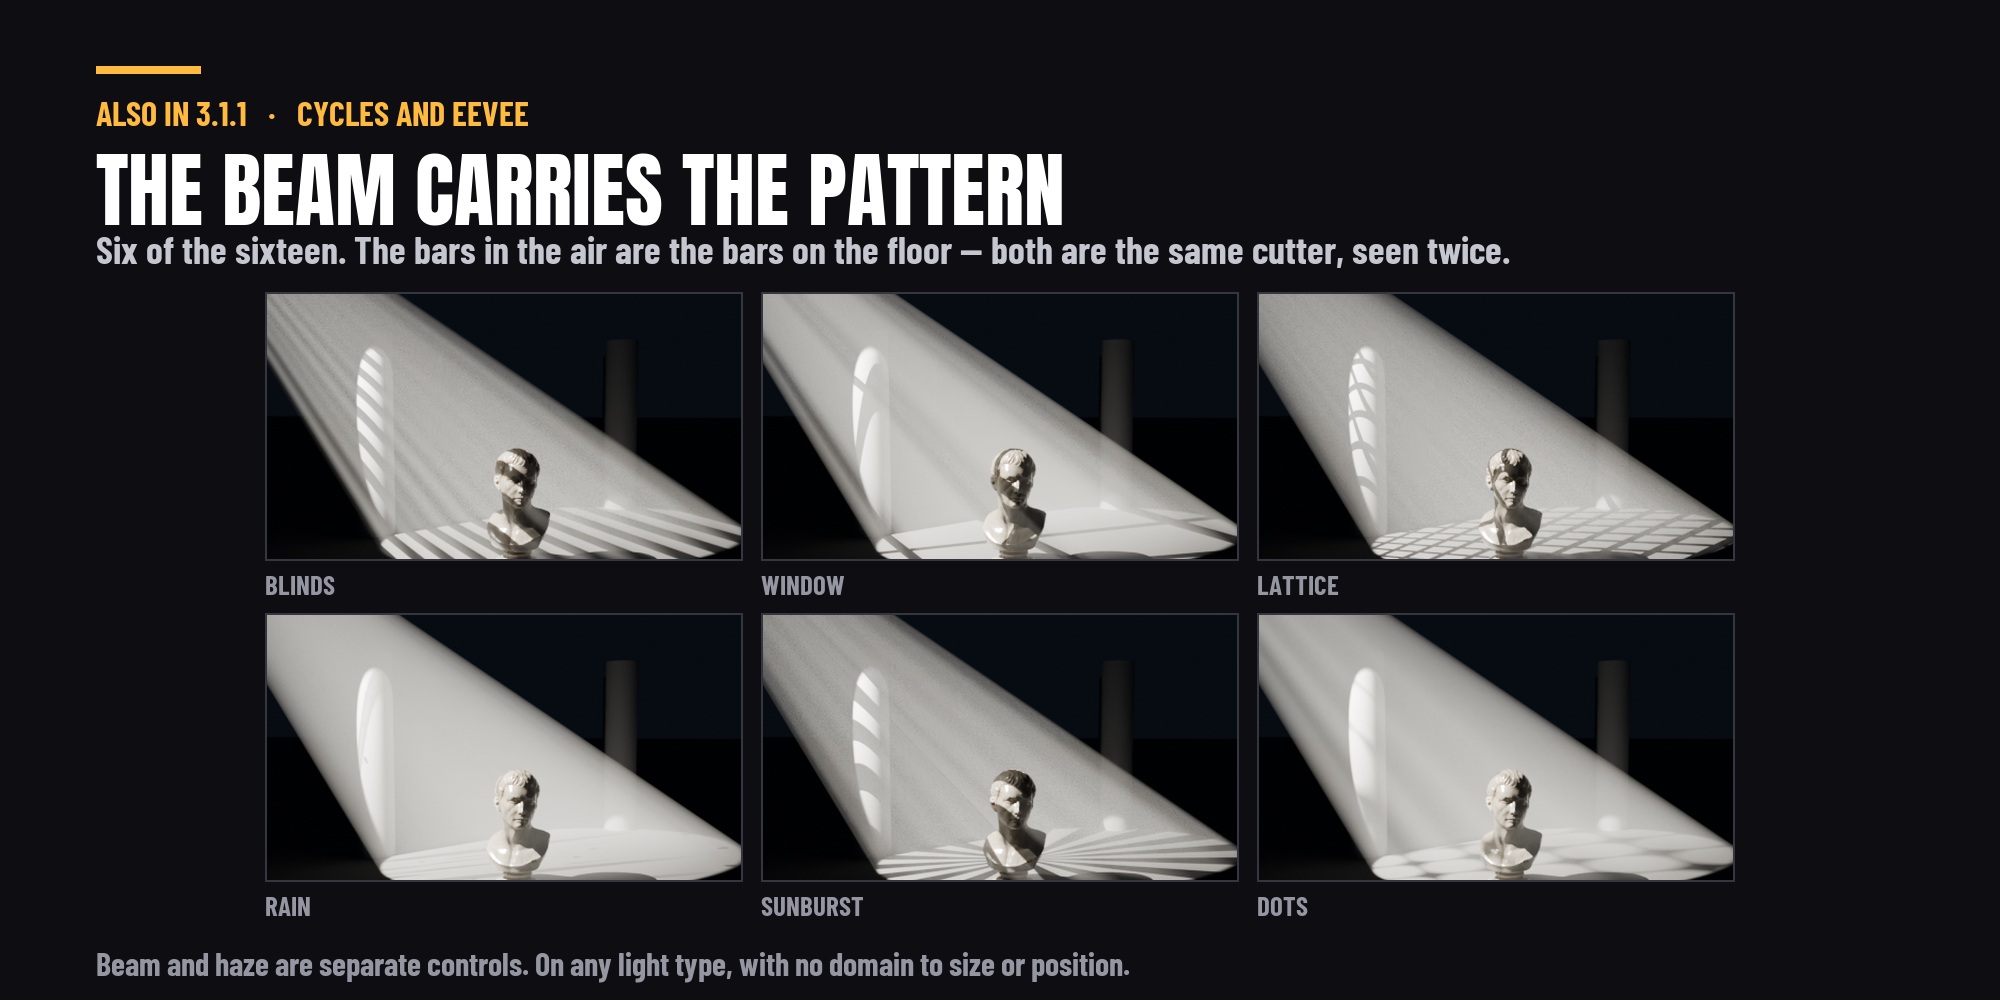
Beam and haze are separate controls here. With fog they are one knob: to get the beam brighter you thicken the air, and everything else in the frame goes down with it. The shaft is additive - strength, spread, length, far end, edge fade and colour are yours, and there is no volumetric domain to size, position or keep the camera out of.
It renders in Cycles and EEVEE. Cycles resolves finer detail inside the beam; EEVEE's volumetrics are grid-based, so the beam is softer there. The pattern landing on your surfaces is identical in both.
It is not a shortcut, and the honest numbers are these: at matched brightness the beam costs about 16% more than a fog volume doing the same job - 4.33 s against 3.74 s, measured. Fog is the simulation; this is art direction. What you get for it is the separation, and a beam you can aim.
Or bring your own pattern
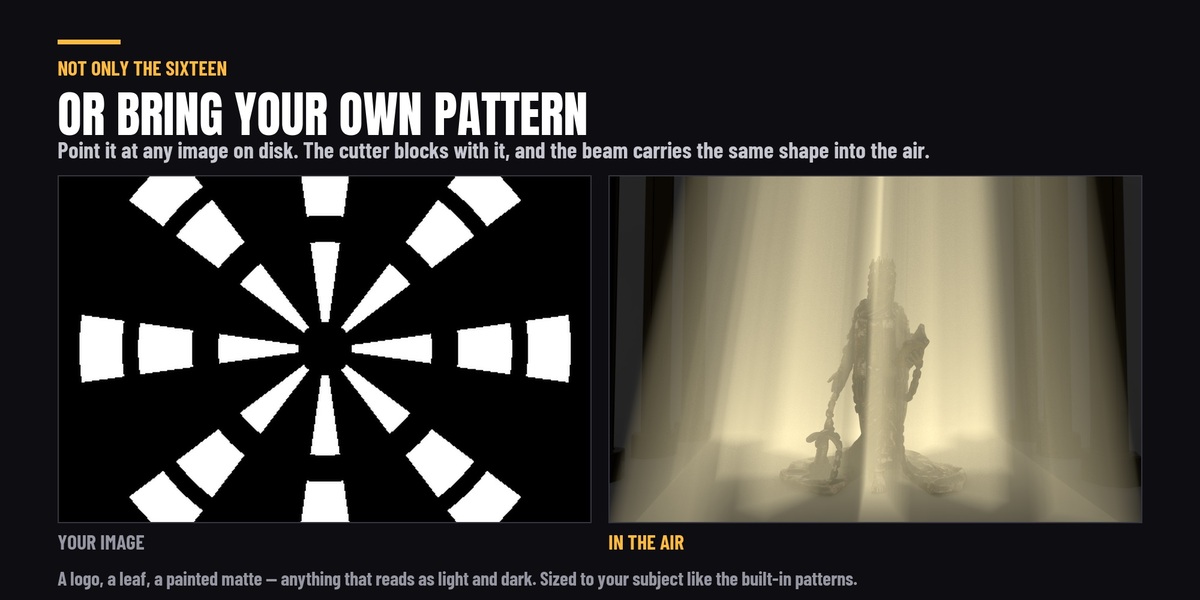
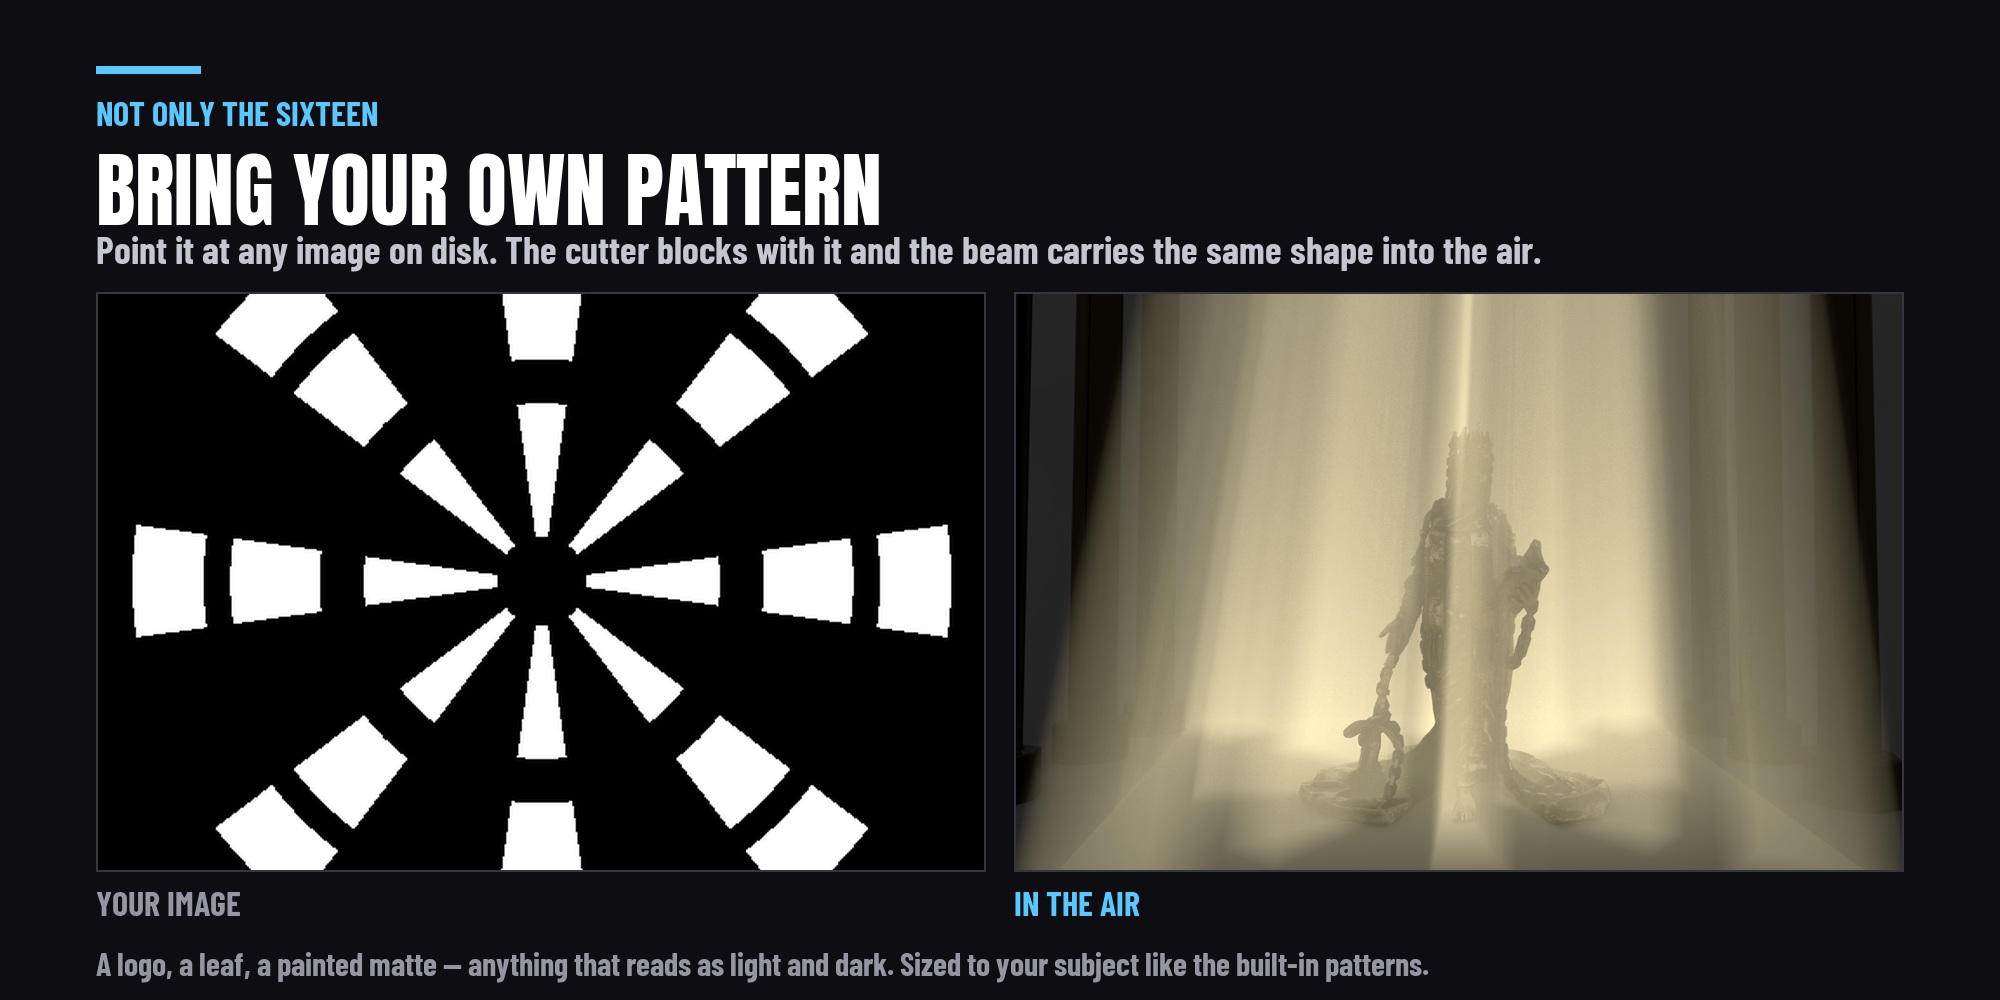
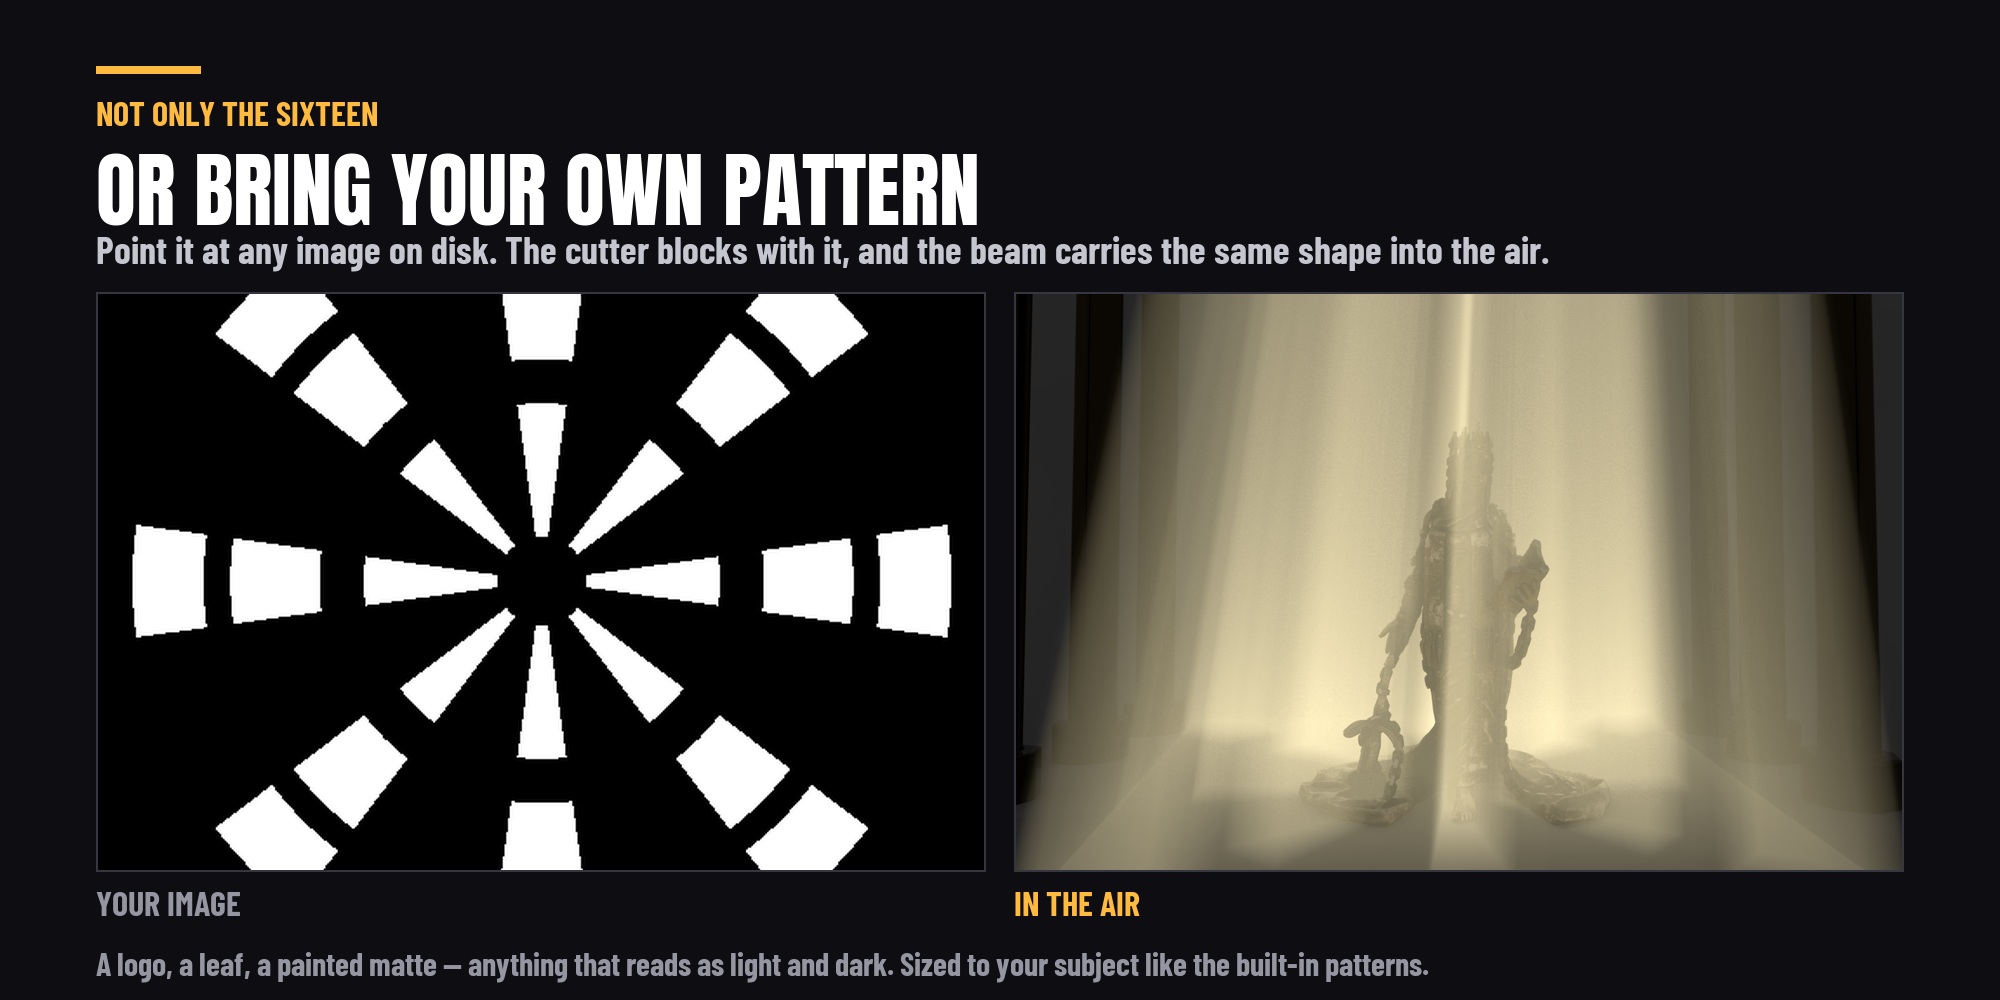
Point it at any image on disk - a logo, a leaf, a painted matte, anything that reads as light and dark. The cutter blocks with it and the beam carries the same shape into the air, sized to your subject like the built-in sixteen.
On any light you already have
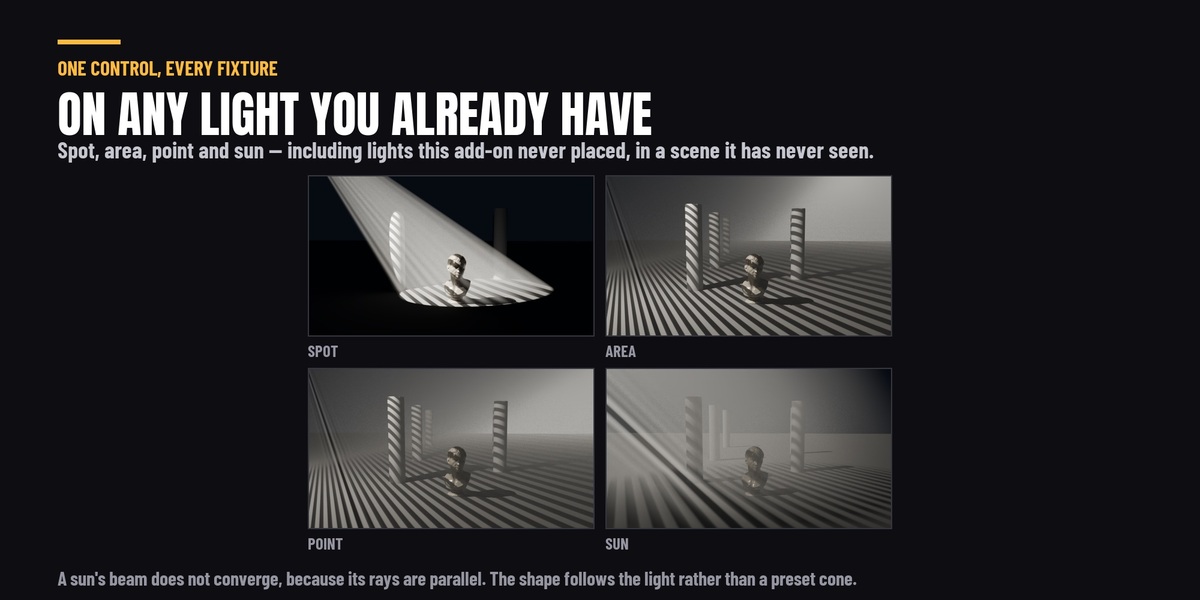
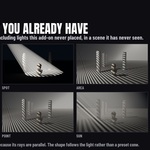
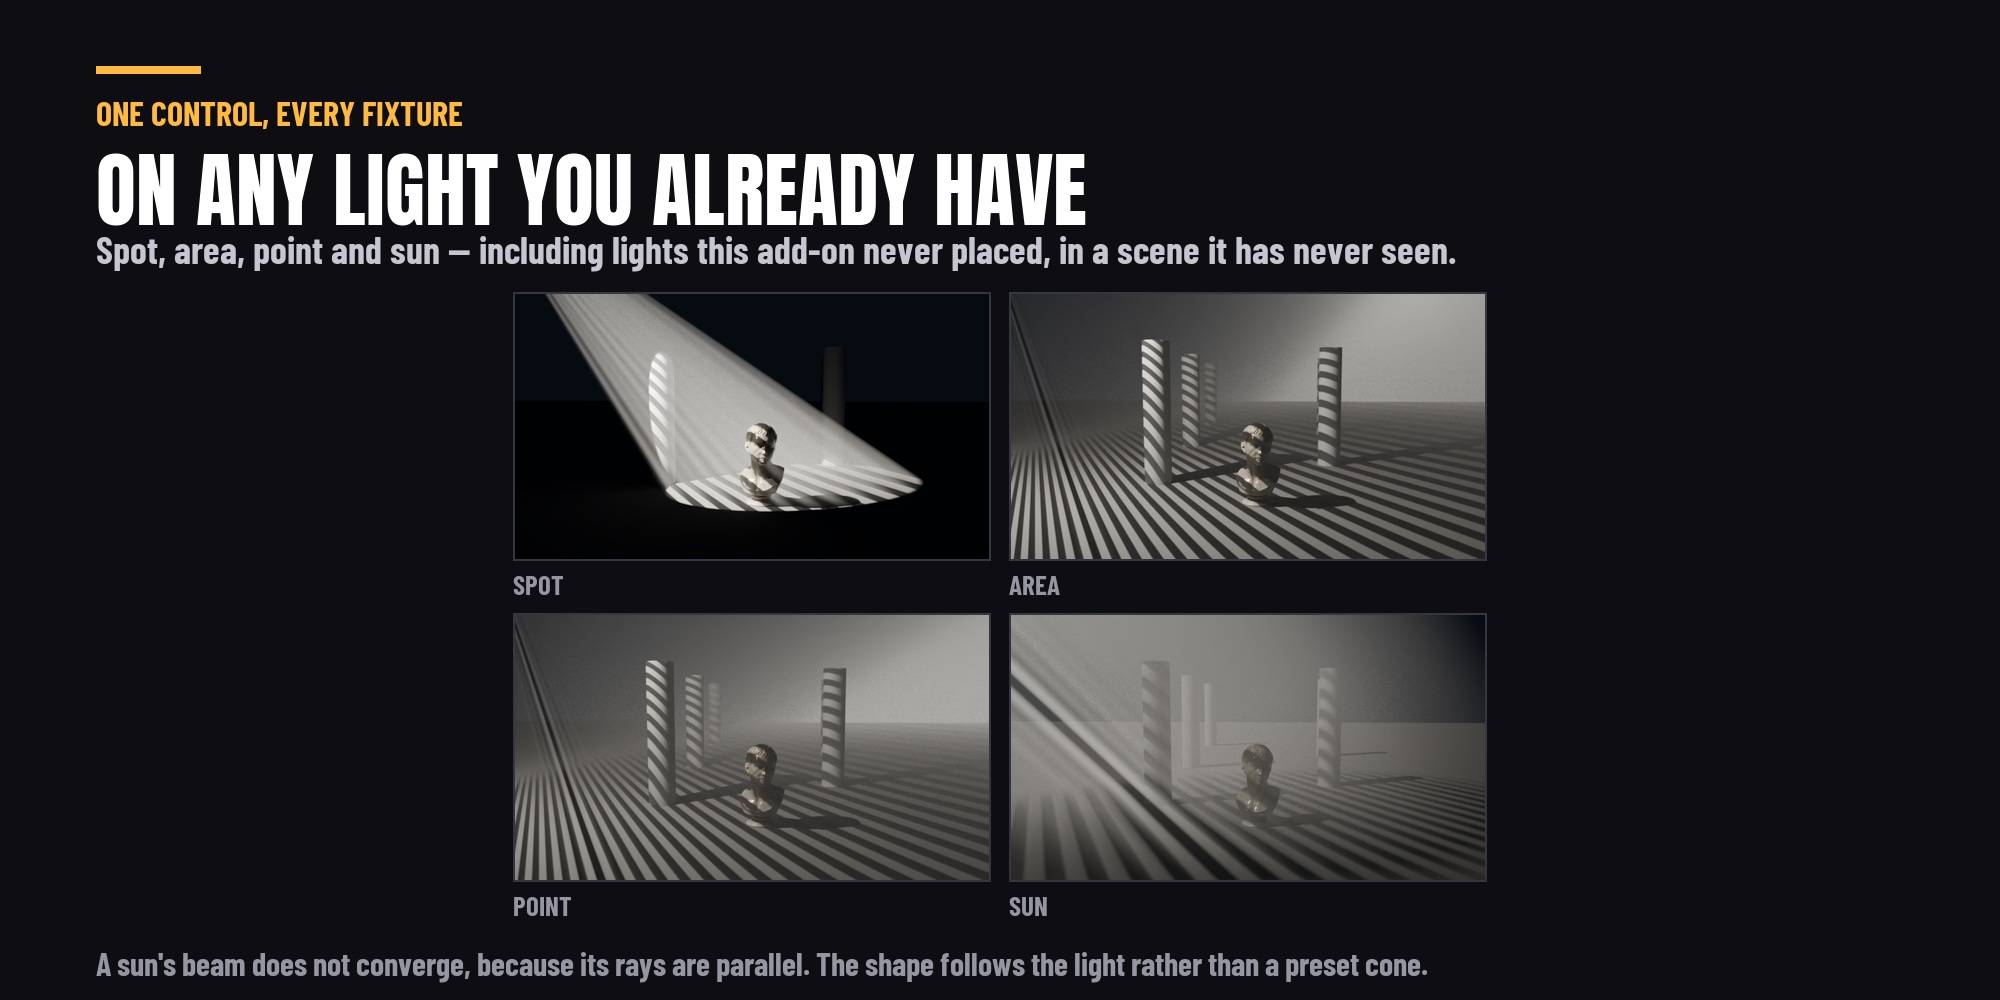
Spot, area, point and sun - including lights this add-on never placed, in a scene it has never seen. Select your own lamp and the shaping panel works on it.
IES profiles and softbox modifiers
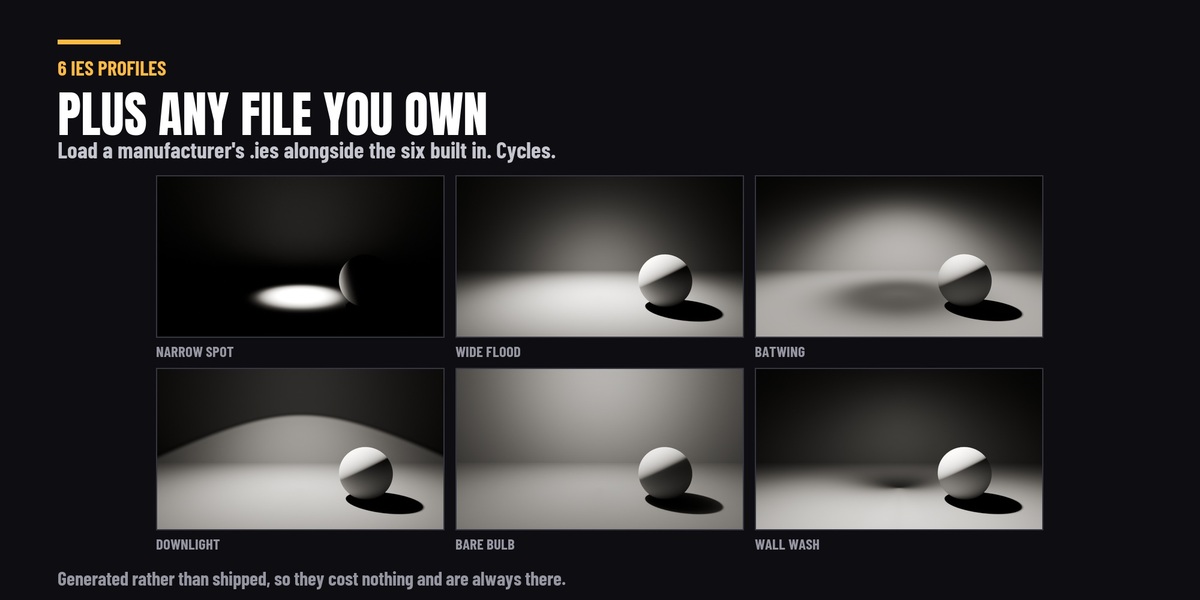
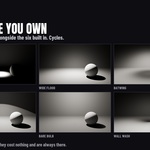
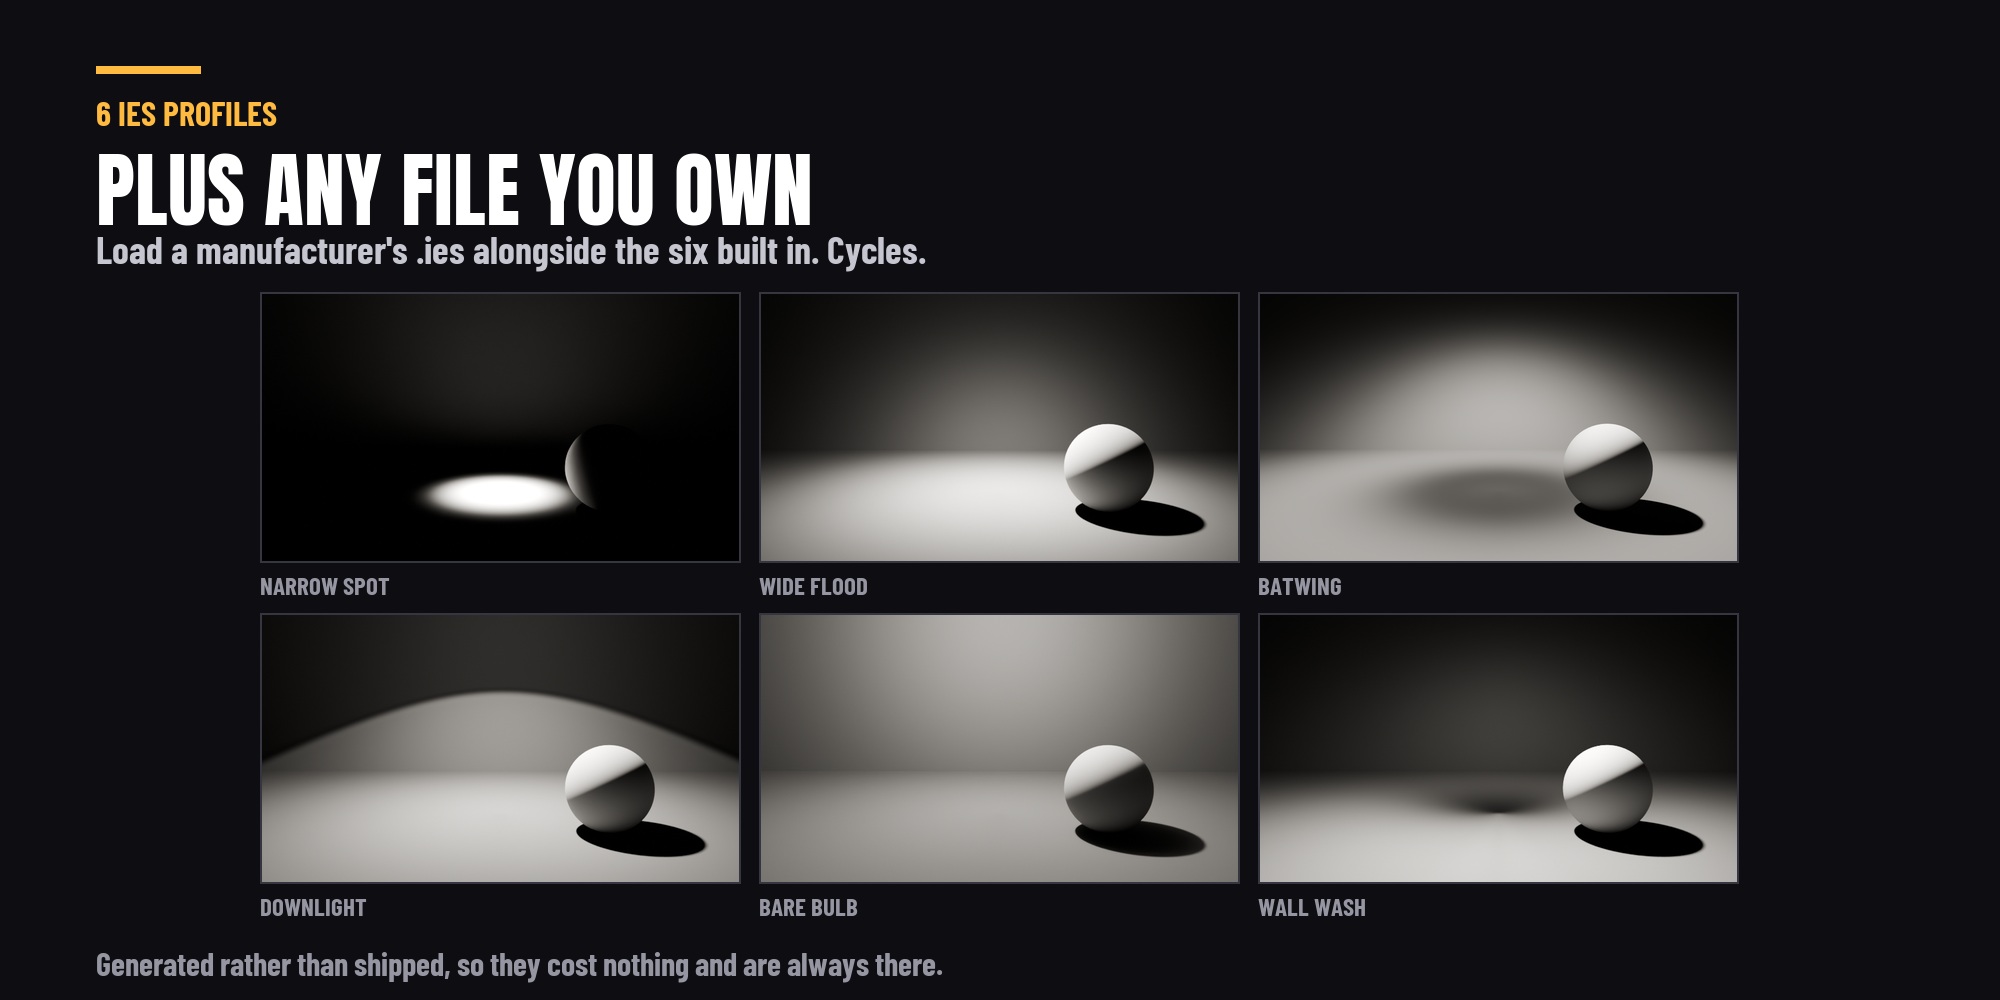
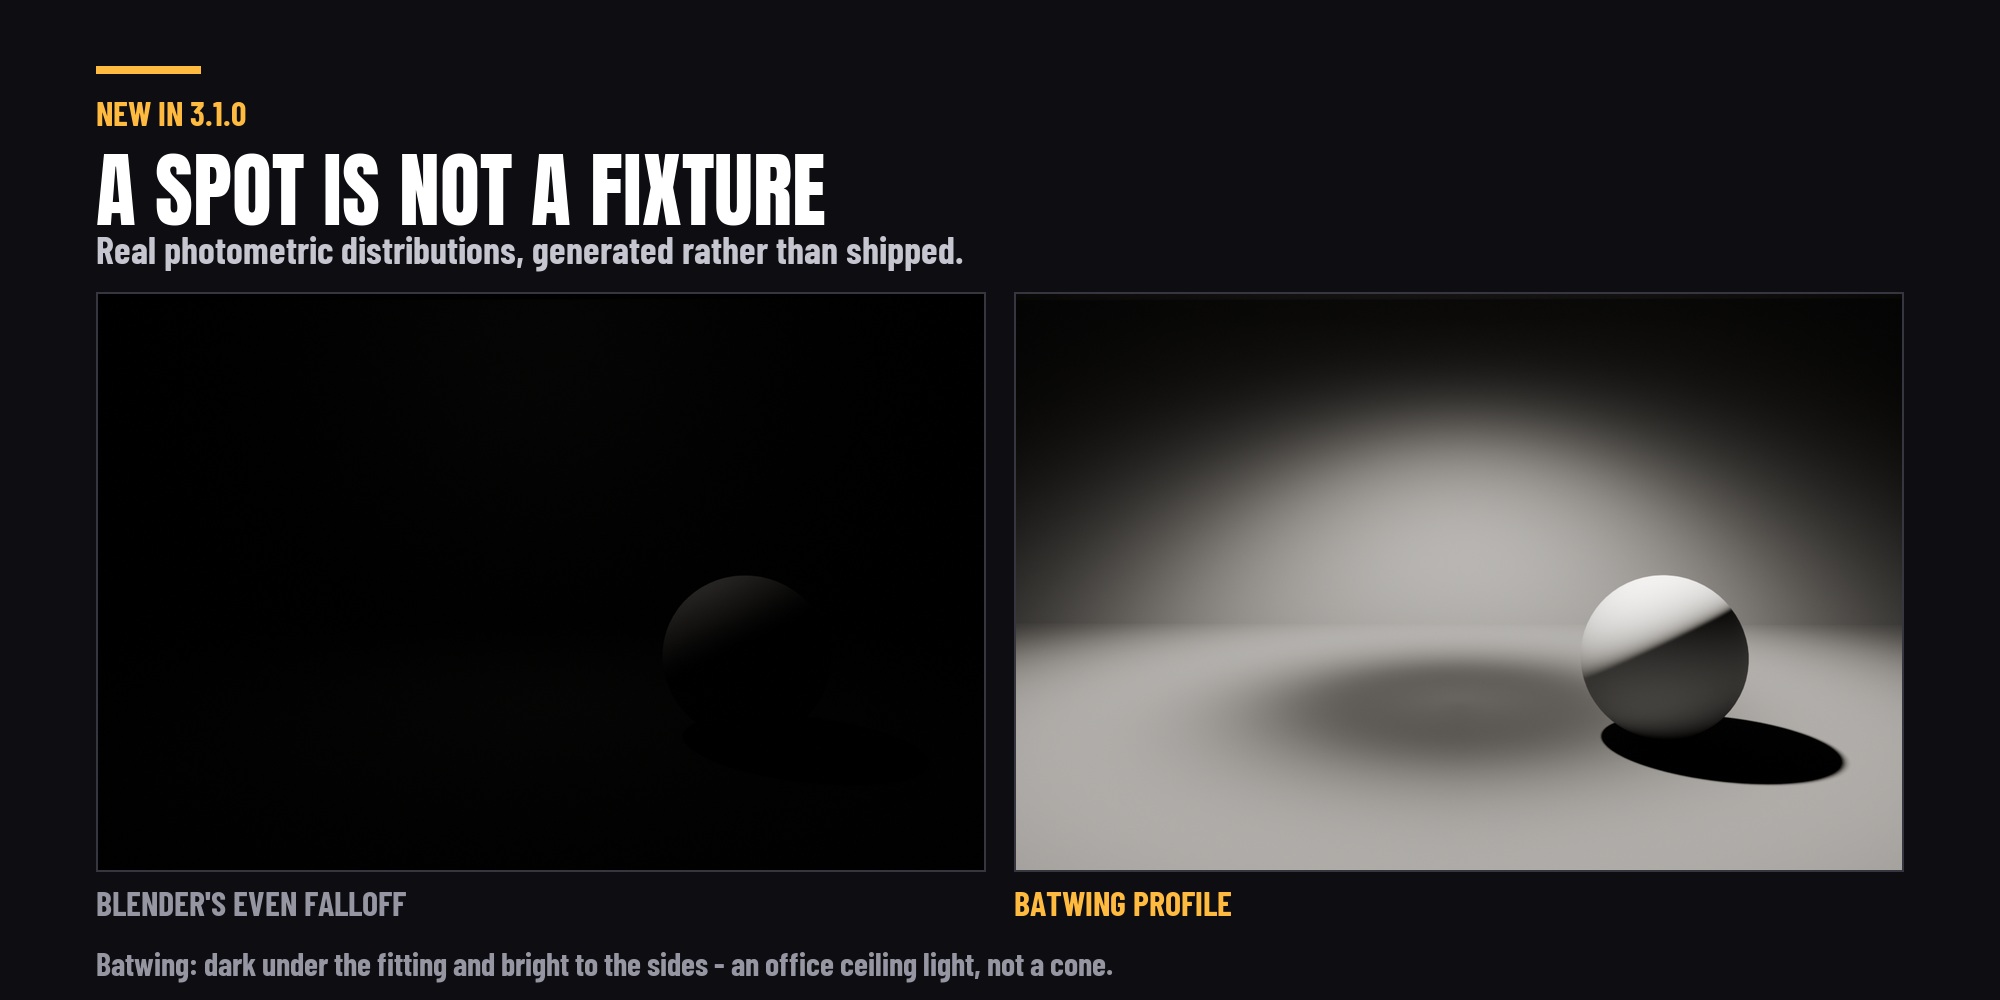
Six real photometric distributions for point and spot lights - narrow spot, wide flood, batwing, downlight, bare bulb, wall wash - generated rather than downloaded, plus a loader for your own .ies files.
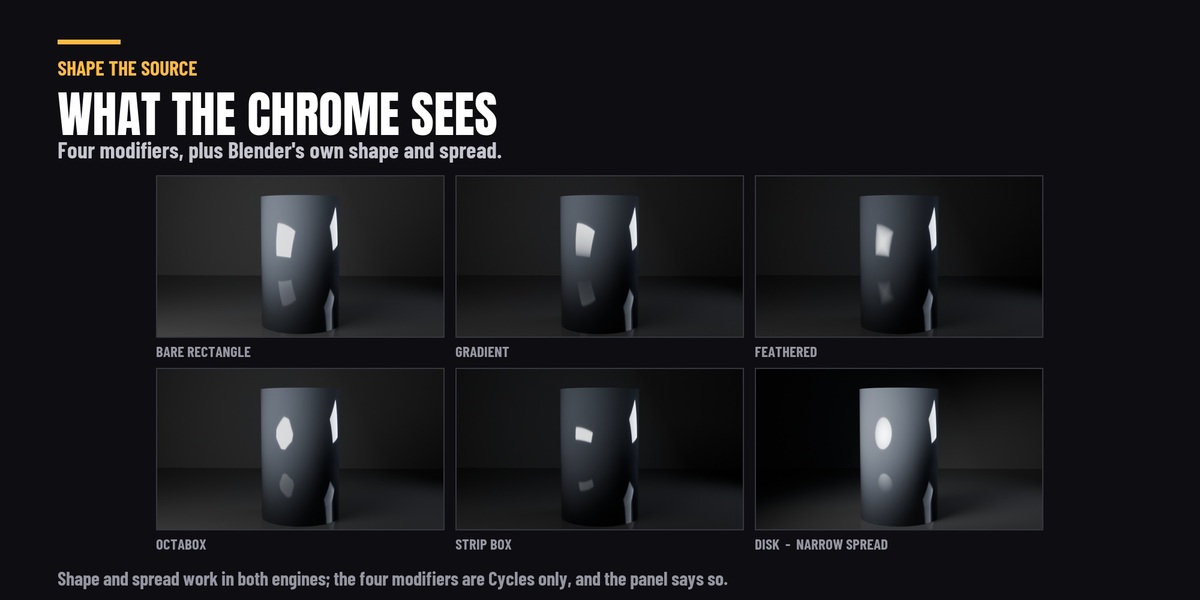
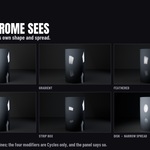
Softbox modifiers change the shape of the source itself: gradient, feathered, octabox and strip box. Look for these in a reflection rather than on a wall - on a shiny product a blank rectangular highlight is one of the things that reads as CG, and this is what fixes it.
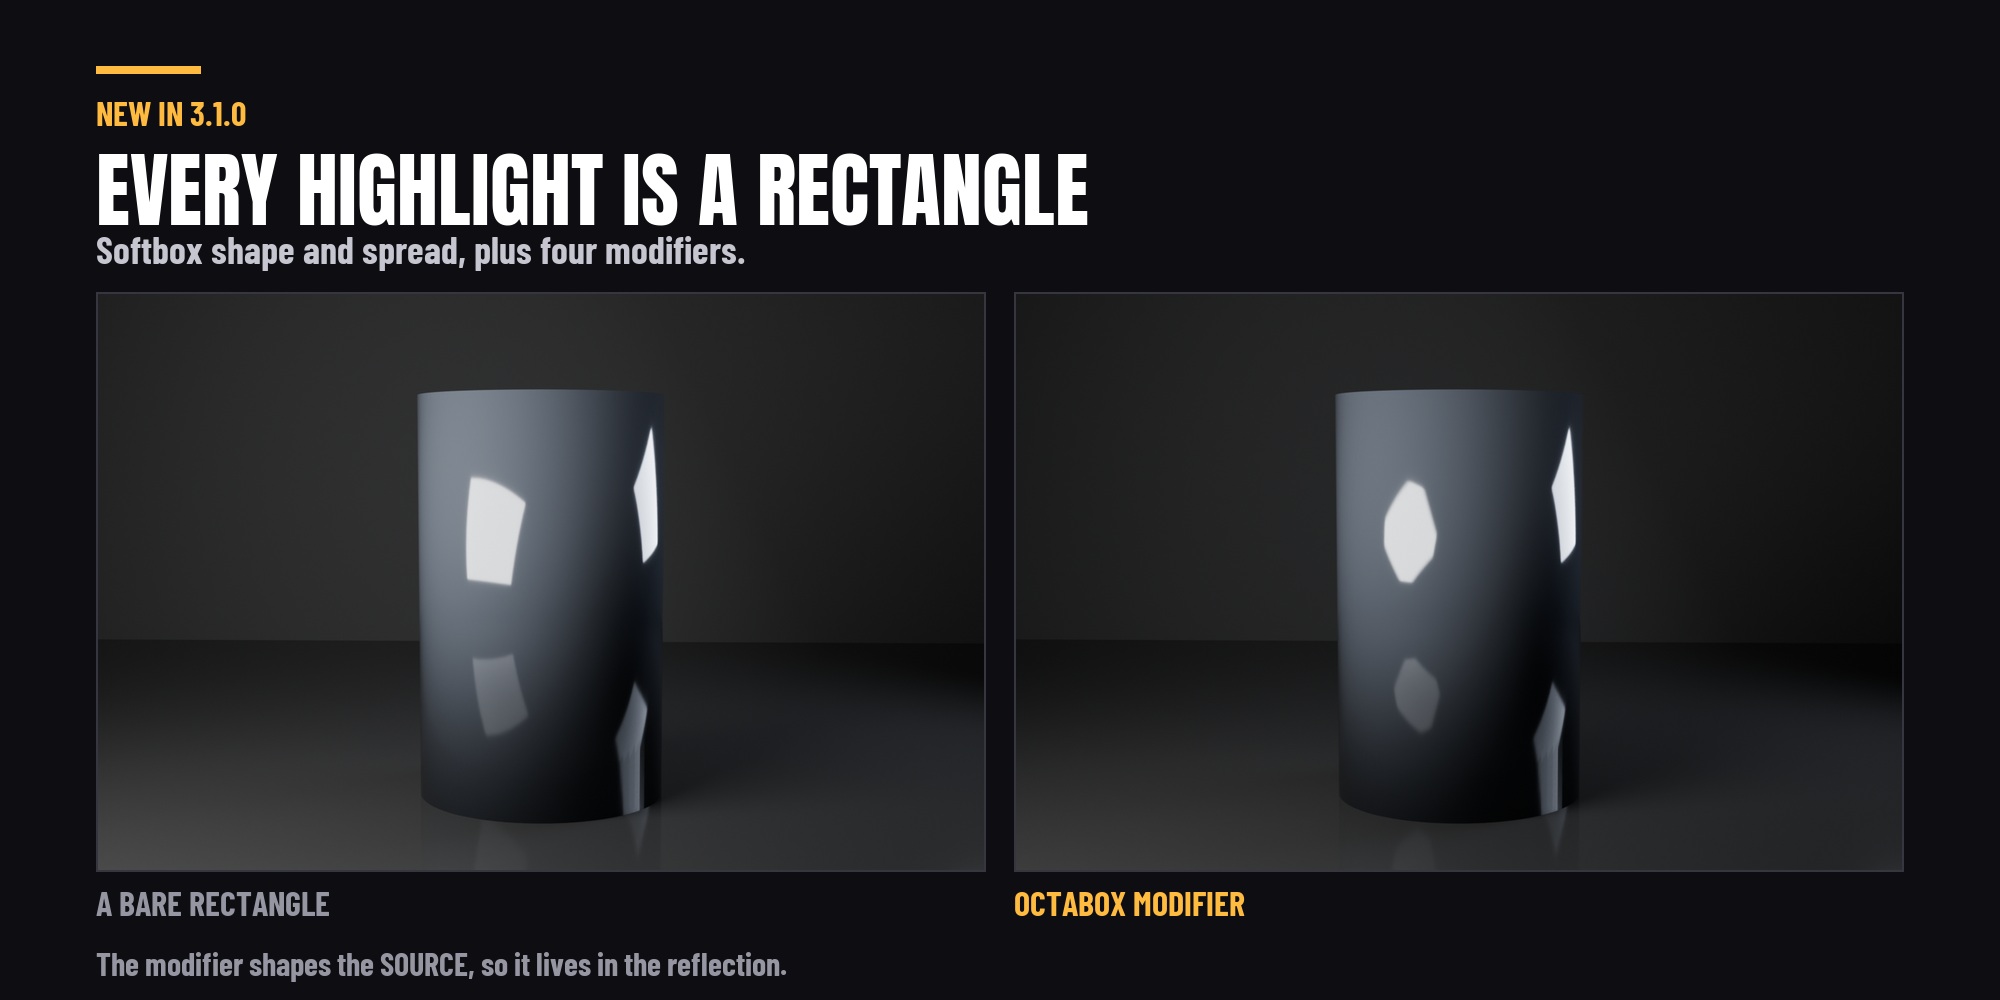
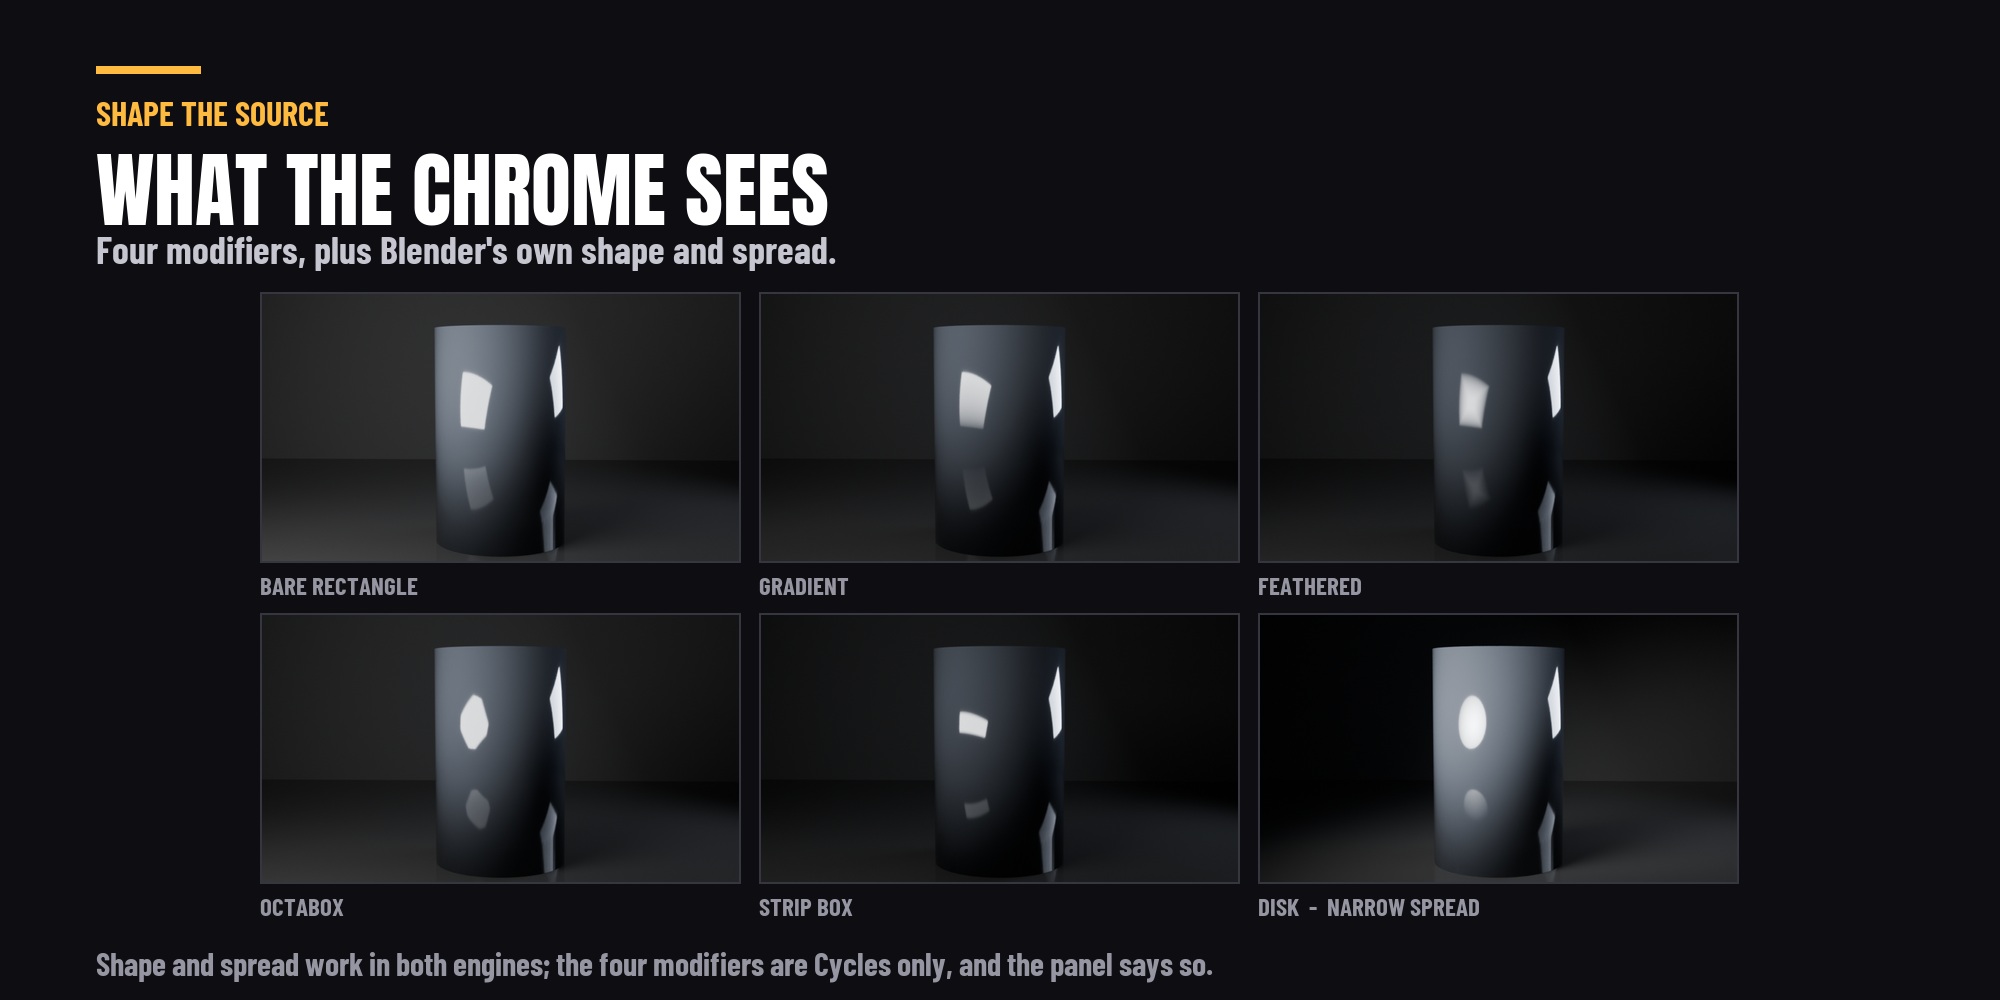
IES profiles and the four softbox modifiers are Cycles features, and the panel says so beside each control rather than after you press it.
Match a look you already have
An HDRI library for the HDRIs on your own drives - scanned, shown as thumbnails, one click to light with. No network, no account, no download. It also tells an environment map from a roughness map that happens to be saved as an EXR.
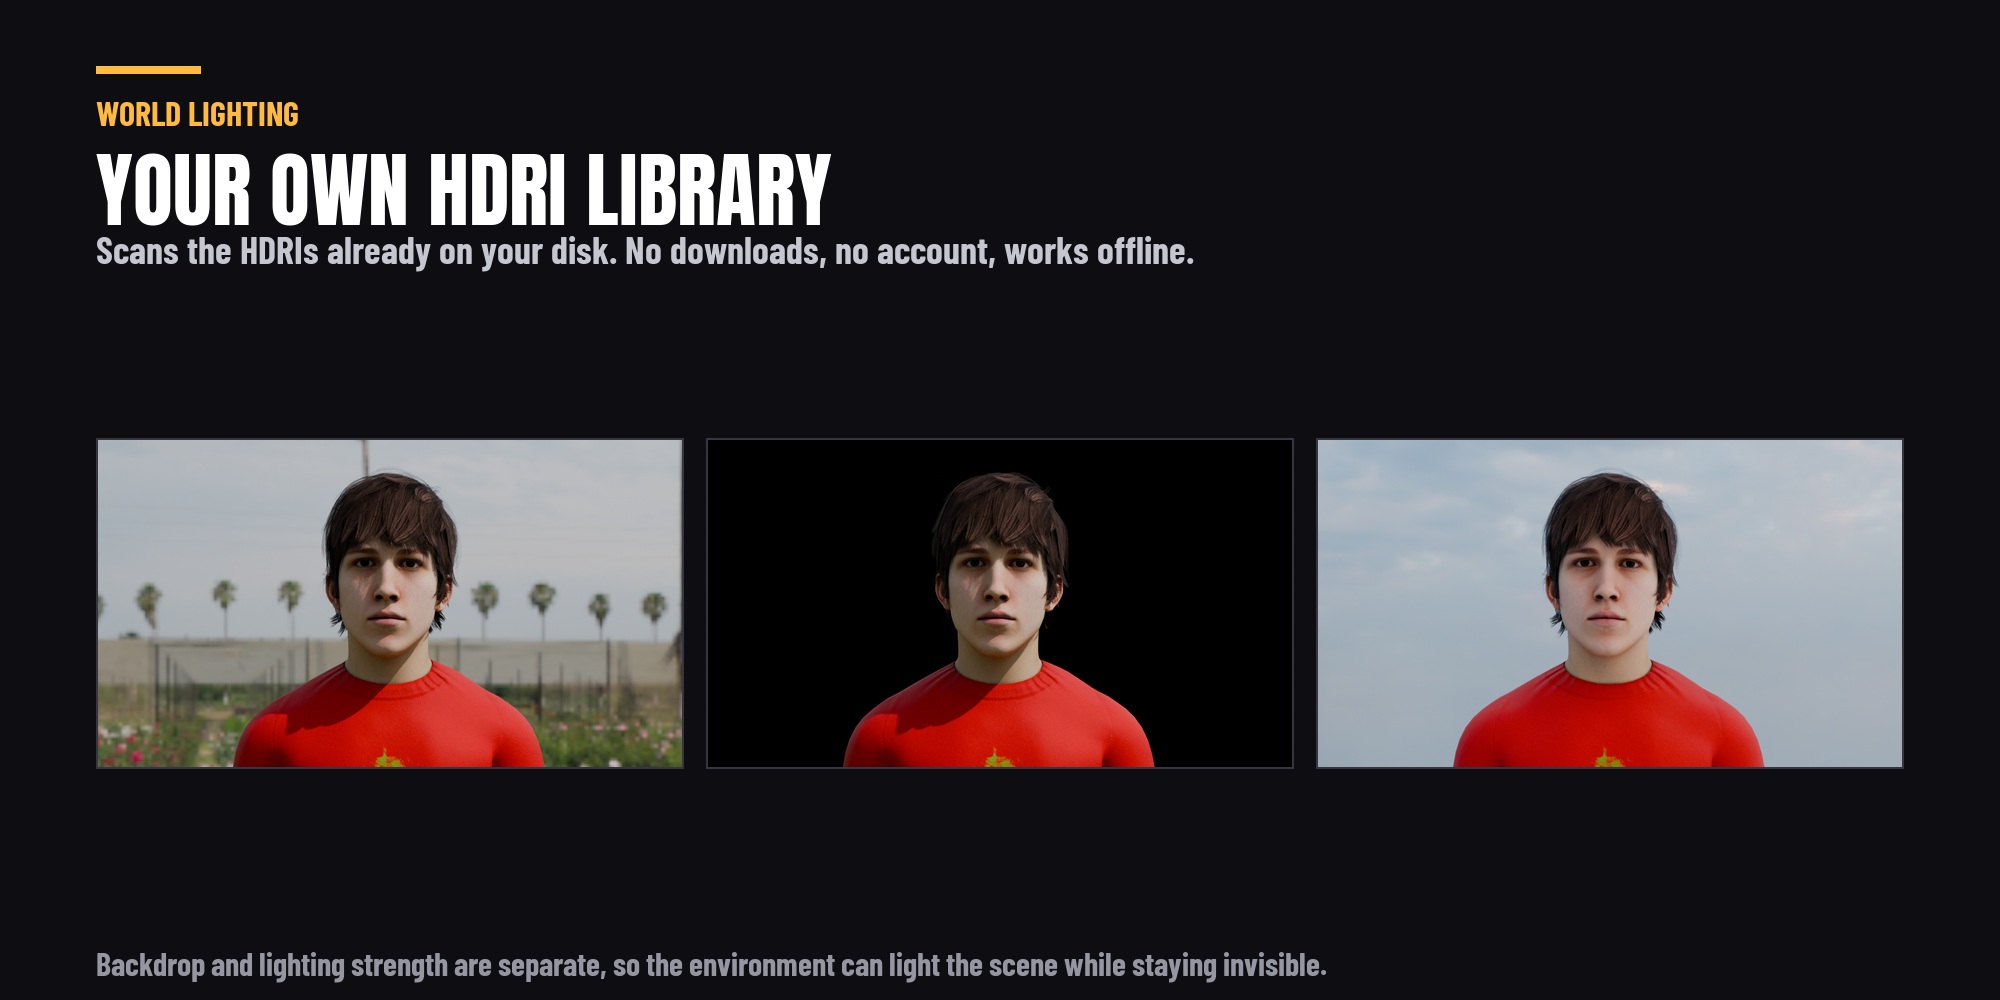
Lighting strength and backdrop strength are two separate numbers, so the HDRI can light your scene at full power while the visible background goes black - which a single Background node cannot express.
Or match a reference image - experimental. Point it at a portrait or product shot and it measures the key direction, the contrast ratio, the colour temperature and the softness, then builds a starting rig and tells you what it read: "key from the left above, 4.3:1 contrast, 3100K, hard". It is a starting point, and the panel says so.
Fill the air - 22 atmospheres
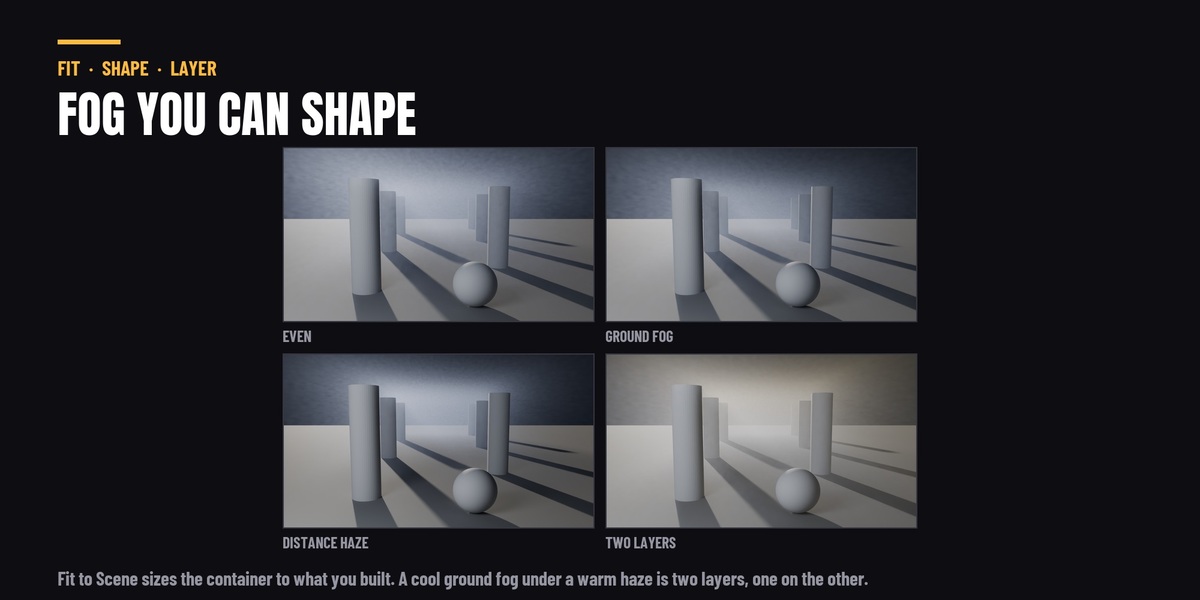
Morning fog, night haze, industrial haze, battlefield smoke, stage smoke, ghostly fog and more, in five categories - including God Rays and Window Shafts, which place a light as well as a volume.
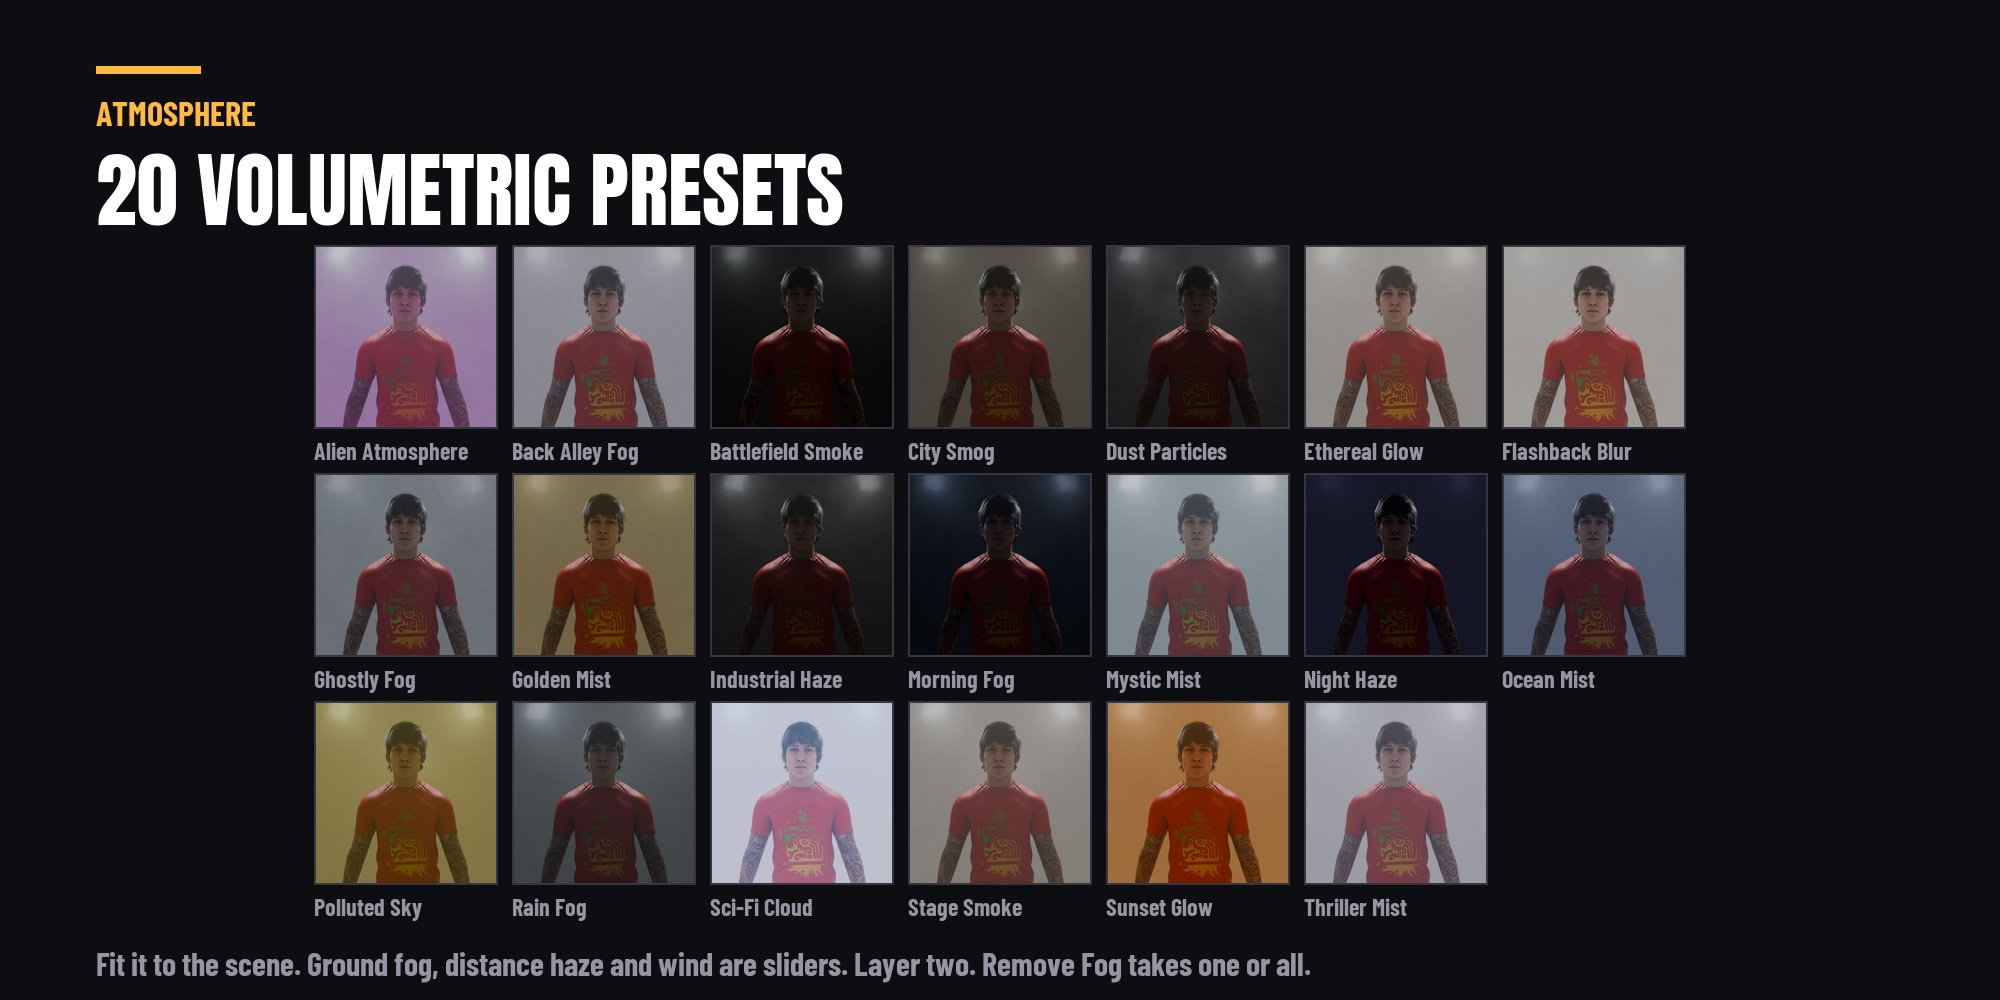
Then give the fog a shape. Fit the container to your scene or your selection in one button. Settle it to the floor with Ground Fog, or hold it back from the camera with Distance Haze so a background sits behind a subject instead of a wash over both. Wind, direction and detail are sliders, and fog layers - a ground fog under a distance haze, in separate containers.
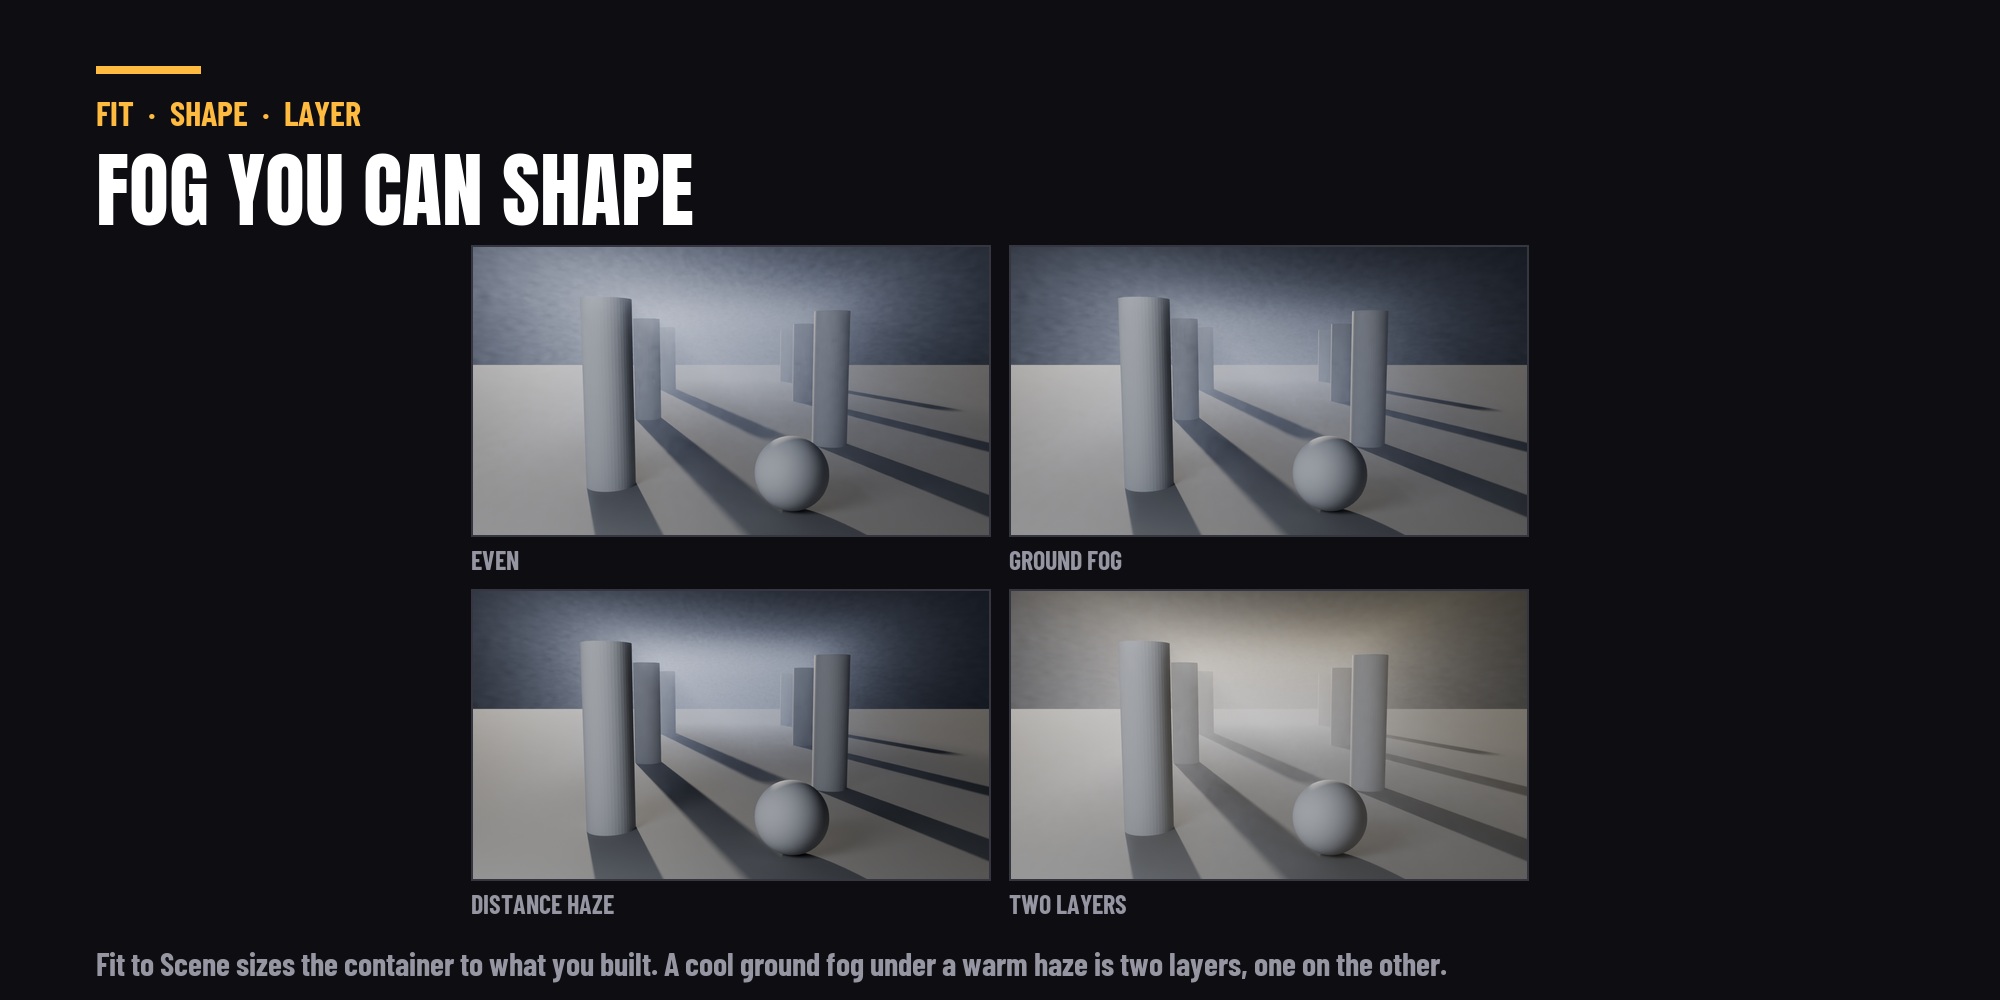
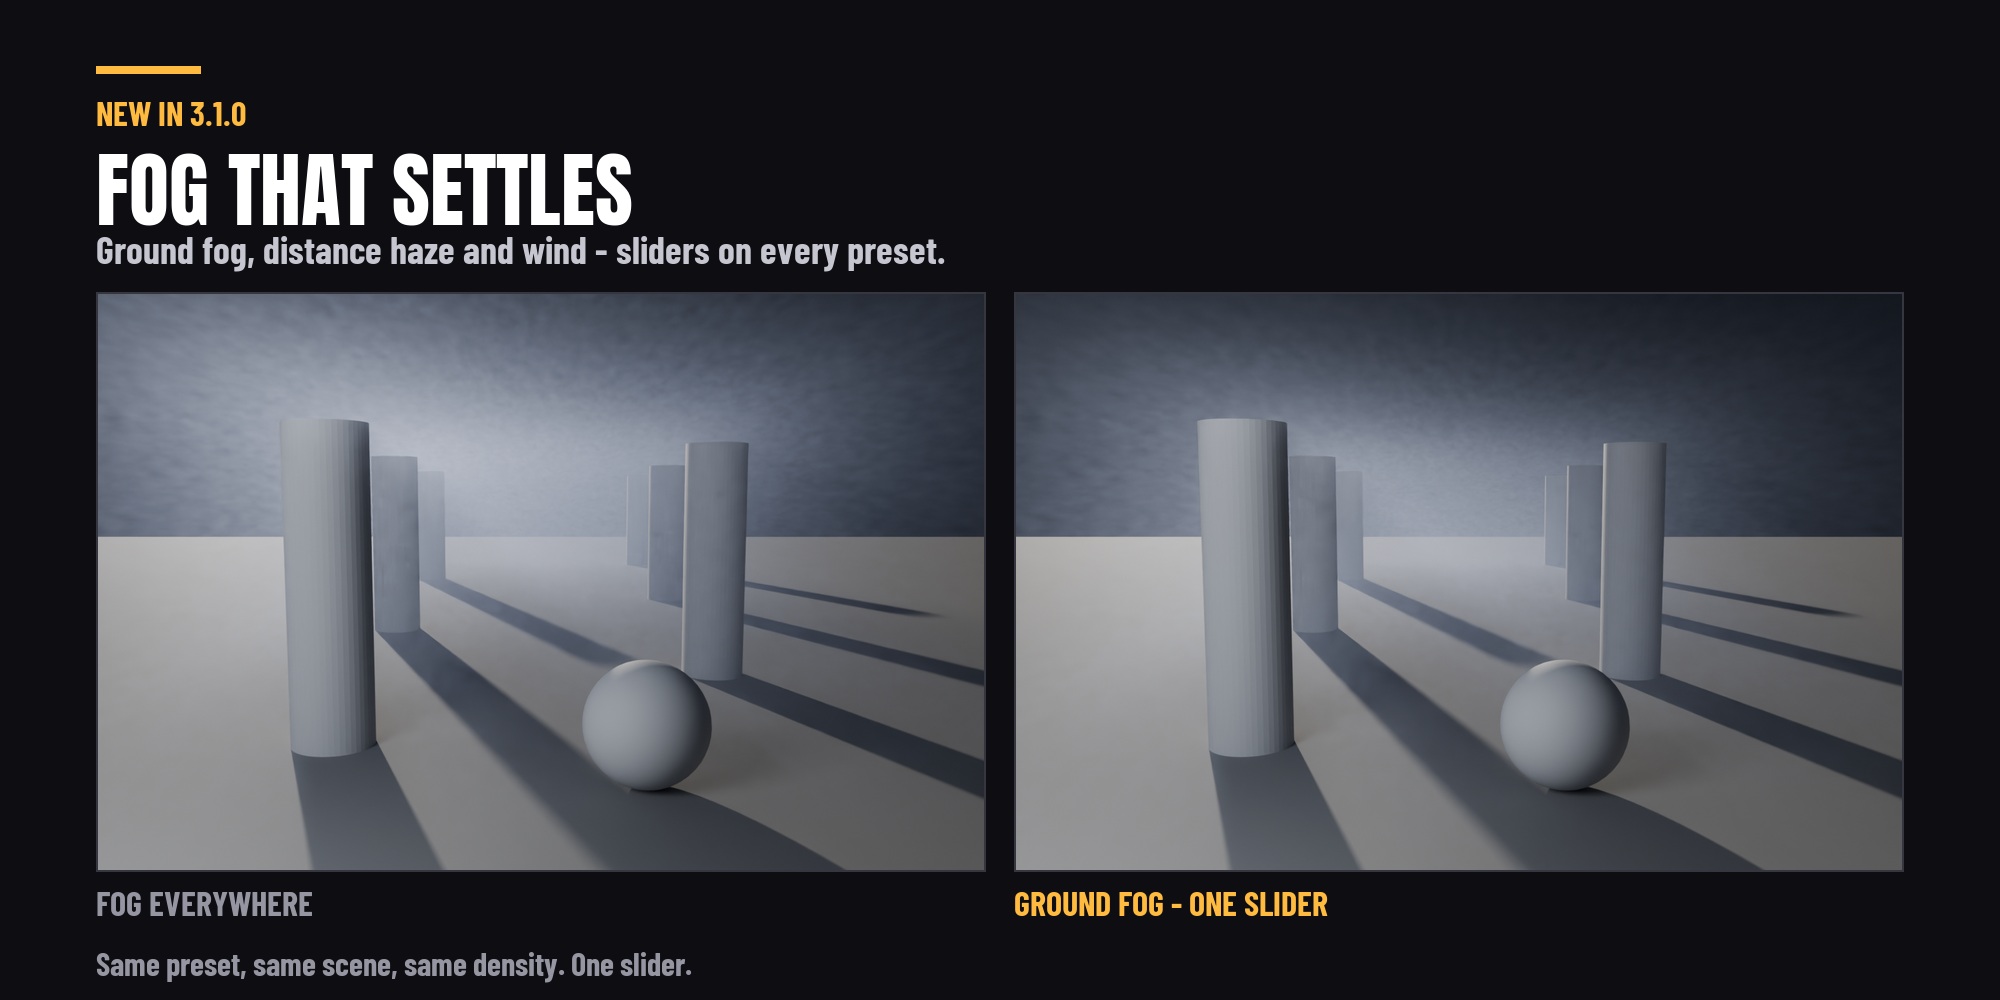
Density scales to the size of your scene automatically, because volumetric density is measured per unit of distance and a value tuned in a small test file is invisible at human scale.
Move it - 13 animated effects
Flicker, pulse, strobe, RGB cycle, colour fade, noise flicker, intensity bounce, orbit, follow target, sweep, breathe, swarm and fade. They write ordinary Blender keyframes you can open in the Graph Editor, and one button clears them again.
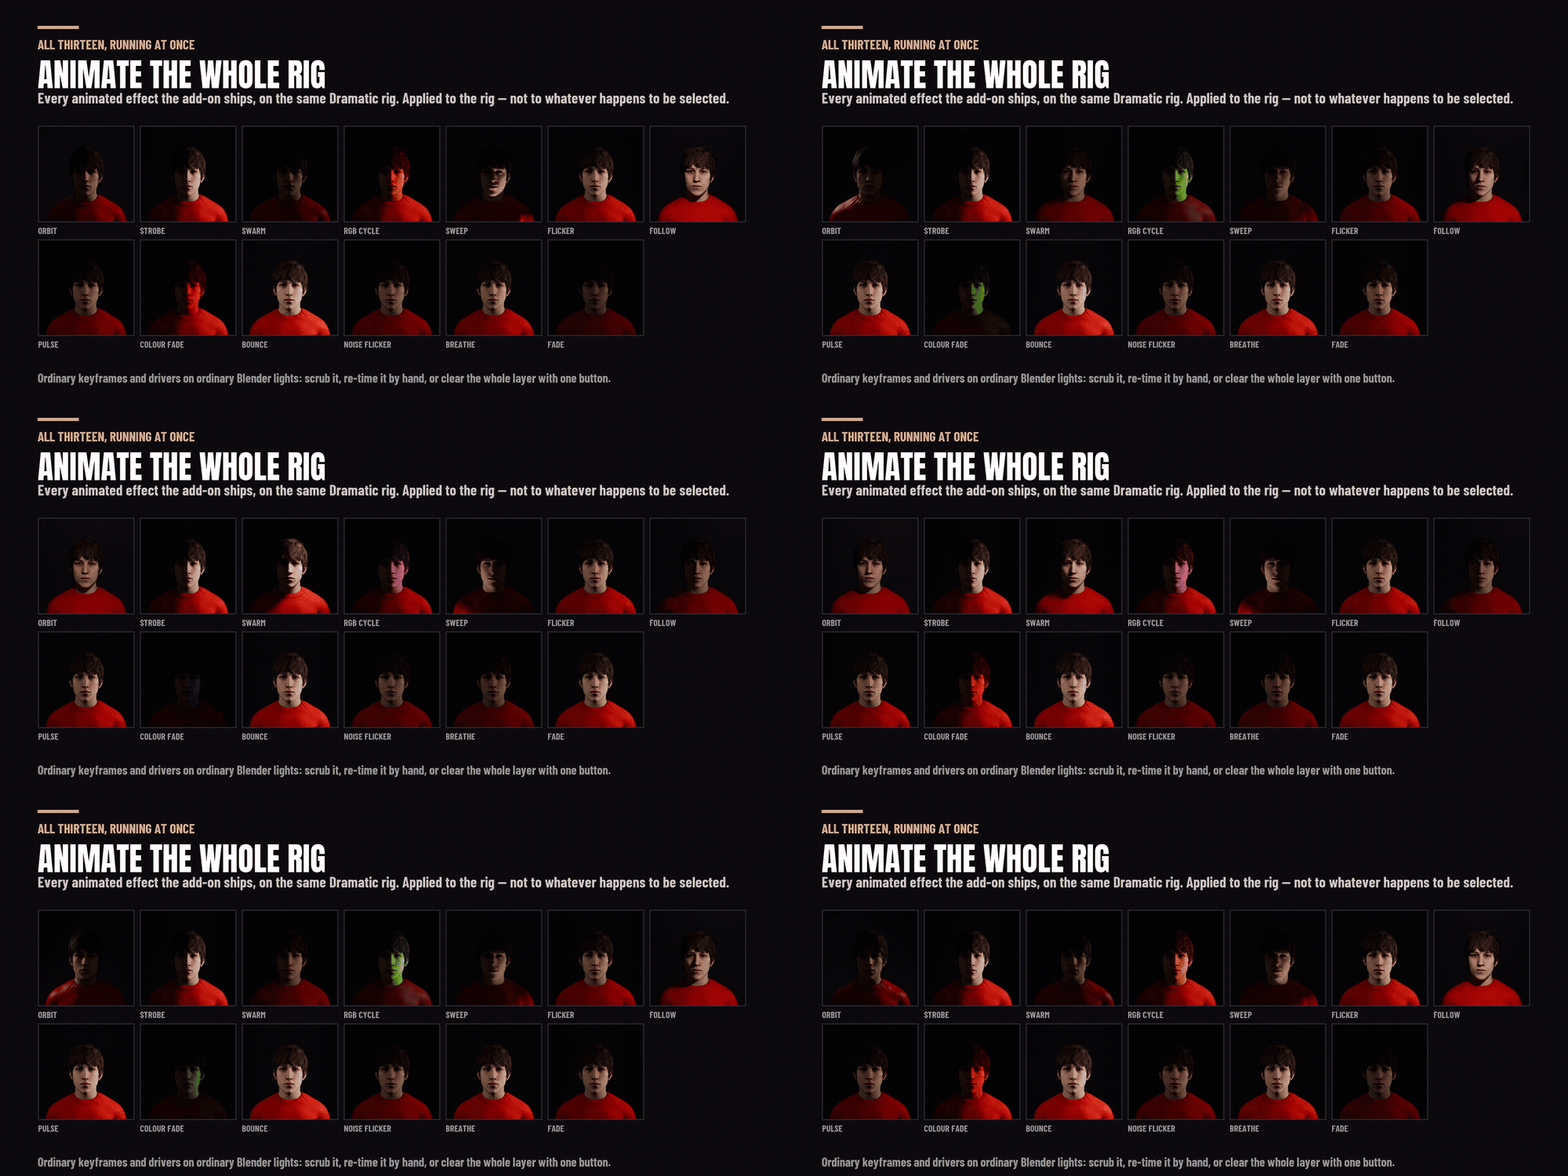
They work on any light - a whole rig, a few lamps you selected, or one light you made yourself in a scene that has never seen this add-on.
Ship it - the pipeline layer
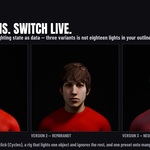
Save the whole lighting state as a named version and switch between versions live in the viewport, stored as data rather than duplicated rigs. Light groups and AOVs wired in one button. A rig that lights one object and ignores the rest. One preset onto many subjects at once.
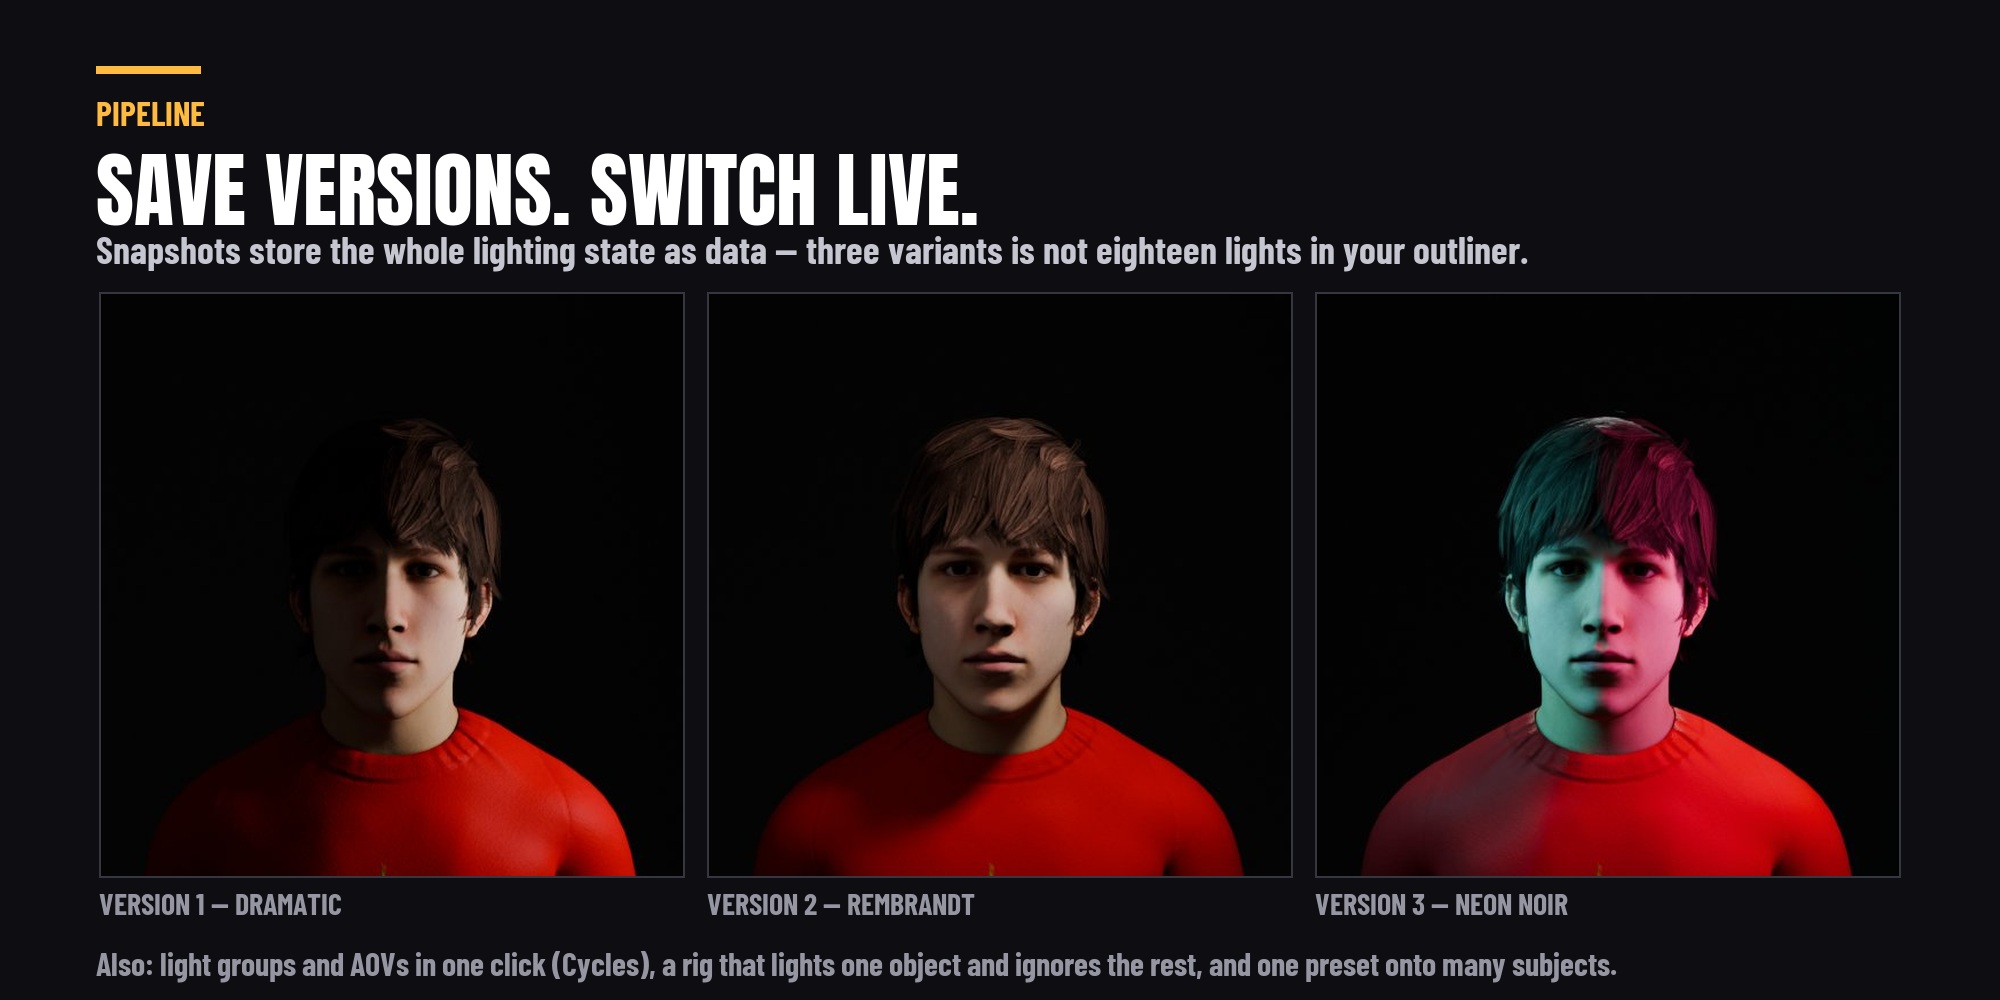
Light groups and AOV export are Cycles; light linking works in both engines.
All of it lives in one panel
Light · Shape · Set · Match · Air · Move · Ship. Pick one and the panel shows that one — not all seven at once. Measured fully open before and after the rebuild: 4,450 px of stacked panels down to 788 px.
What you get
- 37 lighting presets, every one with a rendered thumbnail
- 16 procedural gobo patterns, plus any image you own
- 6 IES profiles, plus a loader for your own .ies files
- 4 softbox modifiers
- 22 volumetric atmospheres in five categories
- 13 animated lighting effects
- 4 studio set shapes across 12 procedural surfaces, sized to your camera
- Light shafts, an HDRI browser for your own drives, reference-image matching, and the pipeline layer
Save your own lighting and fog presets alongside the shipped ones. They are stored outside the add-on folder, so an update cannot delete them.
One add-on, one price. Nothing is held back — this page sells the whole thing.
Only want one part of it?
Two pieces of this suite are also sold on their own, for people who only need that piece. Both are in here in full, so if you buy this page you do not need either.
Bought separately the two come to $38 and stop there. This page is $49 and adds the 16 gobo patterns, the 6 IES profiles, the 4 softbox modifiers, the 13 animated lighting effects, HDRI world lighting, reference-image matching and the render-pipeline layer on top.
Requirements
Blender 4.2 LTS or newer. Windows, macOS and Linux. Cycles and EEVEE, with the Cycles-only features labelled in the panel. No account, no licence key and no network access - it works offline.
This release was tested on Blender 4.2 LTS, 4.5 LTS, 5.1 and 5.2 - not "should work", actually run. Blender moved the compositor in 5.0 and removed a core animation API in 4.4, and both silently broke add-ons that were only ever tried on one version.
Upgrading from version 2
Version 3 installs as a new add-on rather than replacing version 2. Before installing, go to Preferences → Add-ons, find the old Light It Up Pro, disable it and press Remove. Then install the version 3 zip and restart Blender. If you skip this you will still be looking at the old panel, and reasonably conclude the update did nothing.
Version 3 also checks for you: if it finds the old one still enabled, it says so at the top of the panel and offers to switch it off.
Support
Questions, bug reports and feature requests through the Superhive message system on this page. If something does not work the way this page says it does, that is worth reporting - a lot of what is written above exists because somebody said so.
