Light Linker — Light Linking Made Easy
 Oculis Studio


Light Linker — Documentation
Overview
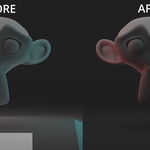
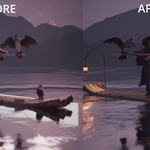
Light Linker streamlines Blender’s light linking workflow.
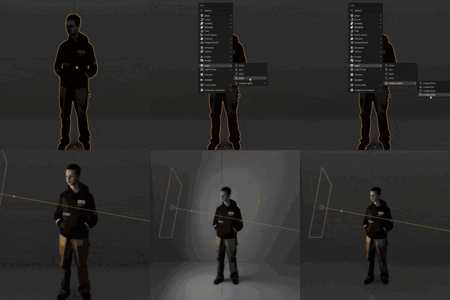
Instead of manually assigning collections and repeatedly adjusting links, Light Linker lets you:
-
Select an object
-
Add a linked light
-
Get reliable, contained lighting control
No extra setup, no messy hierarchies — just focus on lighting your shots.
Table of Contents
-
Installation
-
Getting Started
-
How It Works
-
UI & Controls
-
Workflow Examples
-
Best Practices
-
Troubleshooting
-
FAQ (Short)
-
Version History
1. Installation
Via Blender Add-on Installer:
-
Download
light_linker.zip. -
In Blender: Edit → Preferences → Add-ons → Install…
-
Select the
light_linker.zip. -
Enable the add-on.
-
Save Preferences if desired.
No dependencies. Works with Blender builds that support native light linking.
2. Getting Started
Once installed:
-
Select an object you want to light.
-
In the Light Linker panel, click “Add Linked Light”.
-
Choose a light type (Point, Spot, Area, Sun).
-
The new light is linked so it affects only the selected object.
That’s it.
3. How It Works
Blender’s native light linking requires manually placing objects into collections and linking lights to target collections. Light Linker:
-
Creates a dedicated collection per object if needed
-
Links new lights to only affect the chosen object
-
Keeps your scene clean and predictable
It does not override Blender’s system, it organizes it behind the scenes.
4. UI & Controls
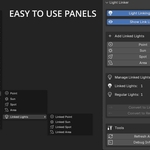
Light Linker Panel
Location: View3D → Sidebar (N) → Light Linker Tab
| Element | Function |
|---|---|
| Add Linked Light | Creates a new light linked only to the selected object |
| Light Type Dropdown | Choose Point, Spot, Area, Sun |
| Refresh Selection | Reevaluate the current selection |
| Clear Links | (Optional) Remove light links created by the addon |
If no object is selected, controls will be disabled.
5. Workflow Examples
Standard Lighting Pass
-
Select a character mesh.
-
Add a Spot light via Light Linker.
-
Adjust light intensity/angle.
-
Select environment prop.
-
Add a separate light — no spill between them.
Lookdev Workflow
-
Create lights per object or group.
-
Toggle visibility to isolate lighting setups quickly for color/contrast tests.
6. Best Practices
-
Name your lights clearly — e.g.,
LL_Linked_Head_Spot -
Use linked lights for characters or specific set pieces to avoid unintended illumination.
-
Light Linker speeds review rounds — rapid A/B lighting without setup headaches.
7. Troubleshooting
Light Linker buttons are greyed out
-
Make sure an object is selected (mesh, curve, etc.).
-
Lights and cameras cannot be linked to themselves.
Light affects more than the selected object
-
Blender’s native light linking is mode-specific: check Cycles vs Eevee settings.
-
If a light was manually relinked outside the addon, restore it using the addon UI.
Collections look messy
Light Linker creates named collections only when necessary. You can still rename or reorganize them — Blender handles the links by internal ID, not collection name.
8. FAQ (Condensed)
Q: Do I need technical lighting knowledge?
No — it’s point-and-click. Familiarity with Blender’s lights is enough.
Q: Does it change Blender’s core functionality?
No. It uses Blender’s native light linking.
Q: Can I edit the links manually afterward?
Yes. Everything remains editable using Blender’s built-in tools.
9. Version History
v1.0.0 — Initial Release
-
Core linking workflow
-
Light type selector
-
Clean UI panel
(Future versions might include batch linking, presets, and collection management tools. Stay tuned.)
Appendix
Keyboard Shortcuts
(None by default — easy integration with custom keymaps supported.)
Compatibility
Tested on Blender versions that support native light linking (Cycles).
 Included
Includes 12 months of
- Support from Oculis Studio
- Product updates
Extend this product’s Support Period +12 months: 50% of product price
Have questions before purchasing?
Login to message
| Blender Extension Compatible | Yes |
| Published | 8 months ago |
| Blender Version | 4.2 - 5.0 |
| Extension Type | Add-on |
| Render Engine Used | Cycles, Eevee |
| License | GPL |
Discover more products like this
studio-workflows efficiency rendering scene organization cinematography Time-saving lighting setup Workflow Automation production tools Lighting light-linking lookdev