Metahuman Facial Rig Transfer (Mhfrt) - Auto Facial Rig & Auto Retopology
 Souhail Ninia



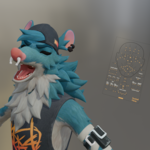
THE WHOLE PIPELINE
| 1 Setup | 2 Landmark Curves | 3 Wrap |
| 4 Rig | 5 Fine-Tune | 6 Bind |
| 7 Parts | 8 Morphs | 9 Animation |
Install it
Fastest install in Blender: just drag and drop.
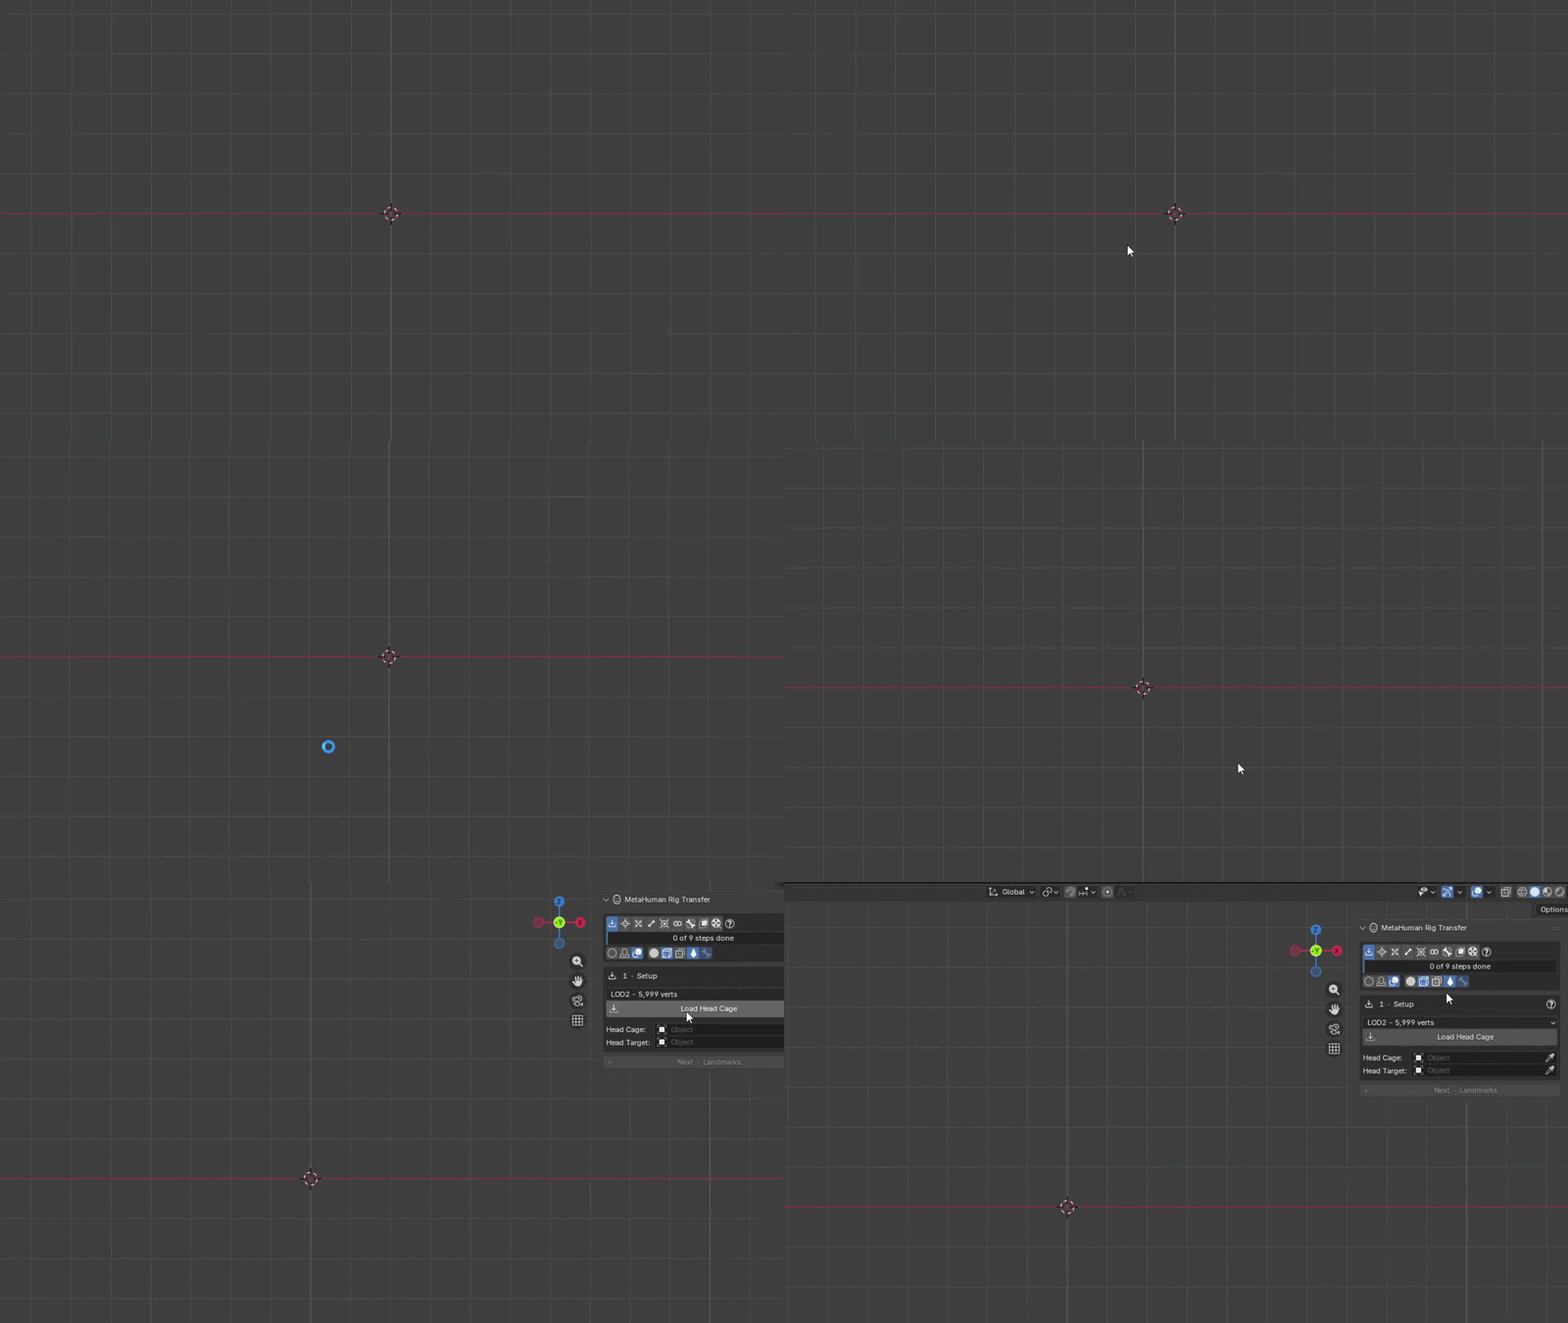
DRAG TO INSTALL
Two ways to install
A. Drag and drop. Drag the
.zip onto Blender and confirm. Done.
B. The menu. Edit → Preferences → Get Extensions → Install from Disk (the ▾ arrow, top right) → pick the
.zip.Needs Blender 4.5 or newer. Once installed, open the 3D viewport, press N, and click the MH Transfer tab on the right.
Reading the panel
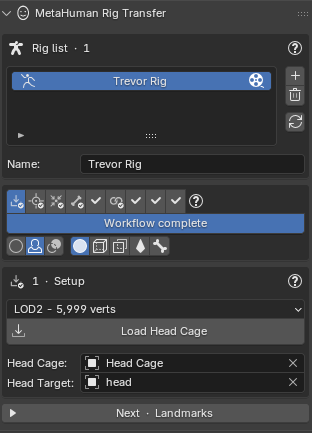
| Rig list (top) Every rig in the file. Click a name to make it the one the whole panel drives. Add, remove, or refresh from the side buttons. | Tab strip + progress The nine steps as icons. A check badge means done. The bar under it shows how far along you are. |
| Display bar Works in every step: show cage, target, or both, toggle the studio shading, the cage wireframe look, X-ray, landmark curves, and bones. | Step card + ? help One step's controls at a time. The ? button opens the notes for that step. |
💡 Everything is undoable with Ctrl+Z, inside the interactive tools too. Nothing you do is ever destructive.
Step by step
STEP 1
Setup — two meshes
Pick a cage LOD whose polycount is close to your head mesh, that match gives the cleanest wrap. A denser head wants a denser cage, a light head wants a lighter one. Then click Load Cage and set your character's head as the Head Target. The Head Cage and Head Target must be two different mesh objects.
STEP 2
Landmark Curves — draw where facial features match
Click Draw Landmark Curves and the viewport splits with the cage on the left and your head on the right. Hold LMB and draw a curve along a facial feature on the cage, such as the jaw, eyebrow, nose or lip seam. Release and scroll to choose how many landmark points ride the curve, then click or orbit to confirm it. Draw the matching curve on your head in the same direction and it automatically receives the same number of paired points. Drag any point to reshape the curve. Symmetry mirrors the entire curve across X, so you only need to draw one side.
STEP 3
Wrap — fit the cage onto your head
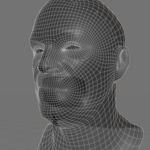
Hit Wrap and the cage shrink-wraps onto your head, saved as a Wrapped shape key so the original is never lost. Use Draft while you refine the landmark curves, then switch to High for the final pass. Missed a spot? The Live Session lets you grab and drag the mesh like cloth, or use the Slide and Smooth brushes.
STEP 4
Rig — skeleton and live control board
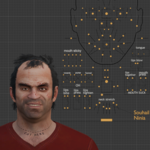
Click Build Rig. The MetaHuman skeleton fits your cage, the control board hooks up, and the face goes live instantly. Changed something upstream? Update Rig keeps the same skeleton and your poses. Expression Intensity scales the whole face per character, and you key any control with I → Location.
STEP 5
Fine-Tune — eye pivots and tongue fit
This nudges rest bone positions only, never your mesh. For each eye, drop the 3D Cursor dead center of the eyeball and place it, front and side views keep you honest. For the tongue, Edit Tongue Bones isolates the purple bones so you can S / R / G them onto the real tongue, then Finish.
STEP 6
Bind — weights on, character live
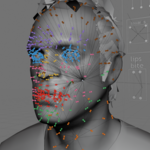
Transfer Weights & Bind copies the cage weights onto your head and the face starts moving. It only touches facial groups, so any body rig you already have stays safe, and you can re-bind anytime. Lips or eyelids bleeding together? Weight Cleanup opens the mouth or eyes, you sculpt to match, and bind again in that pose.
STEP 7
Parts — eyes, teeth, tongue, eyelashes
Separate eyes, teeth, tongue or lashes? Select one, click its slot, done. Eyes and teeth ride a single bone, lashes and tongue get auto weights. A posed character is fine, it binds in rest and snaps back to the pose. Skip the whole step if everything is already joined into the head.
STEP 8
Morphs — pose, pick, sculpt
Pose the face and the list shows the exact morphs that pose fires, strongest first. Click one to sculpt it. Empty ones you ignore delete themselves, so your mesh only carries shapes you actually made. Custom Morphs let you add correctives to controls that ship without a shape. This is your fix-anything button.
STEP 9
Animation — play a performance
Import Face Animation drops a performance onto the board as keyframes, press Space to play, then hand-polish any control on top. It takes UE5 FBX, iPhone Live Link CSV, or JSON. Export writes it back to a
.mhfa clip, and Test Animation plays a bundled range-of-motion take to sanity check the rig.Animation formats it accepts
Three ways in. Pick whatever you have.
Keyboard cheat sheet
$24.99
 Included
Includes 12 months of
- Support from Souhail Ninia
- Product updates
Extend this product’s Support Period +12 months: 50% of product price
Have questions before purchasing?
Login to message
Discover more products like this
rigging facial rig Facial Animation ARKit MetaHuman retopology expressions face rig auto-rig character wrap