 Migopos
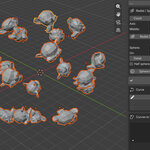
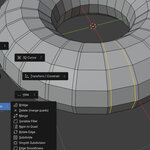
Migopos Toolbox is a mega pack of tools. It contains dozens of tools to make your modeling tasks faster. Some of the tools are the same as the blender tools, but placed together or enhanced. But there are may new tools for your work.
Here is a list of tools available in the toolbox. Watch the youtube video to see some of the tools in action.
Update 2.2.51
From version 2.0.1 to 2.2.51, Migopos Toolbox gained 55 new tools, going from 170 to 225. The biggest additions are a complete retopology workflow, baking from high to low poly, repairing textured AI models, and a set of animation and IK tools.
Retopology
New is a complete retopology workflow: draw a light mesh over a heavy (for example AI-generated) model, then keep editing it on the surface.
Tool |
What it does |
|---|---|
Retopo Pen |
Draw strips or loops directly on the model. Width, segments, open/closed and inside/outside/centre stay adjustable afterwards. You can orbit around the model while drawing. |
Edit Retopo Mesh |
Opens the retopo mesh in edit mode with all editing tools at the top of the panel. |
Extrude on Surface |
Extrude edges over the surface, also over an edge and down into a hole or ring. |
Bridge on Surface |
Connect two edges with new polygons that lie on the surface. |
Loop Move on Surface |
Select an edge loop and slide it over the surface. |
Tweak Brush |
Slide or smooth points over the surface with a brush. |
Cap Retopo |
Close a hole in the retopo, conforming to the surface. |
Target Weld |
Merge points with the nearest point. |
Unweld Edge Point |
Split a point on an edge into separate points. |
Textures and baking
Textured AI models can now be repaired, and details from a heavy model can be transferred to a light version.
Tool |
What it does |
|---|---|
Bake High to Low |
Bakes colour, normal map, roughness and optionally metallic and AO from the high poly model to the low poly model, with a ready-made material. Includes: orange cage preview, extrusion as a percentage of the model size, a normals check, automatic UVs with little stretch, and tight packing so the whole texture is used. |
Fill Holes + Texture |
Fills holes in a textured model: creates UVs for the new parts, places them in a free spot of the UV map and continues the texture seamlessly. |
Import AI Inpainting |
Have the filled parts coloured by an external AI tool and put the result back into the texture. |
Remove Inner Faces |
Deletes polygons that lie inside another object, for example skin under clothing. |
Modelling and selecting
Tool |
What it does |
|---|---|
Select Through |
Select through the model; stays on until you turn it off, double-click selection included. |
Select Between Loops |
Select everything between two or more edge loops, for example only trousers between waist and legs. |
Loop Cut at Mouse |
A loop cut exactly at the mouse position. |
Flatten to Axis |
Flatten the selection on X, Y and/or Z (under Drop to Floor); works for vertices, edges and faces. |
Make Flat |
Flatten the selection along an axis or onto the plane of three points (renewed version of Make Polys Flat). |
Surface from 2 Edges / 3 Edges |
Create a quad surface between two or three connected edges. |
Copy to New Object |
Copy the selection to a new object, with UVs and materials. |
Knife |
Blender's knife; afterwards the selection tool is active again. |
Snapshot / Snapshot Compare |
Store a copy and later select all new geometry automatically. |
Symmetry / Symmetry Markers |
Symmetry on several axes at once, with markers. |
Recalculate Normals |
Repair broken shading: normals outward, merge loose seams, set the shading. |
UV and remesh
Tool |
What it does |
|---|---|
Quad Remesher (new) |
Rebuilds the model with quads only; selected edges are kept as an edge loop. Merges loose seams first and retries automatically on failure. |
Auto Seam (improved) |
New “Fewest seams” method for few, large UV islands; merges loose seams of imported models first; falls back to another unwrap method when the chosen one is not available. |
Auto Seam Direction (improved) |
Now also works on part of the selection. |
Loop Extend (improved) |
Follows the quad structure of the model more accurately, also along borders and on twisted shapes. |
Animation and rigging
A new Animation section, in object mode and pose mode.
Tool |
What it does |
|---|---|
Keyframe Transform / Keyframe Rotation |
Set a keyframe for the whole transform or only the rotation in one click. |
Delete All Keys of Selection |
Delete all keyframes of the selected bones or objects. |
Smooth Transition |
Create a smooth transition between two keyframes. |
Copy Keyframe / Paste Transform / Paste Rotation |
Copy a pose and paste it fully or only the rotation. |
Only Selection (Dope Sheet) |
Make the Dope Sheet show only the selection. |
Open Graph Editor / Open Dope Sheet |
Open these editors in a new window. |
Make IK / Remove IK |
Create inverse kinematics from two selected bones, with options such as rotating on one axis only. |
Bake IK to Bones |
Convert IK animation to regular keyframes on the bones. |
Temporary Tube Rig / Apply Tube Pose |
Temporarily give a tube-shaped part bones, pose it and apply the shape. |
Painting, clothing and other tools
Tool |
What it does |
|---|---|
Palettes |
Create your own colour palette, add, remove and use colours; the palette is saved in the .blend file. |
Paint from Reference |
Paint with a reference image as the brush, with adjustable scale and angle. |
Clothes to MPFB |
Convert clothing into an MPFB garment for MakeHuman characters. |
Export Selected |
Export only the selected objects (FBX, glTF, OBJ, STL, PLY, USD, Alembic), file name taken from the active object. |
Copy Transforms |
Copy location, rotation and scale of objects as a table, to paste into Word, Excel or Sheets. |
Flip Reference Image |
Mirror a reference image in X, Y or Z. |
Keep Bezier / Cancel Draw Curve |
Keep a drawn curve as a smooth Bezier curve, or throw it away. |
Interface and fixes
- Collapsible sections: the panel is split into sections you click open and closed, with one button to open or close them all.
- Version number in the panel header: shows at a glance which version is installed.
- Mouse positions: mouse-driven tools now work correctly when the 3D view is not the first area on the screen.
- Blender 5.2 compatibility: objects, bones and nodes are now recognised reliably everywhere. This makes baking work again and makes the IK and selection tools more robust.
- Stability: a crash in Extrude on Surface is fixed, and Retopo Pen can no longer get stuck when you switch to edit mode while drawing.
- Panel: an invalid icon that hid part of the panel has been replaced.
Update Version 2.0
Modeling
- NCircle: set the degree of the roundness by hand
- Reuse Selected Geometry (Add / Paste / Remove): reuse a selection of geometry
in another object.
Arrays and scaling
- Box Array: makes copies of your object in x, y, z or user set axis. Works in
object and partially in edit mode.
- Radial Array (Edit) en Sphere Array (Edit): both now also work almost the
same in edit mode as in object mode
- Scale Arrow: scale along two markers, to make angles scaling possible
UV
- Edit UV: now you can use most of the powerful Migopos selection tools for
UVs. After finishing you need to apply for it to work. New tools also added
here: Break, Flip, Join, Pack, - Pack into region and Stack.
- UV Check Map: checker map to see if UVs are OK.
- Auto Seam Direction, set the direction of your uv’s.
Render en materiaal
- Quick Render: one button render of the current view
- Assign Material: assign a new material to selection or from the asset
library.
- Material By Selection: select the material that corresponds to the selection
in a new window
Edited tools
- Make Polys Equal
- UV Stack
- Select UV Island / Contour and UV Edge Loop
- Crush: Folds (can).
- Primitives (quad caps): now with advanced quad caps. If no quads are
possible, tris
- Clean up helper objects & data
- Menu's
Version 1.0
Loop select (with option to extend): regular loop select, with option to extend, so it works like Loop Extend
Select Between: select all elements in between a selection
Loop Extend: extend a loop that stops abruptly
Draw Element Selection: draw a selection (you don't need to keep the mouse pressed all the time)
Select Hole Boundaries: quickly select all edges around a hole in your mesh
Coplanar: select all faces in the same plane
Select Ngons: select all faces composed out of more than 4 edges
Select Tri: select all faces composed out of 3 edges
Select Inside: select one side of a loop
Select Outside: select the opposite side of a loop
Select Unconnected: select every loose island of geometry
Select Every Number: select a strip of polygons. Next use this tool so only select every number of polygons.
Grow Selection: grows the selection in all directions. Repeat it to select more
Grow One Side: grows the selection to one side of the selection
Double click select: double click on an object to select every connected element
Make round: reshape the selection to look like a circle
Make Half Circle: reshape the selection to look like half of a circle
Make Straight: makes selection straight
Brush Grab: translate a selection with several shapes (like smooth, wave)
Bridge: connect two or more polygons. Can be subdivided and you can use a curve for shape
Delete: delete with keeling quad surface in place
Normal Move: translate along the normal
Merge: merge vertex at a set point
Connect Vertex: connect two or more vertex together
Target Weld: weld the targeted vertex together
Variable Fillet: make different filet settings for different edges and vertex (so you get something else than uniform fillet)
Subdivide: tesselate the object
Smooth Subdivision: just the SDS subdivision, but with one click
Edge Smoothness: set edge smoothness
Cap: close a hole with quads (if possible)
Symmetry Loop Cuts: makes loops symmetrical on both sides. Works with multiple selections
Multi Loop Cuts: make multiple loops at ones. Set number
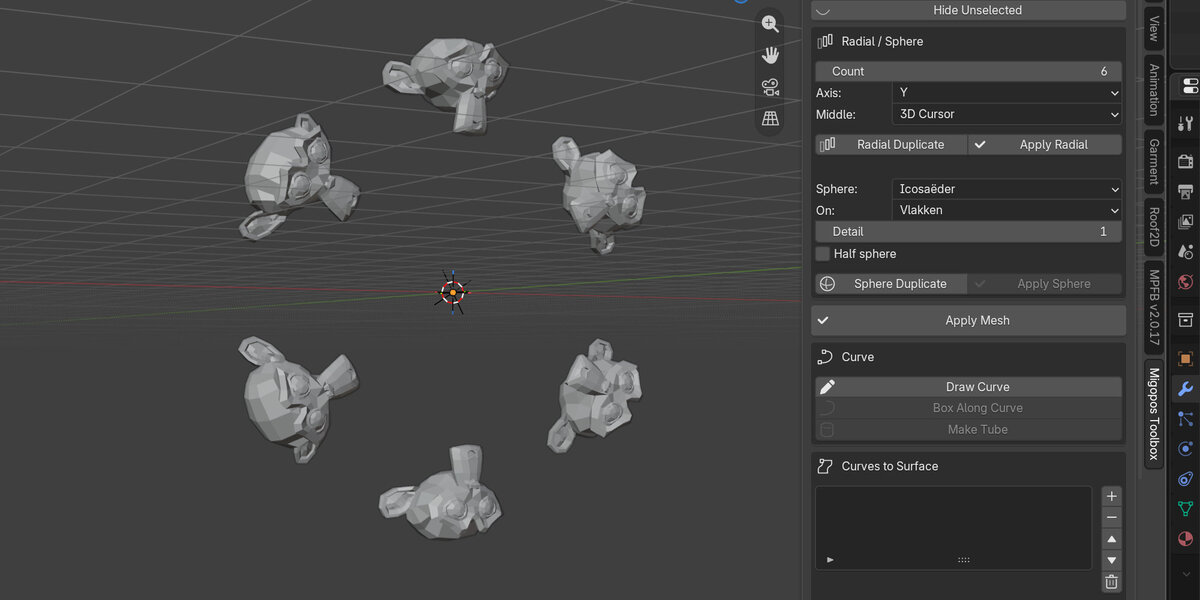
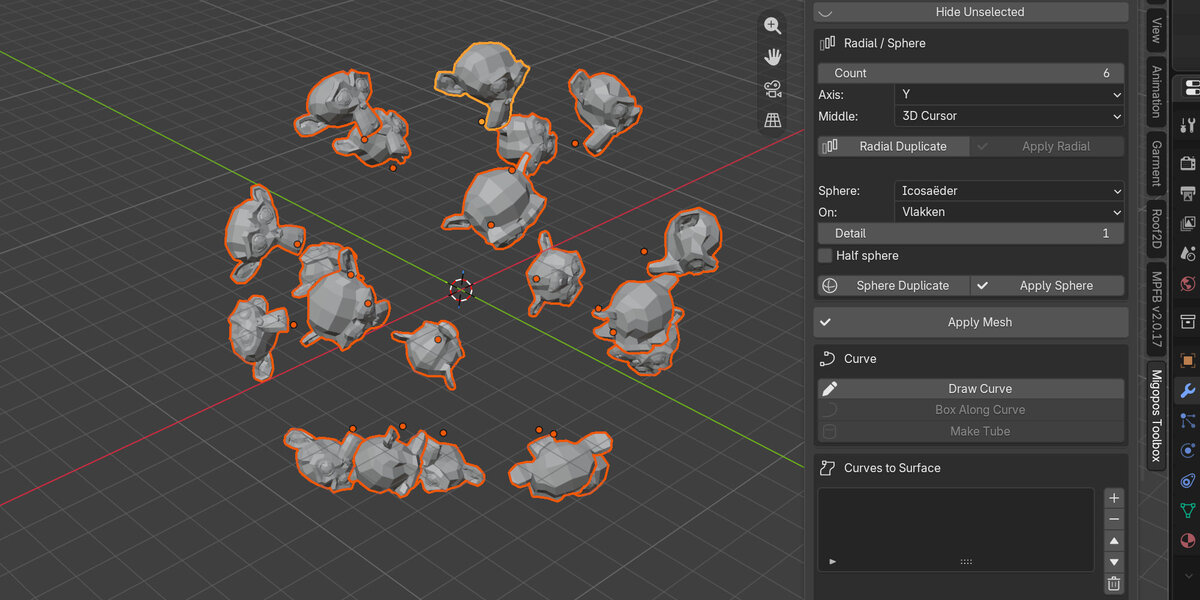
Radial Duplicate: duplicate objects in a radial shape. Objects stay editable during process.
Sphere Duplicate: duplicate objects in a sphere shape. Objects stay editable during process.
Draw Curve: freehand draw a curve in the screen
Box Along Curve: make a rectangular shape along a curve
Make Tube: use a curve to create a tube (with option for thickness)
Curve Vertex Remove: remove a vertex in a curve
Curve Vertex Add: add another vertex in a curve
Curve Vertex Connect: connect two vertex in a curve
Curve Vertex Round: make a sharp angle in a curve round
Curves to Surface: use a set of curves to create a surface out of them
Curve Retopo: use a curve to draw on an object. You later can change it to strips of geometry.
Draw Cutter: freehand draw a shape to use as a cutter (or for other purposes)
Cut by Cutter: use the created (or different) obkect as cutter and cut it from another object
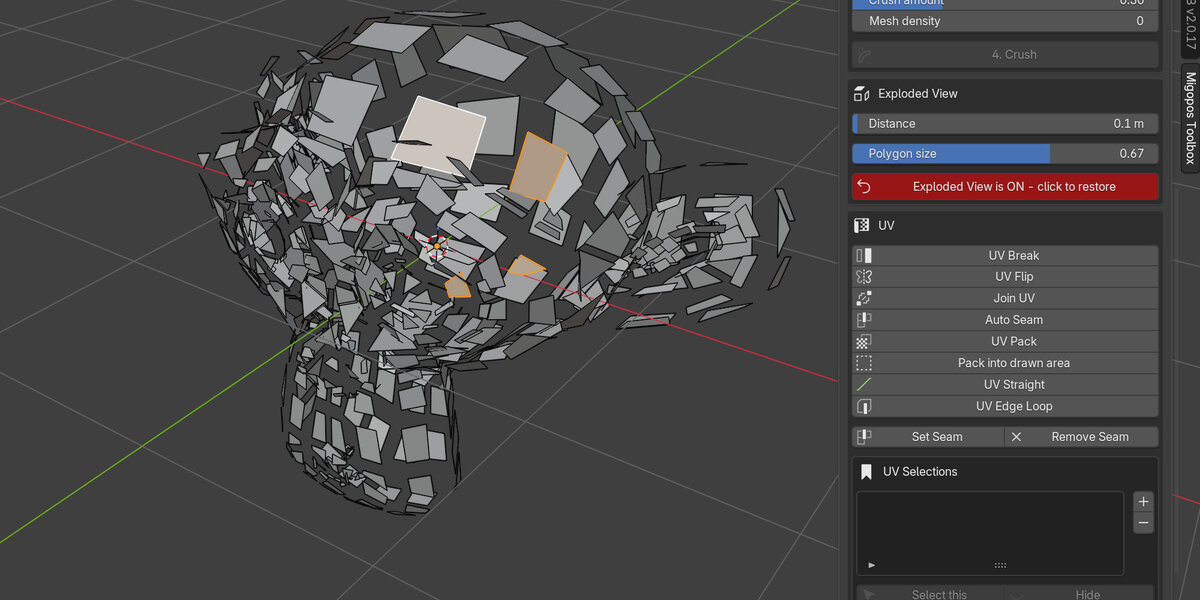
UV Break: break UV selection to create a new island
UV Flip: flip UVs
Join UV: joint uv verticles to one single island
Auto Seam: automates the process of creating UV's. Select object. Your seams are generated, uv map is created and the uv's are packed. It checks for least distortion.
UV Pack: Pack all selected UVs in the uv map
UV Straight: makes UV selection straight
UV Stack: stack similar uv islands one on top of each other
Select Island: select an element of an island and the tool will select the remaining
Set Seam: sets a seam at selection of edges
Remove Seam
UV Selections: store selections of UV's to reuse later
Cursor to Zero: set the cursor to the 0,0,0 in world space
Snap Cursor
Cursor to Object Center
Drop to Floor: drops selection to the grid
Center to Center: places the center of the object to the 0,0,0 in world space
Constrain Center to Curve: constrains any movement of the object to a bezier curve
Primitives: adjustable cylinder, tube, capsule, cone, diamond, gengon, chamfer box, chamfer cylinder, quad sphere, sphere UV, sphere ico, hedra, torus, donut, gear, spring, treaded tube, cube and plane.