Momentum
 Limitless Creative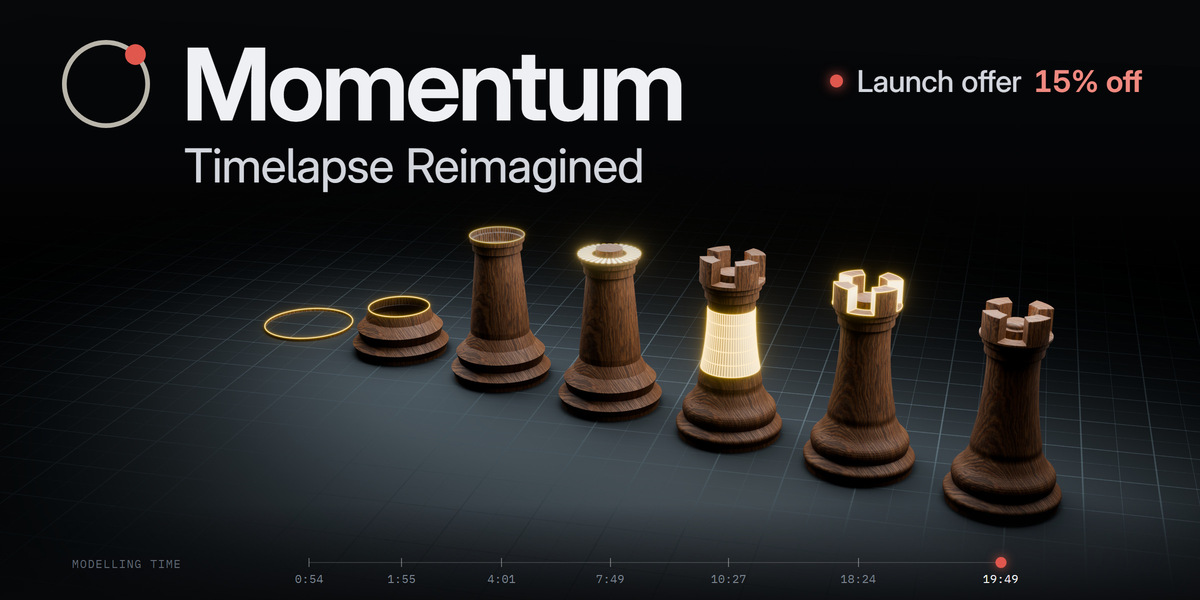
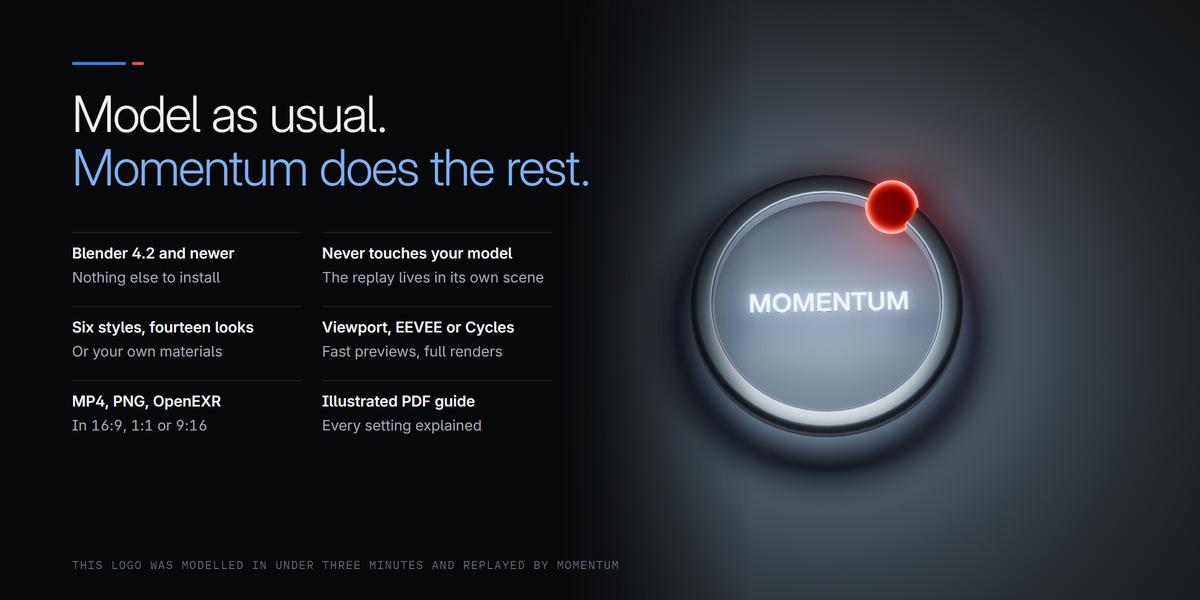

Blender 4.2 or newer. Nothing else: video encoding uses the FFmpeg that ships inside Blender.
- In Blender, open Edit, Preferences, Get Extensions, open the menu at the top right and choose Install from Disk.
- Pick the Momentum .zip file you downloaded.
- In the 3D viewport press N and open the Momentum tab.
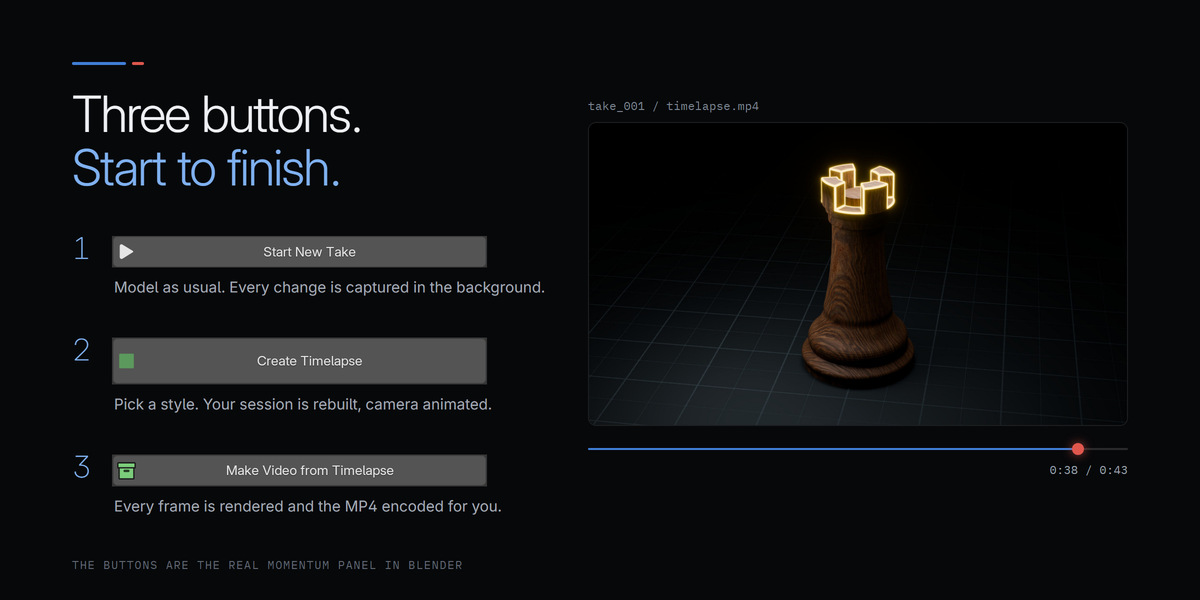
- Save your .blend, press Start New Take and model as usual.
- Press Stop Capture when you are done.
- Pick a Style, then press Create Timelapse. You land in the replay scene, looking through its camera. Scrub the timeline to check it.
- Press Make Video from Timelapse. The MP4 lands next to the take.
- Session Folder is where takes are stored. Left empty, Momentum writes to <blendname>_timelapse next to your .blend, or to momentum_sessions in your home folder if the file has never been saved.
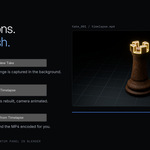
- Start New Take begins a recording. Model normally: Momentum captures geometry, selection, shading and object transforms in the background.
- Capture Interval (0.5 s by default) is the shortest gap between two snapshots. A burst of edits inside that window becomes one step.
- Stop Capture ends the take with a closing snapshot of everything you touched, so the timelapse always finishes on the model as it really stands.

- Every recording is a take_NNN folder of snapshot files plus a manifest.jsonl. Takes are independent, and the take menu picks which one to replay. Latest Take always follows the newest.
- Picking a model back up later? Press Add to take_NNN instead of Start New Take. It appends to the most recent take, so the whole model replays as one continuous timelapse.
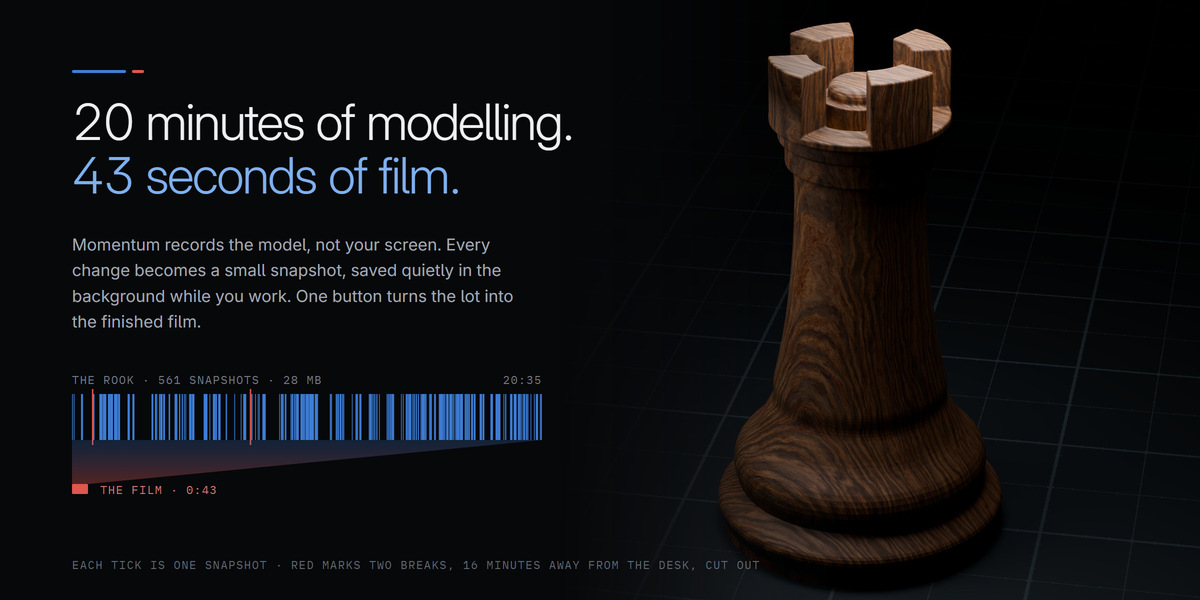
- The line under the menu shows how many steps the take holds and how long you spent modelling.
- The bin icon deletes the selected take's snapshots and renders, after asking. This cannot be undone.
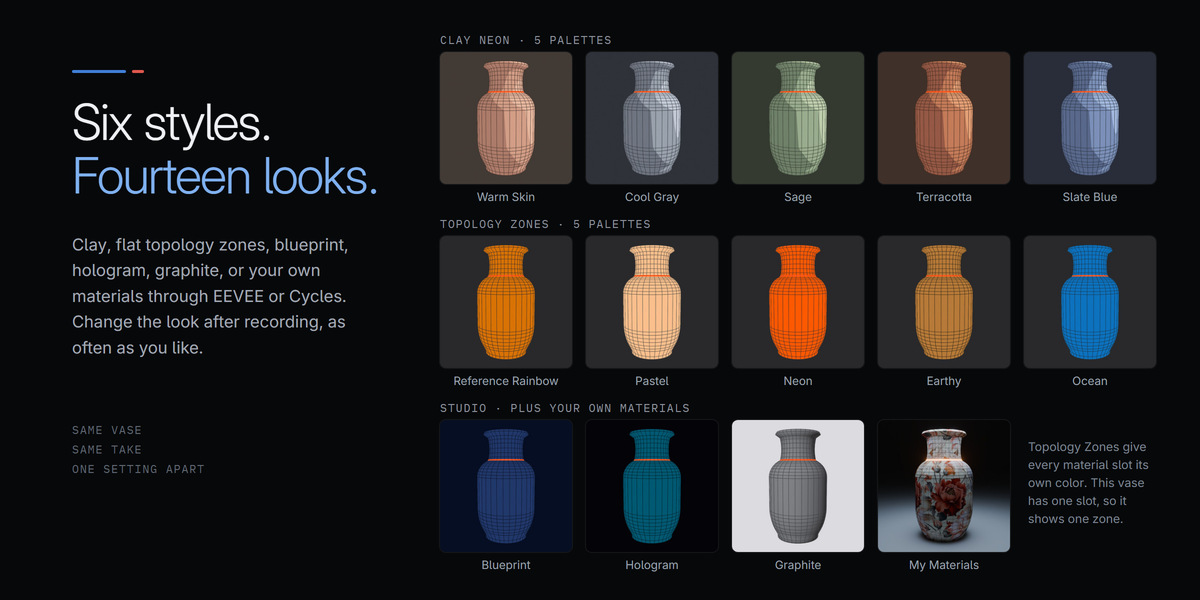
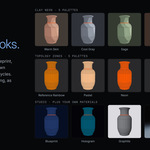
- Clay Neon. Cel shaded clay with neon selection highlights, in five Clay Colors.
- Topology Zones. Flat, saturated zone colors on dark grey, in five Zone Colors.
- Blueprint, Hologram, Graphite. A deep blue technical drawing, a teal body in a near black void, and a neutral grey studio.
- My Materials. Your own materials, lighting, world and engine, left exactly as you set them up.

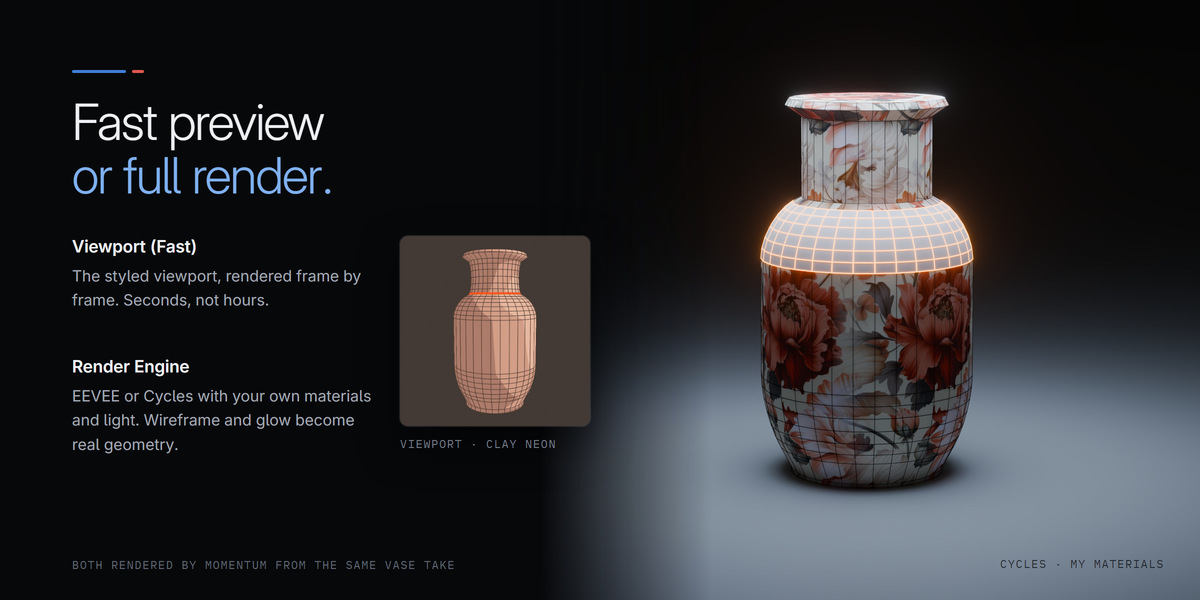
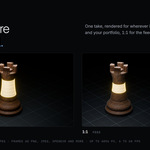
- Viewport (Fast) grabs the styled viewport frame by frame. It is quick and shows the style exactly as previewed, including the edit cage highlight, which only exists in the viewport.
- Render Engine renders through whatever engine Render Properties says, EEVEE or Cycles, with real lighting, materials and shadows. Overlays do not exist in a real render, so the wireframe, the selection and the highlighted faces are supplied as real geometry instead.
- My Materials is made for Render Engine: it shows a model in its final materials while it is being built.
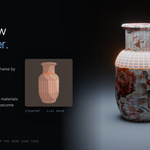
The same vase at the same moment of its take, in every style and palette. The orange band is the ring of edges selected at that step.


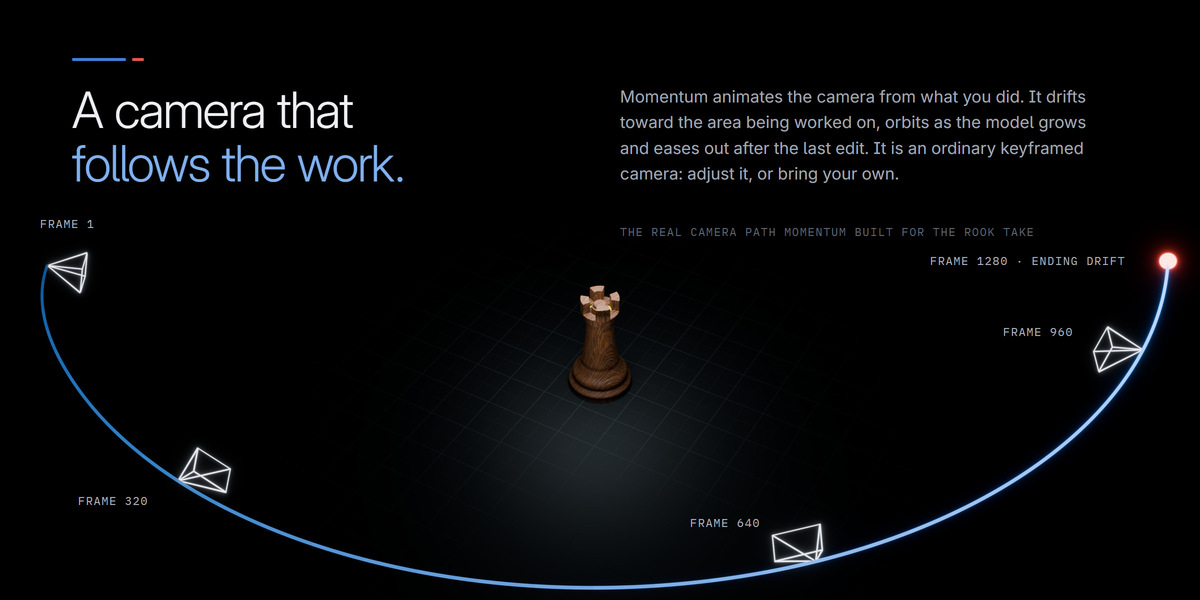
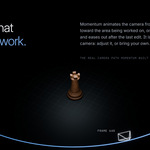
- Camera: Overview frames the whole model and drifts toward the area being worked on. Close-up follows the work with tighter framing.
- Focal Length and Distance update a built timelapse live, so framing can be tuned without rebuilding. Distance 1.0 is automatic framing.
- Orbit Sweep is how far the camera travels around the model over the whole video, in degrees.
- Camera Shake adds a handheld wobble. 0 is tripod still.
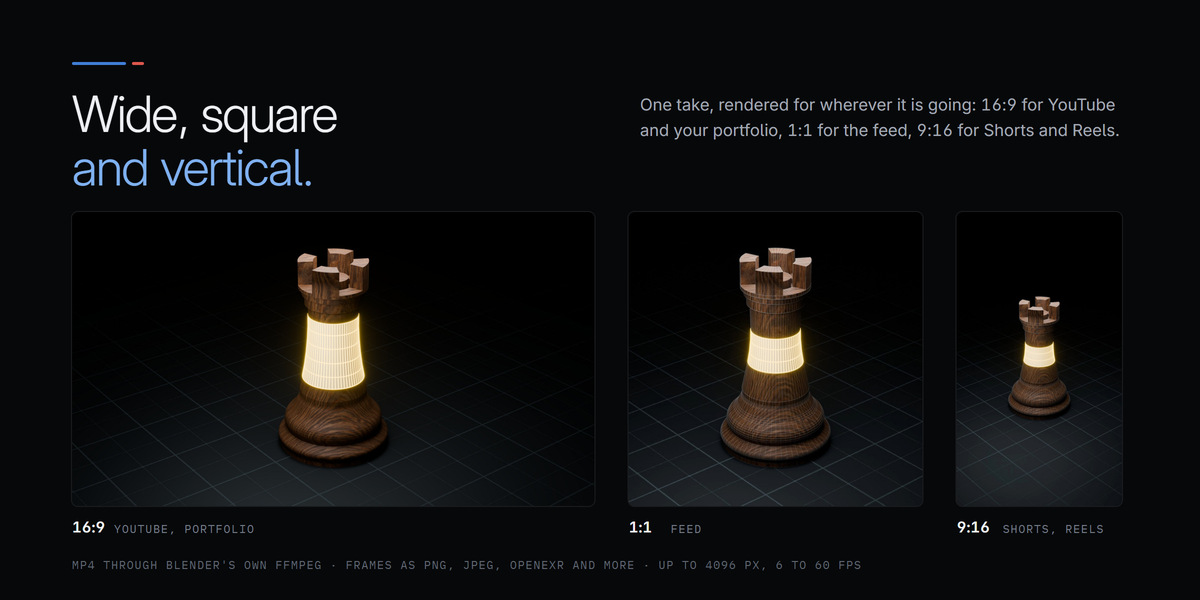
- FPS, Resolution (the long edge, in pixels) and the aspect buttons set the video format: 1:1 for feeds, 9:16 for Shorts, Reels and TikTok, 16:9 for YouTube.
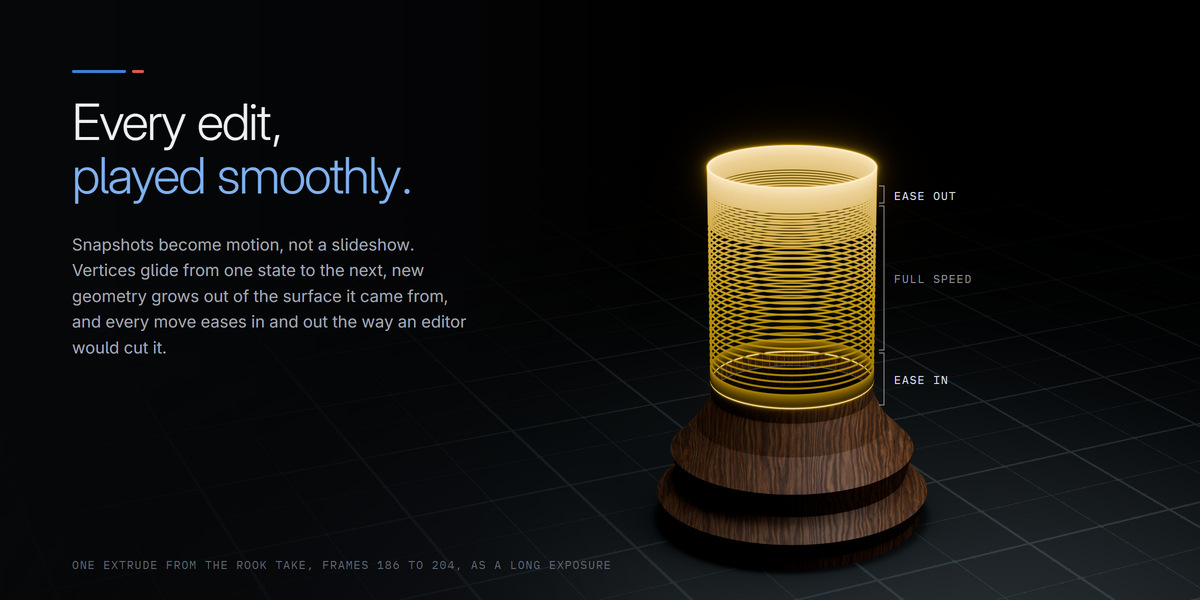
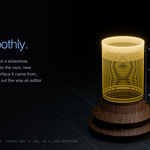
- Smooth Morph glides vertices from one snapshot to the next, and cuts only when the topology changes.
- Frames per Step is the base pace: video frames per recorded snapshot.
- Speed Ramp gives big changes more time and rushes the idle steps. 0 keeps every step the same length.
- Ending Drift keeps the camera gliding for a few seconds after the last step, so the video eases out instead of stopping dead.
The panel shows how long the final video will be.

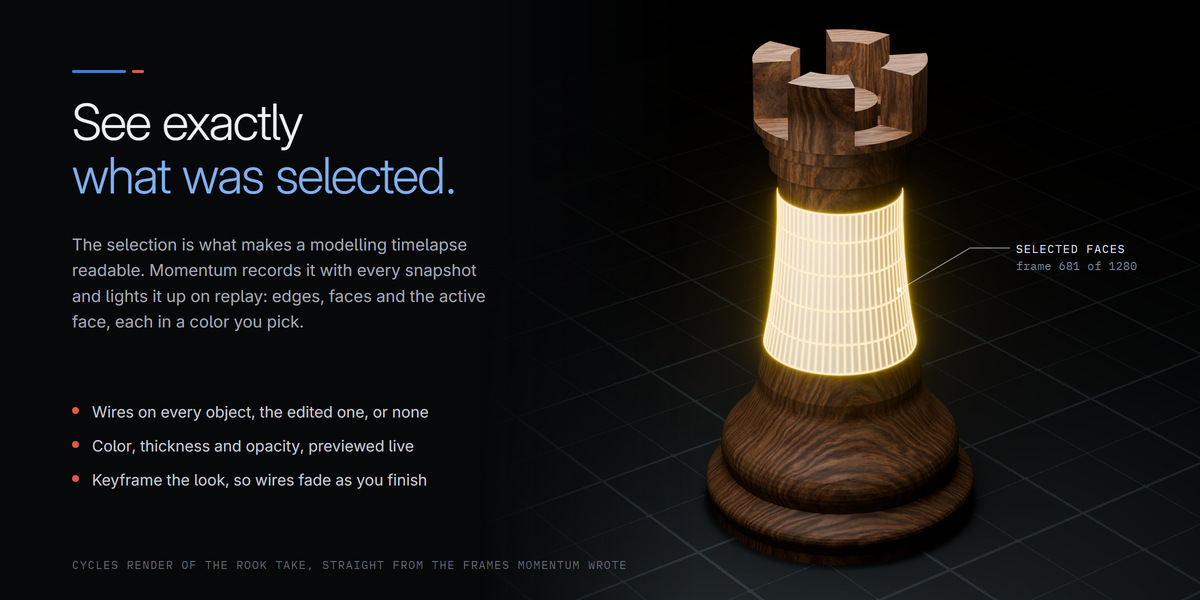
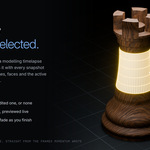
- Edges, Faces and Active color what you had selected while modelling, and nothing else. The ball icon beside each selects its material, for editing beyond the color.
- Selection Edge Thickness is the width of the highlighted selection in the viewport, in pixels.
- Selection Tube is the radius of the glowing tubes that mark selected edges as real geometry, which is what an engine render shows.
- Background, when ticked, replaces the style's backdrop color.
- All Objects puts every object in its wireframe. Edited Object Only leaves finished parts reading as solid shapes. Off shows only the highlighted selection.
- Wire Thickness sizes the wireframe in engine renders. At 1.0 a wire is about 3% of the face it outlines, so it stays in proportion as the model grows or gets denser, whatever the object's scale.
- Wire Opacity fades the wireframe into the model, in both render modes.
- Selected colors the wire of the object being worked on; Others colors every other object.

- Viewport (Fast): the replay scene shows the wires in your Selected and Others colors and at your opacity as you scrub, exactly as they will render.
- Render Engine: turn on Preview Render Wires and set the viewport to Rendered shading. The real render wireframe appears and follows Wire Thickness and Wire Opacity as you drag them. It costs viewport render time and never changes a final render.
- Create Timelapse builds the replay scene: one actor per captured object and a keyframed camera. The timeline is scrubbable, so you can inspect every step before rendering.
- If a replay scene already exists, it asks first: replace it, or keep it and build the new style into a scene of its own. Each scene renders into its own folder, so neither overwrites the other.
- Make Video from Timelapse renders every frame, then encodes an MP4. Render Frames Only stops after the frames.
- Video Quality sets the compression. Choose High when smooth gradients band. The frames on disk are untouched, so a video can be re-encoded any time.
- Clear Setup removes only Momentum's own objects. Anything of yours in the replay scene moves to your own scene.

| Frames | <take>/render/, in the file format set in Output Properties (JPEG, PNG, OpenEXR and so on). |
| Video | <take>/timelapse.mp4, at the same size as the frames. |
| Frame range | Both buttons render the scene's own Start and End frames, so one part of a long take can be redone on its own. |
- The panel shows progress while rendering. Press Esc with the main window focused to cancel. A Render Engine render also opens Blender's render window as it goes.
- Clean Viewport hides the grid and gizmos while you look at the replay scene, and Momentum restores your own setup the moment you switch back. Restore Overlays does it by hand.
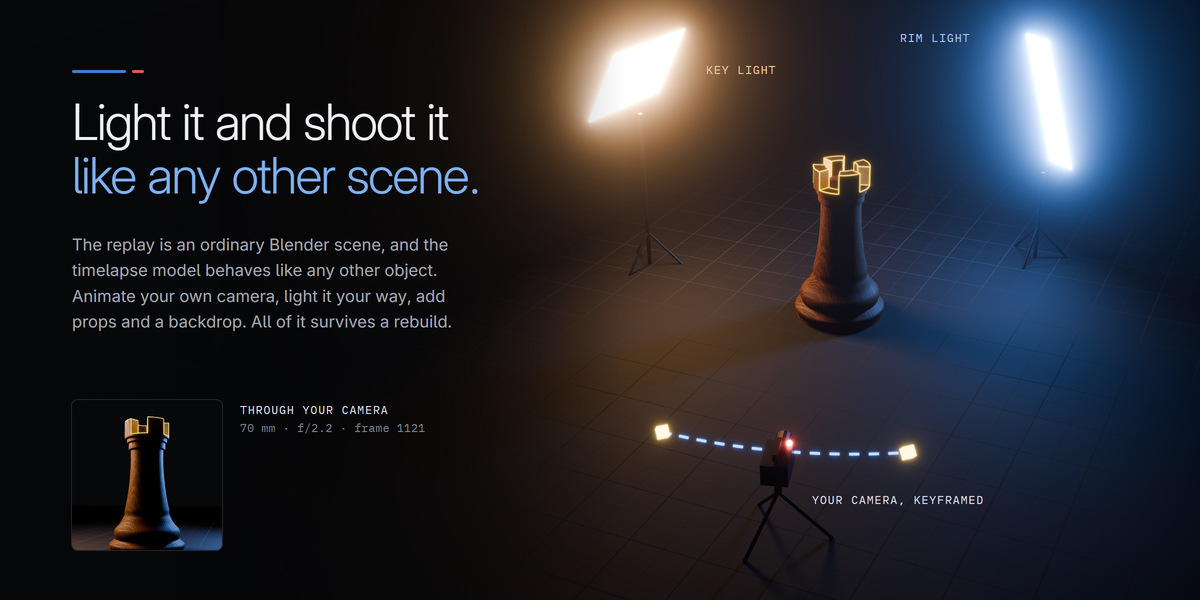
The replay is an ordinary Blender scene, and the timelapse model behaves like any other object in it. Treat it like any shot you would light and film. Momentum only manages objects whose names start with TL_; everything you add survives a rebuild.
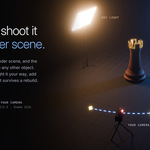
- Your own camera. The built camera is ordinary keyframes, so edit its animation freely. Or add a camera of your own, animate it however you like (dolly, crane, rack focus) and make it the scene camera in Scene Properties.
- Your own lights. Add key, rim and fill lights, an HDRI, whatever the shot needs. They show in Render Engine renders, and with My Materials the model is lit exactly like a finished piece.
- Props and a backdrop. Set the model on a table, in a room, on a turntable. Nothing you add is touched by Momentum.
- Your modifiers. A Bevel or Smooth by Angle on an actor shapes the model but never the wireframe: an engine render draws the wire from a hidden TL_WireShell that follows the actor.
- Clear the shot. Delete an actor to keep that object out of the render, say one that blocks your camera. The timelapse carries on without it and a rebuild does not put it back. The Final Output section lists hidden objects, and Restore Hidden Objects brings them back.
- Several looks side by side. Build a second style into its own scene; each renders into its own folder.
- Your original objects are never touched. The finished model is already in your own scene, and the replay actors carry no keyframes to strip out.
The look settings can be keyframed on the replay scene like any other property: hover one and press I.
- Keyframable: the highlight colors, Wires, Wire Thickness, Wire Opacity, Selected and Others, Selection Edge Thickness, Selection Tube and the custom Background.
- A keyframed look renders the same through Momentum's buttons, Blender's Render Animation and the viewport render. Fade the wires out as the model nears completion, for instance.
- Settings used when the timelapse is built (pacing, camera path, style, frame rate) offer no keyframe, because it would do nothing. To animate the lens, keyframe the camera's own Focal Length.
- Render Animation (Ctrl F12) works on a replay scene, for instance to write frames to a path of your own. Momentum turns on Render, Lock Interface for replay scenes, because Blender can crash if the interface redraws while a frame handler rebuilds meshes. Turn it off yourself and Momentum leaves it off.
Have questions about this product?
Login to message
| Blender Extension Compatible | Yes |
| Published | 3 days ago |
| Blender Version | 4.2 - 5.2 |
| Extension Type | Add-on |
| Render Engine Used | Blender-Internal, Cycles, Eevee |
| License | GPL |
Discover more products like this
clay-render camera animation wireframe render modeling process timelapse speed modeling breakdown topology showcase time-lapse viewport render modeling