Oryx CAD - Split, Gears & Parts for 3D Printing
 Oryx Foundry


ORYX CAD 1.4.1 DOCUMENTATION
Everything you need to start.
Install, find your tools, and the key steps for each one. Every value is in millimetres.
INSTALL
Oryx CAD runs inside Blender, which is free. Blender 4.2 LTS to 5.3, Windows, macOS and Linux. Texture tools need Blender 5.0 or later.
Download the Oryx CAD zip from your Superhive library. Do not unzip it.
In Blender: Edit > Preferences > Add-ons, open the arrow at the top right, choose Install from Disk and pick the zip.
Make sure Oryx CAD is ticked in the list. Close the preferences.
Install the new zip the same way. The previous Oryx CAD extension is replaced automatically. Your .blend files are not touched.
FIND YOUR TOOLS
Everything is one key away, in the 3D viewport.
Opens every tool under your mouse, grouped by family: create, Oryx Fit, place, cut, repair, texture, print.
Shows what you have selected, whether it is ready to print, its size and the next step.
Adds Oryx parts from Blender's own Add menu. They snap onto the face under your mouse.
Oryx works in millimetres. Your scene is set to 1 unit = 1 mm, so what you type is what you print.
SPLIT AND CLIP
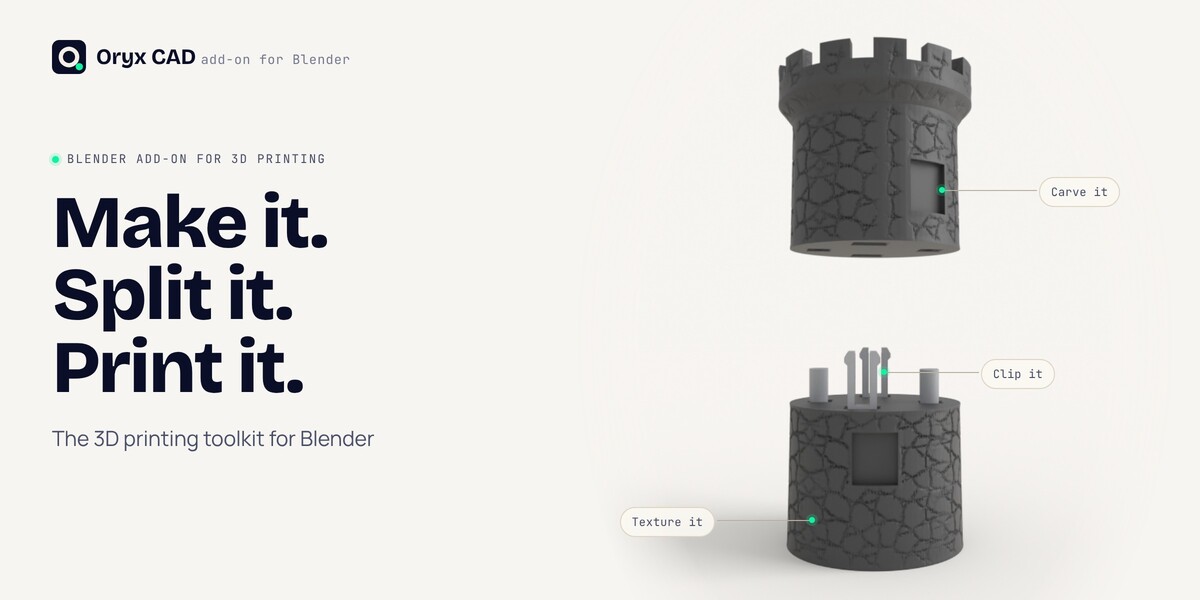
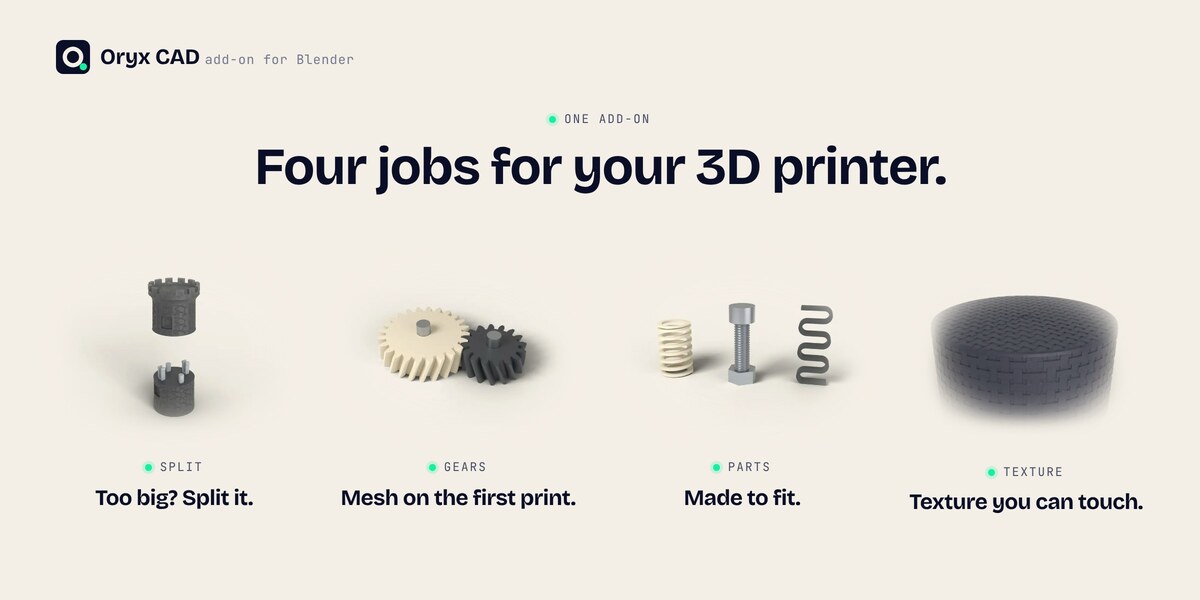
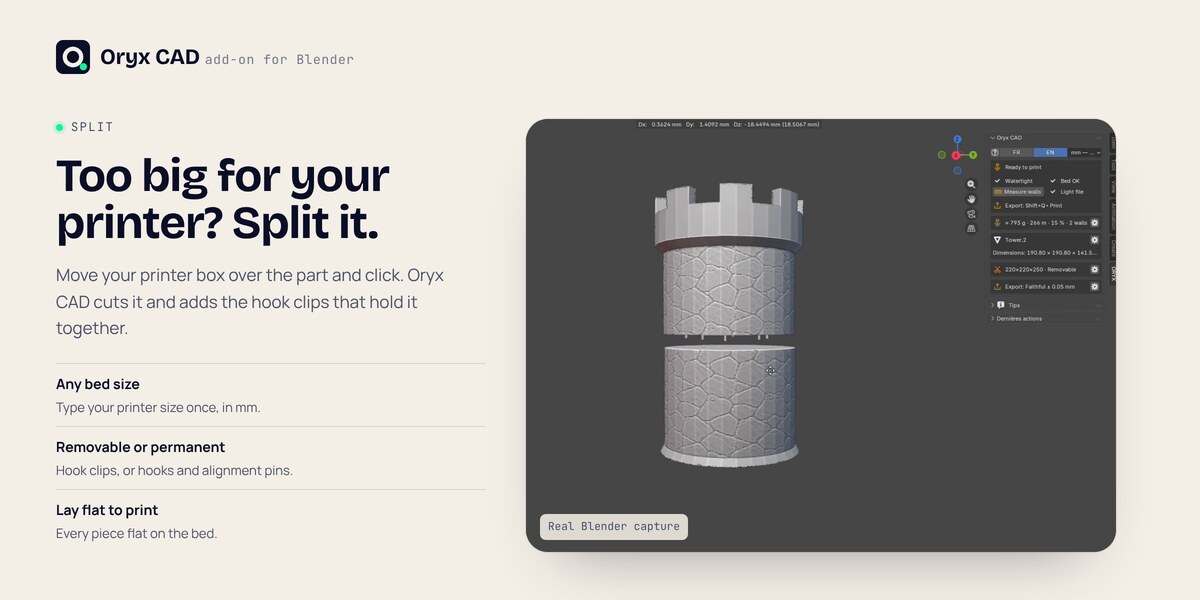
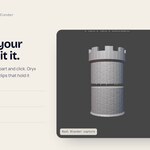
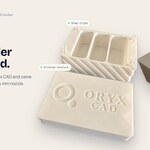
For parts bigger than your printer. In Oryx, this tool is called Cut and clip.
Type your printer's bed size once (width, depth, height in mm). It is remembered.
Select the part, Shift+Q > Cut > Cut and clip. The printer box follows your mouse: click to cut where it sits, as many times as needed. Or drag a cut plane across the part.
Hook clips are added on the cut. The mouse wheel changes their number. Choose Removable (hook clips) or Permanent (hooks and alignment pins).
One click puts every piece flat on the bed, ready for the slicer.
GEARS
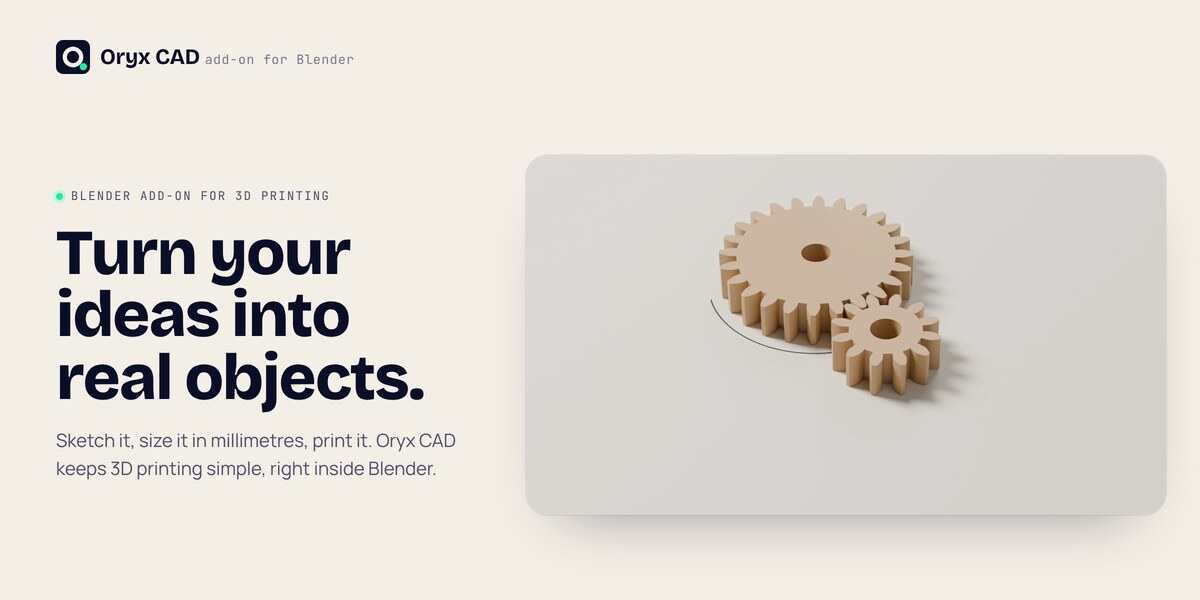
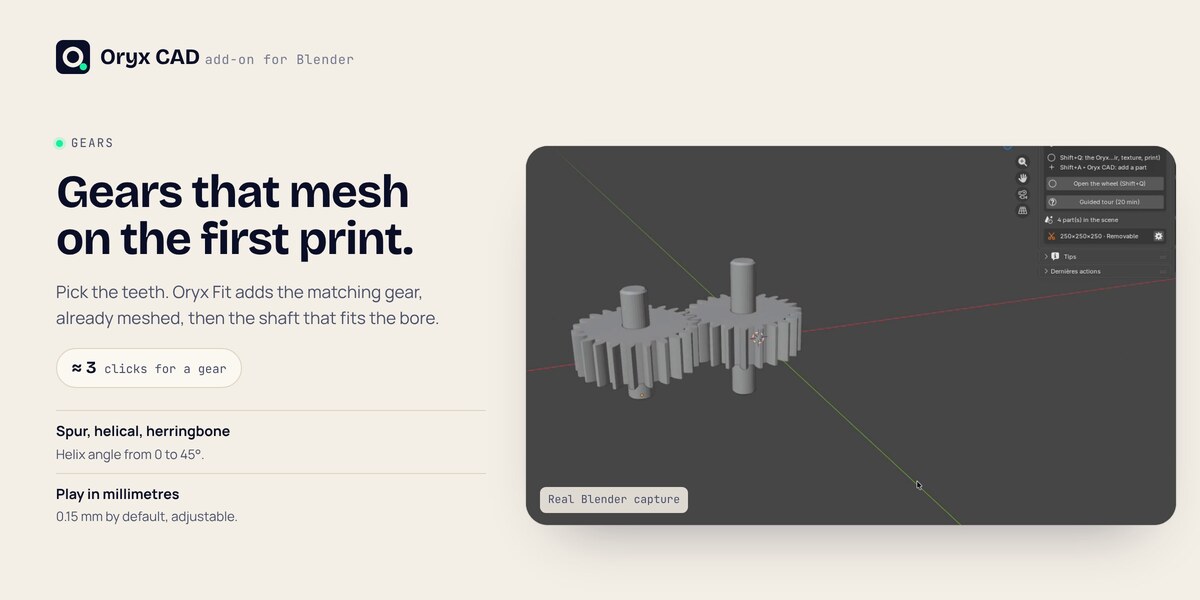
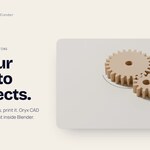
Gears that mesh on the first print.
Shift+Q > Create a part > Gear. Choose spur, helical or herringbone, the number of teeth and the size in mm.
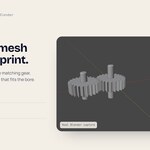
Select the gear, then Shift+Q > Oryx Fit: its partner arrives already meshed, at the right distance.
New gears start with 0.15 mm of play, adjustable, so printed gears turn freely.
The panel shows the flank angle live and tells you if the teeth print without supports.
A 90 degree pair in one step, printable without supports.
PARTS THAT FIT
Screws, nuts, springs and clips at real sizes.
Select a hole or a shaft, then Shift+Q > Oryx Fit (or Shift+Alt+O). The screw, shaft or part that fits appears, with clearance for parts that turn.
ISO threads from M2 to M16. Print the nut, or cut a pocket so a store-bought nut drops in.
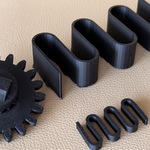
Compression springs (diameter, length, coils) and flat zigzag springs. Change a value and the spring is rebuilt.
Clips that click two printed parts together.
CARVE / ADD
Draw it on the face. Push or pull. In Oryx, this tool is called Cut / Add.
Shift+Q > Cut / Add, then draw a rectangle or a circle on a face. It snaps to the face and shows live dimensions.
Press Tab and type the values in mm.
Push into the part to cut a pocket or a window, pull out to add material.
Shape drilling makes exact holes and screw holes. Stretch to size resizes a part to an exact dimension.
TEXTURE (BETA)
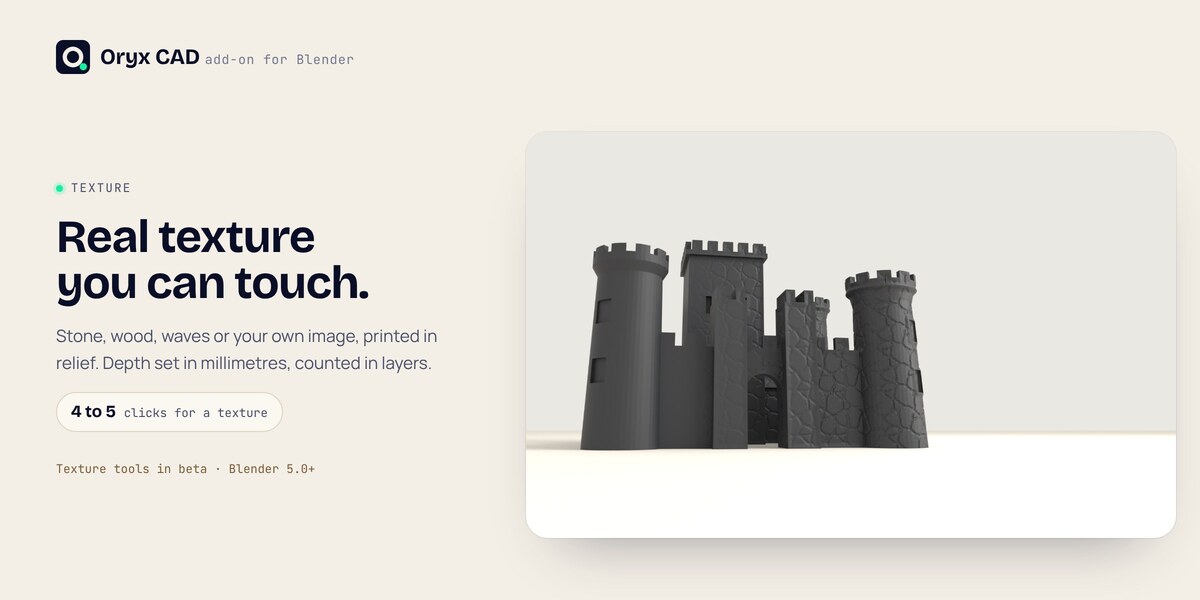
Real relief you can feel. Blender 5.0 or later.
Select the part, Shift+Q > Texture. The assistant walks you through: zone, pattern, flat placement, relief, finish.
On the whole part, painted with a brush, or between two edges.
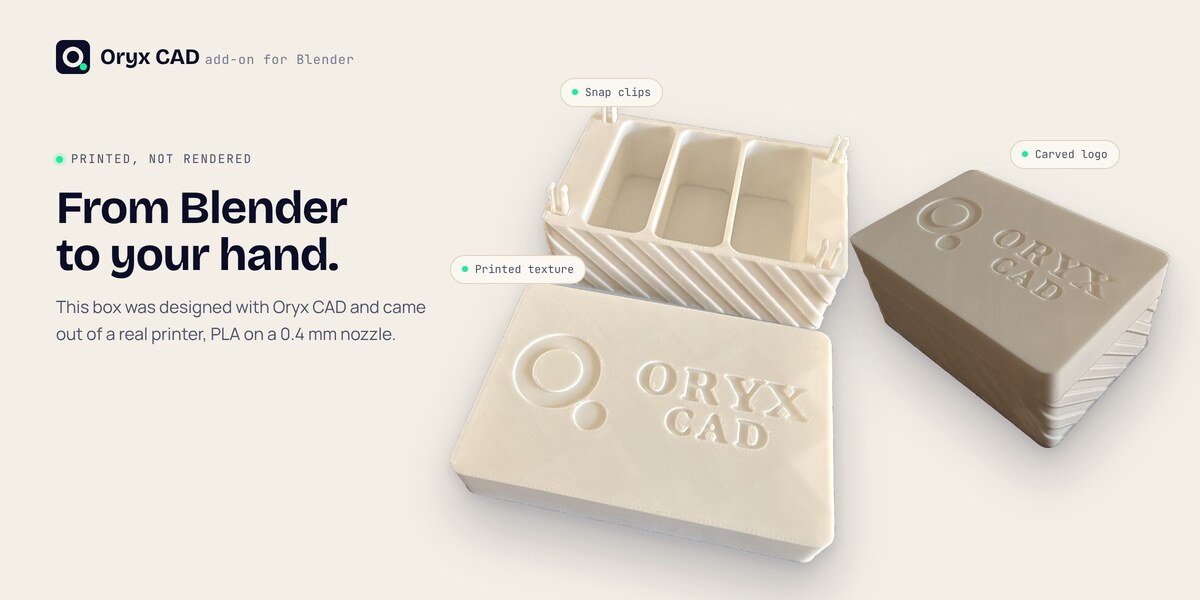
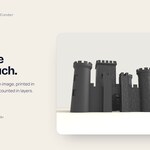
11 patterns (waves, checker, studs, wood, stone, braid and more) or your own image.
Set in mm and counted in print layers: 0.6 mm is 3 layers of 0.2 mm, so the relief really comes out.
CHECK, OPTIMIZE AND EXPORT
Fixed before it reaches the slicer.
The N-panel shows a verdict for the selected part: watertight, fits the bed, file weight.
Diagnostic finds holes and broken faces. SmartRepair closes them.
Removes useless faces without changing the shape. Lighter files, faster slicing.
STL, OBJ and 3MF at 1 unit = 1 mm, selection only if you want.
IF SOMETHING LOOKS WRONG
Press N in the 3D viewport and open the ORYX tab. Check that Oryx CAD is ticked in Edit > Preferences > Add-ons.
Texture tools need Blender 5.0 or later.
Increase the clearance or the gear play in mm, then print again. Every material and printer is a little different.
Send a message from the Oryx CAD page on Superhive. I answer every message myself.
Blender 4.2 LTS to 5.3 · Texture tools need Blender 5.0+ · Oryx CAD by Oryx Foundry
 Included
Includes 12 months of
- Support from Oryx Foundry
- Product updates
Extend this product’s Support Period +12 months: 25% of product price
Have questions before purchasing?
Login to message
| Blender Extension Compatible | Yes |
| Sales | 10+ |
| Published | 5 months ago |
| Blender Version | 4.2 - 5.3 |
| Extension Type | Add-on |
| Render Engine Used | Cycles, Eevee |
| License | GPL |
Discover more products like this
3MF parametric 3d printing gears mesh repair precision modeling screws engineering cad boolean iso STL export