 StagArts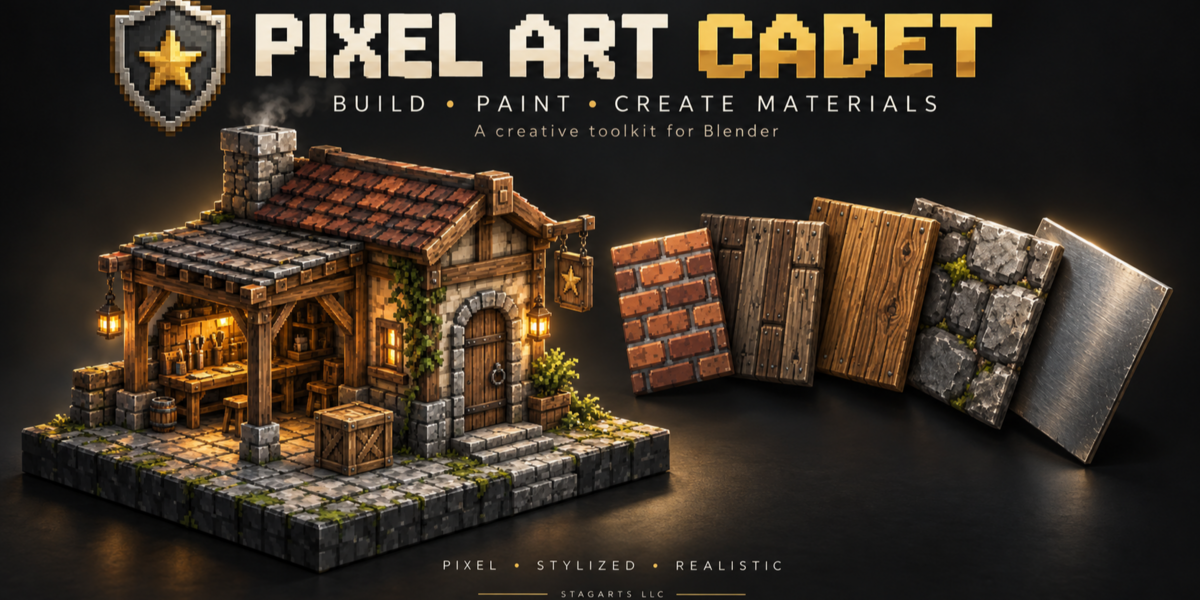
Pixel Art Cadet
Build. Paint. Create materials. Find your style—all inside Blender.
Pixel Art Cadet brings tile-based modeling, layered painting, procedural textures, material nodes, and stylized rendering together in one creative workspace.
Despite its name, PAC isn’t just for pixel art. Create low-poly environments, hand-painted props, seamless textures, stylized materials, retro assets, and illustrative renders without constantly moving between applications.
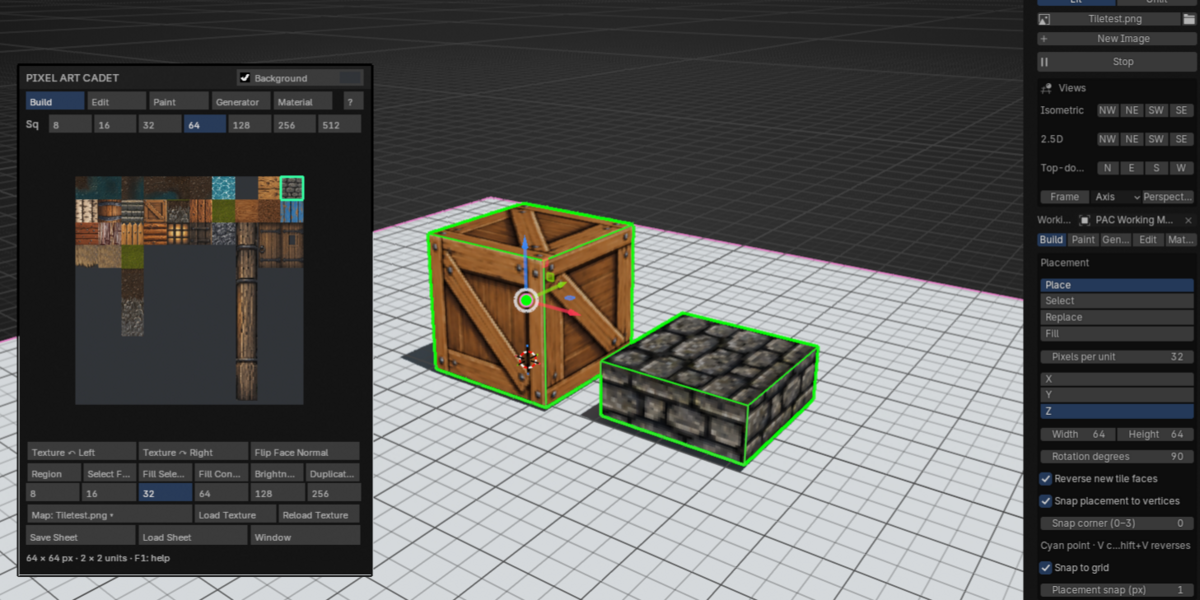
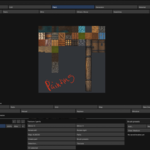
Build directly from your tile sheet
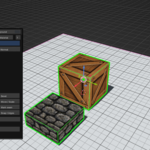
Turn your texture atlas into a building toolkit. Choose a tile, place geometry, and assemble your scene with snapping designed around a tile-based workflow.
- Place individual tiles or drag to build connected sections.
- Add cubes, cylinders, and spheres with adjustable geometry.
- Size primitives to match your working tile dimensions.
- Cycle placement snap points and hold Shift for free movement.
- Rotate, mirror, and flip tile textures.
- Apply the current tile to a face or an entire object.
- Keep your construction in one active PAC mesh, then separate selected geometry into named objects when needed.
Refine your geometry
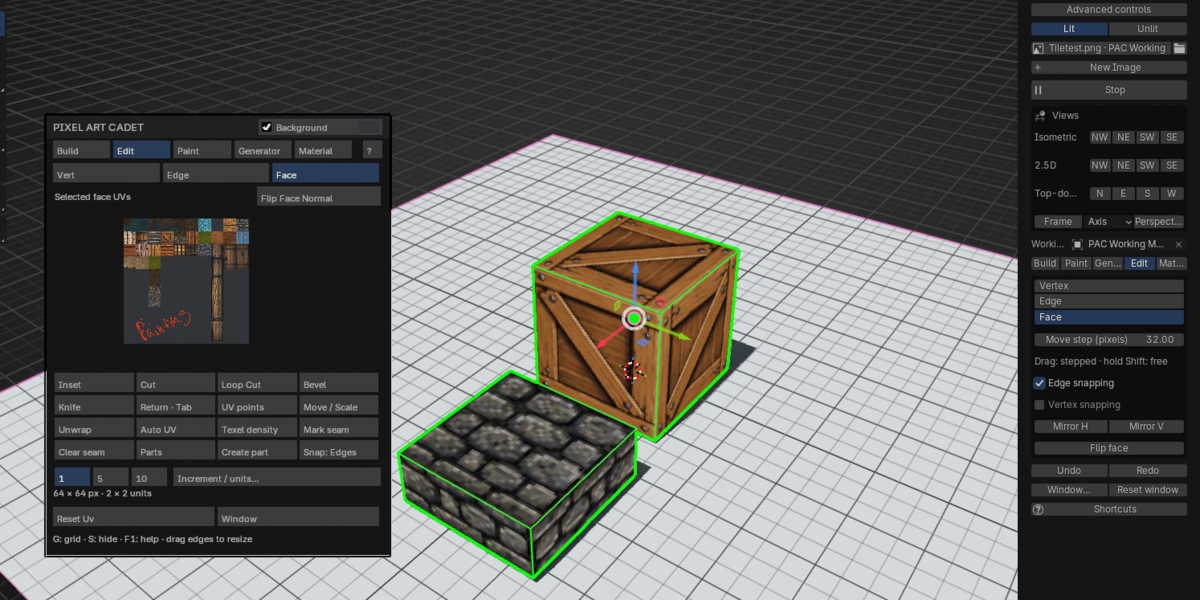
PAC’s Edit workspace gives you tools to shape your creations beyond their starting tiles and primitives.
Select vertices, edges, or faces, then move, rotate, scale, extrude, inset, weld, and cut. Use interactive adjustments and numeric input to work precisely, with customizable selection and wireframe appearance to keep your scene readable.
Paint textures with a flexible brush system
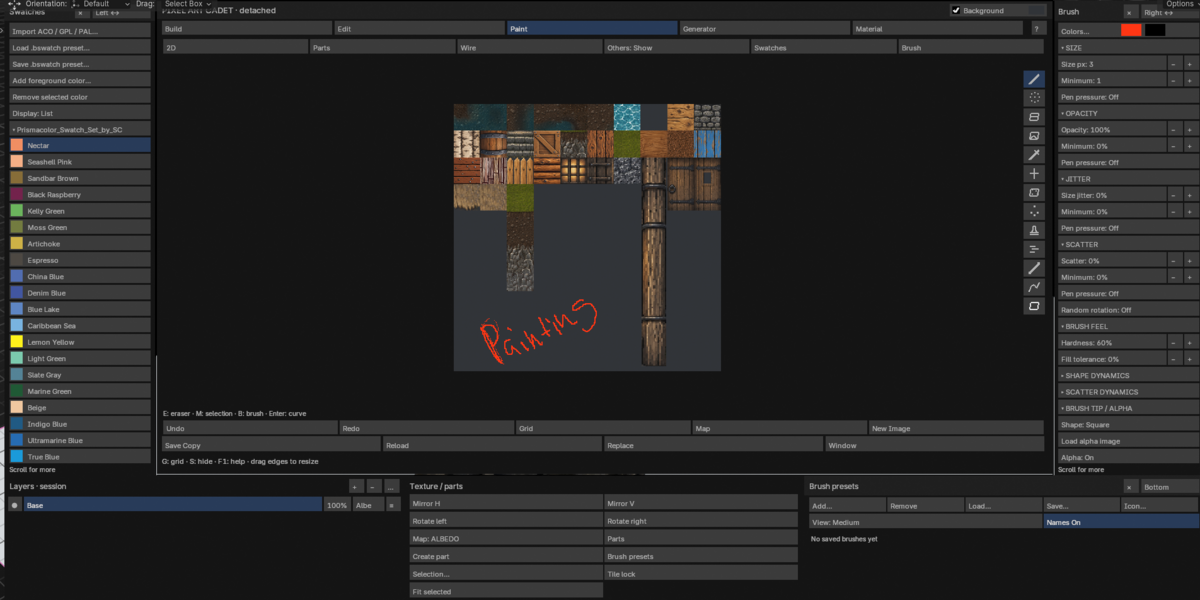
Work in 2D or paint on your model in 3D. Build up textures with layers, adjustable opacity, blending modes, and tools for both precise edits and expressive brushwork.
Painting tools include drawing, erasing, filling, cloning, blurring, smearing, and color mixing. Customize your strokes with:
- Pen-pressure controls.
- Brush alphas, spacing, scatter, and random rotation.
- Single-stamp placement.
- Direction-following alphas with Align Drag.
- Smoothed strokes with Lazy Drag.
- Mixer controls for picking up and blending canvas colors.
Import supported brush formats or save your own PAC brush presets. Categories help keep your collection organized.
Paint with an Image Hose
Turn a sheet of individual images into a brush that places varied images along your stroke. Use it to scatter details, build decorative trails, or paint repeated elements with control over spacing, scale, and orientation.
Add depth with Thick Paint
Give brushwork a raised, painted appearance using adjustable directional lighting, light color, softness, and shine.
When you’re happy with the effect, Commit Thick Paint bakes the lighting into the active color layer so you can continue painting while keeping its finished appearance.
Uncommitted Thick Paint lighting is a 2D color-layer preview effect. Commit it to include that appearance in the texture used by your material or export.
Create and paint material maps
Build more than a color texture. Assign layers to supported material channels, including:
- Albedo / color
- Roughness
- Opacity
- Height
- Normal
- Ambient occlusion
- Emission
Duplicate and adjust a color layer to use as a starting point for another map, then refine it with painting and surface controls.
Use an albedo reference while painting other channels to help align details—for example, painting raised brick faces into a height map.
Visible displacement depends on the mesh, subdivision, render engine, and material settings.
Make seamless tiles
Frame a selected tile and enable Tile Wrap to paint across its boundaries. A repeated preview helps reveal seams while you work.
Rectangle, ellipse, and polygon selections give you control over where paint is applied. Add to or subtract from selections, constrain their proportions, and move, resize, or rotate them using on-canvas handles. Painting snap options help align selections and tools to tile corners and midpoints.
Generate textures procedurally
Start with a material recipe and explore variations in Pixel, Stylized, or Realistic treatments.
Create wood grain, planks, parquet, brick, stone, marble, granite, metals, water, lava, and more. Adjust pattern scale, color, surface detail, and variation to suit your project.
For tiled materials such as bricks and stone blocks, per-piece edge variation helps create uneven outlines instead of simply applying noise across the whole image.
Send the generated result directly into the selected area of your current tile sheet.
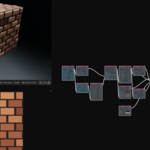
Explore the Material Node Workshop
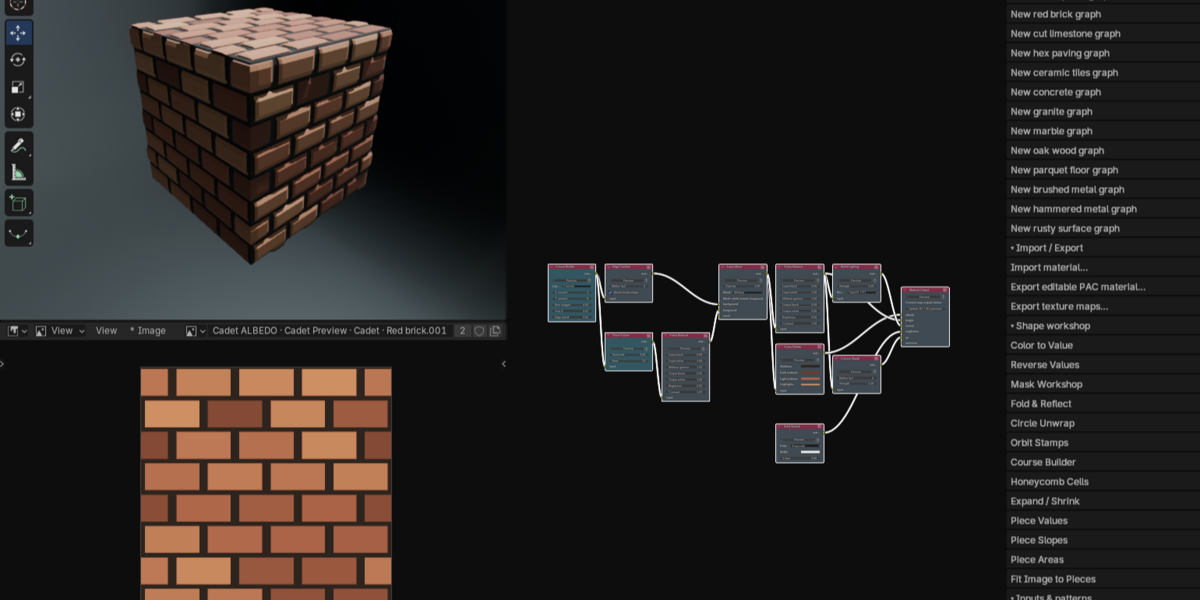
Build procedural textures from shapes, patterns, noise, masks, and image operations in PAC’s material-node workspace.
Start with a starter graph, choose a material preset, or create your own graph. Friendly tooltips explain what nodes do, while connection suggestions and automatic color-to-grayscale conversion help make graph building more approachable.
Included material starting points cover common surfaces such as worn planks, brick, limestone, paving, ceramic tiles, concrete, granite, marble, parquet, and metals.
Send your node-generated texture to the current tile sheet to use it in your scene.
Choose a render style
Give the same model a different presentation with PAC’s rendering presets and finishing controls.
Explore looks including:
- Cel Animation and Comic Ink
- Graphic Two-Toned and Illustrated
- Paper Cutout and Pastel Soft
- Soft Stylized
- Matte, Matte Sculpture, and Glossy
- Pixel
Refine the result with edge lines, cavity highlights and creases, or soft-edge treatments. Studio setup and camera tools help you move from building to presenting your work.
One scene, many looks
The render examples below show the same model under different presets, making it easier to compare their shading and edge treatments.
The Matte Sculpture examples also demonstrate the base appearance alongside Cavity, Edge Lines, and Soft Edges.
Results vary with your geometry, materials, lighting, settings, and render engine.
A workspace that fits your workflow
Keep the panels you need visible and hide the rest. PAC includes configurable windows for brushes, swatches, layers, presets, and tools.
Detach the PAC workspace into its own window for use on another monitor, and choose convenient isometric or angled views when building and presenting your scene.
Set your own library folders for:
-
.bbrush— brush presets -
.bswatch— swatches -
.bhose— Image Hose presets -
.bfilter— layer filters
Apply layer filters such as shadows, outlines, glows, blur, and color adjustments. PAC’s documented filter format also lets users define and share filter presets without requiring executable Python scripts.
Larger-image workflow improvements
PAC 1.2.0 includes painting and preview optimizations designed to reduce unnecessary work during editing, with more efficient stroke undo, cached Thick Paint calculations, and adaptive material updates.
Performance still depends on texture size, layer count, active effects, and hardware.
Compatibility and important notes
- Requires Blender 5.2 or newer; tested with Blender 5.2.1.
- Brush imports interpret supported settings; results may differ from the original painting application.
- Substance
.sbsand.sbsarworkflows require the optional, separately licensed Adobe Substance Automation Toolkit bridge. These import baked outputs—not fully editable Substance graphs. - Some rendering effects depend on the selected render engine.
- Included documentation covers setup, workflows, and controls.
