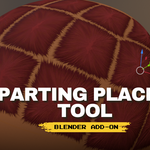
Parting Placer Tool - Blender Addon 4.4+
 AVILABS by Ebonix


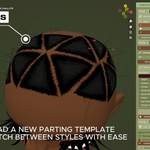
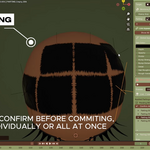
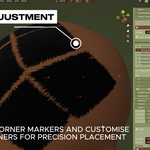
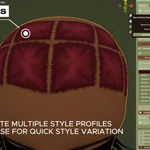
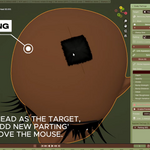
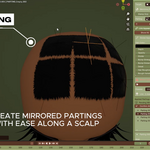
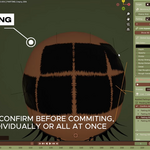
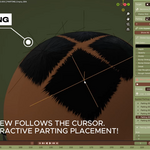
GETTING STARTED
1. Select your head mesh as Target in the Scalp Partings panel (N-panel, Parting Placer tab).
2. Make sure it has a material and a UV map — baking needs both.
3. Switch to Material Preview or Rendered shading. Partings are a shader effect and won't show in Solid mode.
4. Click Add Parting and move your mouse over the head. A parting follows the surface under your cursor.
PLACEMENT CONTROLS
- Left click — places the parting, keeps the tool active
- Ctrl+Z — undoes the last placement, stays in the tool
- S + scroll — resize
- X / Y — lock resizing to one axis
- R + scroll — rotate
- M — toggle mirror on/off mid-stroke
- Right click or Esc — finish placing
TUNING THE LOOK
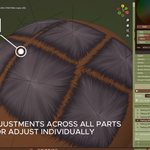
Each parting has its own Hair Colour, Depth, Opacity, Divide, Bump Strength, Bump Distance, Detail, Hair Roughness and Rough Variation. To change all of them at once:
- Copy Settings to All — one-time push of one parting's values onto every other parting.
- Link Appearance — toggle this on and every parting shares one live set of sliders.
Corner warp (four offsets per parting) fixes the wedge gaps you get fanning rectangular partings around a curved crown — pull the corners to taper, shear or bend the decal to fit.
WORKING WITH MULTIPLE STYLES
You can build more than one complete parting layout on the same head and switch between them from the Style dropdown. Only one style is live at a time; the others are parked with nothing lost. If your head uses the same material in more than one slot, set the correct slot once by hand — it's remembered from then on.
KEEPING THE VIEWPORT FAST
A head with a lot of partings on one material can slow the viewport down. Turn on Preview Mode to bake a temporary low-res proxy (256/512/1024) while you work, and switch it off to go back to live.
BAKING AND EXPORT
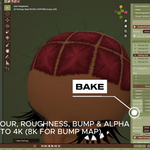
1. Tick the channels you want — Colour, Roughness, Normal, Alpha — and choose a resolution (Normal can use its own).
2. Click Bake Partings. This is non-destructive — your partings and Empties stay live, so you can tweak and re-bake as many times as you want.
3. When you're happy, click Apply Bake to commit: this swaps the live partings for the baked images and removes the Empties.
4. Save Textures writes each channel to a folder as PNG. Save Textures (Transparent) writes one RGBA PNG — your parting colour with the coverage map as alpha — ready to layer over a scalp texture in a game engine.
IF SOMETHING LOOKS WRONG
- Repair rebuilds the links between partings, Empties and materials if something's come adrift (e.g. after manually editing material slots).
- Reset removes every parting on the target and restores the original material.
- If a parting's driving Empty goes missing, you'll get a warning with a Discard Orphan Stamps button rather than a silent deletion.
-
$20
For individual artists working on their own. One seat, one person. Includes lifetime updates and 12 months email support. Not eligible if you're part of a company or organisation with more than one full-time employee, buying on behalf of one, or install
-
$35
For individual artists selling their works. One seat, one person. Ideal for UGC creators (VR Chat, FiveM, Sims, Roblox, Second Life).
-
$60
For small studios and teams. Covers up to 3 seats. Includes lifetime updates and priority email support.
-
$150
For larger studios, agencies and teaching institutions. Covers 10 seats. Includes lifetime updates and priority email support. Need more than 10 seats, or a site licence? Email [email protected].
 Included
Includes 12 months of
- Support from AVILABS by Ebonix
- Product updates
Extend this product’s Support Period +12 months: 50% of product price
Have questions before purchasing?
Login to message
| Blender Extension Compatible | Yes |
| Published | about 2 months ago |
| Blender Version | 4.4 - 5.2 |
| Extension Type | Add-on |
| Render Engine Used | Cycles, Eevee |
| License | GPL |
Discover more products like this
scalp decal scalp parting cornrow 3d-lowpoly bake to texture locs twists shader hair Character Creation box braids hair partings transparent PNG export