 GreenJin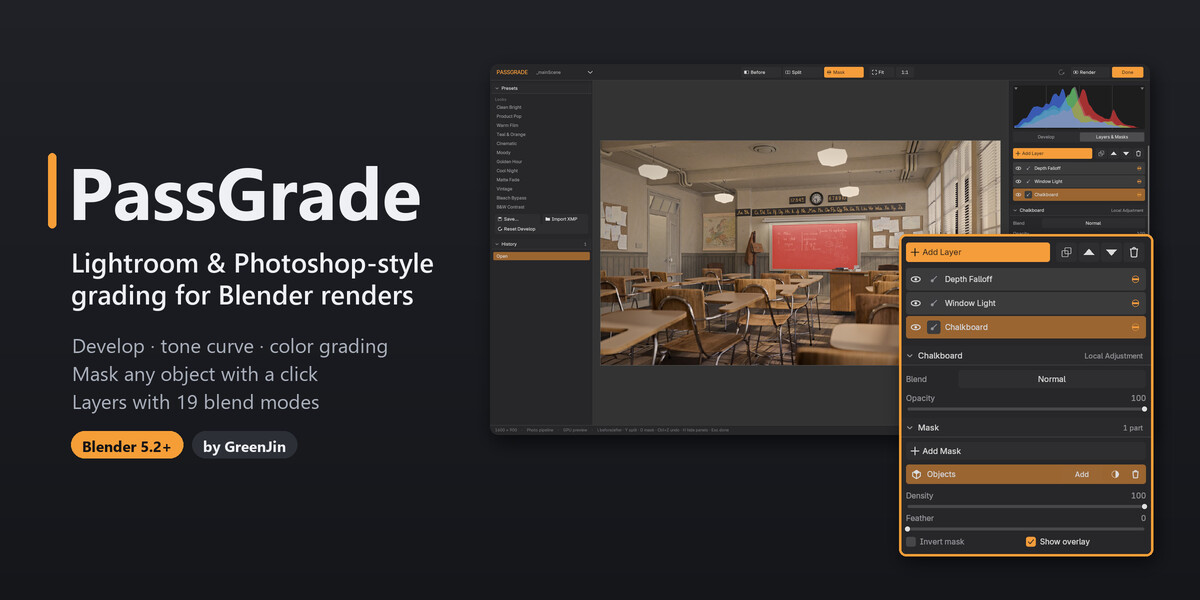
Installation
- Download passgrade-1.0.0.zip. Don't unzip it.
- In Blender, open Edit → Preferences → Get Extensions, click the ▾ menu at the top right and choose Install from Disk…
- Pick the zip. PassGrade is enabled right away. (You can also drag the zip into the Blender window.)
To update, install the new zip the same way: your own presets are kept and older files upgrade when you open them. To remove it, go to Preferences → Add-ons → PassGrade → ▾ → Uninstall.
Quick start
- Render first. Press F12 as usual. PassGrade grades what your render puts out.
- Press PassGrade. The button is in the header of the render window (any Image Editor showing the render). It is also in the Compositor's header and under Render → Open PassGrade. The first time, PassGrade sets itself up in the scene's compositor.
- Grade. Use Develop on the right for the whole image, and Layers & Masks for parts of it. Every change shows in the preview right away.
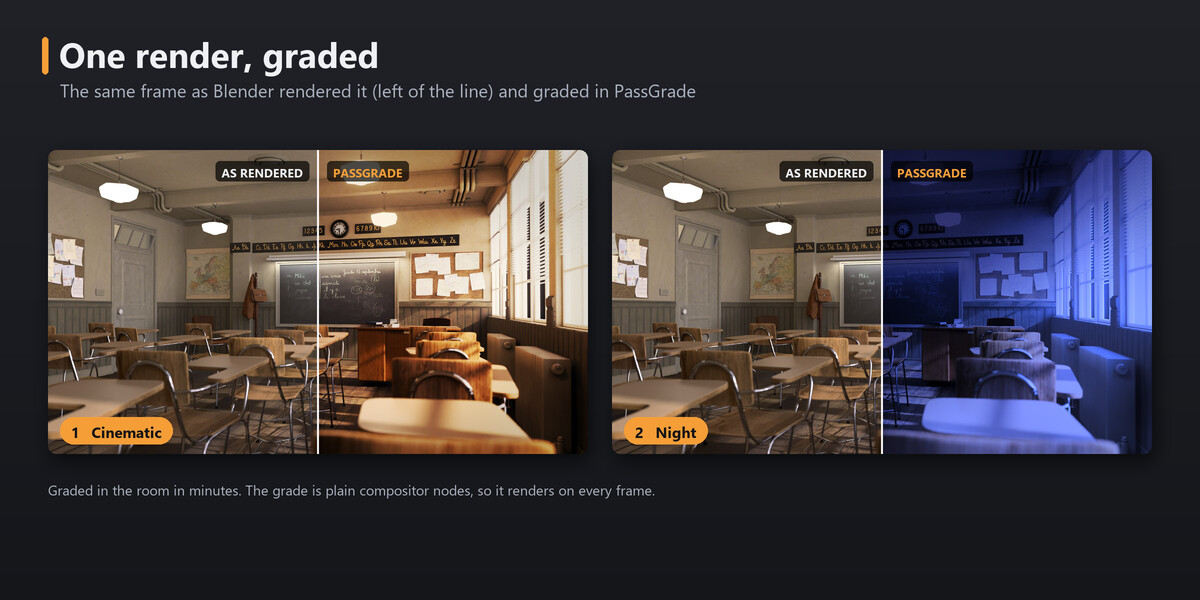
- Press Done (or Esc) to get your layout back. The grade is saved in your .blend as compositor nodes, so every render from now on, stills and animations, comes out graded.
The room
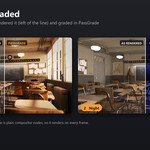
- Top bar: Before, Split (drag the line), Mask (shows the active mask in red), Fit and 1:1 zoom, Undo, Render (renders again) and Done.
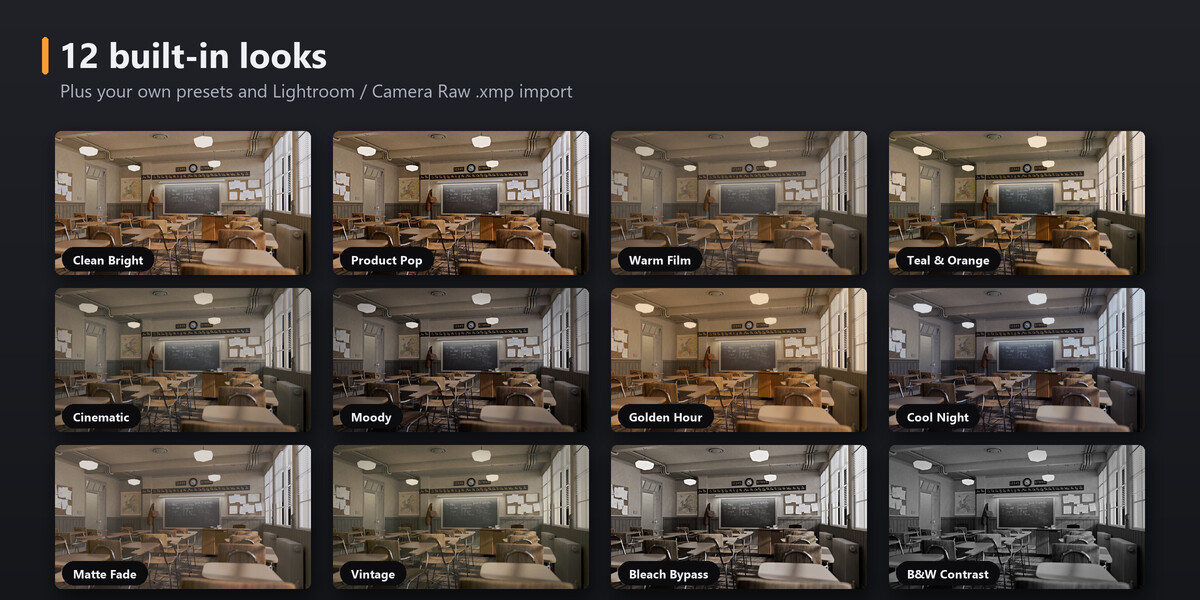
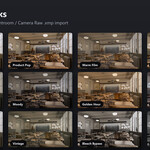
- Left: Presets (12 built-in looks, your own presets, Save…, Import XMP, Reset Develop) and History. Click any history step to go back to it.
- Import XMP reads a Lightroom or Camera Raw .xmp preset, applies what PassGrade can map (it tells you how many Lightroom-only settings it skipped) and saves it among your presets.
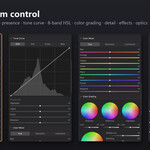
- Right: a histogram with clipping warnings, then the Develop and Layers & Masks tabs.
- Sliders: drag (hold Shift for fine steps), double-click to reset, click the number to type a value.
- Tone curve: click to add a point, drag to move it, double-click a point to delete it. Color wheels reset with a double-click.
Shortcuts in the room
- \ : before / after · Y : split view · O : show the mask in red · F : fit · H : hide the side panels
- Ctrl+Z : undo · Ctrl+Shift+Z or Ctrl+Y : redo · F12 : render again · Esc : leave the room
- Brush: [ and ] change the size, Alt paints the opposite (erase)
Develop
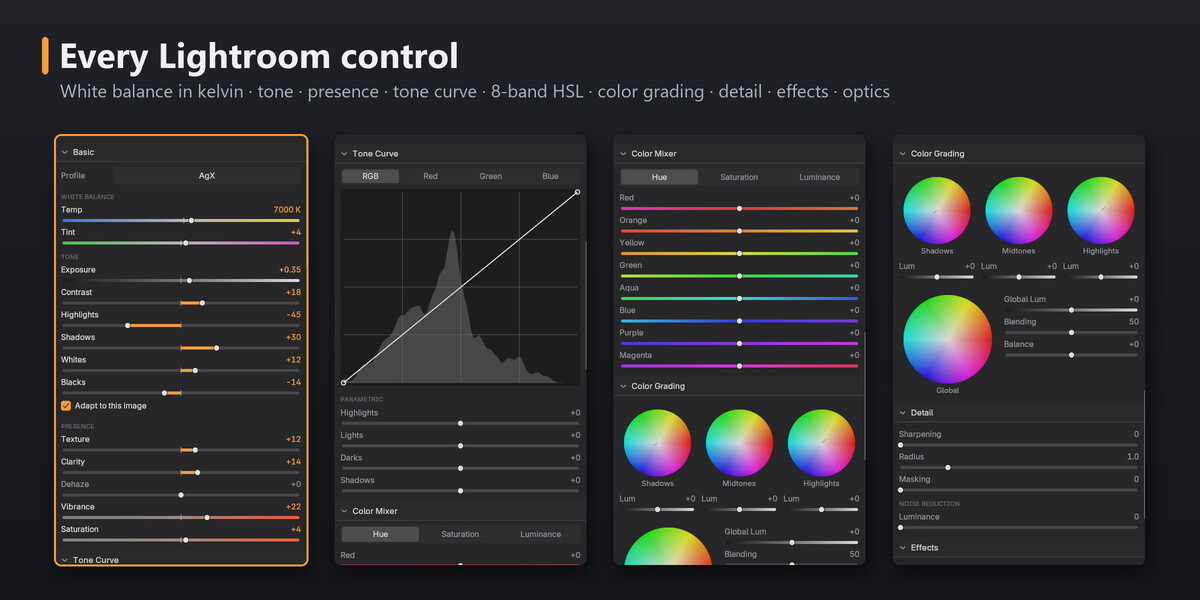
- Basic: Profile (the view transform and look, e.g. AgX), white balance in kelvin (Temp, Tint), Exposure, Contrast, Highlights, Shadows, Whites, Blacks, and Presence (Texture, Clarity, Dehaze, Vibrance, Saturation).
- Adapt to this image: shadows and highlights are found relative to this render. Turn it off for animations whose brightness changes a lot.
- Tone Curve: RGB and per-channel point curves, plus a parametric curve (Highlights, Lights, Darks, Shadows).
- Color Mixer: hue, saturation and luminance for 8 color bands.
- Color Grading: shadow, midtone, highlight and global wheels, with Blending and Balance.
- Detail: sharpening (radius, masking) and noise reduction.
- Effects: vignette (midpoint, roundness, feather, highlights), grain (size, roughness) and bloom (threshold, size).
- Optics: lens distortion and chromatic aberration.
-
Color Pipeline:
- Photo (default): the view transform is applied inside the grade, so curves, blend modes and colors behave exactly like in Lightroom and Photoshop. The scene's view is set to Standard.
- Scene-referred: keeps your scene's view transform, which Blender applies after the grade. Best for EXR / VFX output.
- Preview on the GPU: much faster while you grade. Your own compositor setting comes back when you leave the room.
Layers
-
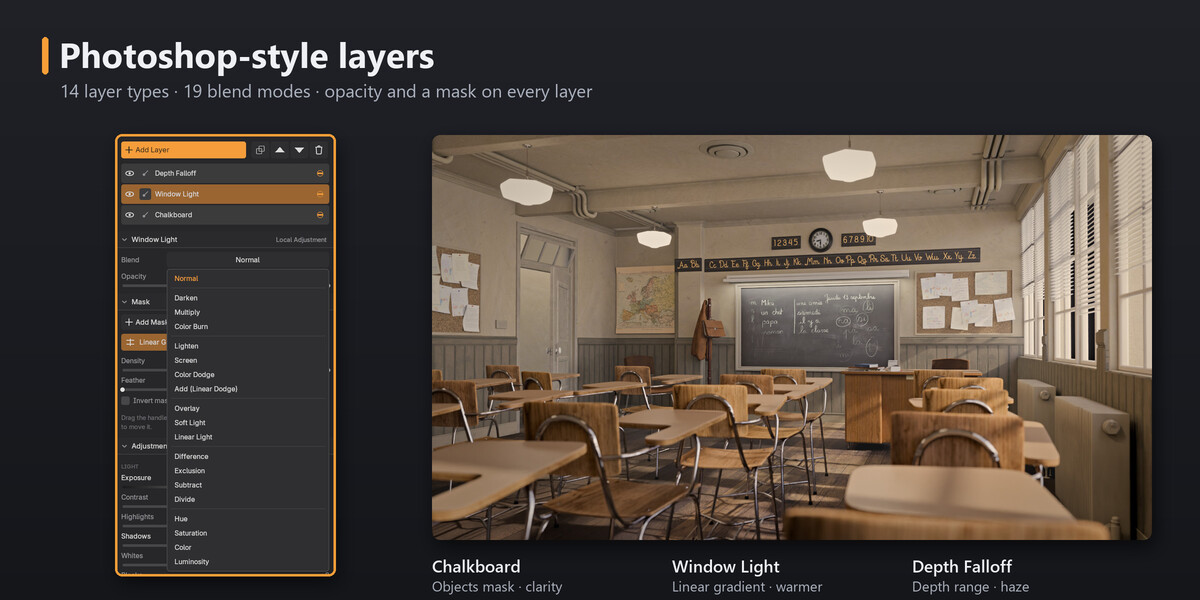
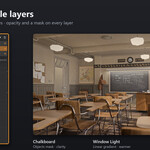
Add Layer offers 14 types:
- Adjustments: Local Adjustment (exposure, color and detail for a masked area), Curves, Hue / Saturation, Color Balance, Black & White, Photo Filter, Gradient Map.
- Fills: Solid Color, Gradient Fill, Image.
- Filters: Blur, Invert, Posterize, Threshold.
- Every layer has a blend mode (19 Photoshop modes, from Multiply and Screen to Overlay, Soft Light and Luminosity), an opacity and its own mask.
- Click the eye to hide a layer, double-click its name to rename it. The buttons next to Add Layer duplicate, move and delete the selected layer.
Masks
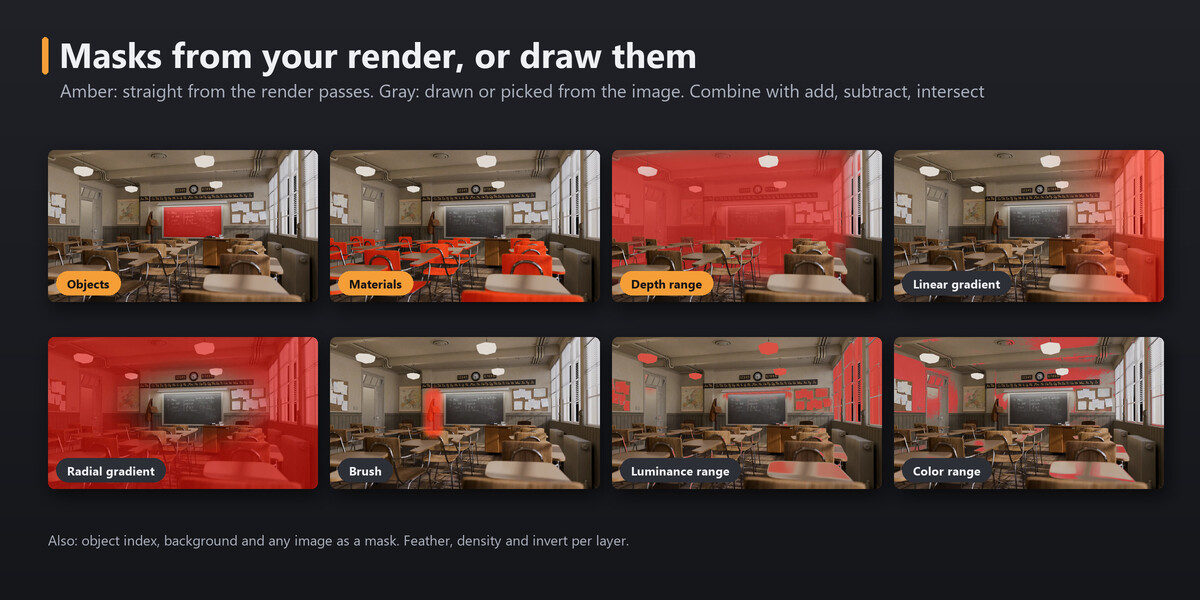
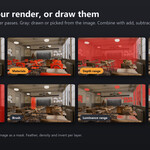
Select a layer and press Add Mask. A mask can have several parts. Each part is set to Add, Subtract or Intersect and can be inverted on its own; the whole mask has Density, Feather and Invert mask. Press O (or Show overlay) to see the mask in red.
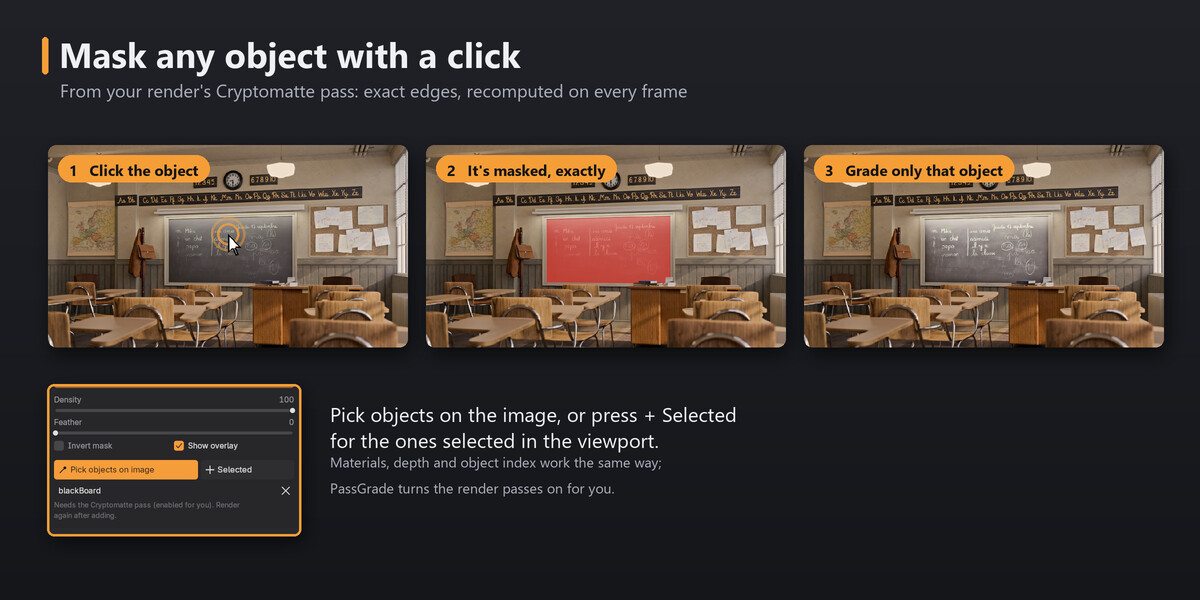
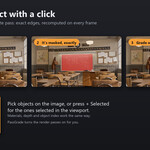
- Objects / Materials: press Pick objects on image and click them (click one again to take it out, Esc when done), or press + Selected to add the objects selected in the viewport. The mask comes from your render's Cryptomatte pass: exact edges, and it follows the object on every frame.
- Depth Range: by distance from the camera. Pick distance from image sets it from a click.
- Object Index: pick an object on the image. If it has no pass index yet, PassGrade gives it a free one.
- Background: the world or the transparent background.
- Linear / Radial Gradient: drag the handles on the image.
- Brush: paint on the image. Paint / Erase, Size, Hardness, Flow, Clear and Fill; Alt erases, [ and ] change the size.
- Luminance / Color Range: select by brightness or by a color you pick from the image.
- Image: any image as a mask.
Masks from the render need their render pass. PassGrade turns the pass on when you add the mask. If the mask stays empty, render once more (F12 or the Render button). The passes depend on the render engine:
- Depth Range and Background: Cycles, EEVEE and Workbench.
- Objects and Materials: Cycles and EEVEE.
- Object Index: Cycles only. In EEVEE, use an Objects mask instead.
- Gradients, Brush, Luminance, Color Range and Image masks work with any engine.
Animation
- The grade renders on every frame. Grade one frame, then render the animation as usual.
- The PassGrade tab in the sidebar (N) of the Image Editor or the Compositor has the settings you would animate: white balance, the Basic and Presence sliders, vignette, grain, bloom and each layer's opacity. Hover a field and press I to keyframe it.
- Every other value can be keyframed in the Compositor: select the PassGrade node and press Tab to open it (Tab again to open a layer), hover the value and press I.
- Object, material, depth and index masks follow moving objects and cameras. Gradient and brush masks stay fixed on the screen, so for moving things use a mask from the render, or keyframe a gradient's handles in the Compositor.
Your compositor, render farms and removing it
- PassGrade adds one node group before your compositor's output. Your own nodes keep working. Nodes you add after PassGrade also show in the room.
- Nodes that move the image (Lens Distortion, Transform, Crop) belong after PassGrade, or use PassGrade's Optics. Placed before it, they shift the image away from the render-pass masks.
- A graded file renders the same on machines without the add-on, including render farms. Render with the same or a newer Blender than the one you graded in.
- Sidebar (N) → PassGrade in the Image Editor or Compositor: Open PassGrade, the pipeline and profile, the basic sliders and layer opacities (keyframeable), presets, Import XMP, Reset Develop, Copy Grade to Scenes (copies the develop settings and layers to every other scene in the file) and Remove PassGrade, which takes the grade out, reconnects your compositor and restores your view transform.
Requirements
- Blender 5.2 LTS or newer.
- Cycles, EEVEE or Workbench. Object and material masks need Cycles or EEVEE; Object Index masks need Cycles.
- One pure-Python package for Windows, Linux and macOS. Developed and tested on Windows (OpenGL and Vulkan) and macOS; Linux have not been tested yet.
Have questions about this product?
Login to message
| Blender Extension Compatible | Yes |
| Published | about 10 hours ago |
| Blender Version | 5.2 |
| Extension Type | Add-on |
| Render Engine Used | Cycles, Eevee |
| License | GPL |

Discover more products like this
presets Post-Processing compositor Compositing lightroom color grading cryptomatte photoshop Render adjustment layers masks tone curve