Pbr Validator — Find The Material Mistakes That Only Show Up In The Render
 Skava
Skava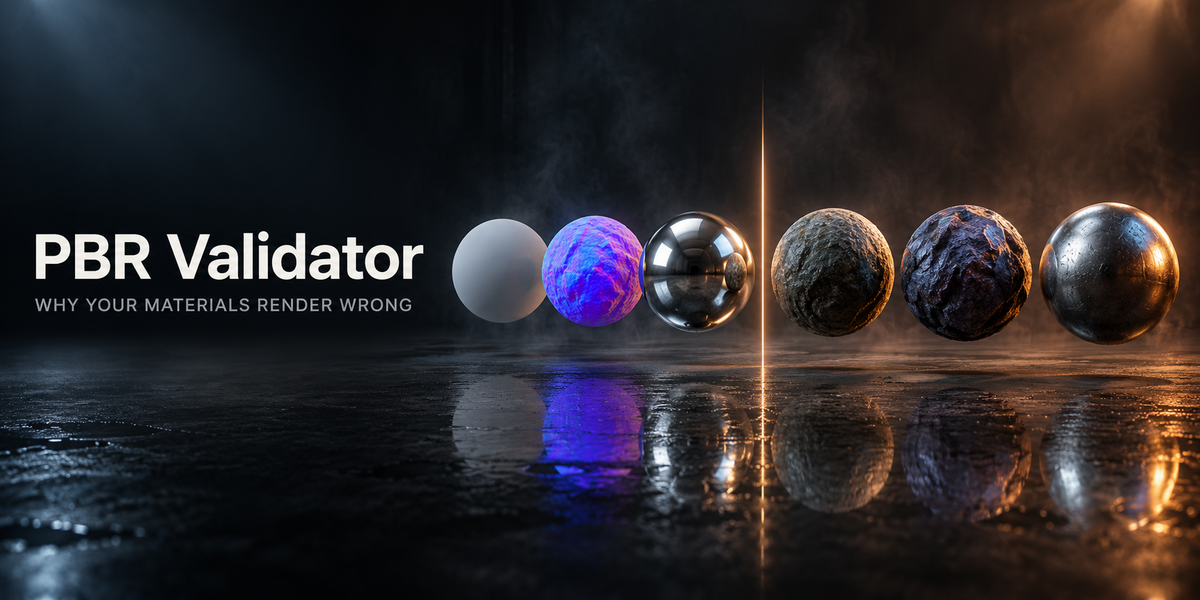
PBR Validator — Documentation (v1.0.1)
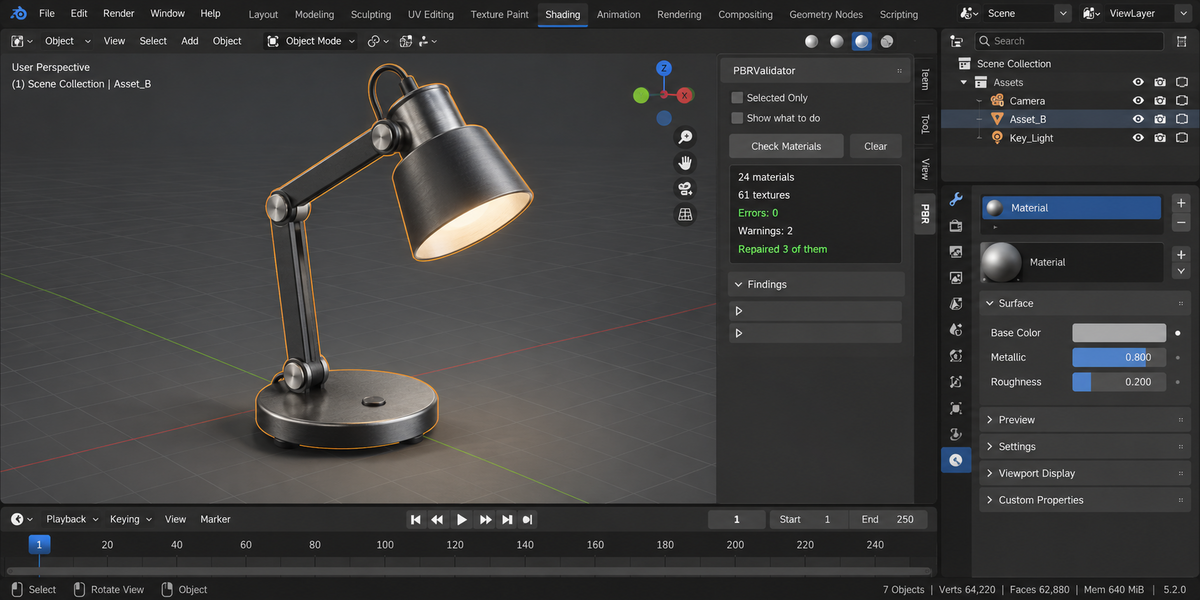
Reads the node trees of your materials and reports the mistakes that only appear in a render. Findings that need no decision from you are repaired with one click; the rest say what to do.
1. Install
Download the zip and leave it zipped. In Blender open Edit, then Preferences, then Add-ons. Use the arrow button in the top right corner of that window and choose Install from Disk, then pick the zip. On Blender 4.0 and 4.1 the same button is called Install. Tick the checkbox next to the add-on name. Press N in the 3D Viewport and the PBR tab appears in the sidebar.
2. Quick start
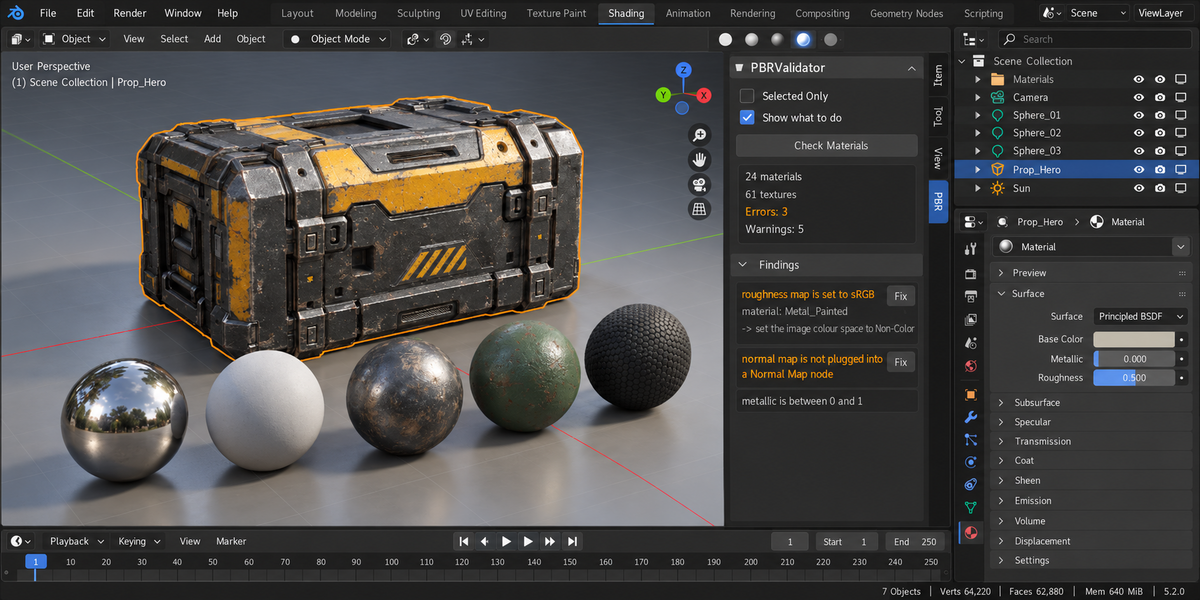
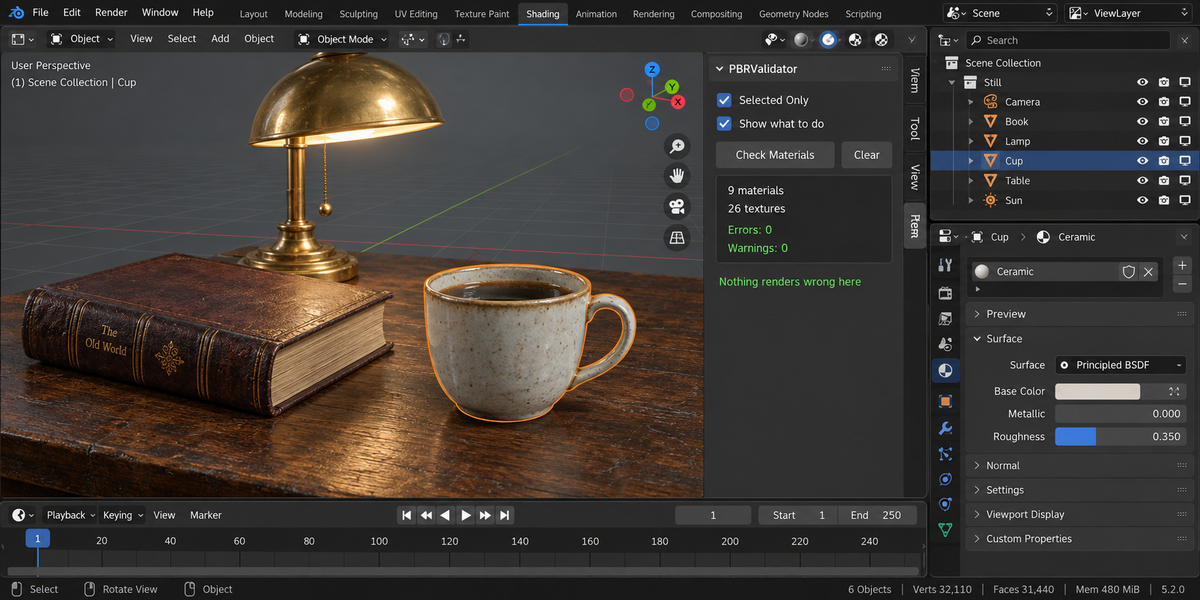
- Press Check Materials. Everything in the scene is read, or only your selection if Selected Only is ticked.
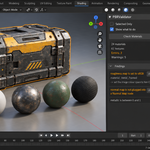
- Read the findings. Each one names the material, says what is wrong, and — with Show what to do ticked — one line of what to do about it.
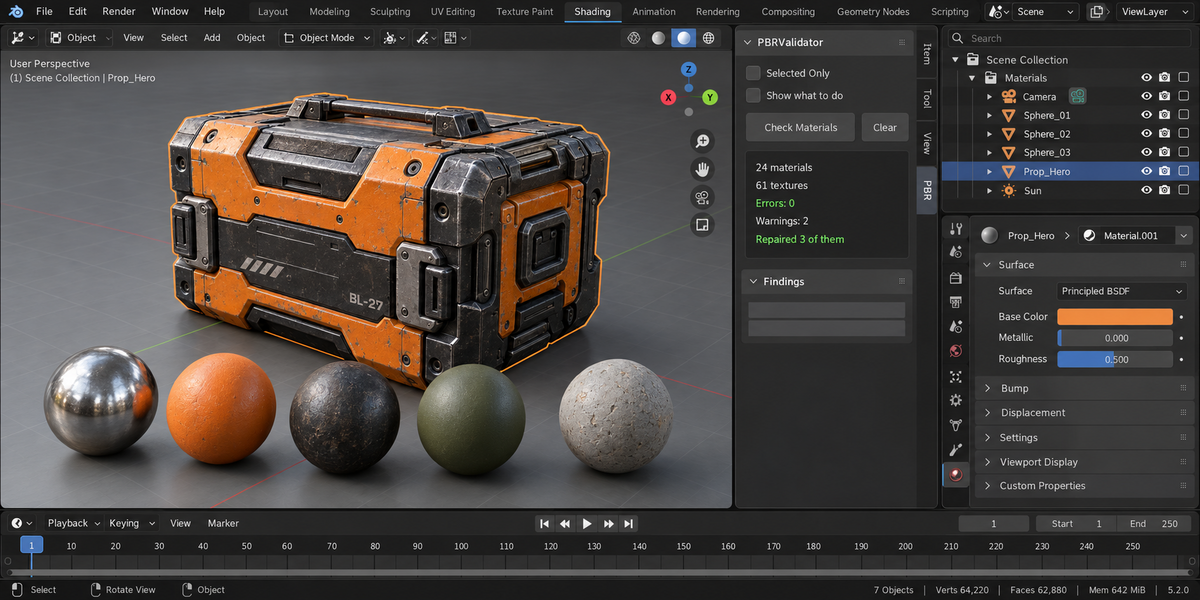
- Press Fix All to repair everything that can be repaired without deciding for you.
3. The findings
Data map read as sRGB — a roughness, metallic, normal or displacement texture whose colour space is sRGB. The values reaching the shader are wrong. Repaired automatically.
Colour map read as Non-Color — a base colour texture that is not sRGB, so the render comes out washed out. Repaired automatically.
Normal map wired straight into Normal — the blue-purple image reaches the Normal input of a shader without a Normal Map node, so it is read as a direction vector. Every shader with a Normal input is checked, including shaders inside node groups, and the finding names the shader. Repaired automatically: a Normal Map node is inserted into the link that reaches that shader's Normal input, so reroutes, Mix nodes and node groups on the way stay in place; for a shader inside a node group the node goes inside the group. Not repaired, with the reason given, when the place is not unambiguous: part of what reaches the input is already decoded by a Normal Map or Bump node, the normal is built by hand with vector nodes, or the shader sits in a node group used in several places.
Texture with no UV node — the mesh has more than one UV channel and nothing says which to use, so Blender picks the active one and the result changes when someone switches channels. Not repaired: which channel each texture means is yours to say. Wire a UV Map node with that channel into each texture.
Roughness nailed to 0 or 1 — a perfect mirror and a perfectly matte surface are both things no real material does. Not repaired: the value is yours to choose.
Metallic in the middle — a warning, not an error. Real surfaces are usually metal or not, and a flat value in between often renders like dirty plastic, but it can be intentional (worn paint over steel, dust, a stylised look). Not changed by Fix All: the value is yours.
Missing image file — the texture points at a file that is not there. Packed images are not reported.
One image in two roles — the same image feeds both a colour input and a data input. Colour space belongs to the image datablock, not to the Image Texture node, so duplicating the node is not enough: both nodes would still share one colour space. Give the data input its own image datablock — a copy of the image in its own Image Texture node — set the copy to Non-Color and leave the original as sRGB. Not repaired automatically; it stays in the list with the explanation.
4. Options
Selected Only — reads the materials of selected objects instead of the whole scene.
Show what to do — prints the advice line under each finding.
5. Getting to the material
The arrow button on a finding selects the object that uses that material, so you can open it in the shader editor straight away.
6. After Fix All
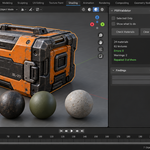
Run Check Materials again. What remains is what the add-on refuses to decide for you. In testing, four rounds of scan-and-fix on the same scene produced the same short list every time after the first pass.
7. Compatibility
Blender 4.2 and later. Tested live on 4.2, 5.1 and 5.2, 99 checks green on each.
8. License
GPL-3.0.
9. FAQ
Will it change my materials without asking?
No. Nothing is touched by Check Materials — it only reads your node trees and reports. Changes happen when you press Fix All (or the tick on a single finding), and only for the findings that can be repaired without deciding for you: a data map read as sRGB, a colour map read as Non-Color, a normal map wired straight into Normal (a Normal Map node is inserted right before the Normal input of the shader the finding names, and everything else in the chain stays as it was), and a Normal Map strength of zero.
Roughness nailed to exactly 0 or 1, metallic values in the middle and textures with no UV Map node are reported and deliberately left alone: what value your surface should have, and which UV channel a texture means, are decisions about your material, not about the file. The same goes for one image used both as colour and as data — the data input needs its own copy of the image set to Non-Color, so it stays in the list with the explanation.
The scan-and-fix cycle was run four times in a row on the same scene during testing. After the first pass the list stopped changing: no findings that reappear, no ping-pong between two states.
10. Changelog
1.0.1
- Normal Map repair: the node is inserted before the Normal input of the shader the finding is about, keeping reroutes, Mix nodes and node groups in the chain. Shaders inside node groups are checked too. Where the place is not unambiguous, the finding says why instead of guessing.
- One image used as colour and as data: the advice is now a separate image datablock for the data input, since colour space belongs to the image, not the node.
- Metallic in the middle is a warning only; Fix All no longer rounds it.
1.0.0 — first release.
Have questions about this product?
Login to message
| Published | about 12 hours ago |
| Blender Version | 4.2 - 5.2 |
| Extension Type | N/A |
| License | GPL |