 netkingZ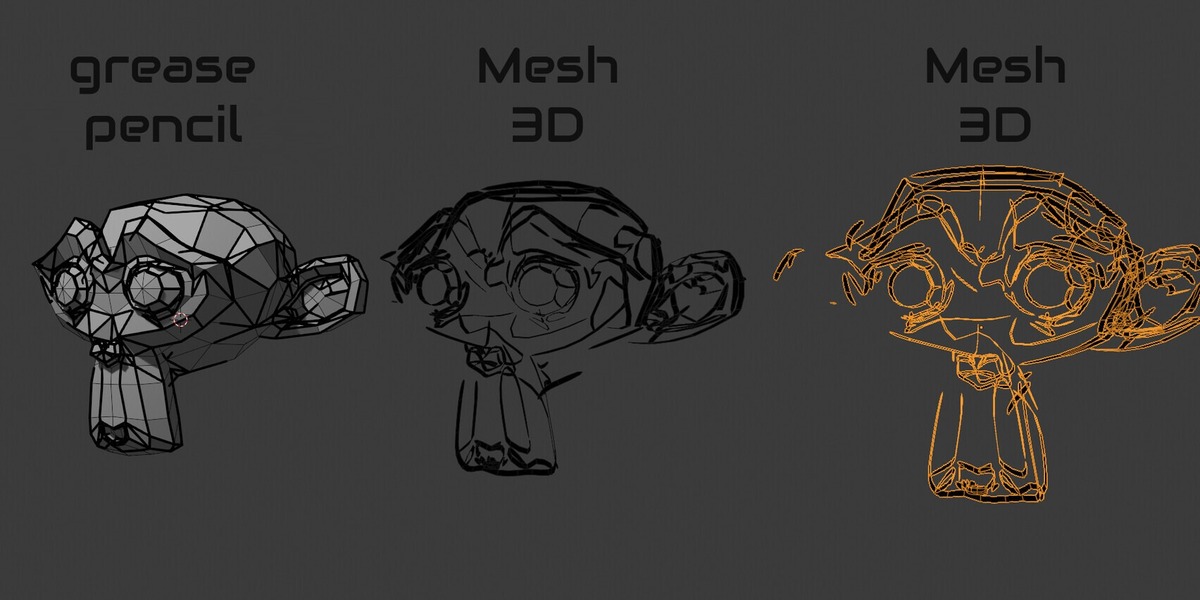



NKZ PENCILMESH · DOCUMENTATION
From Grease Pencil to mesh, option by option
Install, convert your first drawing, and learn what every setting in the panel does. Version 1.2.3 · Blender 4.3+
◆ INSTALLATION
1Download nkz_pencilmesh_v1.2.3.zip (do not unzip it).
2In Blender: Edit › Preferences › Get Extensions, open the drop-down arrow at the top right and choose Install from Disk…, then pick the zip. You can also drag and drop the zip into Blender.
3Make sure NKZ PencilMesh is enabled. The panel appears in the 3D View sidebar (N) › PencilMesh tab.
Updating from an older version (GP to Mesh): just install the new zip — it replaces the old one.
◆ GETTING STARTED
1Draw something with Grease Pencil: Shift + A › Grease Pencil › Blank, switch to Draw Mode (Ctrl + Tab) and draw. A pen tablet gives you pressure, and pressure gives you thickness.
2Go back to Object Mode and select the Grease Pencil object. The top of the panel shows Ready: followed by the objects that will be converted.
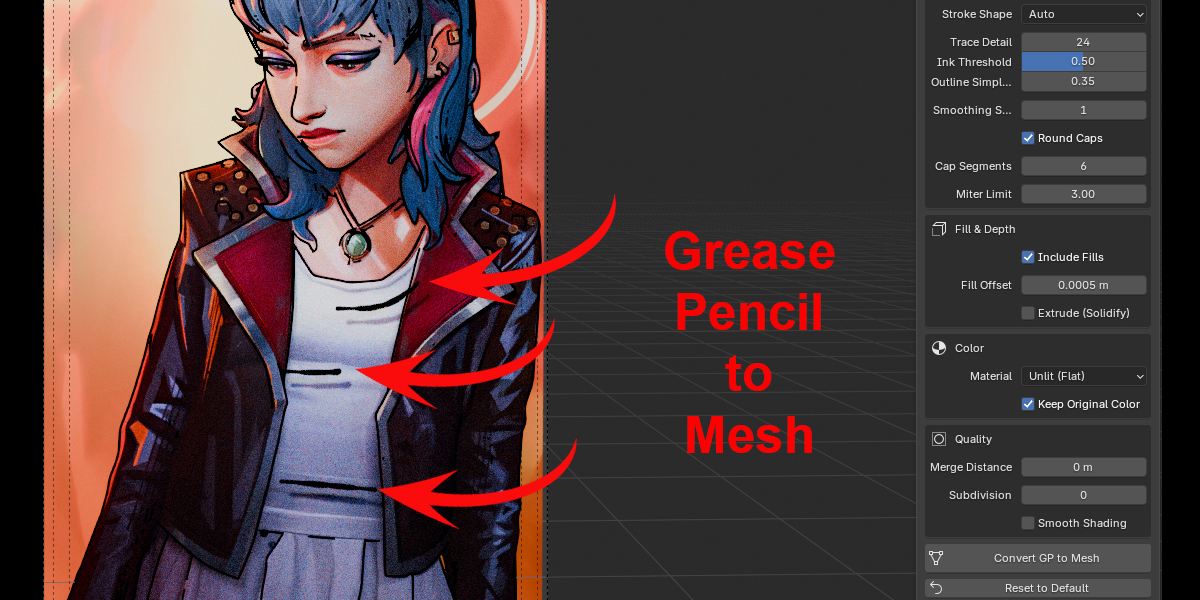
3Click Convert GP to Mesh. The new mesh appears exactly on top of your drawing, named _Mesh.
No need to fiddle with selection: the button also works when the Grease Pencil is only active, and it switches to Object Mode by itself if you are still in Draw Mode. One Ctrl + Z undoes the whole conversion.
◆ OUTPUT
Output
-
Output: One Object (a single mesh per Grease Pencil), Per Layer or Per Stroke. Per Layer and Per Stroke put the meshes in a new collection named _Mesh, each one exactly in place.
- Keep Original GP: keeps your Grease Pencil object (on by default). Turn it off to replace the drawing with the mesh.
- Only Visible Layers: hidden layers are skipped.
- Only the strokes of the current frame are converted. To convert another drawing of an animation, go to that frame and convert again.
◆ THICKNESS & STROKE SHAPE
Ribbon Plane
The mesh is flat: the stroke width is laid out in this plane.
- Auto (As Drawn): the default. If the drawing is flat, one plane is used for everything; if you drew from different views, every stroke is built on the plane it was drawn on.
- Per Stroke: always uses the plane of each single stroke.
- Current View: the strokes face the current 3D view — use it to match exactly what you see from one camera angle.
- Front (XZ), Top (XY), Side (YZ): fixed planes of the object.
Thickness
- Keep Original Thickness: every point keeps its own width from the pen pressure. Turn it off to use a constant Uniform Width.
- Thickness Multiplier: makes all strokes thicker or thinner, keeping their variations.
Stroke Shape
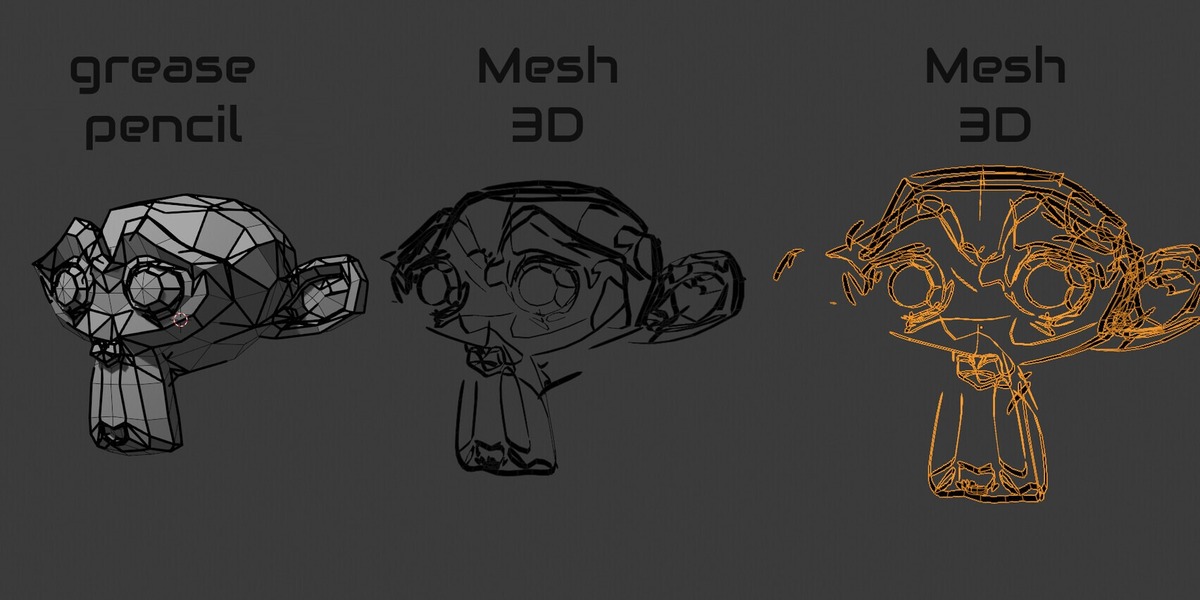
Why it matters: some brushes don't paint their whole width. The orange selection outline shows the full radius, the ink inside can be thinner and irregular.
- Auto: the default. Dots, Squares, textured and soft brushes (for example Ink Pen Rough) are traced from the visible ink; solid lines use the exact radius ribbon, which matches them already.
- Trace Ink (All): traces every stroke as Blender draws it — maximum fidelity with any brush.
- Radius Ribbon: never traces; the lightest meshes.
- Trace Detail: how many pixels across the stroke width are used to trace (higher = finer outline, more polygons).
- Ink Threshold: how opaque a pixel must be to count as ink. Lower it for fuller strokes, raise it for thinner ones.
- Outline Simplify: removes unnecessary outline points (in pixels). Raise it to reduce polygons.
Ink Trace needs an open 3D View — you always have one when you click the button in the panel. It works in Solid, Material Preview and Rendered mode. Stroke Shape is used when Keep Original Thickness is on.
Stroke details
- Smoothing Steps: adds smooth points between the original ones (1 = original points).
- Round Caps and Cap Segments: rounded stroke ends, respecting each stroke's own cap type.
- Miter Limit: how much a sharp corner may widen before it is clipped.
◆ FILL & DEPTH
Fill & Depth
- Include Fills: the fill areas of closed strokes become faces, holes included.
- Fill Offset: pushes fills slightly behind the lines to avoid flickering.
- Extrude (Solidify) and Depth: gives the flat strokes real thickness with a Solidify modifier, non-destructively.
◆ COLOR & MATERIALS
Color
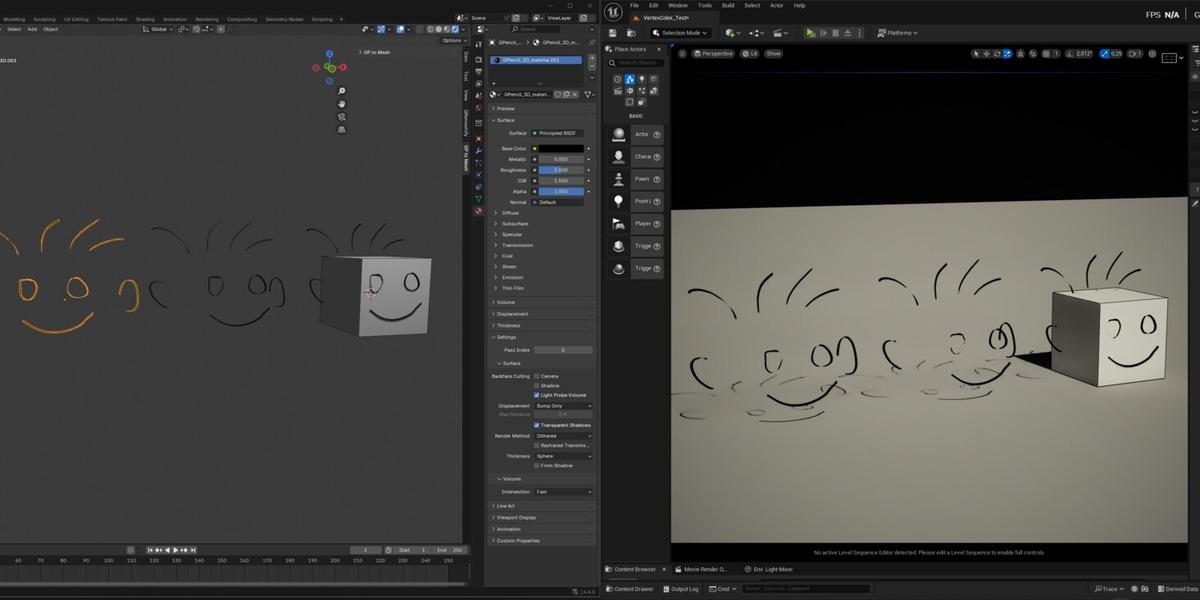
- Material: Unlit (Flat) by default — a flat Emission colour that ignores lights, like Grease Pencil. PBR (Principled) reacts to lights.
- Keep Original Color: one material for every Grease Pencil material, with its line and fill colours. Semi-transparent colours stay semi-transparent.
- Custom Color: one colour for everything, when Keep Original Color is off.
- Material names end in _Unlit or _PBR, so the two versions never overwrite each other.
Unlit colours are exact in EEVEE and Cycles. In Solid view Blender always adds a bit of shading, because Solid doesn't use material nodes.
◆ QUALITY
Quality
- Merge Distance: welds vertices closer than this value (0 = off).
- Subdivision: adds a Subdivision Surface modifier. Keep it at 0 for thin strokes, it makes them shrink.
- Smooth Shading: smooth or flat shading.
- UVs are created along the stroke length (U along the stroke, V across it), ready for textures and animated reveals.
◆ PANEL BUTTONS & PREFERENCES
Buttons
- Convert GP to Mesh: converts the selected (or active) Grease Pencil objects.
- Reset to Default: after a confirmation, restores every setting to its starting value. It can be undone with Ctrl + Z.
- About: author and links, at the bottom of the panel.
- The panel title shows the installed version.
Preferences
- Edit › Preferences › Add-ons › NKZ PencilMesh: version, author, links, and an Uninstall button that removes the extension after a confirmation.
◆ TROUBLESHOOTING
Quick fixes
- The button is greyed out — select a Grease Pencil object, or make it the active object.
- The mesh is wider than the ink I see — set Stroke Shape to Auto or Trace Ink (All).
- A stroke looks thin from some angles — Grease Pencil always faces the camera, a mesh is real geometry. Use Ribbon Plane: Current View to match one view exactly.
- Message: stroke(s) could not be traced — no 3D View was available; those strokes were converted from the radius instead. Click the button from the 3D View sidebar.
- Too many polygons — lower Trace Detail or raise Outline Simplify.
- Nothing converted — the current frame has no visible strokes, or all layers are hidden.
NKZ PencilMesh · by Eduardo Bartali · NETKINGZ — netkingz.com
Have questions about this product?
Login to message
| Blender Extension Compatible | Yes |
| Published | about 12 hours ago |
| Blender Version | 4.3 - 5.2 |
| Extension Type | Add-on |
| License | GPL |
Discover more products like this
Grease Pencil 3d-pencil pencil 3d to greasepencil greasepencil