Pixel Art Studio: Pixel Perfect Texture Painting
 Alfred Baudisch (Pardall)
v1.3.1 Changelog
- Bug fix: the brush work on any face of a set of stacked and overlapping UVs.
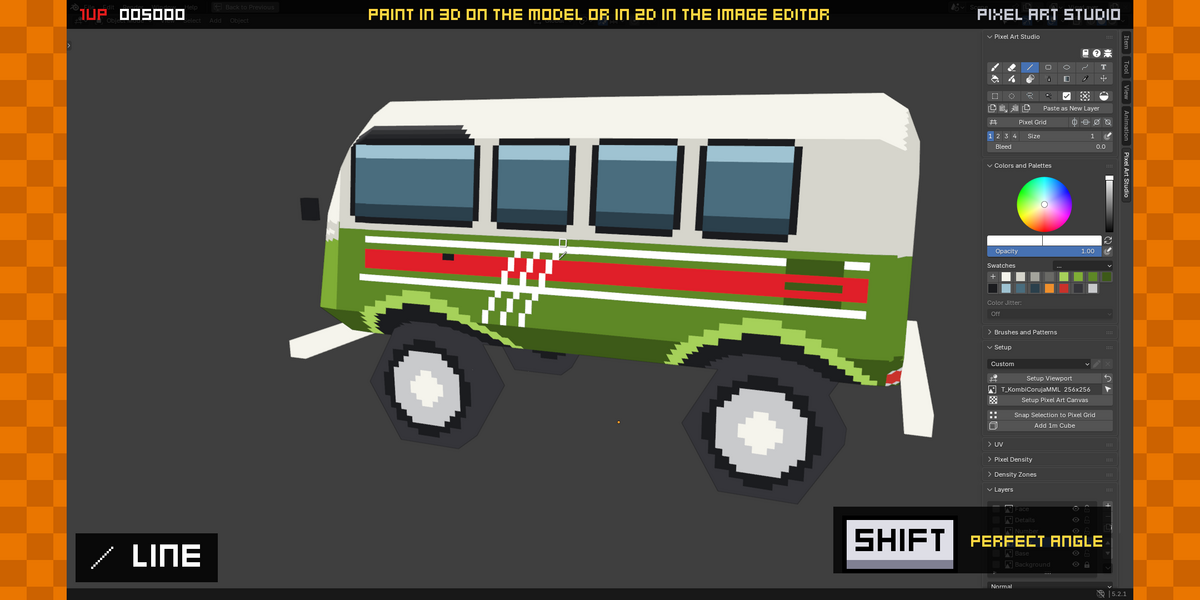
- Improvement: hold CTRL+SHIFT to draw straight lines with the new Shading Tool and CTRL+SHIFT+ALT to draw angled straight lines with it.
- New feature: turn tool icons at mouse cursor on and off in the Add-on preferences.
- New feature: turn the color picker colors at mouse cursor on and off in the Add-on preferences.
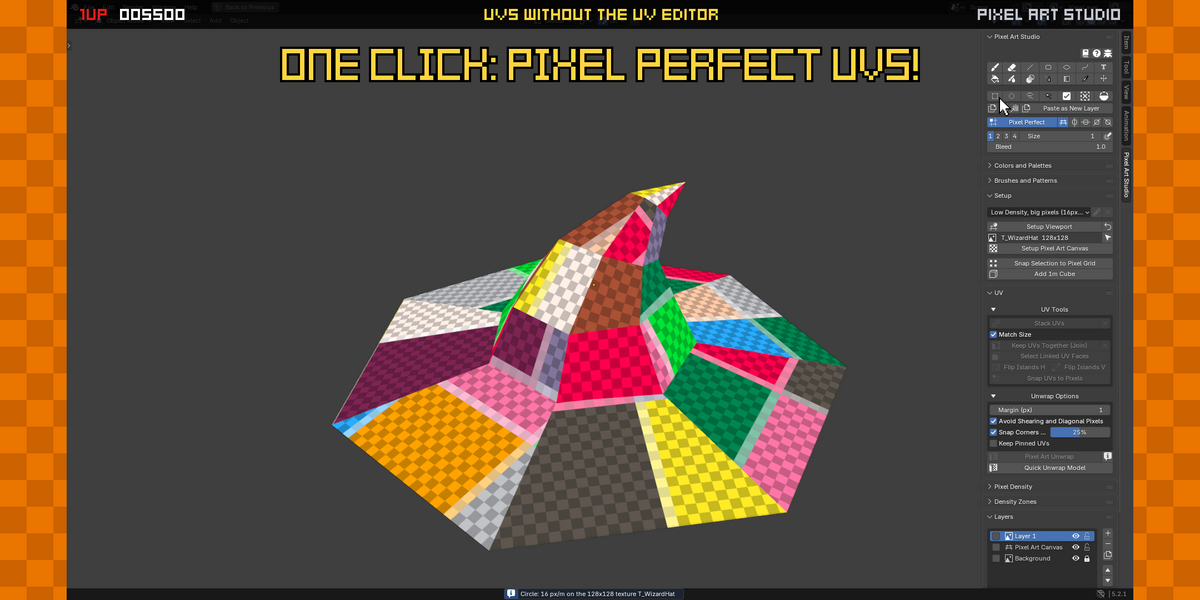
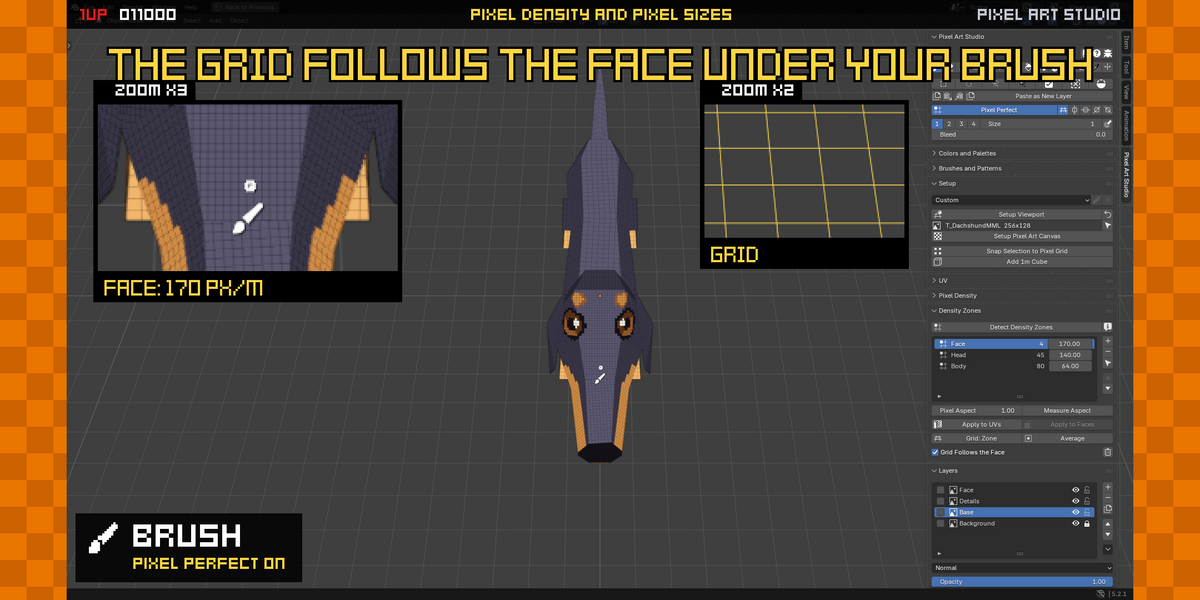
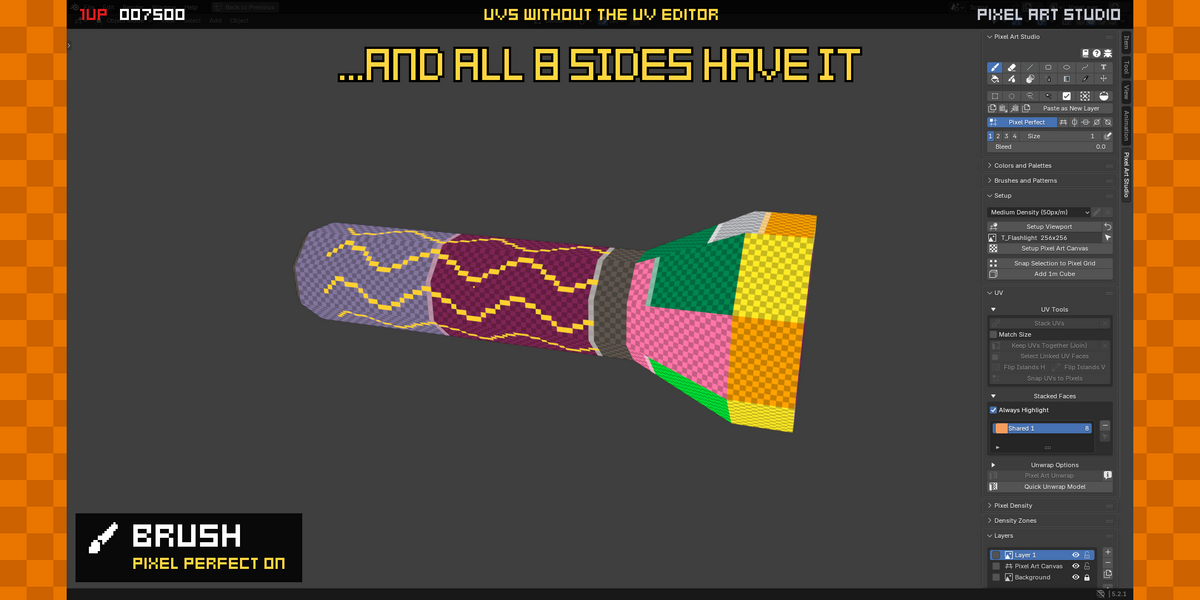
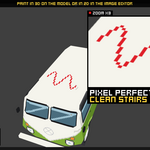
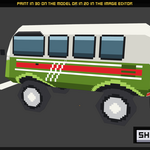
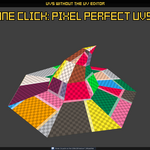
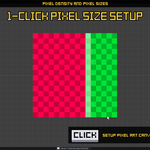
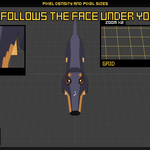
Pixel Art Studio 1.3 is out! The highlight of this version is completely rewritten UV unwrapping algorithms and a new set of UV tools, for 1-click UV unwrapping for texture painting. You can now also assign and test different texel densities (pixel sizes) to selected faces on the fly, even while you are still editing the mesh, so you don't ever have to manually position and scale UV islands again.
Also:
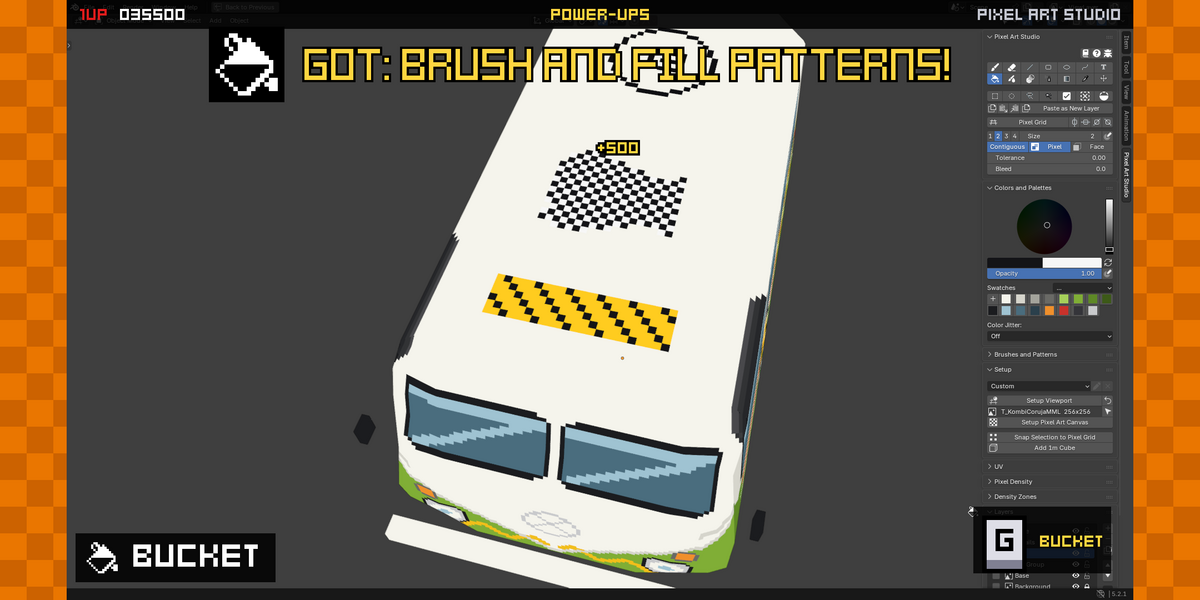
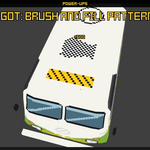
- Fill patterns, custom patterns, color jitter and noise added to all tools.
- Spray can tool.
- Shading tool (lighten and darken colors, as well perform hue shifting).
- Integration with Godot, Unity and Unreal Engine to auto-export models and textures painted with Pixel Art Studio, on save, automatically.
- Tiled mode in the image editor.
- Tool icon and color picker colors at mouse position.
Many improvements and bug fixes across the board!
See a video of the new features and the complete changelog in the official release post: https://alfredbaudisch.com/project-logs/pixel-art-studio-v1.3.0/
v1.2.3: Bug fixes for Mirror Modifier and selections
Groups and Layers Improvements, Mirror Selections, Lines with Brushes and more!
- Select all pixels of a layer or group (like Photoshop's CTRL+Clicking a layer), expand/collapse groups, move layers into Groups.
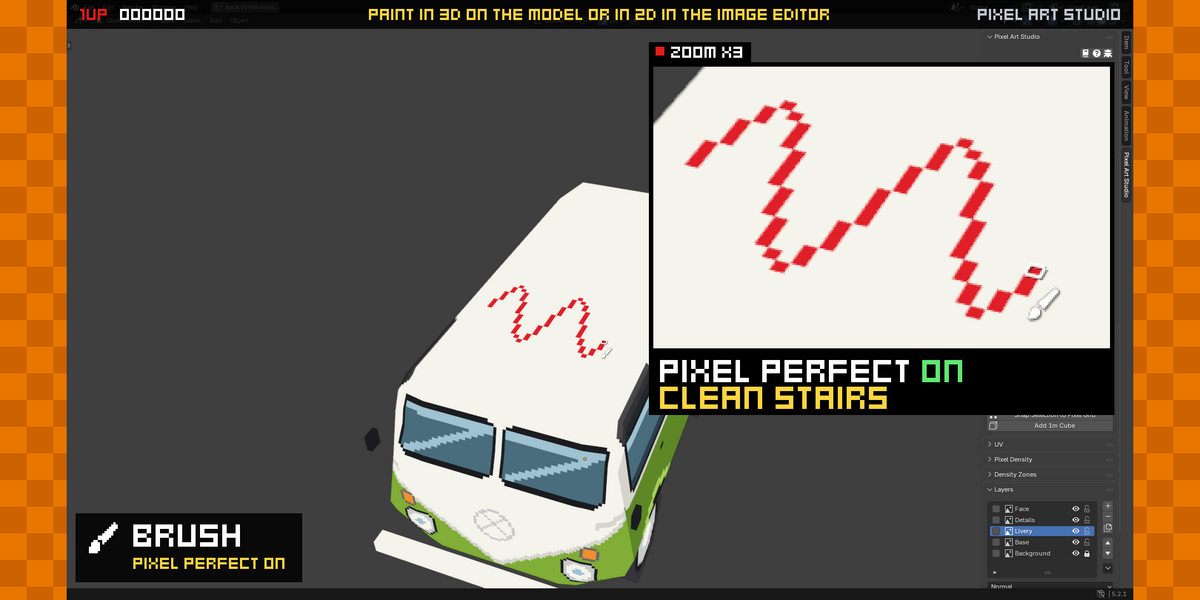
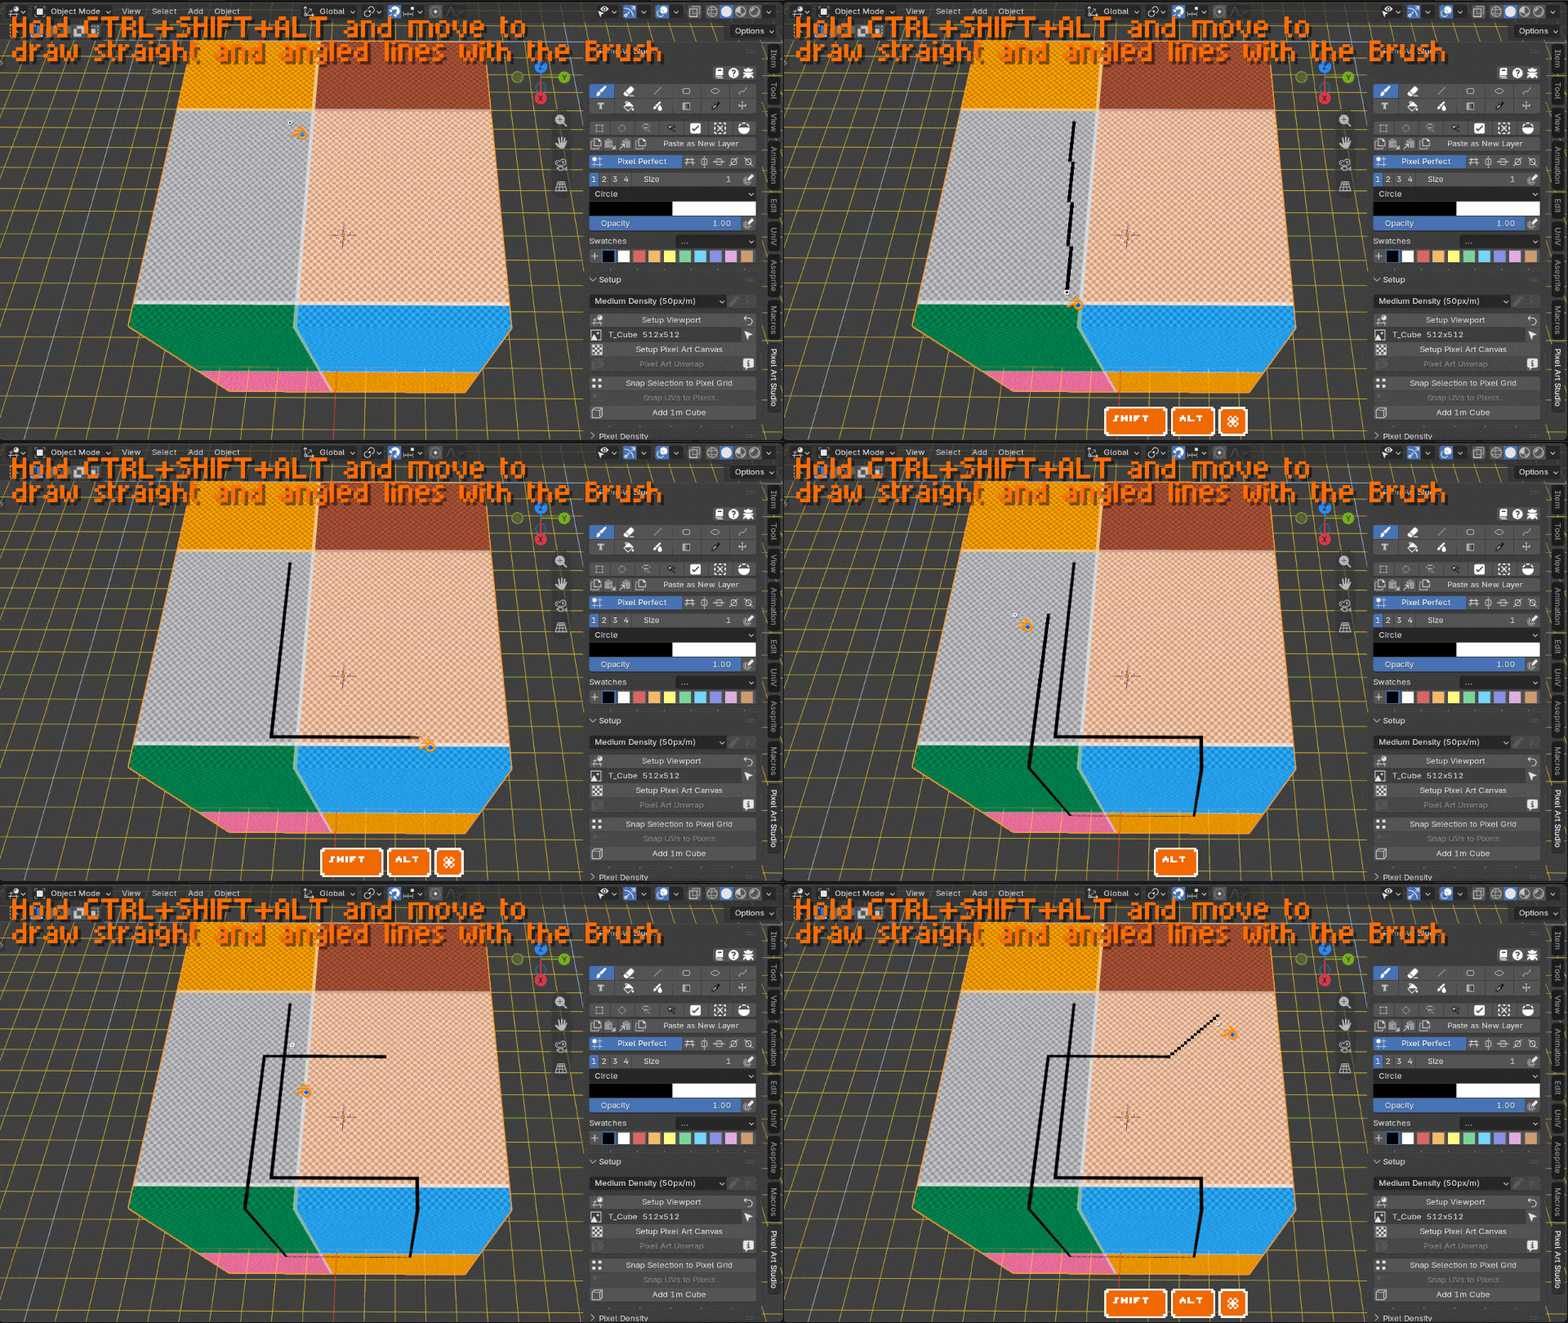
- Hold CTRL+SHIFT+ALT and move the mouse while the brush is active to draw straight or angled lines.
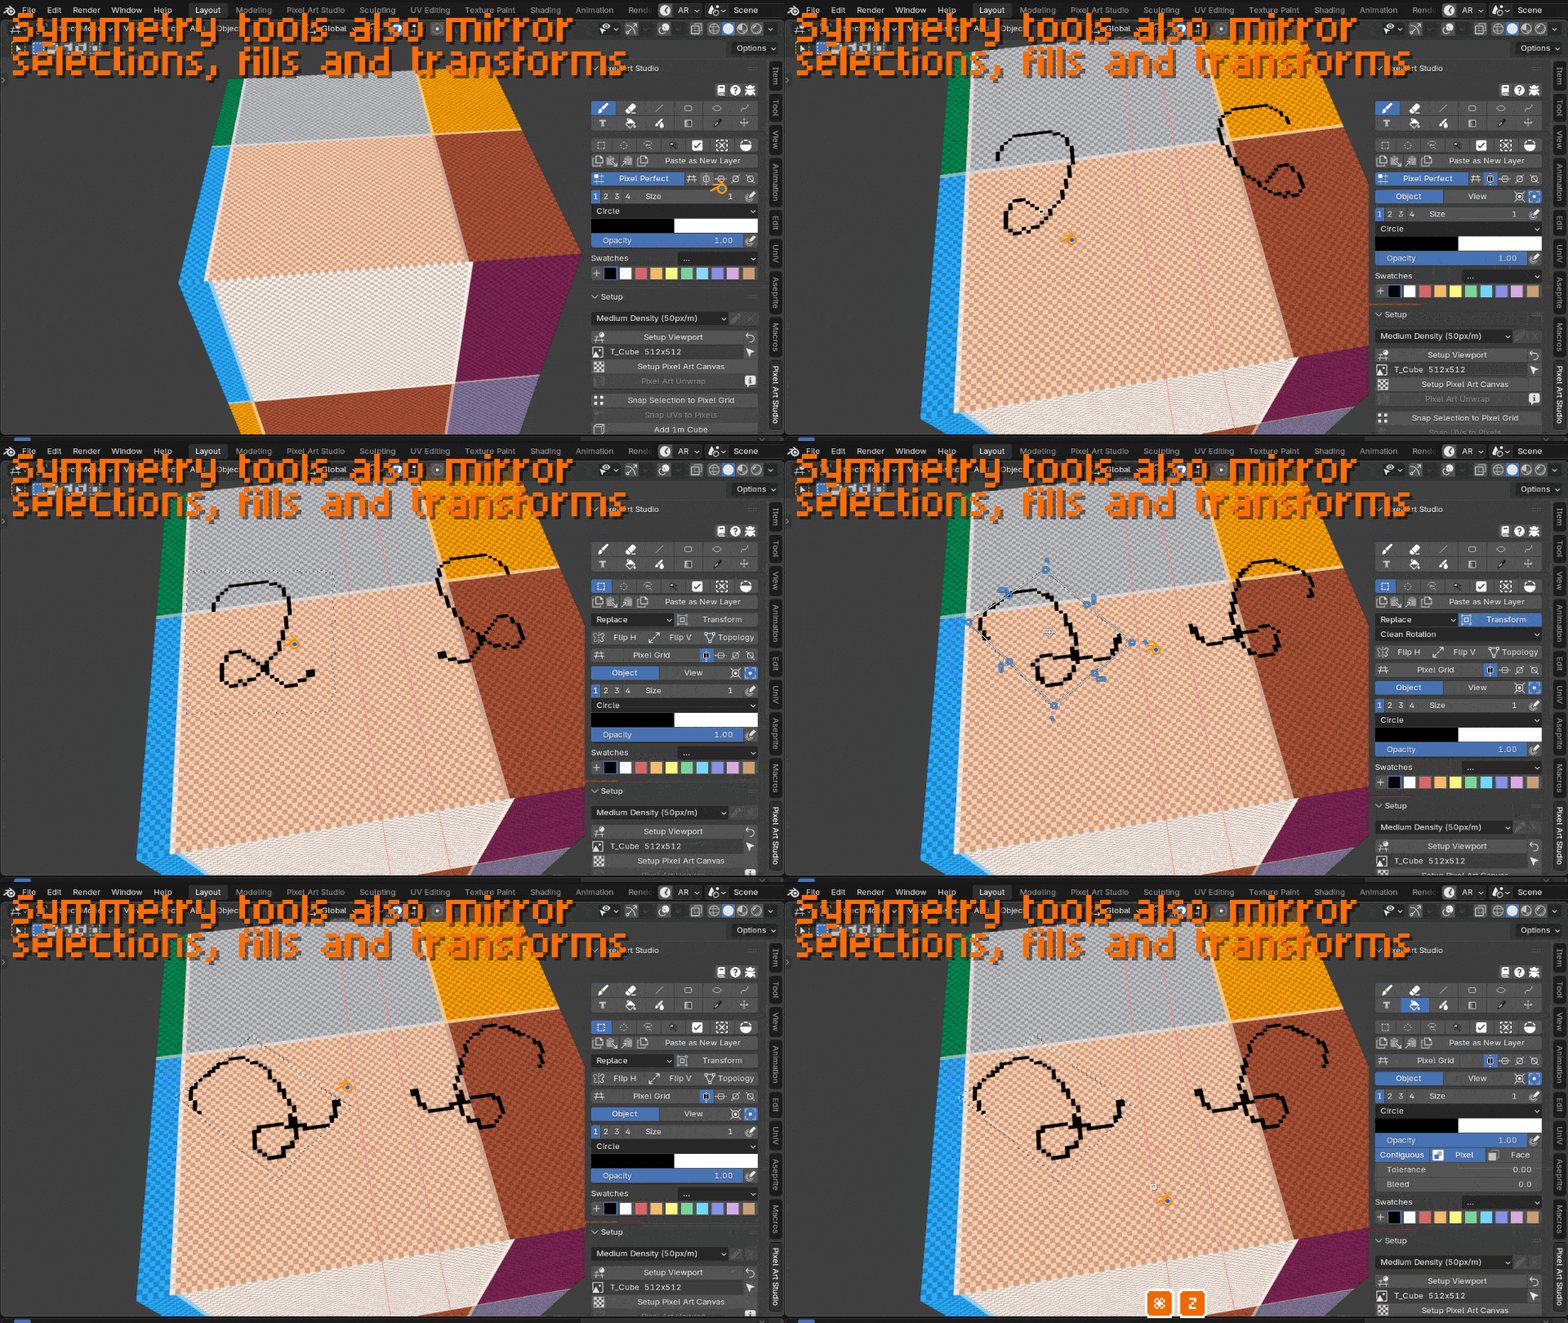
- The Symmetry tool also mirrors selections, fills and transforms (this is actually available since v1.2.0, but it was not documented in the launch notes, so adding them here).
- And more! See the GIFs and the changelog below.
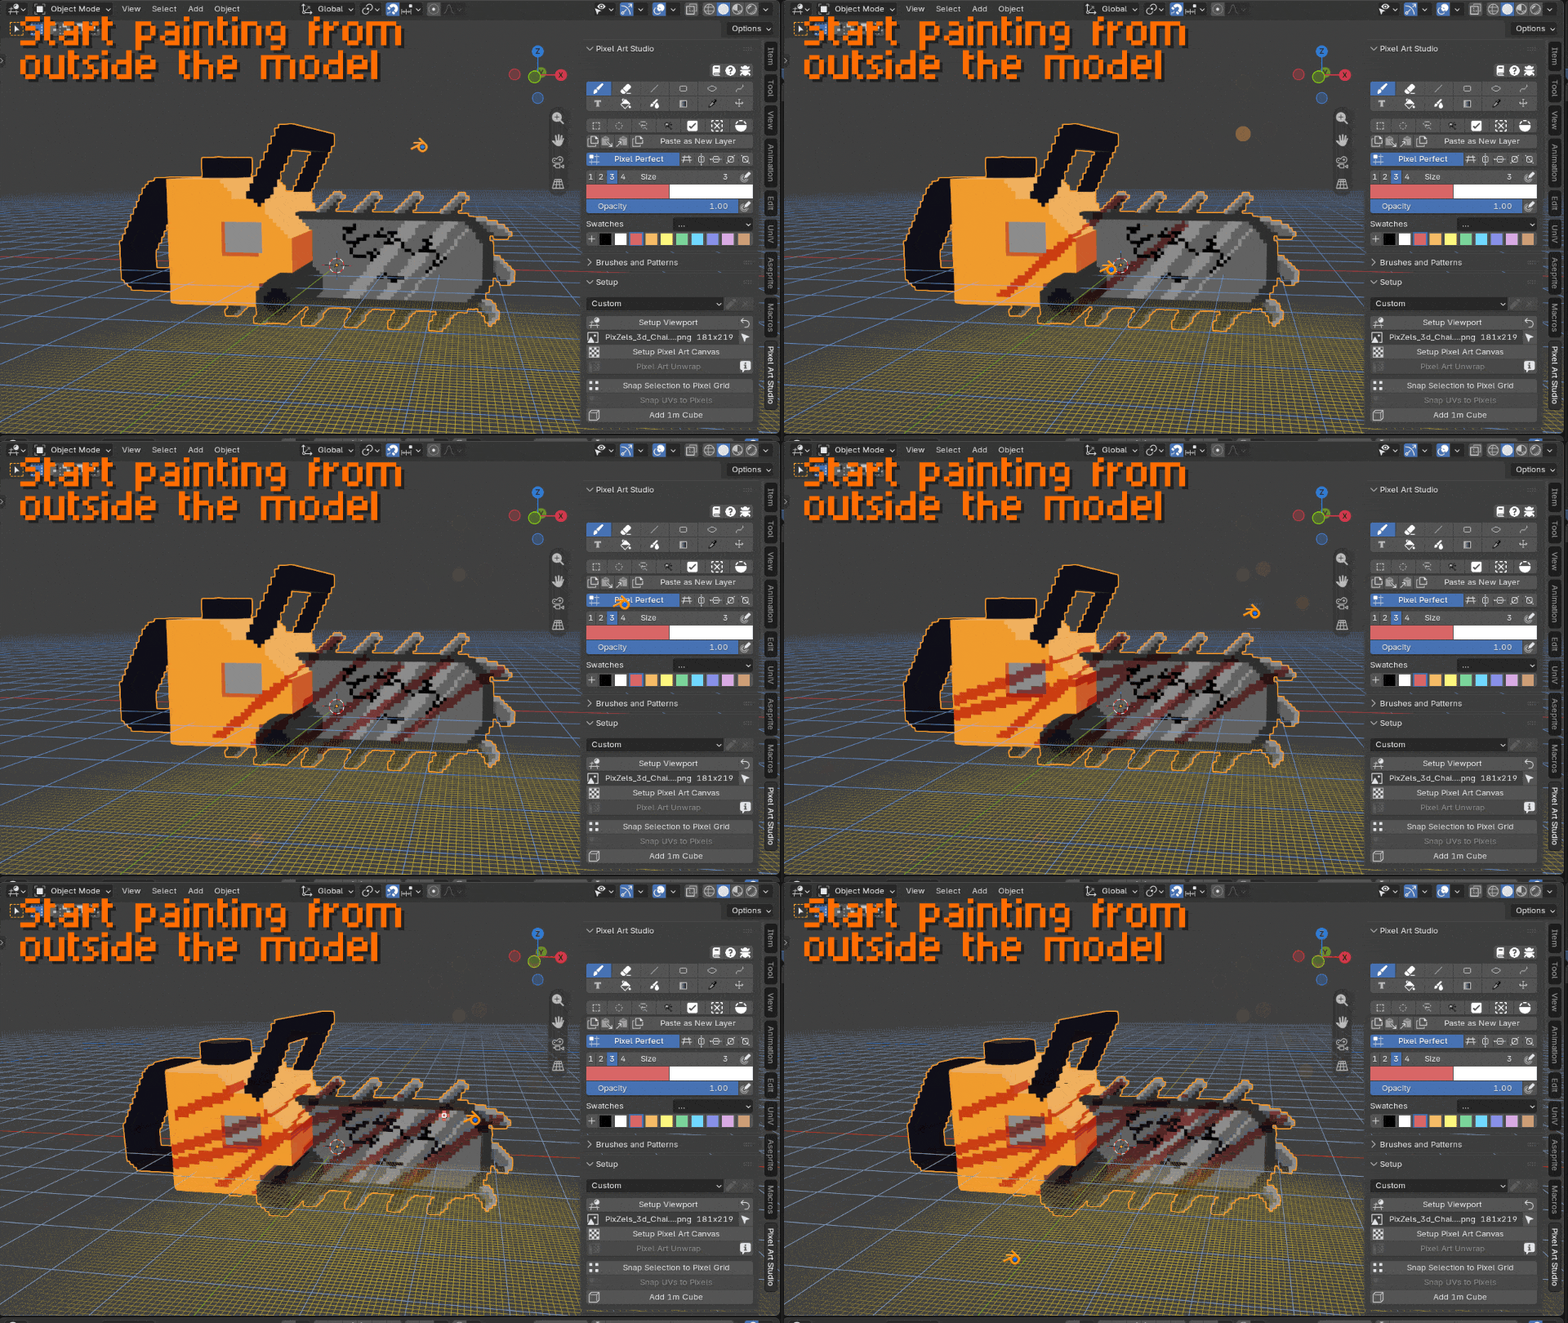
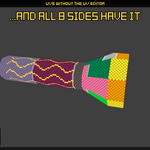
Chainsaw model and texture by pixel_Salvaje.
v1.2.2 Changelog
- New feature: While the Brush is active, hold CTRL+SHIFT+ALT and move the mouse to draw straight or angled lines. This is a complement to the CTRL+SHIFT featured introduced in v1.2.0 which draws a line coming from the brush. Shortcut is customizable.
- New feature: Select pixels of a layer (like Photoshop's CTRL+click a layer). It's available in the layer operations dropdown.
- New feature: Add layers to existing groups. To do that, when you already have a group, add a new layer, then move the layer up or down until it meets the group, then a question will appear whether you want to move the layer past the group or add it to the group.
- New feature: The Symmetry tool also mirrors selections, fills and transforms (this is actually available since v1.2.0, but it was not documented in the launch notes, so adding them here).
-
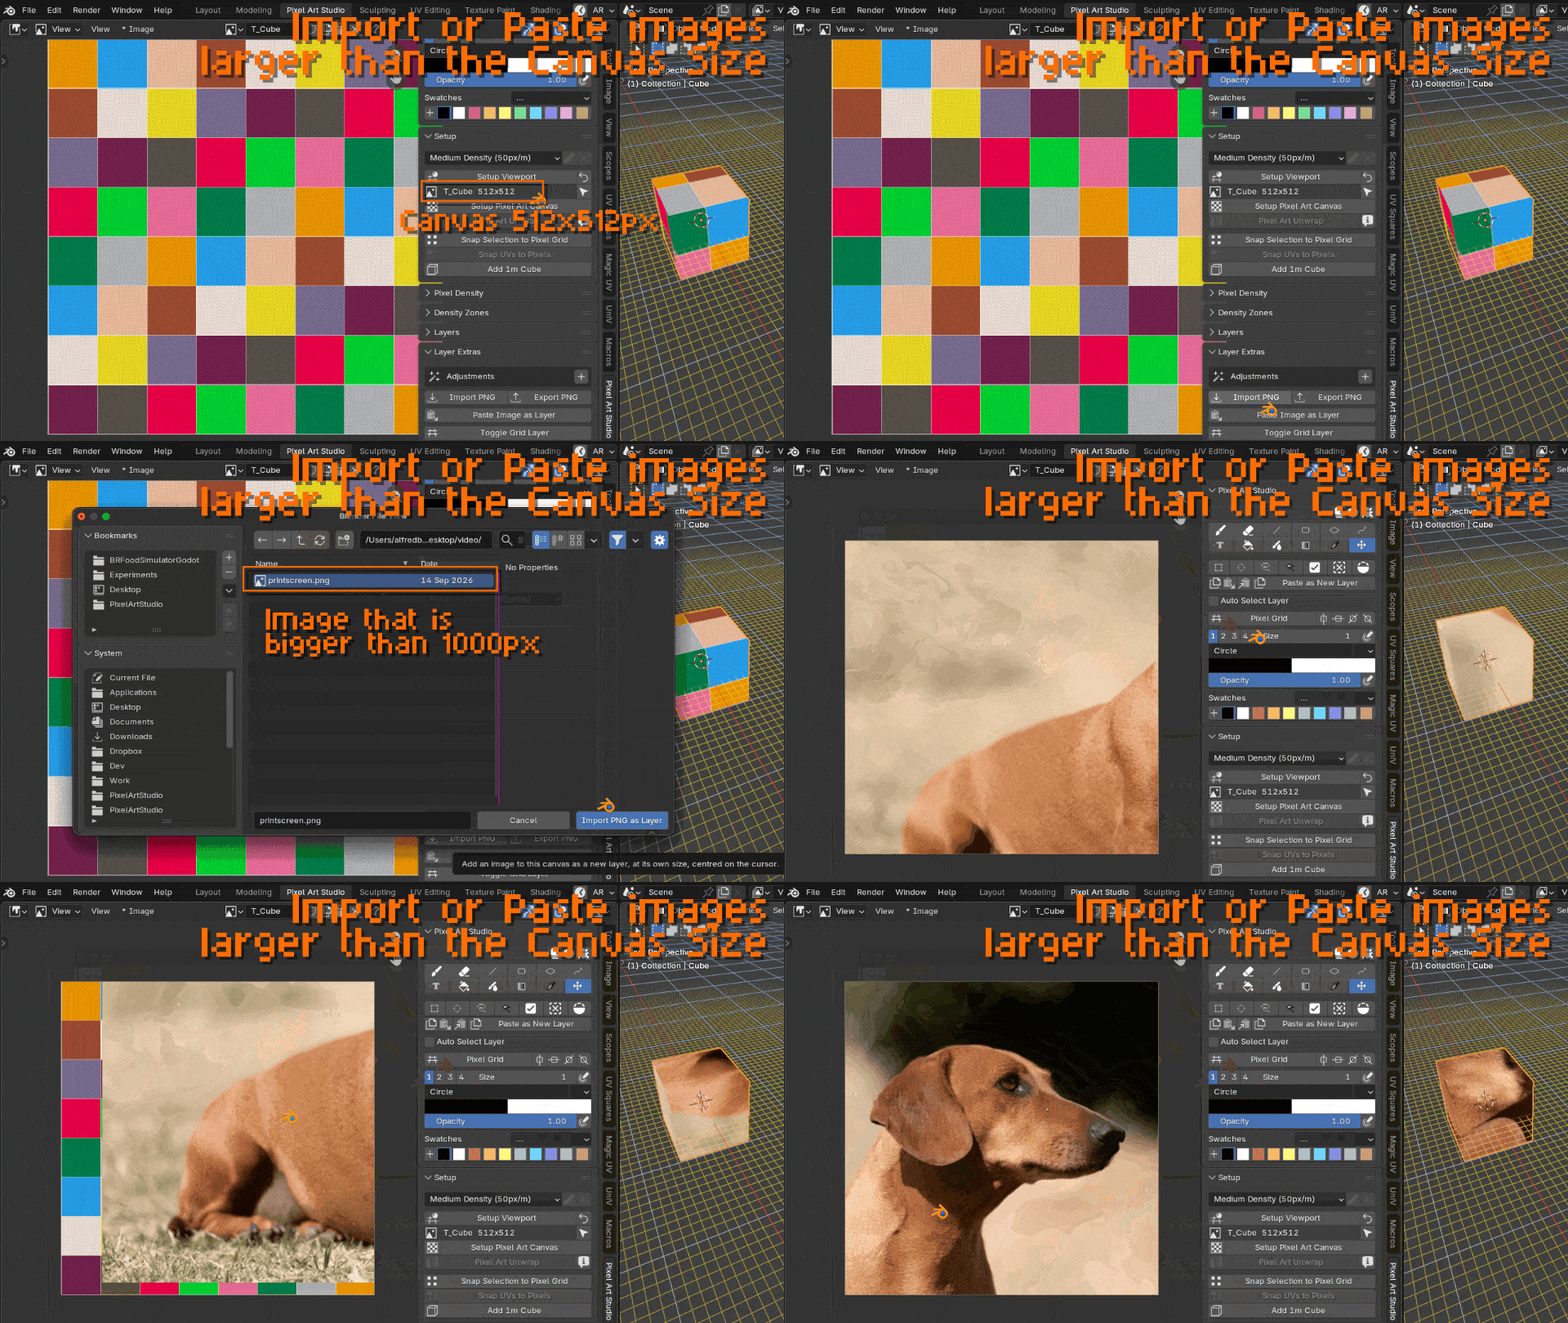
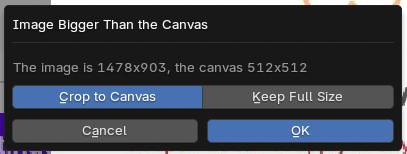
New feature: Import and paste images larger than the canvas size. As long as you move them with the Move tool (V), their full sizes is preserved. As soon as you activate the Transform tool on their layers, their are cropped to the canvas size.
- Improvement: Expand and collapse groups
- Improvement: While the Brush is active, if you start drawing from outside of the model, in an empty space in the 3D viewport and drag the mouse towards the mouse, now the stroke is drawn.
- Improvement: Importing and pasting external images now do at the 3D cursor position in the Image Editor and 3D Viewport.
- Improvement: It's now possible to move a group with the Move tool (V). So far you could only have a group with a Transform
v1.2.1 Changelog
- CRITICAL Bug fix: Structural undos (like undoing Add Layer) does not reset every layer's blend mode to Normal and does wipe its adjustments anymore.
- Bug fix: Removing the B assigning from the Brush and assigning it to the "Eyedropper on Hold" action, correctly activates the eyedropper, as long as the Brush or another Pixel Art Studio tool is also active.
-
Bug fix: A color picked mid stroke no longer recolors the stroke.
- This is an interesting one, so I am going to write what it is about: Before the fix, if you assign a single letter shortcut to the Eyedropper on Hold actions, then keep holding that shortcut WHILE also keep painting without releasing the mouse, the stroke will be created with colors that are being picked on the fly while the stroke is being drawn. The bug would cause the whole stroke to suddenly be repainted with a single color instead of keeping all the varios colors being picked on
- Example: unassigned "B" from the brush, assigned B to "Eyedropper on Hold", activated the Brush by clicking it in the toolbar and keep painting while holding B on top of the grid. Then suddenly all colors where replaced (not the case anymore).
Pixel art Clipping Layers and Transparency Masks, Transforms, Select and Fill Half-Pixels, Custom Brushes, Layer Blending Modes and Adjustments, Text Tool, Object 3D Symmetry, Brush Preview, and much more!
Pixel Art Studio for Blender v1.2.0 is packed with 22 new features and more than 20 new improvements (so in total 40+ changes), including many quality of life additions and bug fixes. With this release, Pixel Art Studio is now feature complete.
Since this is a big release, please report any bugs and issues that you might come across.
The next step is making the full manual and documentation, alongside more tutorials.
This release is massive and this changelog provides images with most features and how to use them. If you cannot see the images for some reason, check the official release post: https://alfredbaudisch.com/project-logs/pixel-art-studio-v1.2.0/
Check the list of new features and improvements (full changelog at the bottom).
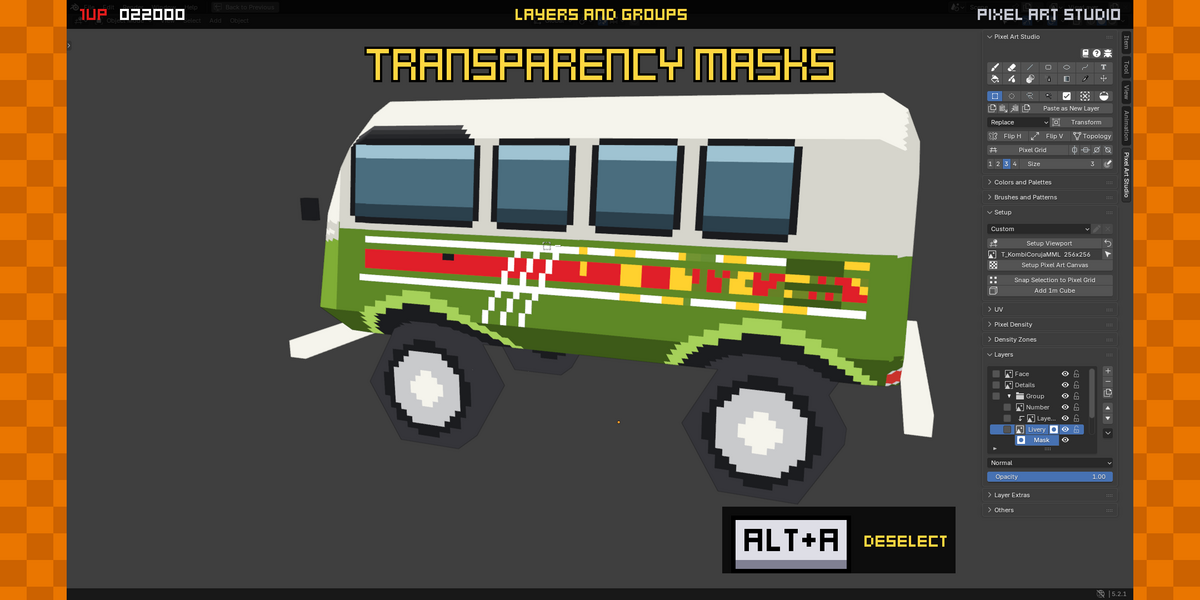
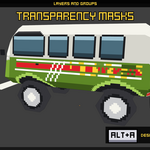
Clipping Layers and Transparency Masks
In the new layer options menu, you can now Clip a Layer with the Layer Below (same functionality like Photoshop), as well add a Mask, which works like Krita's transparency masks and Photoshop masks. You can also toggle the masks on and off.
To open the layer options menu, click the arrow button to the right of the layers list (see the GIF below).
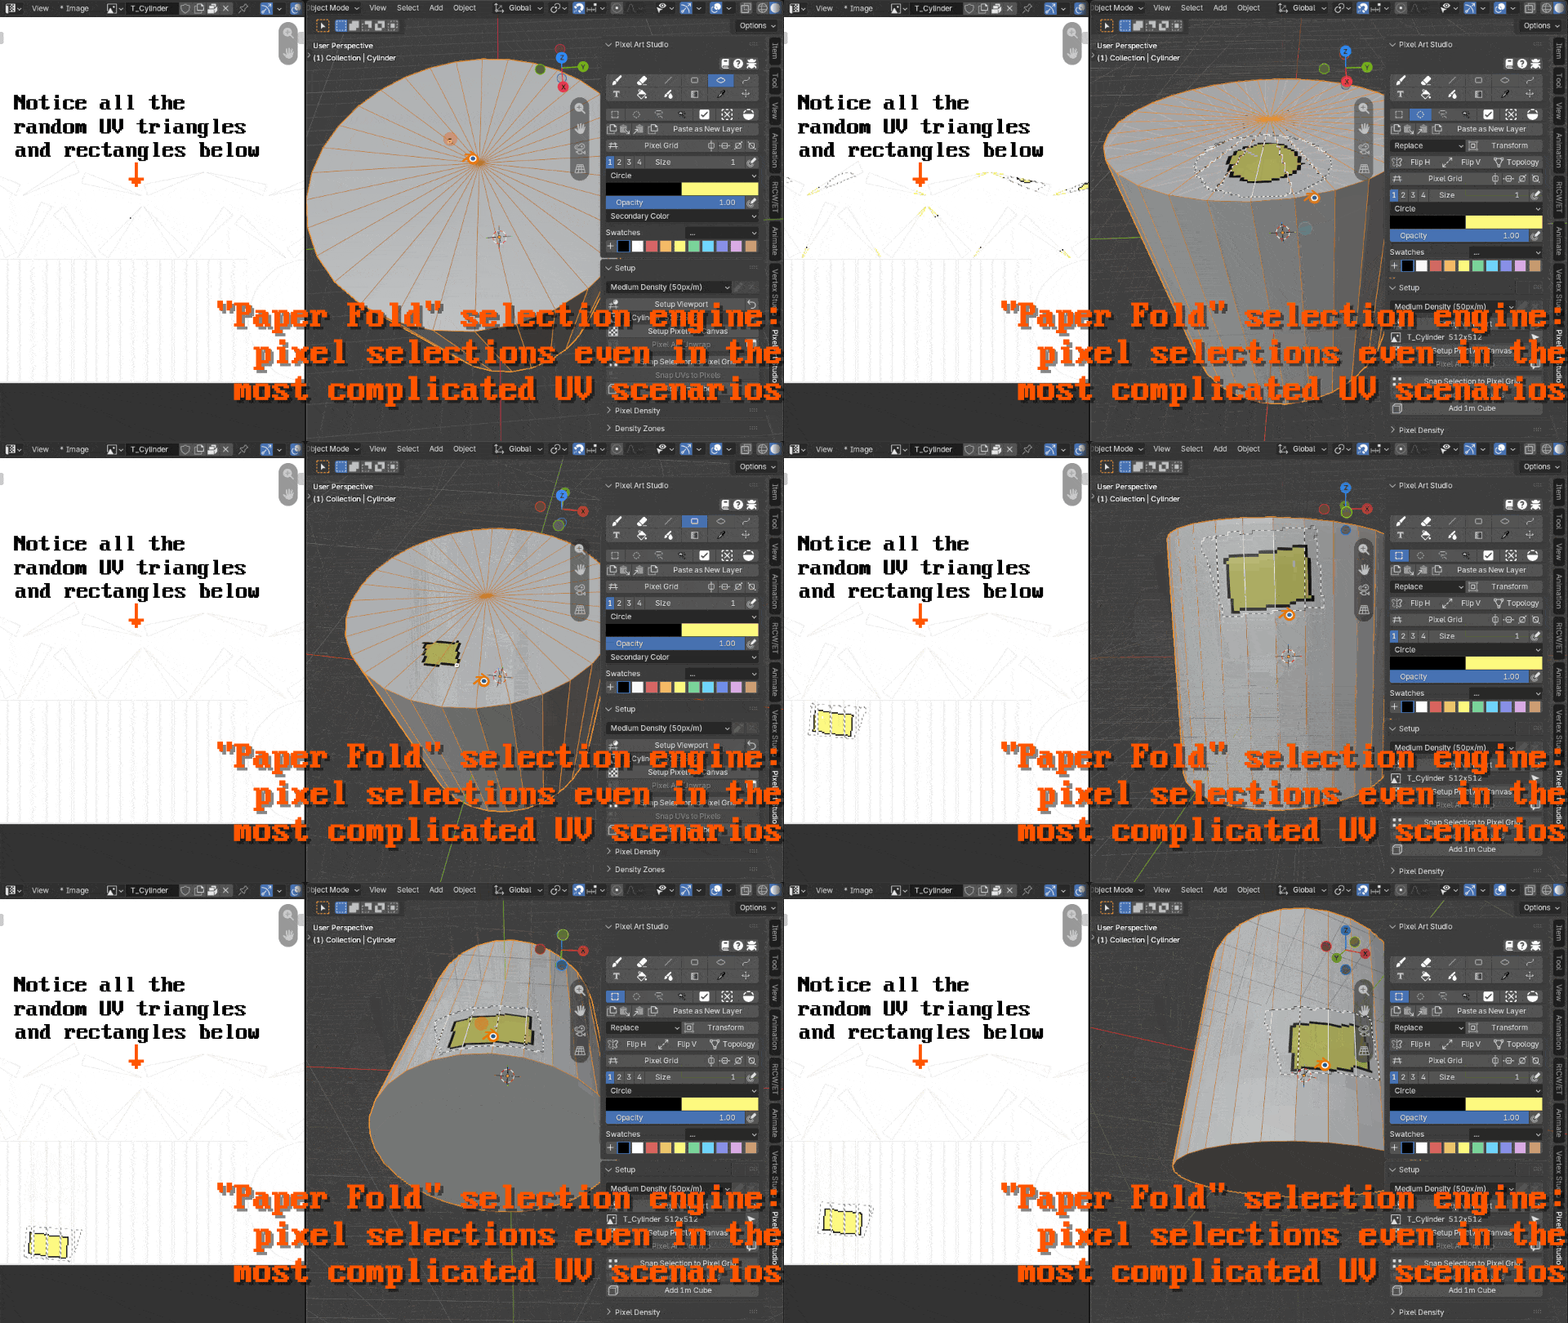
New selection engine: Paper Fold
The Paper Fold engine "folds" pixels and selections even in the most complex UV scenarios, for example, such as selections made on triangulated cylinder caps, which crosses over dozens of UV islands.
Realtime Brush Preview and Brush Line
The viewport now displays the realtime preview of the brush and the eraser (size, shape, opacity and color). You can now also hold a shortcut to draw a line (and keep drawing it) with the brush tool. Place a pixel, then press the default shortcut CTRL+SHIFT+Click and move the mouse (shortcut customizable: "Line from brush (hold and click)").
Select by Topology and Fill by Topology
One of the biggest issues of 3D pixel art texture painting: sub-texels (aka half-pixels, UV fringes, diagonal UVs, etc). To solve this, all selection tools now have the option to select by Topology (default shortcut: CTRL+SHIFT+T), which selects all pixels (including the half-pixels). The Bucket Fill now also fills by Topology and the bucket fill method fill by face now fills the whole topology of the selected faces (including half-pixels).
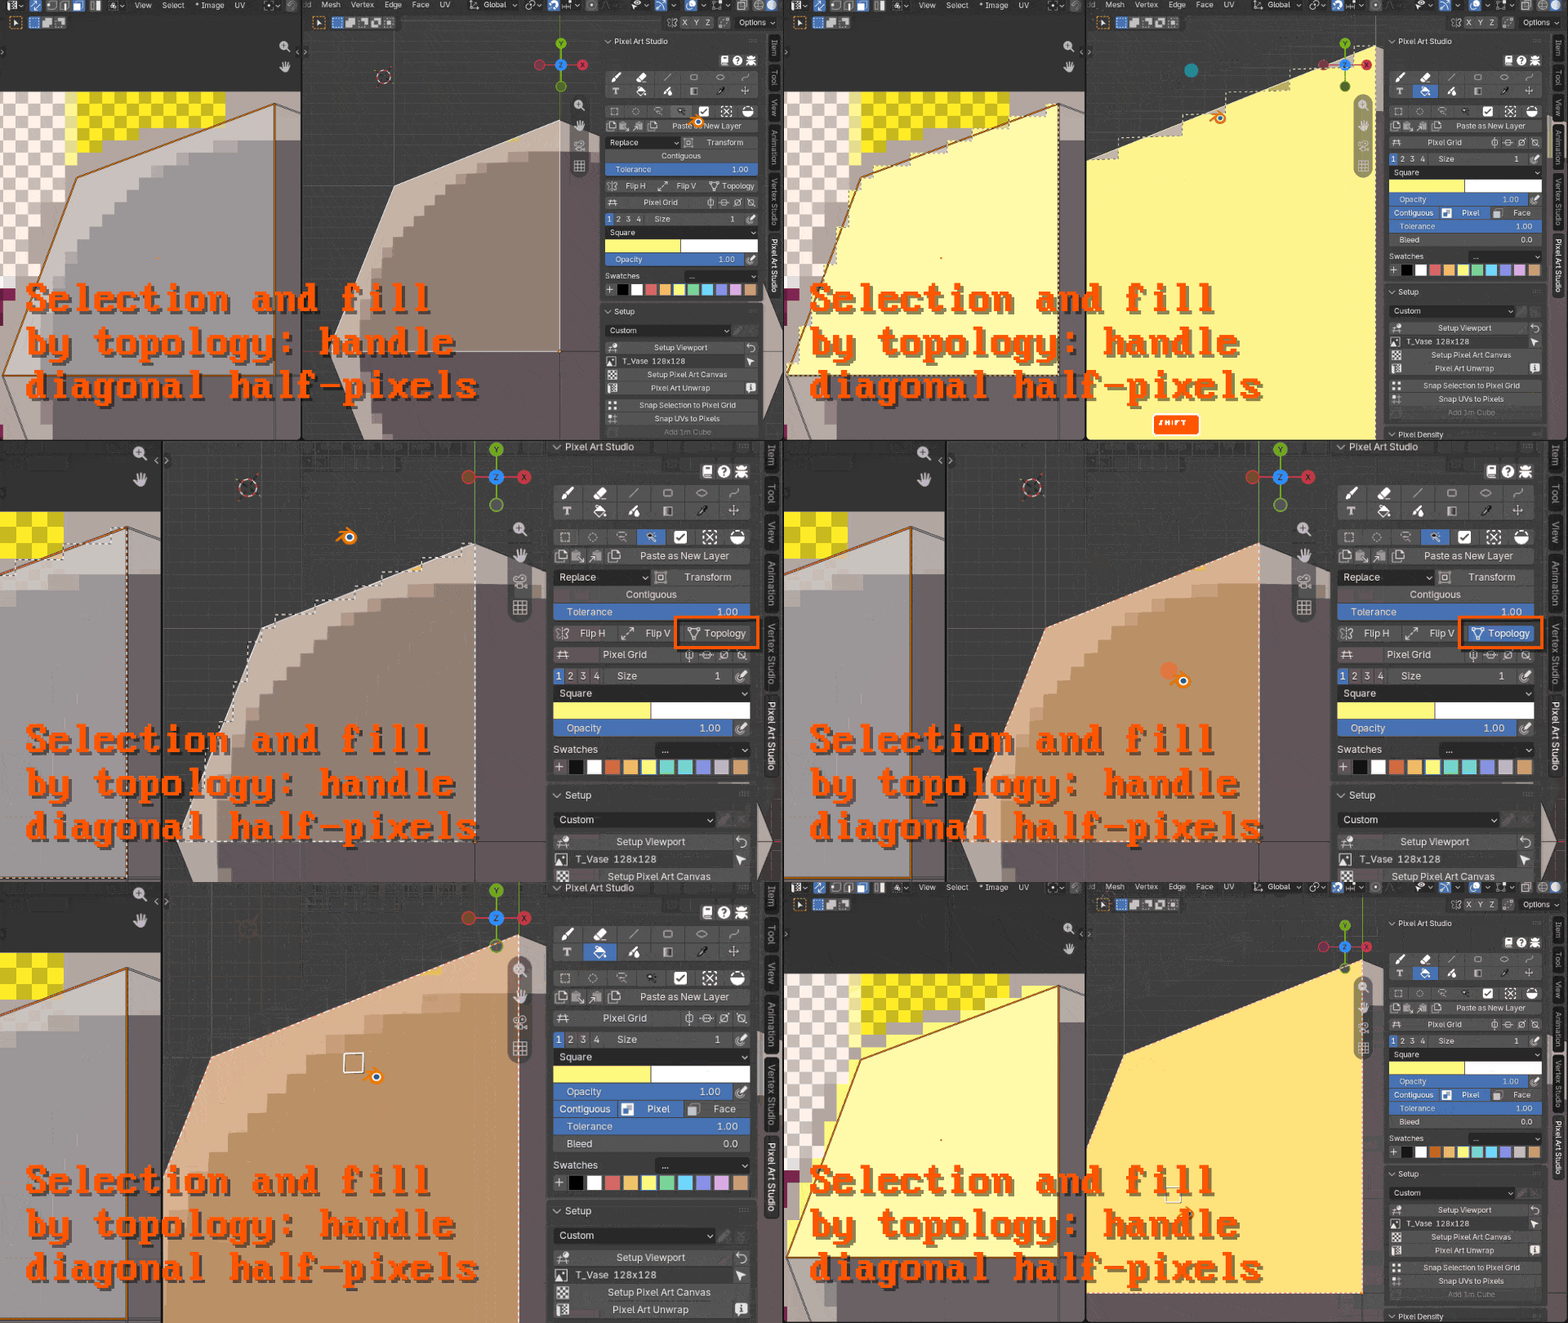
Bucket Fill and Gradient Bleed
Another tool to help counter half-pixels is the Bleed option now available for both the Bucket Fill and the Gradient tools. This is also a kind of UV dilation and fill expansion.
Layer Blending Modes
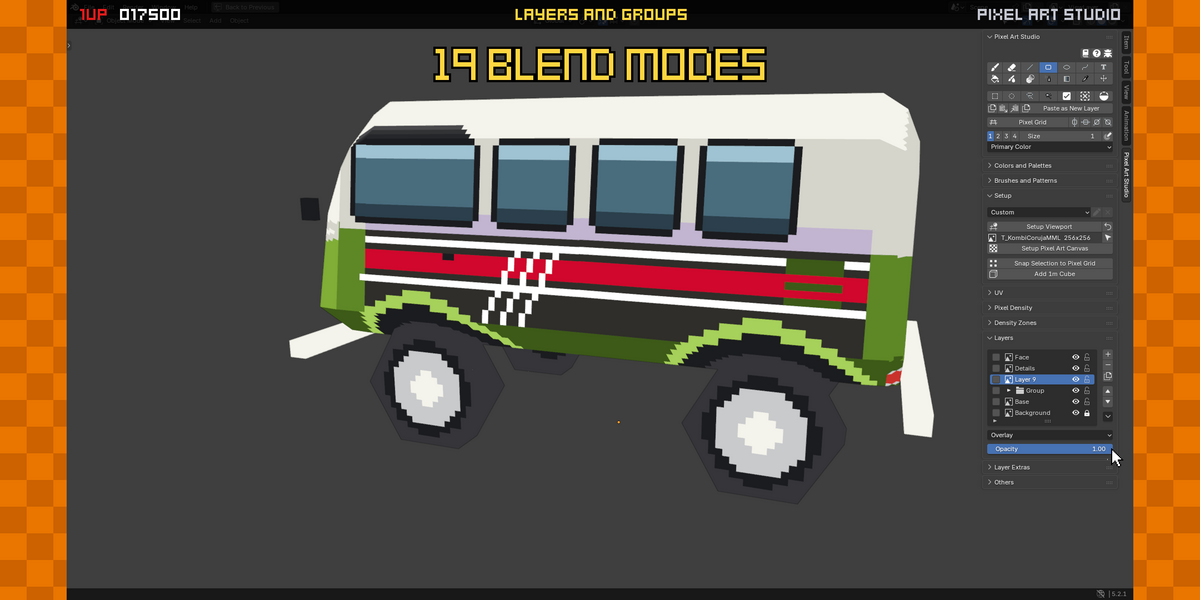
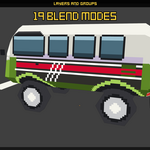
Layers and Groups can now be assigned a blending mode (Pixel Art Studio comes with most common blending modes, such as Multiply, Overlay, Screen, Color Dodge, etc), they are available under the list of layers.
Non-destructive Layer Adjustments
You can now adjust the Brightness and Contrast, HSL (Hue, Saturation and Lightness) and Color Curves of layers. The adjustments can be stacked per layer and they can be re-adjusted and removed anytime (non-destructive). Adjustments are available in the new Layer Extras panel.
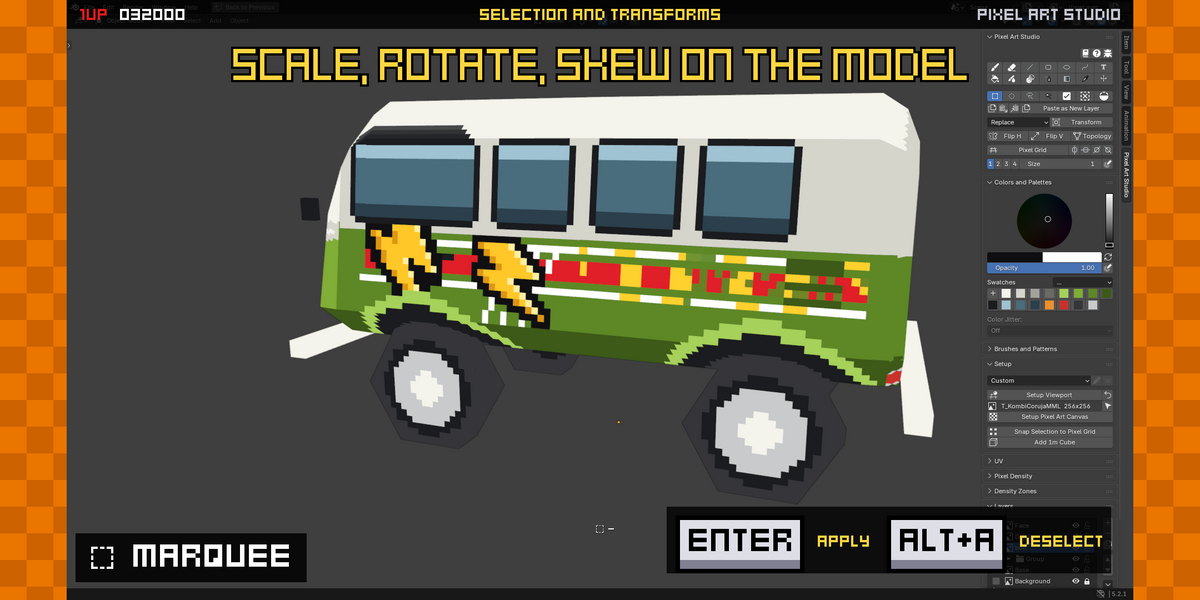
Flip and Transform (Move, Rotate, Scale, Skew) in 2D and 3D
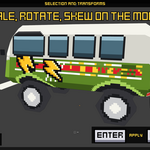
You can now Flip selections and layers horizontally (SHIFT+H) and vertically (SHIFT+V). There's also a Transform tool (CTRL+T) with the Move, Rotate, Scaling and Skew operations both for layers and selections. Everything works in 3D on top of the model (3D transformations were REALLY hard to implement) and in the Image Editor.
Press ENTER to confirm the transform or ESC to cancel (you can also undo each step with CTRL+Z).
3 options of pixel rotation algorithms when rotating transformations: Clean Rotation (cleanEdge by torcado, this one provides the cleanest results), Fast Rotation (aseprite) and RotSprite.
Symmetry anchored by the Object in the 3D Viewport
It's now possible to anchor the 3D symmetry in the 3D viewport by the Object's Center or by the 3D Cursor. For that, when activating any of the symmetry tools, click Object and then optionally Mirror at 3D Cursor.
Custom Brushes (local or global)
To create a custom brush:
Draw in the Image Editor, with only black pixels
Select the pixels and any extra transparent pixels that you want part of the brush
Activate the Brush tool again
In the Shape dropdown (where it says Circle or Square), select Custom.
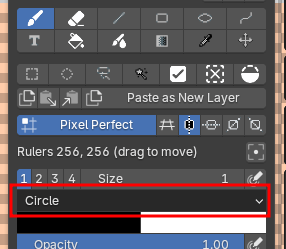
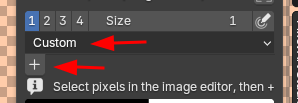
Click the + button, set a name for the brush and select whether you want to mark the brush as an asset (so it's accessible in Blender's Asset Browser) and whether you want the brush available globally in Blender (Save into the add-on preferences).
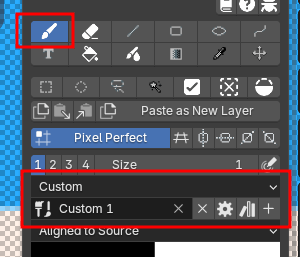
You can use the custom brush in the Image Editor and in the 3D Viewport. To select a custom brush, go to the same spot as before, select Custom and choose the custom brush.
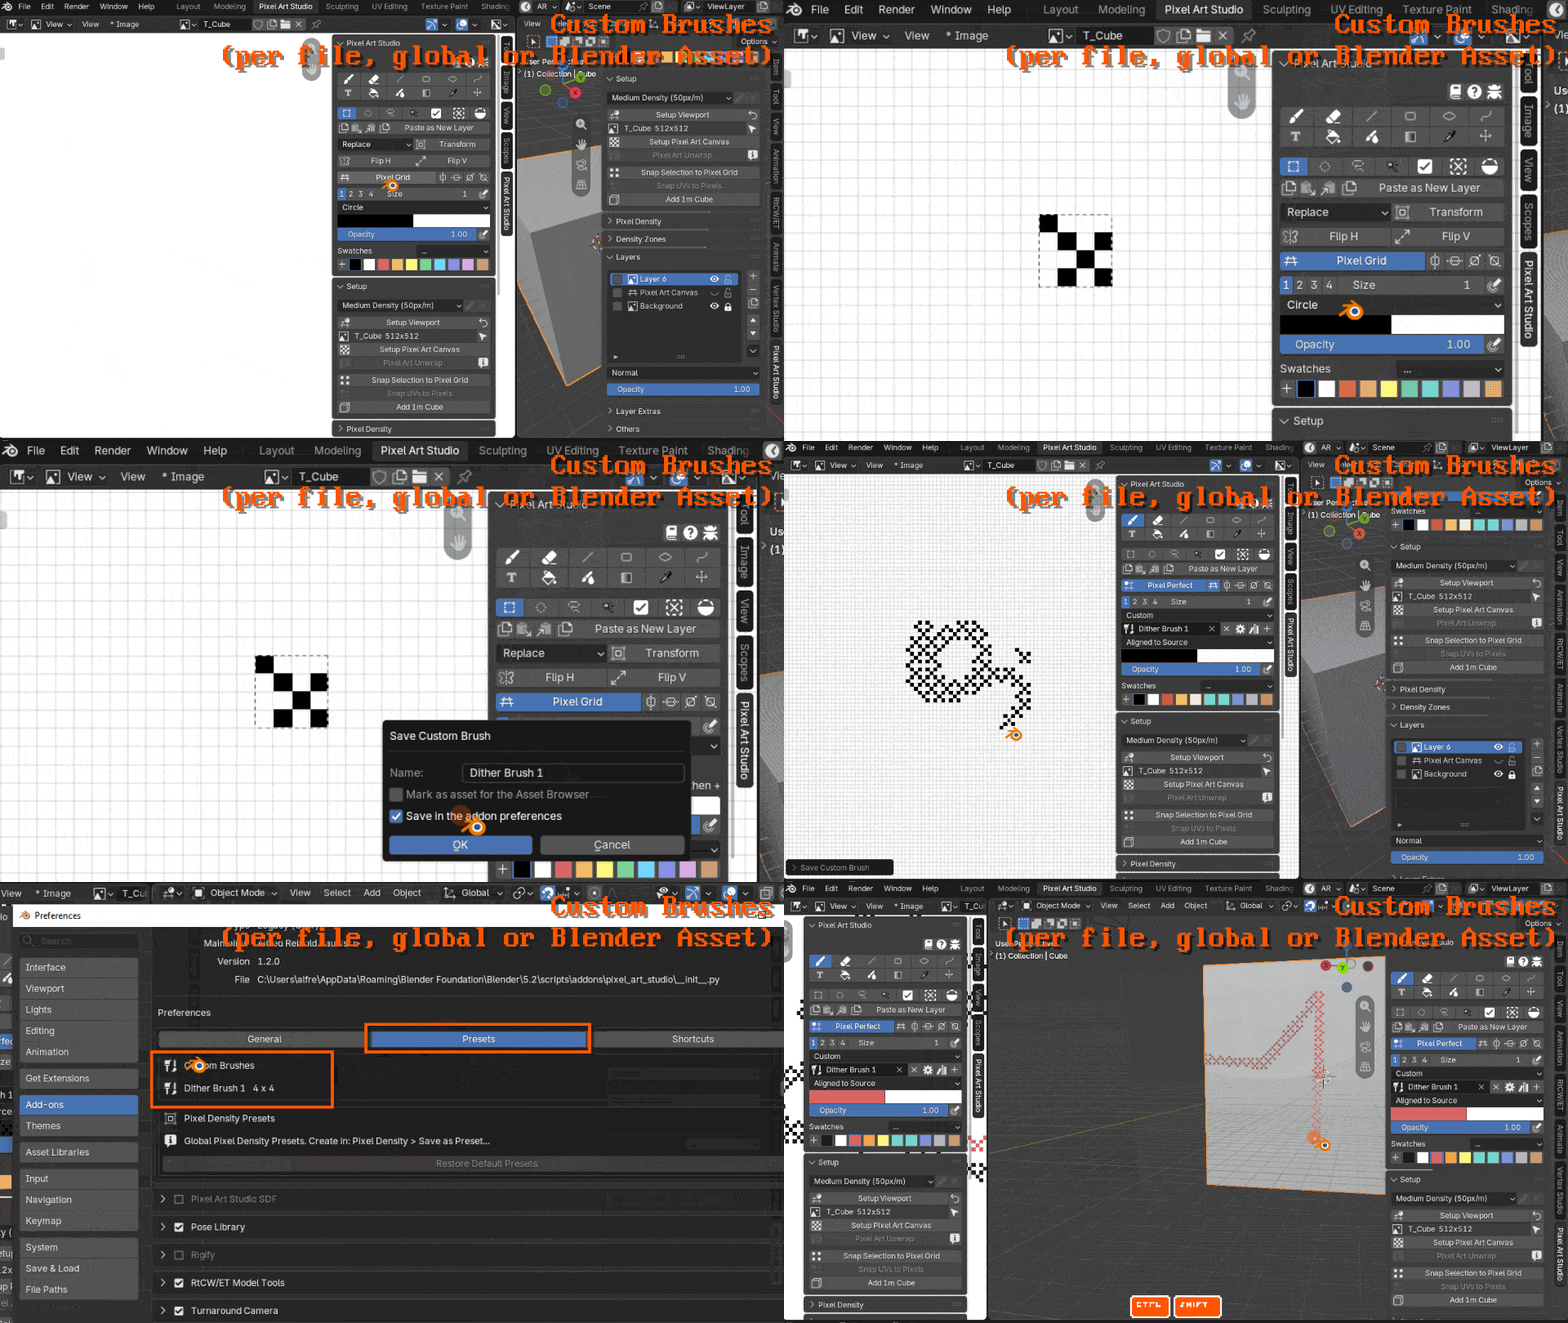
Text tool
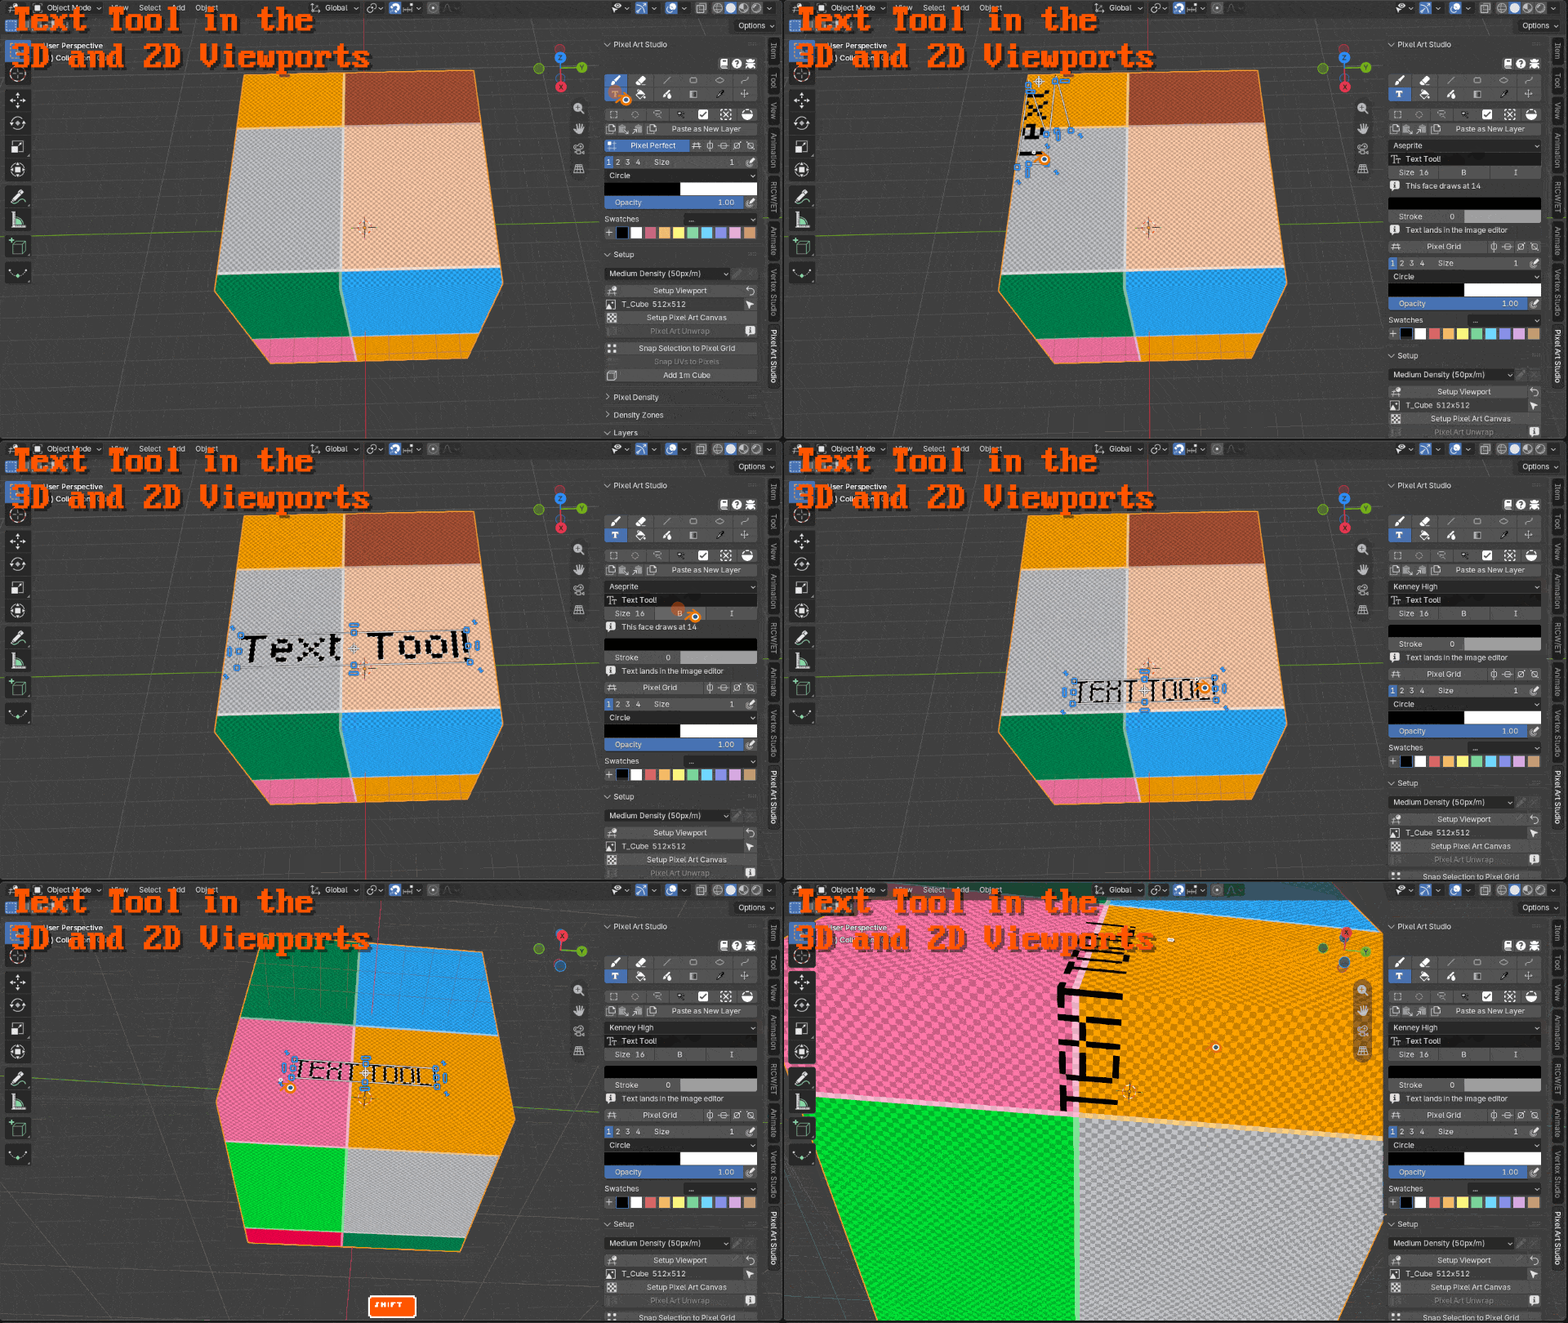
Add text with the new Text tool both in the Image Editor or 3D Viewport projected onto the model:
- Input the text in the input text box (this is due to the complexity of text operations (select text, move cursor, etc), so I added a native Blender's input box)
- Click the viewport to place the text
- You can now move and do transform operations with the text transformation
- You can also change the text options (bold, italic, font size and font face)
- Once done, press ENTER
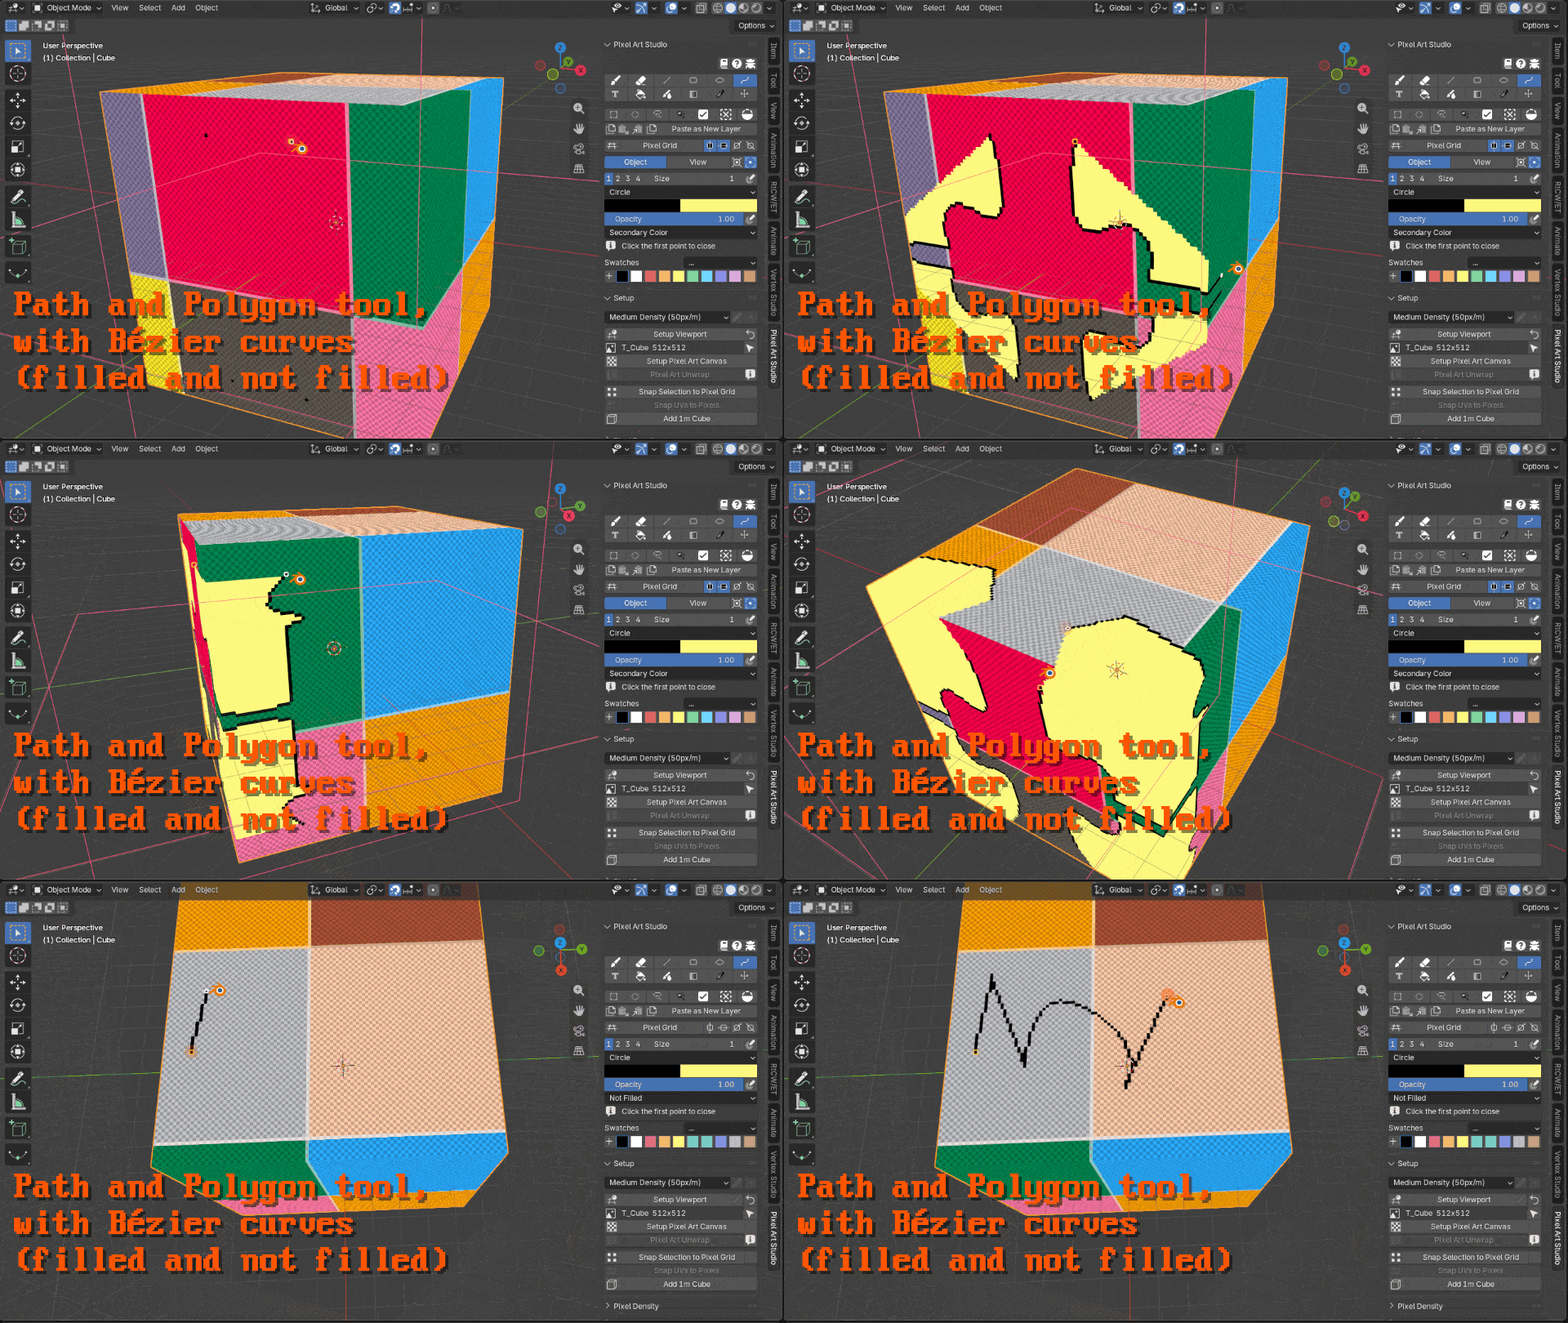
Path (Bézier Curve) and Polygon drawing tool
A Bézier curve tool has been added, with smoothed and hard corners, allowing to draw pixel art curves and polygons, including filled polygons. To use it:
- Click to place a point
- Hold and drag the mouse to draw smooth
- Click and release to draw hard corners
- Enter to confirm the path
- Or add another point on top of the starting point to close the curve
- It's possible to draw the curve filled with the primary or secondary color, working as a polygon drawing tool
- Shortcuts documentation updated with this new tool
Export Layers as PNG, Import and Paste Images as Layers
In the Layer Extras menu you can find three import and export actions:
- Import PNG: to import an external PNG image as a new layer
- Export PNG: to export a layer or group as PNG
- Paste Image as Layer: if you copy image data outside Blender, you can now paste it as a new layer
And at the top of toolbar you are going to find Paste as New Layer, which actually pastes what you copy INSIDE Pixel Art Studio as a new layer (copy and paste between Pixel Art Studio's own layers).
General New Quality of Life Features and Improvements
In the add-on settings customize the look of the selection marquees (now it's transparent by default).
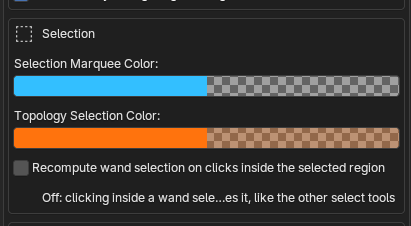
More readability in selection marques: the marching ants are black and white, smaller and much faster, making selections easier to read.
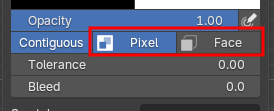
Bucket Fill has explicit Fill by Pixels or Fill by Face toggles.
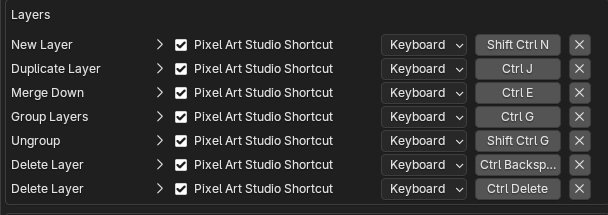
Bindable shortcuts for layer and group operations (by default Photoshop's like keybindings, like CTRL+J to duplicate layer and CTRL+G to Group).
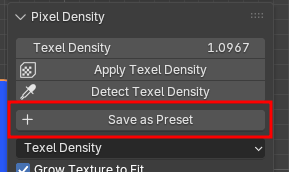
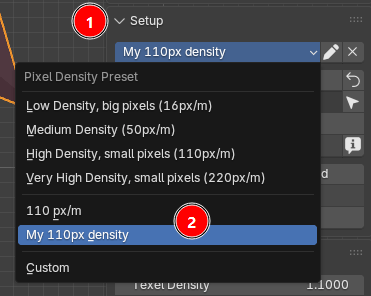
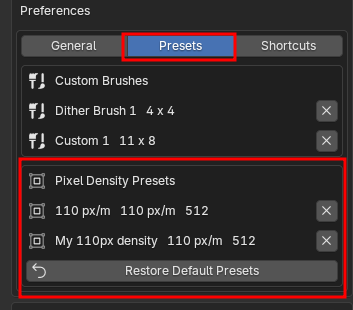
Custom pixel density presets.
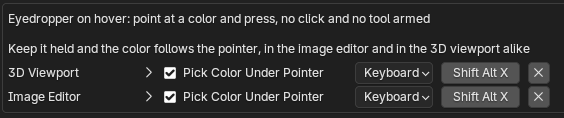
The default shortcut for the temporary colorpicker is ALT+left mouse button click, aligned with other painting tools. Users that need the ALT key free (such as to rotate the viewport), can still customize the shortcut to something else (Preferences > Add-ons > Pixel Art Studio > Shortcuts > customize "Eyedropper (hold and click)").

Pickup colors without clicking with the new "Eyedropper on Hover" color picker, default shortcut SHIFT+ALT+X. Activate it and move the mouse to pick colors.
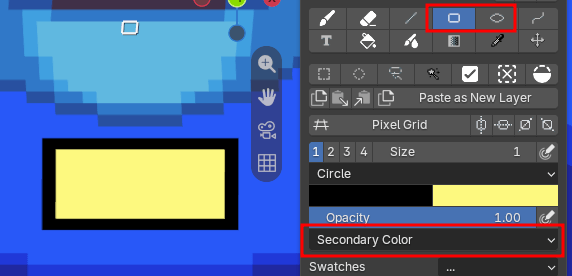
The rectangle and ellipse drawing tools can now be filled with either the primary or secondary color. When filled with the secondary color, it gets an outline with the primary color.
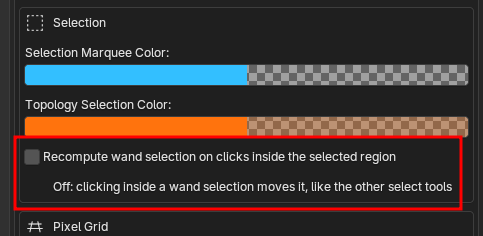
When making a selection with the Wand Selection tool, then adjusting parameters (Tolerance, Contiguous), and clicking on top of the active selection again while the tool is still active, it's possible to configure it to make a new selection with the new paramaters.
Other quality of life improvements or new features:
- The temporary colorpicker keeps picking colors as long as you hold the shortcut and move the mouse (ALT+left mouse click by default).
- Pick colors from any object and from any area of the Blender viewport.
- Translation framework: Pixel Art Studio is now ready to be multi-language (English only, for now).
- Hold SHIFT while placing a gradient to place straight gradients. Move to increment by 45 degrees.
- When you have the Image Editor and 3D viewport side by side, colors picked in one viewport automatically are picked into the other.
- Changes made with and within selections are now mirrored when a symmetry tool is active.
- The Bucket Fill now gets mirrored when a symmetry tool is active.
General Improvements
Bucket fill fills enclosed areas that are split across multiple UV islands (ex: draw a shape on a cylinder cap that has been poked with triangles, the bucket fill is going to fill the shape and distribute each slice in each triangle's UV island).
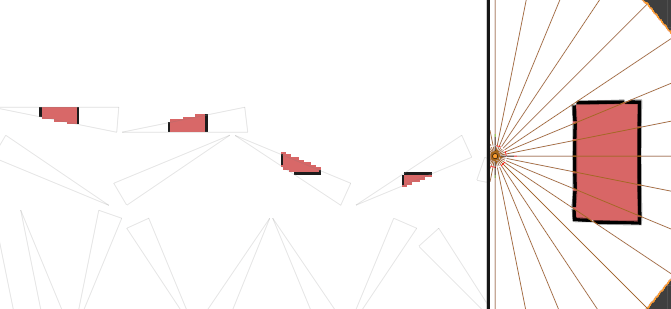
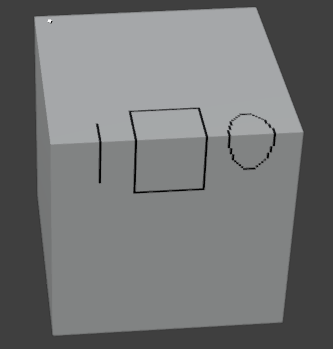
The rectangle and ellipse tools now project straight between faces.
Other improvements:
- Selection tools are faster in the Image Editor
- Support to higher resolution textures
- Performance improvements when painting textures higher than 1024x1024 (validated and tested in a mesh with 2 4096x4096 textures).
v1.2.0 Changelog
- New feature: New selection engine called "Paper Fold".
- New feature: Custom brushes. Custom brushes are created in the Image Editor, and can be persisted in the .blend file, marked as asset (to be shared in the Asset Browser) and persisted in the add-on preferences (for reuse in all .blend files).
- New feature: Transform layers and selections (scale, rotate, skew)
- New feature: Text tool
- New feature: Layer blending modes
- New feature: Layer adjustments
- New feature: Layer masks and clipping masks (like Photoshop and Krita)
- New feature: Bucket fill and gradient bleed (aka fill expansion, UV dilation)
- New feature: Import PNG as layer and Export layer as PNG
- New feature: Paste external image as layer
- New feature: Path and Polygon tool
- New feature: Flip selections horizontally and vertically
- New feature: Customize the selection marquee (transparent by default)
- New feature: hold CTRL+SHIFT while using the Brush tool to draw connecting lines and polygons
- New feature: Show the brush and the eraser shape, color and opacity under the cursor (brush ghosting)
- New feature: Bindable shortcuts for layer and group operations (Photoshop's like keybindings)
- New feature: Manage custom density presets
- New feature: The symmetry tools in the 3D viewport now have 4 modes: aligned with view (the only previous mode), centered aligned with the object, aligned with view at the 3D cursor, aligned with the object at the 3D cursor.
- New feature: The selection tools have a new selection method: "Select by Topology" (only for the 3D viewport), to select the whole contour of the topology, to allow for painting and filling half and corner pixels.
- New feature: A new temporary color picker has been added, "Eyedropper on Hover" to pickup colors without clicking, with customizable shortcuts. Default: SHIFT+ALT+X (the other temporary color picker with ALT+Left Click is still present).
- New feature: Pick colors from any object and from any area of the Blender viewport
- New feature: Translation (i18n) framework. Every public facing text is now an extracted string living in a single file, which can allow for translations in the future, making Pixel Art Studio multi-language.
- Improvement: The rectangle and ellipse drawing tools can now be filled with either the primary or secondary color. When filled with the secondary color, it gets an outline with the primary color.
- Improvement: Selection marching ants are smaller and faster, making them more readable.
- Improvement: Bucket fill fills enclosed areas that are split across multiple UV islands (ex: draw a shape on a cylinder cap that has been poked with triangles, the bucket fill is going to fill the shape and distribute each slice in each triangle's UV island).
- Improvement: Selection tools are faster in the Image Editor
- Improvement: The rectangle and ellipse tools now project straight between faces
- Improvement: The default shortcut for the temporary colorpicker is ALT+left mouse button click, aligned with other painting tools. Users that need the ALT key free (such as to rotate the viewport), can still customize the shortcut to something else (Preferences > Add-ons > Pixel Art Studio > Shortcuts > customize "Eyedropper (hold and click)").
- Improvement: The temporary colorpicker keeps picking colors as long as you hold the shortcut and move the mouse (ALT+left mouse click by default).
- Improvement: The bucket fill tool has 2 clear methods of filling with 2 toggle buttons: Fill by Pixels and Fill by Selected Faces.
- Improvement: The bucket fill method fill by face now fill the whole topology of the selected faces (including half-pixels).
- Improvement: When making a selection with the Wand Selection tool, then adjusting parameters (Tolerance, Contiguous), and clicking on top of the active selection again while the tool is still active, it's possible to configure it to make a new selection with the new paramaters.
- Improvement: Hold SHIFT while placing a gradient to place straight gradients. Move to increment by 45 degrees.
- Improvement: When you have the Image Editor and 3D viewport side by side, colors picked in one viewport automatically are picked into the other.
- Improvement: Performance improvements when painting textures higher than 1024x1024 (validated and tested in a mesh with 2 4096x4096 textures).
- Improvement: Changes made with and within selections are now mirrored when a symmetry tool is active.
- Improvement: The Bucket Fill now gets mirrored when a symmetry tool is active.
- Bug fix: using the Activator Shortcut in the Image Editor does not steal the focus from the shortcut from the 3D viewport (when having both viewports side by side, like with the Pixel Art Studio workspace).
- Bug fix: fixed a critical issue where the texture file would be replaced by stale layers when a blend file that previously had a Pixel Art Studio canvas was saved as another file. Now the file watcher conflict popup is triggered on file load when the file saved separately is opened.
- Bug fix: merge layer down correctly makes the destination layer the active layer, instead of the layer below it
- Bug fix: merging into the generated Pixel Art Grid layer, correctly merges the layer instead of deleting it.
Link and Append blend files that have their own Pixel Art Studio layers
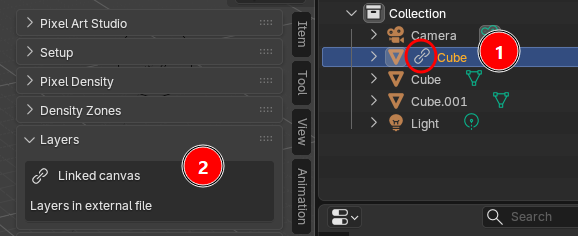
Now, when you Link an object that has its own Pixel Art Studio layers, from another blend file, Pixel Art Studio correctly keeps the layers of other existing objects of the scene. The Linked object is imported with its texture and the layers are shown "Layers in external file" :
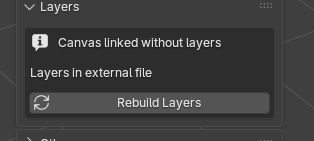
Now, when you Append an object that has its own Pixel Art Studio layers, from another blend file, you also have the option to import its layers by clicking "Rebuild layers":
v1.1.7 Changelog
- Bug fix: linking objects do not erase textures of the current's scene Pixel Art Studio layers.
- Improvement: appending objects allow to also rebuild and import their Pixel Art Studio layers.
v1.1.6 Changelog
- Bug fix: Setup Viewport no longer fails on a model that doesn't have a texture, when an Image Editor is open in an area that used to be another editor (Properties, Outliner, 3D Viewport, and so on).
v1.1.5 Support to multiple textures in the same model with auto-texture switching
When clicking "Setup Viewport" in a mesh that has multiple materials with multiple textures, now Pixel Art Studio detects all the textures, and allow switching which texture to paint. But, it by default switch the textures on the fly while you paint, depending on the surface that you are painting, so you don't have to do anything.
In the "Setup" section, where the texture name appears, when multiple textures are detected, now a dropdown is shown, where you can choose which texture to paint. While the "Auto-select Texture" toggle button is on (this button has a "AUTOmobile" icon, for "AUTO-select", sorry, I couldn't find a better icon), the texture is picked automatically depending what is under the cursor in the 3D Viewport.
v1.1.4 Changelog
- Bug fix: it's now possible to recover deleted shortcuts from the add-on preferences, fixes: https://github.com/PardallTools/pixel-art-studio-docs/issues/51
- Improvement: it's now possible to restore a single shortcut to the default binding.
- Bug fix: the symmetry tool in the Image Editor do not land on the middle of a pixel anymore.
- Bug fix: a brush dab with a brush size bigger than 3px now correctly gets mirrored equidistant when using the symmetry tool.
- Bug fix: it's not possible to paint on hidden layers anymore, fixes: https://github.com/PardallTools/pixel-art-studio-docs/issues/48
- Bug fix: Setup Viewport does not dismantle a user's custom shader anymore
v1.1.3 Changelog
-
Bug fix: the File Watcher (introduced in v1.1.2) now detects changes also made internally when you paint in Blender's Texture Paint or when you perform a call to Blender's Image > Reload (ALT+R). Closes https://github.com/PardallTools/pixel-art-studio-docs/issues/46
- If you are using Pixel Art Studio and then change the texture in other sections of Blender, like the Texture Paint mode, you now have to activate the File Watcher to correctly capture the changes in Pixel Art Studio layers.
Activate and De-Activate Pixel Art Studio with a Shortcut
No more "click a tool to activate Pixel Art Studio shortcuts", then "click again to de-activate the tool to bring Blender shortcuts back".
In my opinion, this is the biggest Quality of Life improvement that I brought to the tool so far. Even I was getting annoyed with having to click the toolbars in order to be able to use Blender's shortcuts back, and re-click to activate Pixel Art Studio, EVERY. SINGLE. TIME. NO MORE!
This new action remembers the last tool you were using, so you can toggle between Pixel Art Studio <> Blender shortcuts back and forth, between the same tool, by pressing the shortcut.
Now you have two options:
- Press the default shortcut for toggling tools on and off: ; (semicolon). And this shortcut is ALSO customizable.
- Or you can use ESC, ESC (press ESC twice, quickly).
Go to Preferences > Add-ons > Pixel Art Studio > Shortcuts > Arm Pixel Art Studio from the keyboard.
Automatically watch if the texture file was modified externally and merge as layer or merge
In the "Others" section of the main panel, there's now a new toggle: "Watch for external file changes". When on, it's going to watch whether you edit the texture file externally, and if it's modified externally, you can now decide what to do with your current layers and with the external changes. It's very flexible.
You can now invoke Quick Favorites again (shortcut Q). New default shortcut for Lasso: K.
The Lasso selection was shipping with Q as the default shortcut, blocking the usage of Blender's Quick Favorites while using Pixel Art Studio. The default shortcut for lasso is now K.
Select All and Wand Selection only affects selected and visible faces in Edit Mode
You can now use face selection in Edit mode as masks for the selection tools.
v1.1.2 Changelog
- New feature: arm and disarm Pixel Art Studio with a customizable shortcut or with "ESC, ESC" (press 2 times, quickly).
- New feature: file watcher, to watch for external changes of the texture file, and then asks the user of what action to take (discard, merge, add as new layer).
- Improvement: new default shortcut for Lasso Select: K.
- Improvement: Select All and Wand Selection only affects selected and visible faces in Edit Mode.
- Bug fix: fixed a workspace crash with Blender 4.1. It's now compatible with Blender 4.1.
- Bug fix: selecting all or doing a broad selection with the lasso tool, when other faces are hidden, and then revealing the faces back, do not add marching ants to those faces anymore. Marching ants stay in the face that was previosuly visible only.
Have questions about this product?
Login to message
| Blender Extension Compatible | Yes |
| Sales | 100+ |
| Rating | 2 ratings |
| Dev Fund Contributor | |
| Published | about 2 months ago |
| Blender Version | 3.6 - 5.2 |
| Extension Type | Add-on |
| Render Engine Used | Arnold, Blender-Internal, Blender-Game-Engine, Cycles, Eevee, Freestyle, Luxrender, Mental-Ray, Octane, Vray, Yafaray |
| License | GPL |

Discover more products like this
game development Pixelisation Blender pixelation Retro pixel art pixel-perfect texture Blender pixel perfection retro pixel art Texture Painting aseprite gamedev