 Alfred Baudisch (Pardall)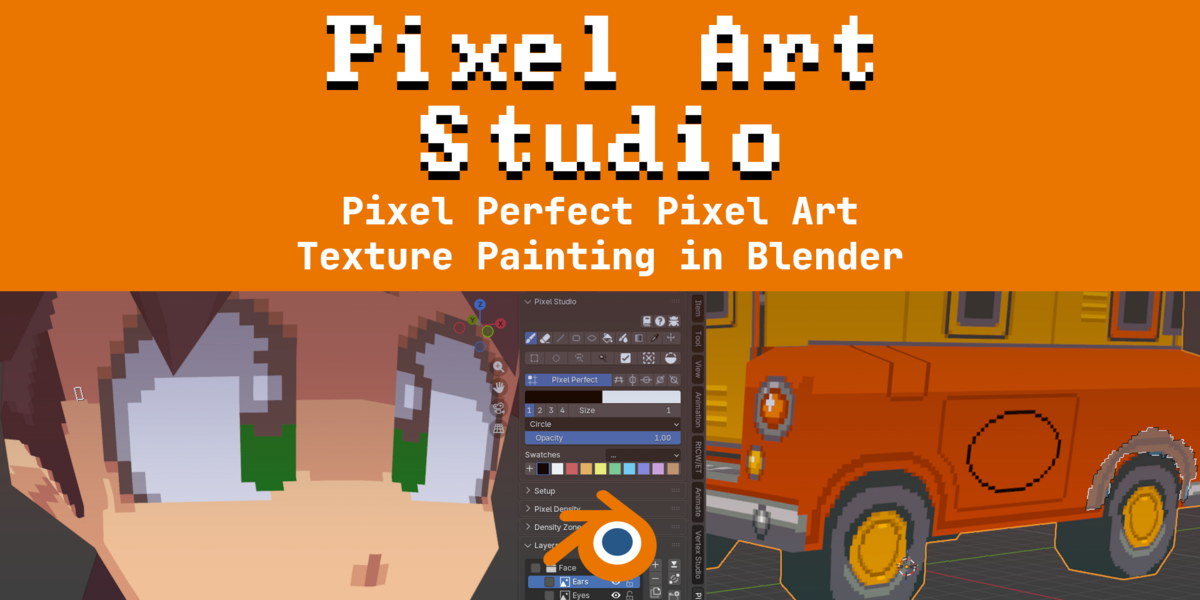


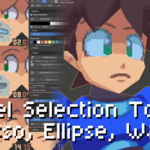
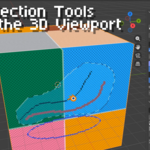
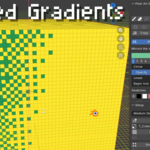
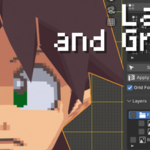
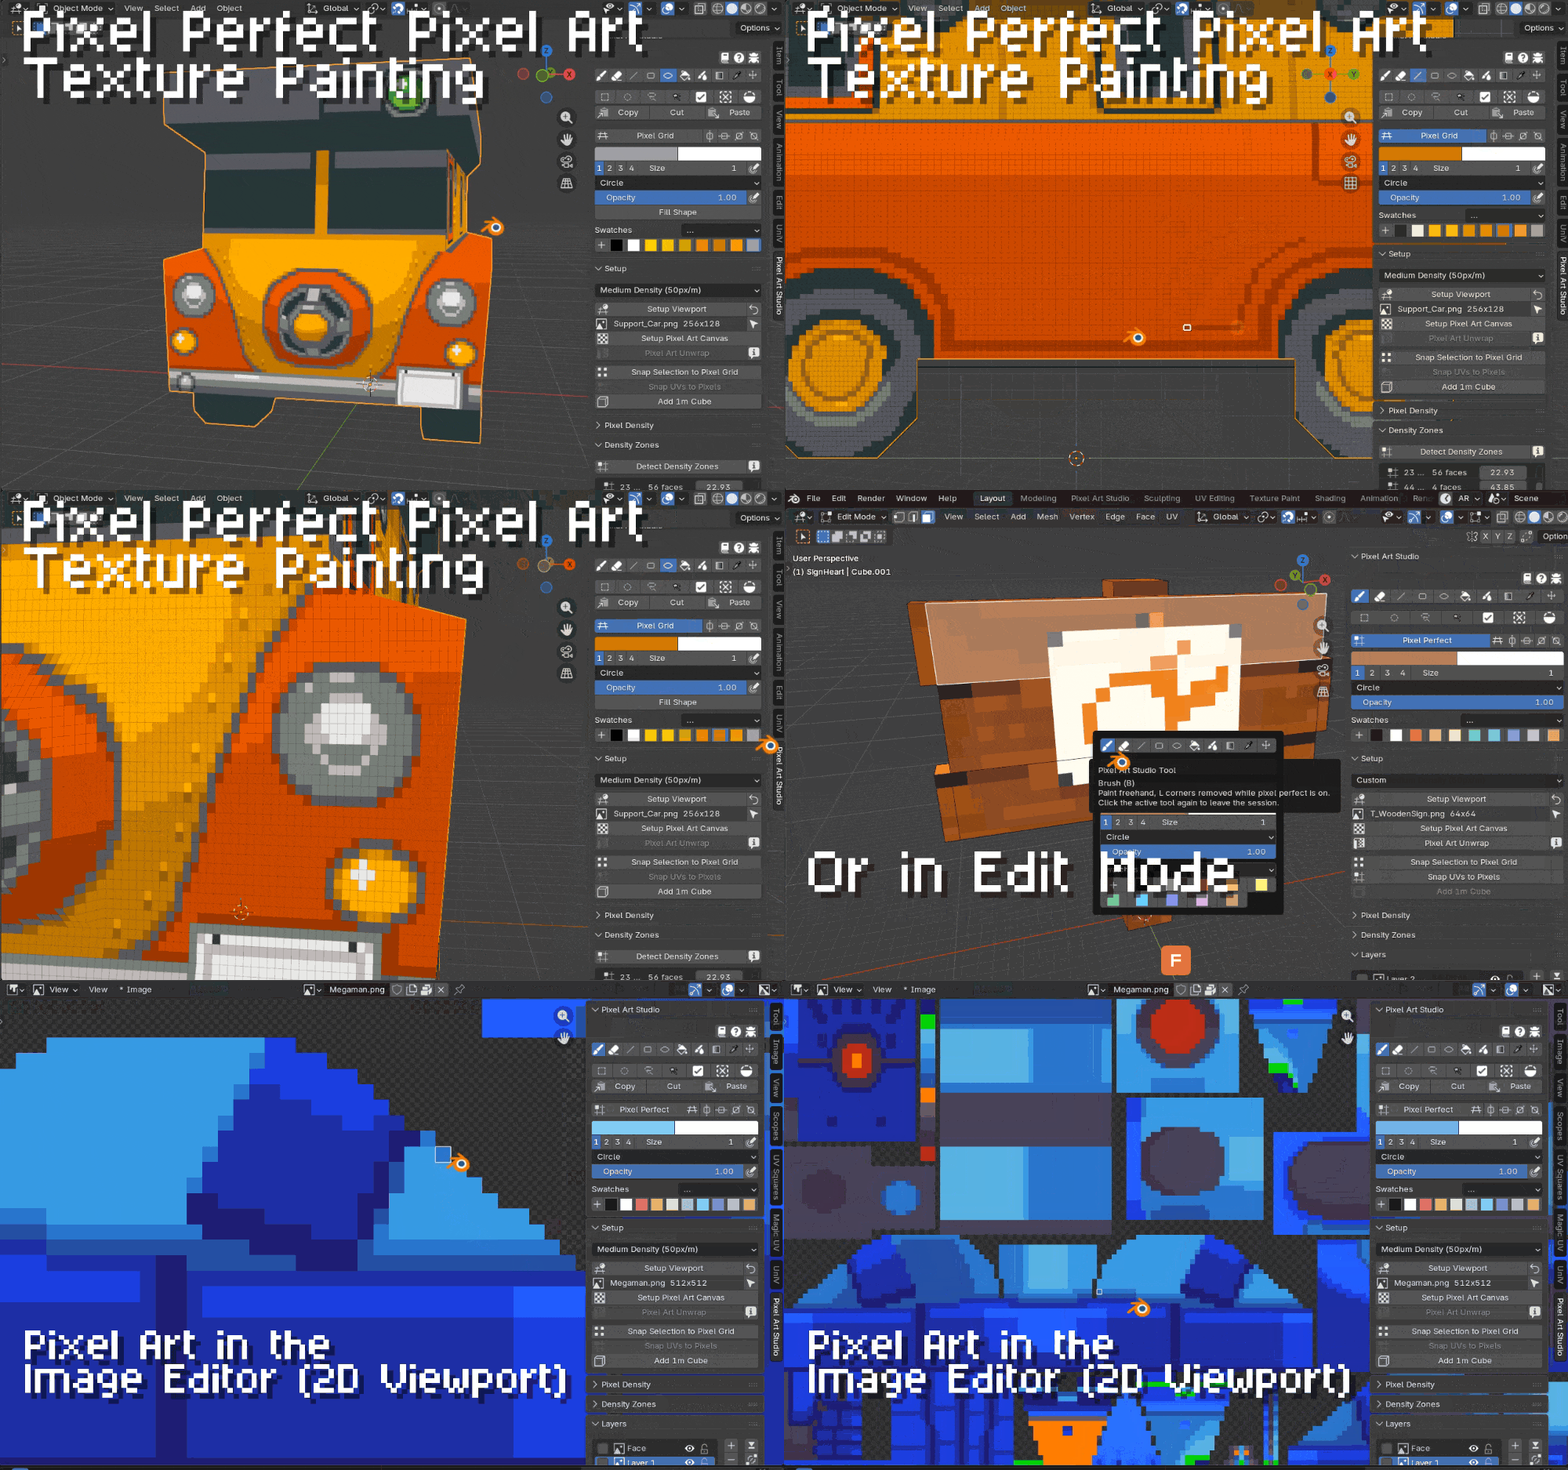
Pixel Art Studio is a Blender add-on (plugin) for pixel perfect pixel art texture painting. It supports drawing and painting pixel art inside Blender, in the 3D Viewport on top of the model (in Object and Edit modes) and in 2D in the Image Editor. It has tools for drawing and painting (including colors, palettes, layers, pressure sensitivity, bucket fill, gradients), selecting and moving pixels, and quickly setting up the model and the viewport for pixel art. The plugin also helps with setting up and managing multiple texture densities per mesh, allowing for uniform pixel sizes across the whole mesh or per face pixel size variation.
All tools work in the Image Editor (2D Viewport) and in the 3D Viewport in Object and Edit modes, on top of the model.
Pixel Perfect Pixel Art Texture Painting
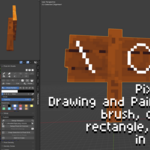
Pixel Perfect drawing and painting tools: Brush, Line, Rectangle, Ellipse, Bucket Fill, Blur, Scramble, Text, Custom Brushes.
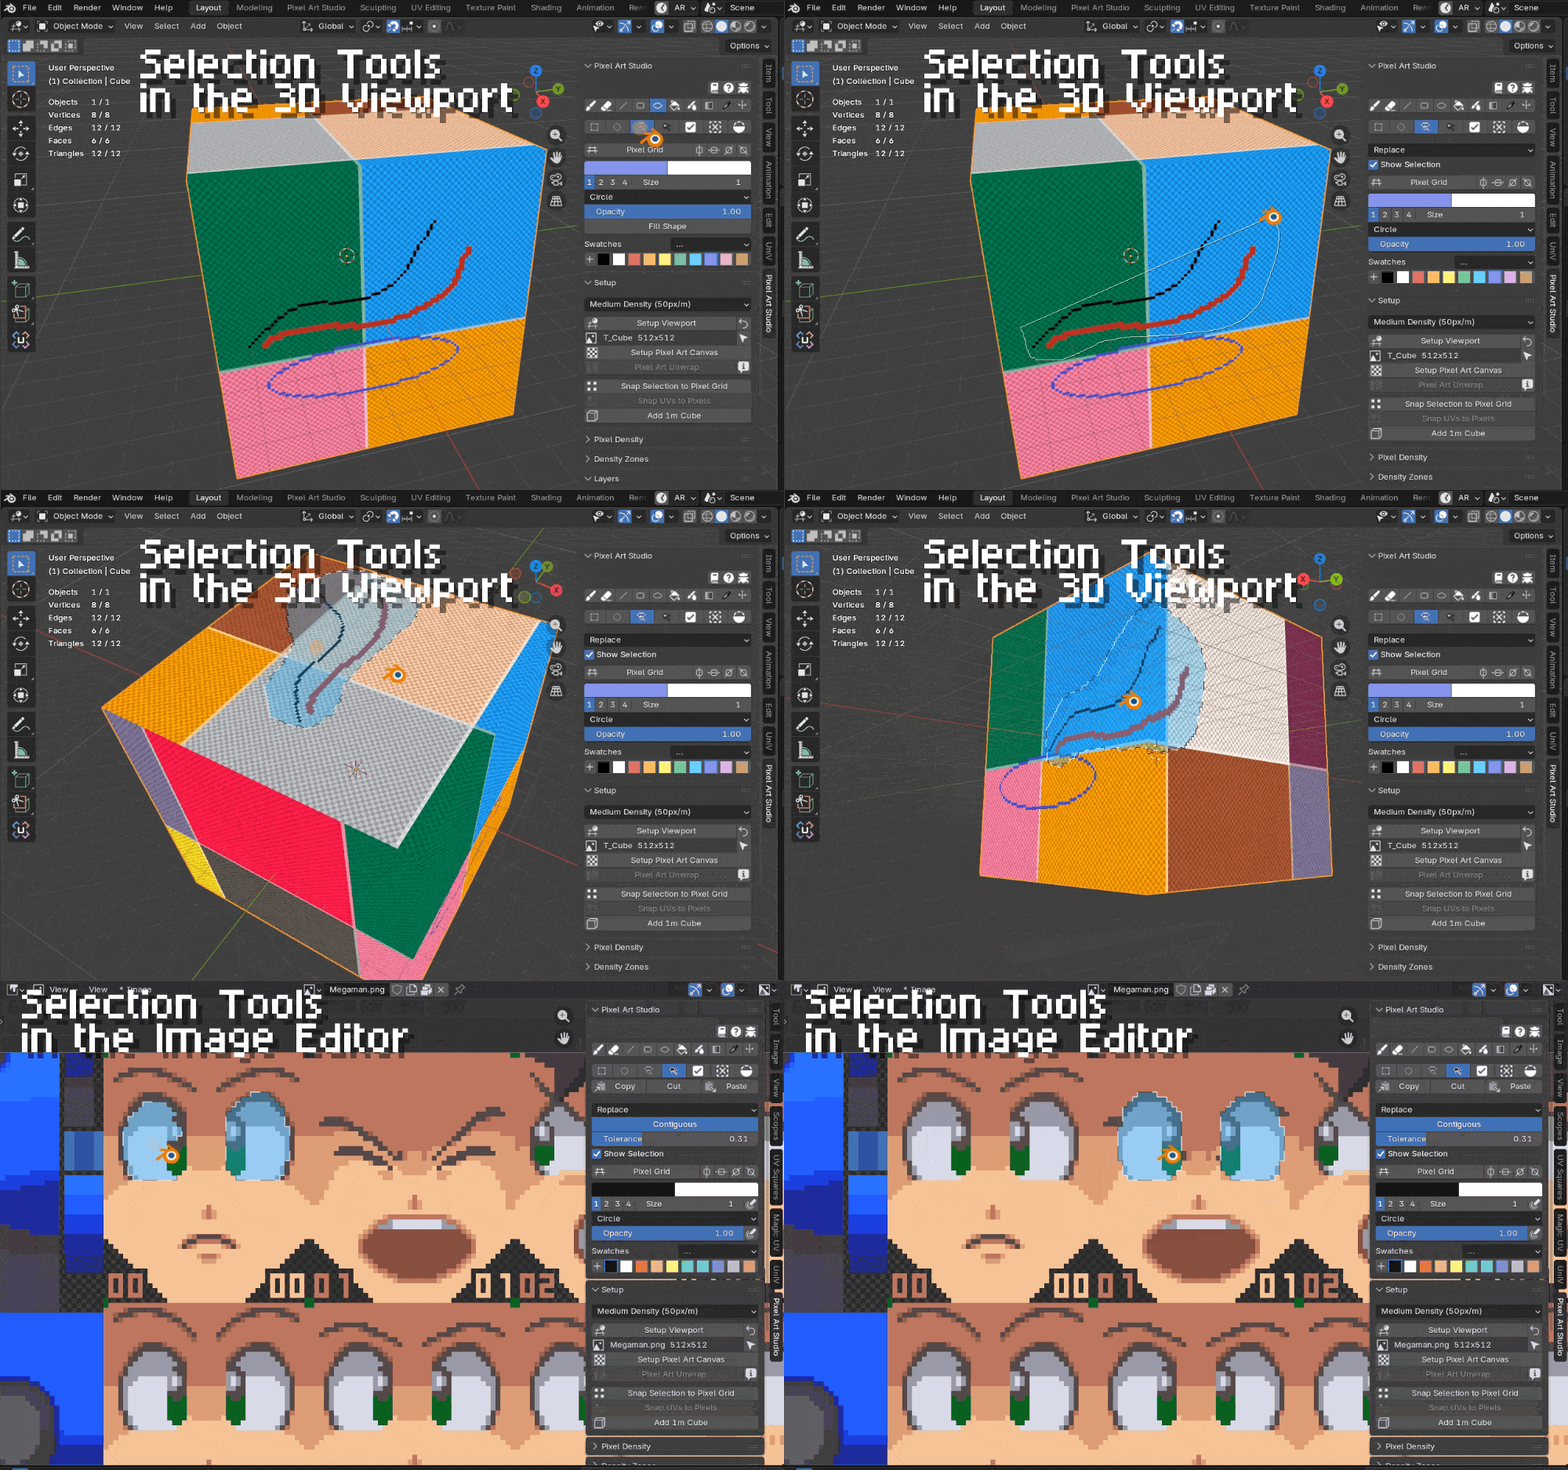
Pixel Perfect Selection and Transform Tools
Rectangle, Ellipse, Lasso and Magic Wand selection tools that work both in the Image Editor (2D Viewport) and in the 3D Viewport on top of the model, so you can move pixels around just like in pixel art software.
There's also a 2D and 3D transform tool: move, scale, skew, rotate. Pixel transformations can be rotated cleanly with the "Clean Rotation" algorithm
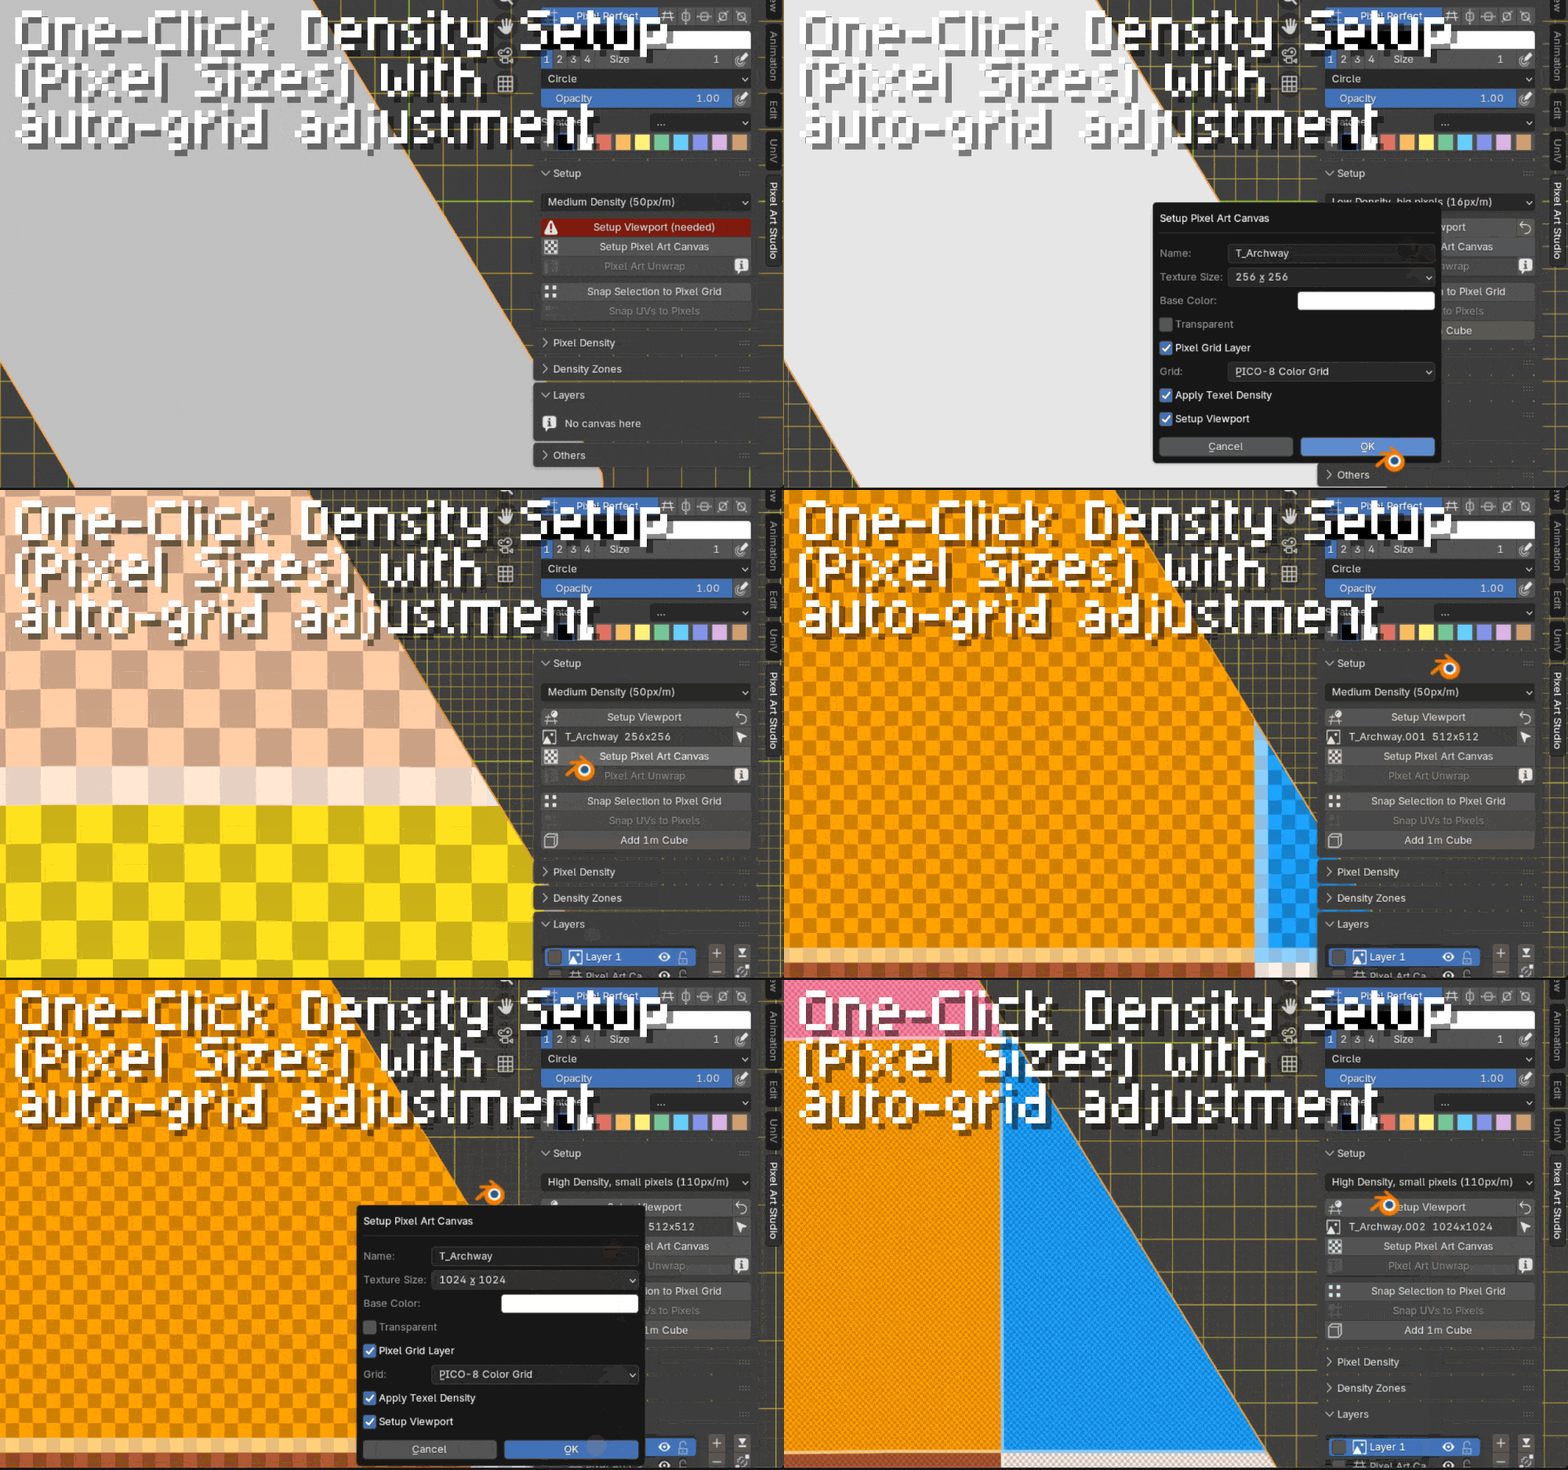
One-Click Texel Density (Pixel Size) Setup
Solving one of the biggest pain points when doing pixel art in Blender, with one-click and never worrying about it again.
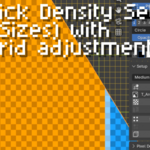
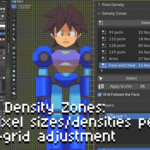
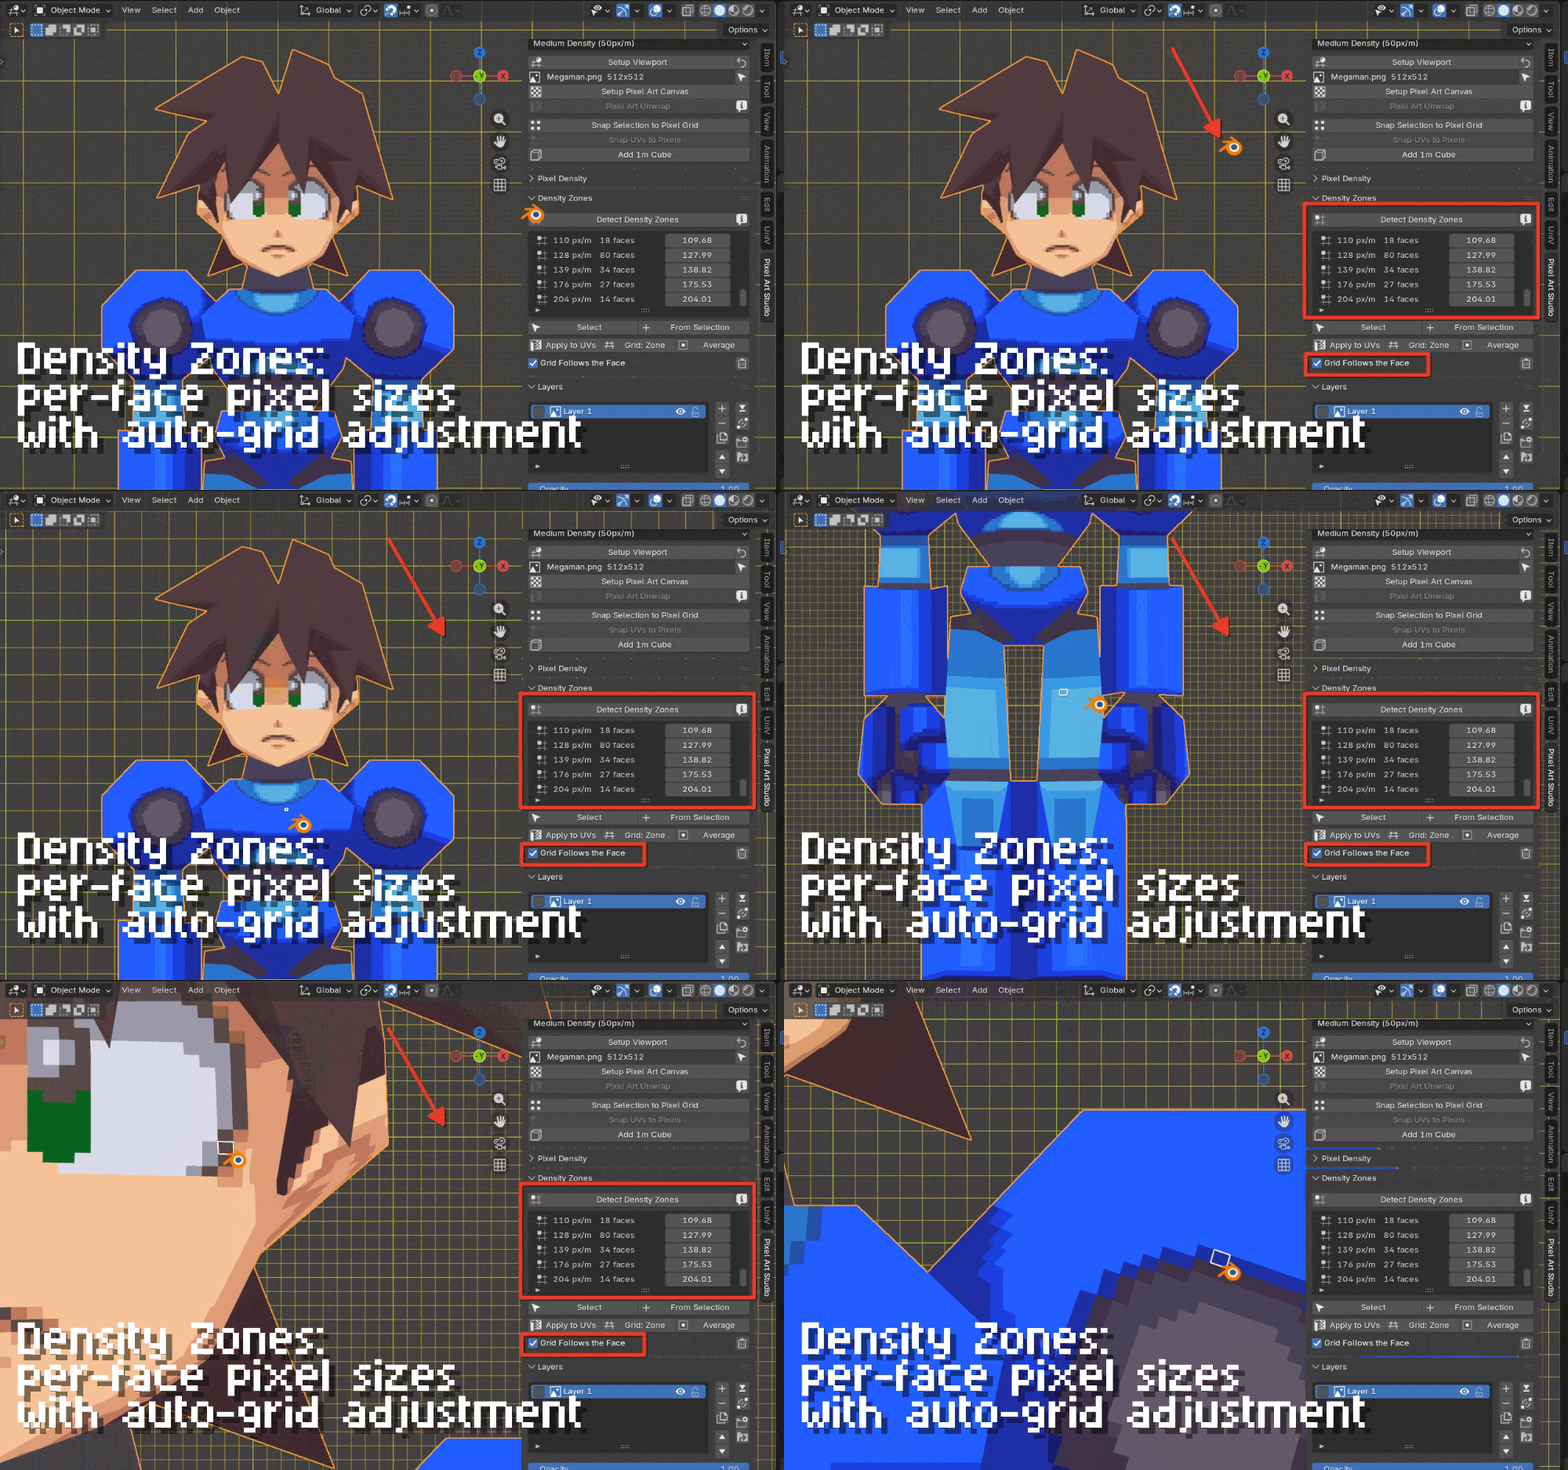
Density Zones: multiple pixel sizes per model with auto-grid adjustment
If you want to have different texel sizes (pixel sizes) in the same model, for example, zones with bigger chunky pixels for fewer details and zones with smaller pixels for more details, Density Zones allow doing that with a few clicks. Then, Blender's grid and snapping automatically adjust when you have each face.
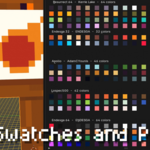
Color Palettes, Layers and Groups, Symmetry, Gradients and more...
Everything you expect from a painting and drawing application is included in Pixel Art Studio, for pixel art drawing and painting inside Blender in the 2D and 3D viewports.
Layer Blending Modes, Non-Destructive Adjustment Curves, Clipping Masks, Transparency Masks, Import and Export Layers as PNGs.
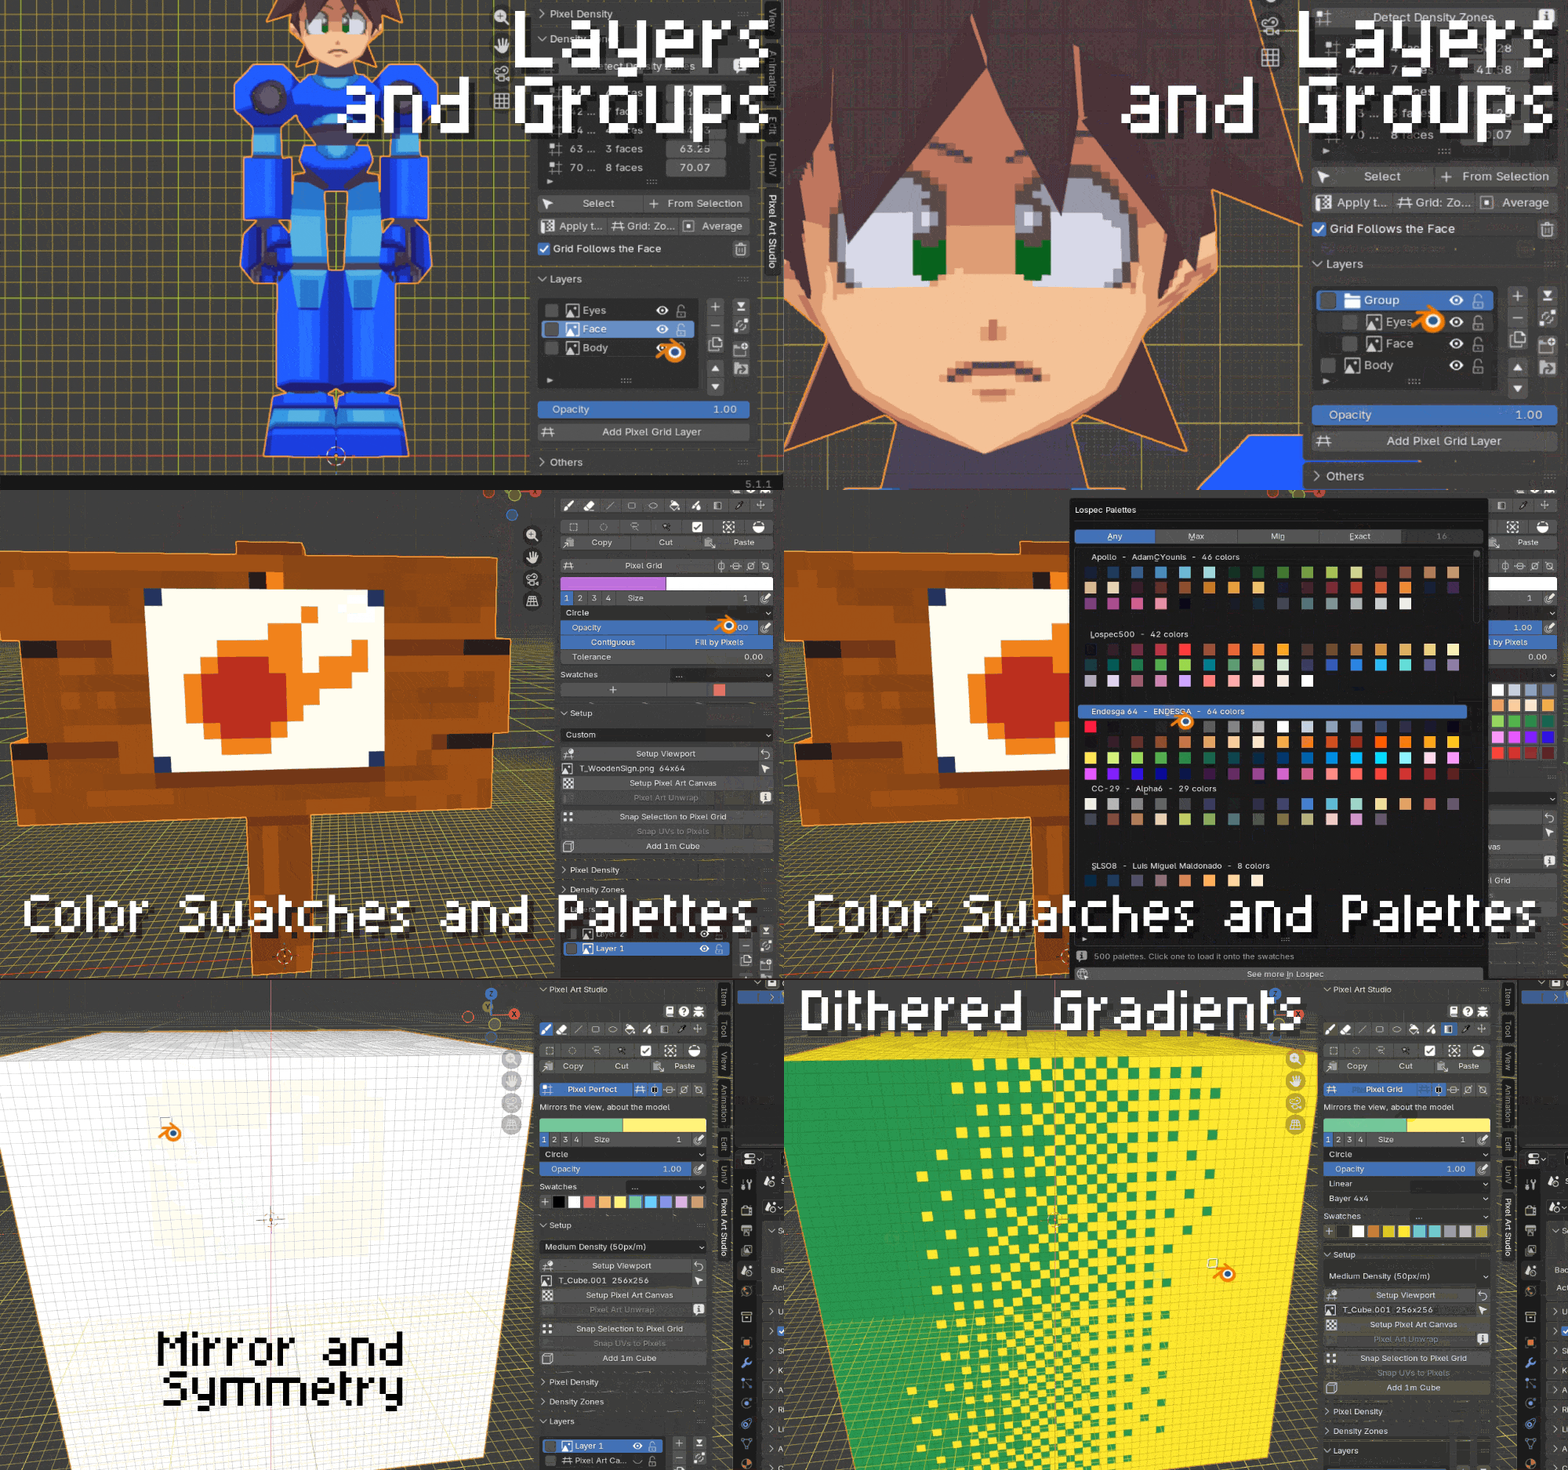
Summary of Features
-
Pixel perfect drawing and painting pixel art tools: brush / pencil, eraser, line, rectangle, ellipse, bucket fill (by pixels, by selected faces, by color, with bleed and UV dilation), blur, scramble, gradient (with dithering options), opacity, color picker, text tool, path, bézier curve, filled polygons, pressure sensitivity.
- All tools have pixel perfect line handling algorithms.
- Custom brushes.
- Three different ways of activating the color picker, including without clicking.
- Pixel selections: rectangle, ellipse, lasso, magic wand, invert selection.
- The selection tools work on the 2D and 3D viewports, and you can drag selected pixels across the faces of the model.
- Selections can be made by topology, which selects and fills half-pixels (sub texels) in diagonals.
- Pixel transforms: move, rotate, scale, skew, flip horizontally and vertically. Pixel transformations can be rotated cleanly with the "Clean Rotation" algorithm.
- 2D and 3D viewport pixel grid overlay.
- Mirror and symmetry drawing on the 2D and 3D viewports.
- Color swatches and color palettes (and a palette library with more than 500 predefined palettes).
-
Layers and layer management with locking, grouping, merging, visibility toggling and blending modes similar to painting programs.
- Non-destructible adjustments (brightness and contrast, color curves and HSL), stackable, per layer.
- Clipping layers and transparency masks like Photoshop and Krita.
- Export layers as PNG and paste or import images as layers.
- One-click pixel size and pixel density setup with predefined presets, as well texel density detection for existing meshes (you can have chunky pixels and fine, detailed pixels).
- One-click setup buttons to setup the viewport for pixel art (grid size and snapping adjusted to the pixel size) and to UV unwrap the model for instant pixel art painting (notice: auto UV unwrapping is very basic, for the majority of models you are still going to need to manually unwrap UVs).
-
Density Zones (optional): assign and manage texel density values per face, allowing for uniform pixel size across the whole mesh or different pixel sizes per face.
- Different density zones automatically resizes Blender's grid on the fly, when you hover different faces of the model, in the 3D viewport.
- Customizable shortcuts for EVERYTHING.
Blender version required?
- Recommended (officially supported): Blender 5.1 and Blender 5.2
- Also compatible with Blender 3.6, Blender 4.0+ through Blender 5.0+.
Support and Documentation
- Documentation website
- Tutorial
- Bug reports and next features
- Kanban boards for the next versions
- Support forums
- FAQ
- Solutions to common problems
- Shortcuts
Pixel Art Studio features in details
Every drawing, selection and layer tool works in the 3D Viewport and in the Image Editor, in perspective and orthographic views, so you can move the camera around freely while painting.
-
Drawing and painting tools
- All tools are directly inspired by Aseprite, so you are going to feel right at home.
- All tools have pixel perfect line handling algorithms (with the brush and line tool, it removes the doubled L corners, with the ellipse, it creates pixel perfect circles and ellipses).
-
Brush (B): freehand painting as a
CircleorSquarebrush, free size selection as well presets for1 2 3 4, [ ] to increase/decrease the size on the viewport. - Eraser (E): erases to transparent, with opacity control.
- Adjustable opacity, applied stroke-relative: like Aseprite, dragging over the same texels twice inside one stroke applies the opacity once.
- Line (L): pixel perfect stair steps. Shift snaps to 45 degrees.
- Rectangle (U) and Ellipse (O): outlined (stamped with the current brush) or filled, Shift constrains to a square or a circle (the preview is the final pixels).
-
Bucket fill (G), two modes:
-
Fill by Pixels: flood fill the active layer or the active selection with an adjustable tolerance. WhenContiguousis off it is a global/selection color replace. -
Mesh Faces: fills the UV area of the selected faces (or every face if nothing is selected).
-
- Blur (H): box blur, pixel aware (it never makes sub-pixels).
-
Gradient (D): two color gradient,
LinearorRadial, with ordered dithering (Bayer 2x2,4x4,8x8) orSmooth(fills selection or whole canvas). - Eyedropper (I) and Alt+click.
-
Move (V): drags a layer or a selection around.
-
Auto Select Layer: auto selects the layer at click position.
-
-
Tablet pressure: pressure toggles for
SizeandOpacity. - Pixel grid overlay in the Image Editor and in 3D Viewport overlayed on top of the model (color and thickness configurable).
-
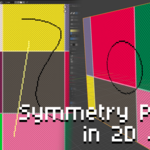
Mirror and symmetry drawing:
Horizontal,Vertical,45and135(they can be combined for multi-axis symmetry).
-
Pixel selection
-
Marquee (M), Ellipse (Shift+M), Lasso (Q) and Magic Wand (settings:
ToleranceandContiguous) (while a selection is active, tools affect only the selected pixels).- Shift adds to selection, Alt removes from selection (with any of the drag tools).
- Drag and move selections: directly in the texture in the Image Editor and on the model in 3D, across the faces. Ctrl while dragging duplicates the selection instead of moving it.
- Copy, cut and paste across layers (Ctrl+C / Ctrl+X / Ctrl+V).
- Selecting in 3D is per texel: it uses a depth buffer, which causes selection to affect only the texels you are truly selecting.
-
Marquee (M), Ellipse (Shift+M), Lasso (Q) and Magic Wand (settings:
-
Colors, swatches and palettes
- Primary and secondary color: X to alternate between 2 colors and Shift+X to walk swatches from your palette.
-
Custom palettes by adding swatches (add colors clicking the
+and remove with Ctrl+click) or by importing PNG palettes (for example, palettes from Lospec). - Lospec palette library: 500 palettes bundled with the add-on.
-
Layers and Groups
- Layers like in painting programs: add, remove, duplicate, move up and down, merge down and merge selected, lock, visibility, opacity.
- Groups: group and ungroup layers, group opacity and visibility (affects all layers inside the group).
-
Pixel size and pixel density (texel density)
-
One-click pixel size setup: this solves one of
the biggest pain points of doing pixel art in Blender, it makes pixels
uniform across the model or per face (see
Density Zonesbelow). -
Density presets:
Low Density(chunky pixels),Medium Density(default),High Density,Very High DensityandCustom. -
Apply Texel Density: scales the UVs of the selected objects so every texel is the same size, then snaps them to the texel grid. -
Detect Texel Density: detects the pixel size of the model.- Auto pixel size detection for pre-existing textured models
-
One-click pixel size setup: this solves one of
the biggest pain points of doing pixel art in Blender, it makes pixels
uniform across the model or per face (see
-
Viewport and scene setup
-
Setup Viewport: one click button to setup Blender’s grid and snapping so that one grid square is exactly one texel at the current density / current pixel size. -
Setup Pixel Art Canvas: the wizard to create the texture, with a dimensions for the current texture density. -
Pixel Art workspace:
Image Editoron the left and the3D Viewporton the right.
-
-
Pixel Art Unwrap
- Basic UV unwrap made for pixel art.
- NOTE: Auto UV unwrapping is very basic. For the majority of models you are still going to need to manually unwrap the UVs, and then use Pixel Art Studio’s density tools on top of your own layout.
-
Density Zones (optional, advanced, multiple pixel sizes per model):
- Assign and manage texel density values per face, for uniform pixel size across the whole mesh or different pixel sizes per face (a character’s head drawn at twice the density of the legs, for example, which means smaller and more pixels for the head).
-
Detect Density Zonesmeasures the model island by island and clusters them into zones automatically. - Build zones from selected faces, with custom names and densities.
-
Grid Follows Face: while you paint in the 3D Viewport, Blender’s grid is resized and re-pointed on the fly at the density of the face under the cursor, to keep one grid square at the size of one pixel for that specific face.
-
Extras and Blender integration
- Undo history (you can undo and redo everything alongside Blender).
- Tools and settings popup: press F over either editor for a floating panel with the tools and their settings.
- Painting on the model works in Object and in Edit mode, and you can alternate between Pixel Art Studio’s tools and Blender’s own tools on the fly.
- The canvas is a normal Blender image: it’s packed into the .blend, and it renders and exports like any other texture.
