Power Paste
 3d illusions


Power Paste Documentation
Installation
Install the addon from the Blender preference’s Add-ons panel (this is not an extension).
Preferences
Once installed, open the PixelModeller AI preferences and set:
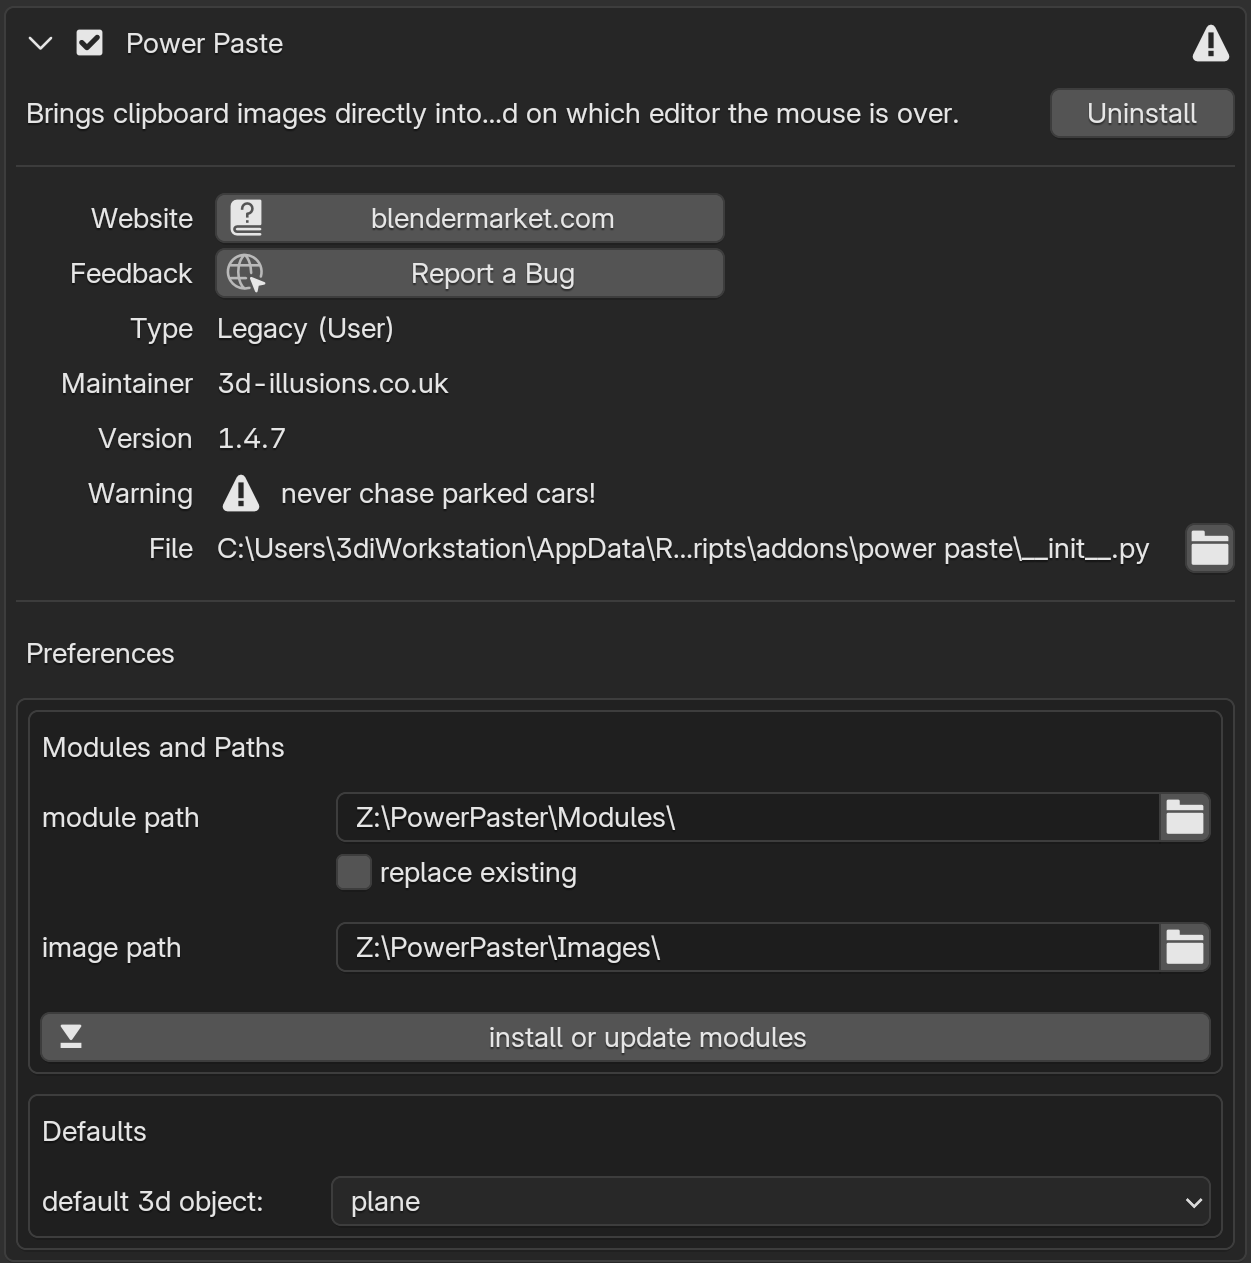
module path – This is the path where the addon will place necessary python modules when you click 'install or update modules'. Make sure the folder has read/write permissions
Image path – image files created from the clipboard will be saved to this folder.
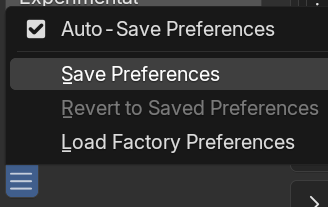
After setting the preferences, make sure you click the 3 bars at the bottom left of the preferences window, and choose ‘save preferences’.
Module Installation
This addon uses the Pillow module and dependencies. If you already have it on your computer, then you can try specifying the folder where it already reside. If you get a message saying the ones you have are incompatible, then you can either:
A) update the current ones using the below 'install or update AI modules' button
B) choose a different folder just for this addon (just in case another addon requires the older versions).
If you go with option B, before clicking the ‘install or update modules’ button, disable any other addons that use Pillow (PIL), save the preferences again, and restart Blender to ensure there are no conflicting modules that will prevent successful installation or correct operation of the addon. Consider using application templates when using conflicting addons: Application Templates - Blender 4.3 Manual

To download or update the modules, click the ‘install or update modules’ button. The module is very small (approximately 8MB), so shouldn't take long to download/install. You can view the progress in the Blender console. If there are any issues with installation, you will get a pop up box with detailed instructions on how to resolve.
Additional Step for Linux Users
Linux requires either xclip or wl-clipboard, dependent on your display protocol. This is so python can get the images from your clipboard.
Find your display protocol using command:
echo $XDG_SESSION_TYPE
If it returns wayland, use package name ‘wl-clipboard’, for X11, use ‘xclip’.
Example installation command: sudo apt install xclip
The install command will vary dependent on your Distro:
Ubuntu, Debian, and Linux Mint:
sudo apt update
sudo apt install (package name)
Fedora, CentOS, AlmaLinux, and Red Hat:
sudo dnf install (package name)
Arch Linux and Manjaro
sudo pacman -S (package name)
Using the addon
The addon is very easy to use, all you do is hover over the appropriate editor and press:
ctrl + alt + V: Pastes an 8 bit tiff file with Alpha channel. This is ideal for base colour and general use.
ctrl + shift + alt + V: Pastes a 16 bit tiff file that's suitable for displacement and height maps. Alpha is set to 1, so transparency will be lost.
If the shortcuts don't work, then you already have those shortcuts in use by another operator. In that case you'll need to search those shortcuts in Blender's preferences, and change either this addon's shortcuts, or the other addon's.
IMPORTANT - Images added to the clipboard from Firefox aren't currently supported on Windows. You will need to paste it into an image editor, then copy back to the clipboard ensure compatibility.
The addon will save the clipboard image as an image file to the specified image folder (unless the identical image has been saved previously, in which case it will use the existing one), and then create a Blender image Datablock. It will also do other things depending on which editor your mouse is hovered over:
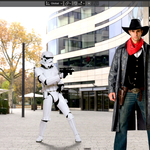
3d viewport: Adds either a plane with material, or an empty to the viewport. There are various options in the redo panel to modify the scale, location, material properties, origin (shown below).
Image editors: loads the image into the hovered image editor.
Node editors: Creates an image node at the mouse location.
Other editors: Only creates the file and image datablock. The image is then available in any of Blender image dropdowns.
Redo Panel Options:
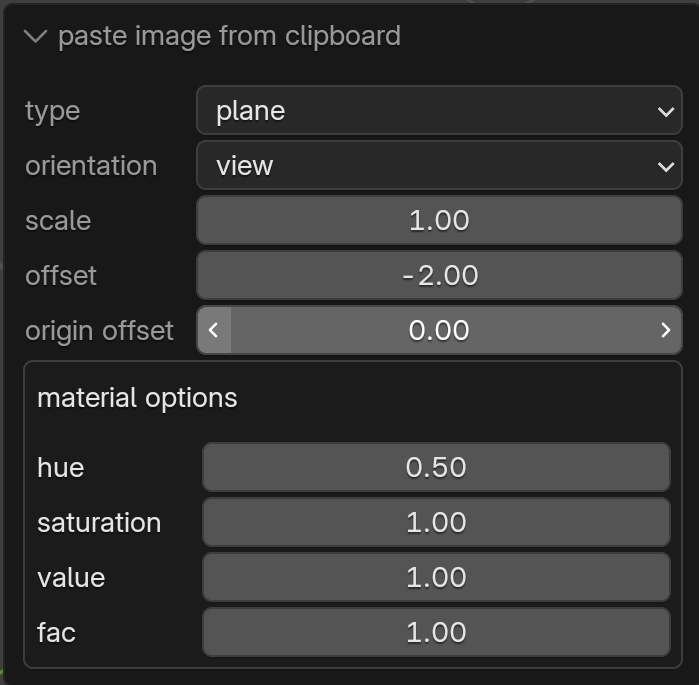
When pasting into the 3d viewport you have some additional options in the redo panel:
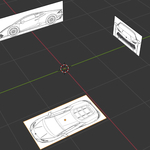
Type: You can choose 'plane' or 'empty'. Plane will create a renderable plane and a material for the plane to use. Empty will create a non-renderable image empty, ideal for reference modelling.
Orientation: 'view' will align and rotate the geometry to the view. '3d cursor' will align the geometry to the 3d cursor and rotate it to the nearest global axis. For example if you're looking primarily towards the world's negative x axis, then the geometry will align to that.
Scale: This allows you to set the size in world units of the longest side. The aspect ratio will correctly represent that of the image. Default is 1 meter (or whatever you have your units set to).
Offset: This will slide the geometry away from its initial position in either a negative or positive direction. This is in world units.
Origin Offset: Allows you to reposition the origin so that it aligns with the bottom of the image. This is useful for removing blank space at the bottom of an image that would result in the geometry floating when used for scattering.
Material Options: When the type is set to plane, a material is created, and the texture is passed through a HSV node, and then in to the base colour. The below options allow you to quickly modify the hsv node's values. You can also modify the values directly in the material, but if you do that the redo panel will no longer be available, so make sure you set the non material options correctly first.
Hue: Changes Hue value. Good for making green trees more orange to emulate autumn for example. Bear in mid this will modify the entire image, so in the case of the tree, your trunk would also become more orange.
Saturation: Modifies saturation. This is often needed as png images available online tend to be strongly lit, and over saturated.
Value: Changes the brightness of the texture.
Fac: Controls the effect of all the above material options.
N Panel UI:
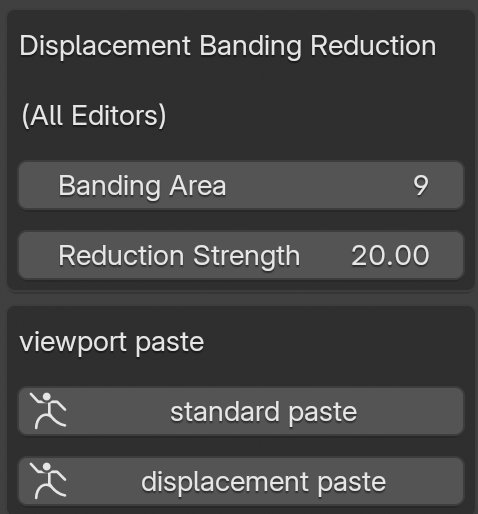
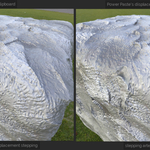
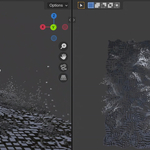
The displacement banding reduction options allow you to control the strength of the banding and pixelation reduction.
Banding Area: This is the distance in pixels from the pixel being processed that addon considers when reducing banding. So if your displaced mesh or height map has very visible steps far apart, then you would set the banding area high enough to encompass that area. A value of 5 or 7 is usually sufficient, but if the banding isn't reduced even with a high reduction strength (see below), then you will need to increase the banding area. The higher the value, the longer the image will take to generate, particularly if the clipboard contains a high resolution image.
Reduction Strength: This is how much the pixels are smoothed within the Banding Area. A value of 1.5 to 2.5 is a good starting point, but may need to be increased if the stepping or artefacts in the original image are severe.
Viewport Paste Buttons: The two buttons are used to paste into the viewport instead of using the shortcuts. The other editors still require the shortcuts, as they rely on the mouse position
Enjoy!
Michael
3d-ilusions
Discover more products like this
BlenderGeometryNodes 3d modeling reference Copy-Paste image editor Blender image editor reference 2dimage to 3dobject Copy Paste Plugin paste 2d image to 3d copy and paste 3D reference