Printsplitter — Fast Model Splitting For 3D Printing In Blender
 NetMetropolis


Documentation
Installation
Download the PrintSplitter ZIP file
Open Blender
Go to Edit → Preferences
Select the Add-ons tab
Click Install
Select the downloaded ZIP file
Enable PrintSplitter in the add-on list
Once enabled, the tool will appear in the 3D Viewport Sidebar.
You can open the sidebar by pressing N in the viewport.
How to Use
1. Select Your Model
Click the mesh object you want to split.
2. Open PrintSplitter
Press N in the viewport and go to the PrintSplitter tab.
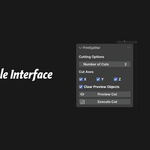
3. Choose the Number of Cuts
Set how many sections you want the model divided into.
Example:
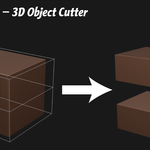
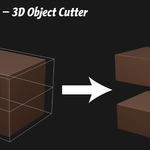
2 cuts → 2 pieces
4 cuts → 4 pieces
4. Choose Cut Axis
Enable one or more axes:
X – left/right slicing
Y – front/back slicing
Z – vertical slicing
Multiple axes will generate a grid of parts.
5. Preview the Cuts
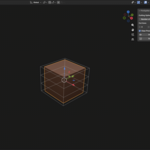
Click Preview Cut to display the slicing planes.
These wireframe boxes show exactly where the model will be divided.
6. Execute the Cut
Click Execute Cut.
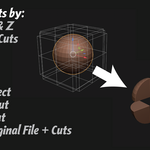
PrintSplitter will:
Duplicate the mesh
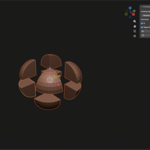
Slice it into parts
Hide the original object
Leave you with clean printable pieces
Tips for Best Results
-
Apply Scale and Rotation before slicing
Ctrl + A → Apply All Transforms
Use Manifold meshes for clean booleans
If slicing multiple axes, start with fewer cuts to test spacing
Preview first to confirm placement
Have questions about this product?
Login to message
| Published | 6 months ago |
| Blender Version | 5.0 |
| Extension Type | N/A |
| License | GPL |
Discover more products like this
slice split blender slice addon one click split addon cut 3d slice cut mode