 Mendworks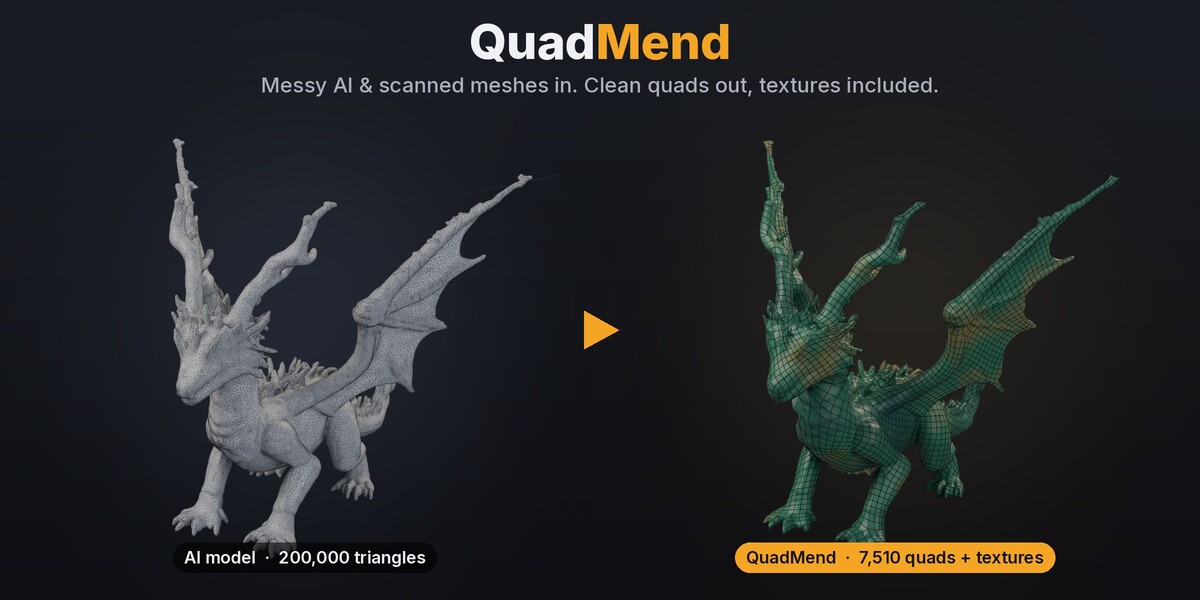
Installation
- Download quadmend-0.10.2.zip. Do not unzip it.
- In Blender, open Edit → Preferences → Get Extensions.
- Click the ⌄ menu in the top-right corner and choose Install from Disk…
- Select the .zip file and click Install from Disk. (You can also drag the .zip into the Blender window.)
- Make sure QuadMend is ticked in the list.
If Blender says "Cannot read file … Permission denied", you selected an unzipped folder. Choose the .zip file itself.
Updating: install the new .zip the same way. It replaces the old version, and there's no need to uninstall first.
Using QuadMend
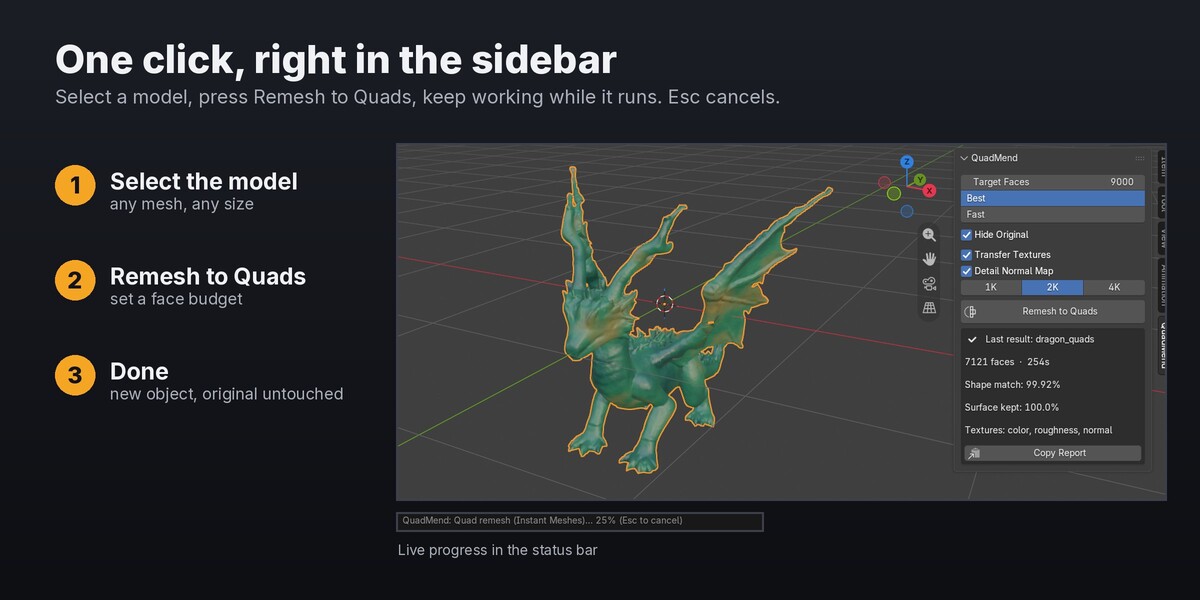
- Switch to Object Mode and click your model to select it.
- In the 3D View, press N to open the sidebar and click the QuadMend tab.
- Set Target Faces (see below).
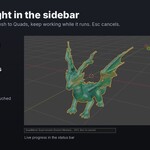
- Click Remesh to Quads. Progress appears in the status bar at the bottom of the window. Press Esc to cancel.
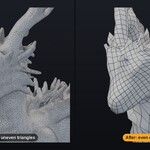
- When it finishes, a new object with _quads added to its name (for example Dragon_quads) appears with the same position, rotation and scale. The original is hidden, not deleted: find it in the Outliner.
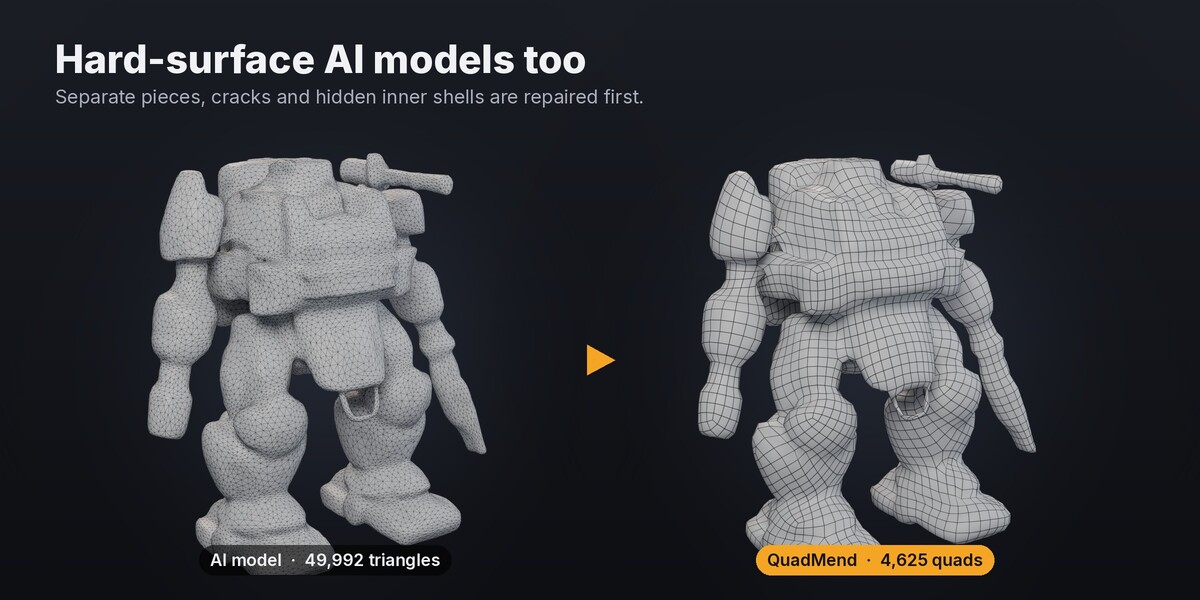
If your model imports as several pieces, select them all and press Ctrl+J to join them first. QuadMend works on one object at a time.
Settings
| Setting | What it does |
|---|---|
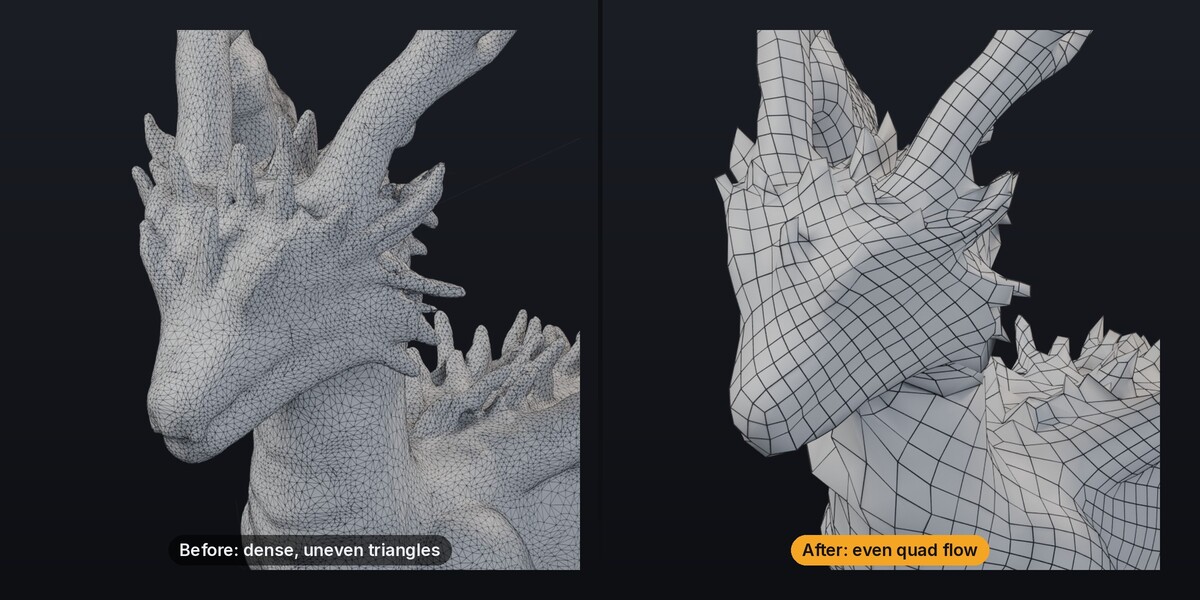
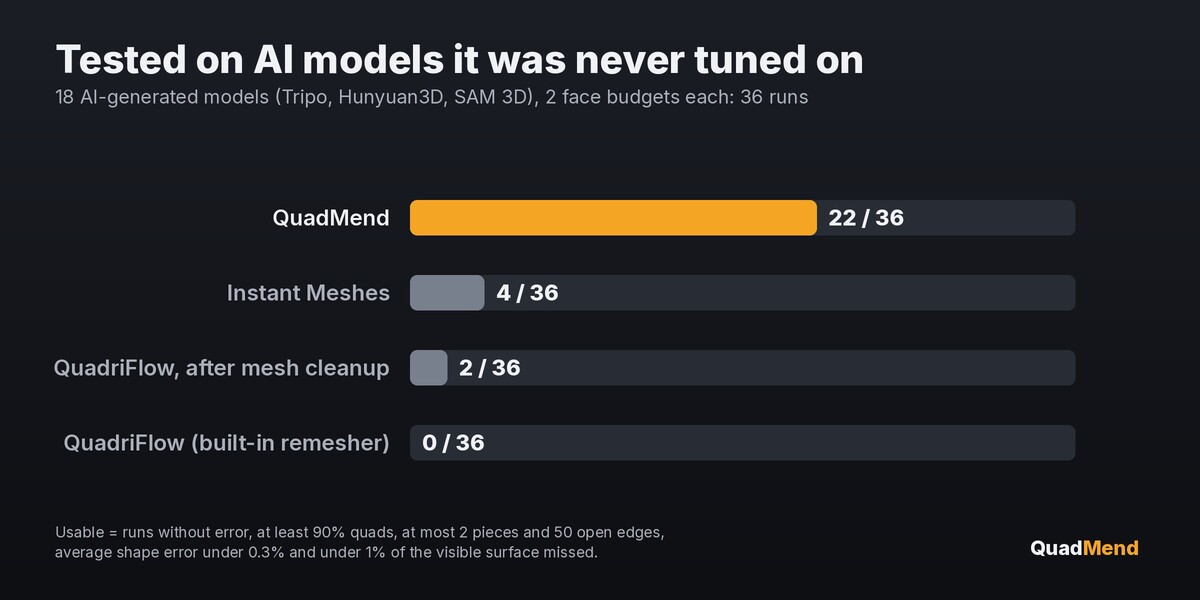
| Target Faces | Roughly how many quads you want. 3,000 for a game prop, 5,000–10,000 for a detailed prop, 10,000–20,000 for a hero character. The result lands close to this number. |
| Best / Fast | Best runs two quad engines and keeps the better result. Fast runs QuadriFlow only (quicker, and the only mode on Intel Macs). |
| Hide Original | Hides the original after the run so you see the result. Untick to keep both visible. |
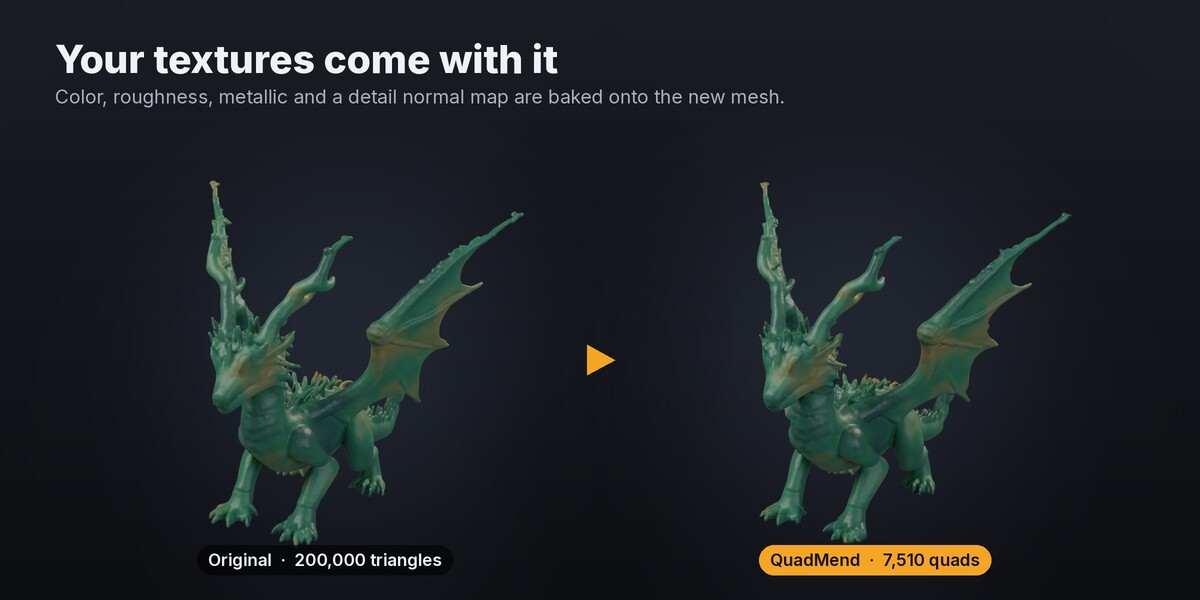
| Transfer Textures | Bakes base color, roughness and metallic from the original's material (or its vertex colors) onto the new mesh. |
| Detail Normal Map | Bakes a tangent-space normal map that carries fine surface detail onto the new mesh. |
| 1K / 2K / 4K | Resolution of the baked texture maps. |
The result
- New UVs and material. The result gets its own UV map and a material ending in _quads_mat with the baked images connected to a Principled BSDF. The images are packed into the .blend. To use them in another program, save them from the Image Editor (Image → Save As), or export the model as glTF/FBX with textures.
-
The report in the panel shows:
- Shape match: how closely the new surface follows the original.
- Surface kept: how much of the original's visible surface lies within 1% of the model's size. Below 99% means fine detail didn't fit, and the panel suggests a face count to try.
- Open edges / separate parts, if any.
Troubleshooting
| Problem | Fix |
|---|---|
| Remesh to Quads is greyed out | Select a mesh object and switch to Object Mode. |
| Blender seems frozen | Check the status bar. Texture baking at the end pauses Blender for a few seconds up to a minute on large models. |
| Result is grey, no colors | Switch the viewport to Material Preview. If it's still grey, the original has no color texture or vertex colors. |
| "Fine detail didn't fit" | Raise Target Faces to the number the panel suggests and run again. |
| "Instant Meshes unavailable" | Normal on Intel Macs. QuadMend still works using QuadriFlow only. |
| Something else | Click Copy Report in the panel and send it to me with a screenshot. |
Support
Questions and bug reports through Superhive messages. I reply within 72 hours. Please include the text from Copy Report.
Changelog
- 0.10.2: First public release.
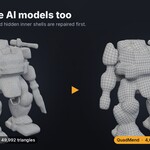
Credits: Bundled Instant Meshes (BSD-3-Clause, Wenzel Jakob et al.) via pynanoinstantmeshes, and oneTBB (Apache-2.0). Example models in the images: dragon from Step1X-3D (Apache-2.0), robot and mech from Tripo via DetailGen3D (MIT).
Have questions about this product?
Login to message
| Blender Extension Compatible | Yes |
| Published | about 6 hours ago |
| Blender Version | 4.2 - 5.2 |
| Extension Type | Add-on |
| Render Engine Used | Cycles |
| License | GPL |

Discover more products like this
tripo meshy mesh repair texture-baking retopology 3D Scan quad remesh photogrammetry ai 3d remesh quads hunyuan3d