 Skava
Skava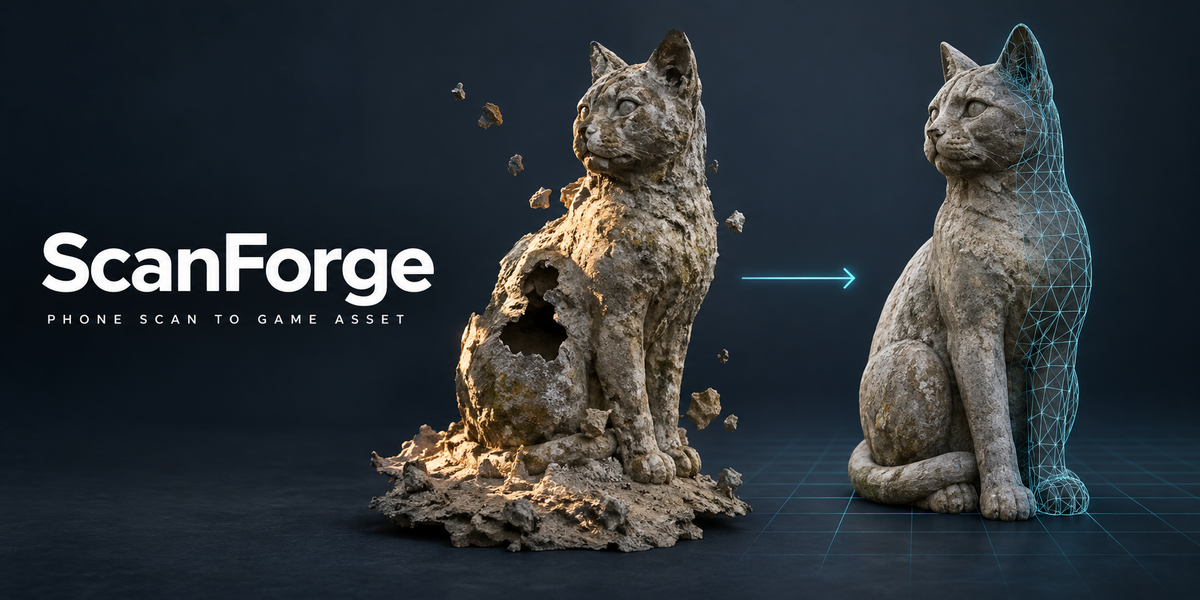
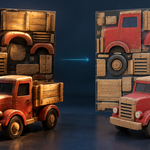
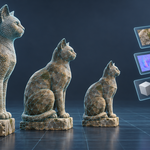
What ScanForge does
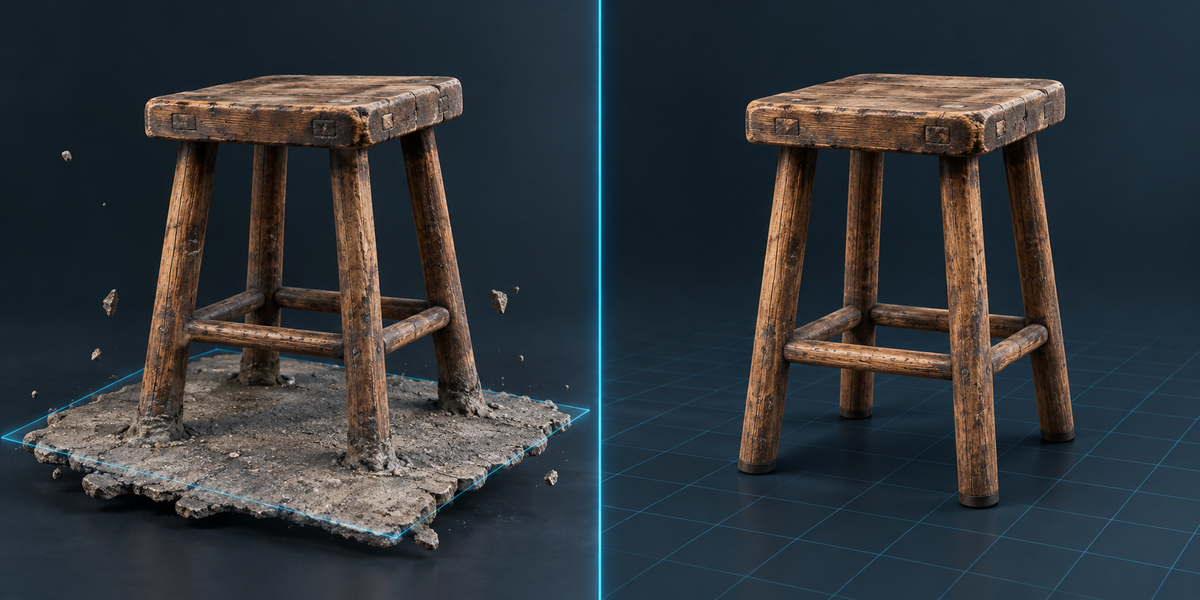
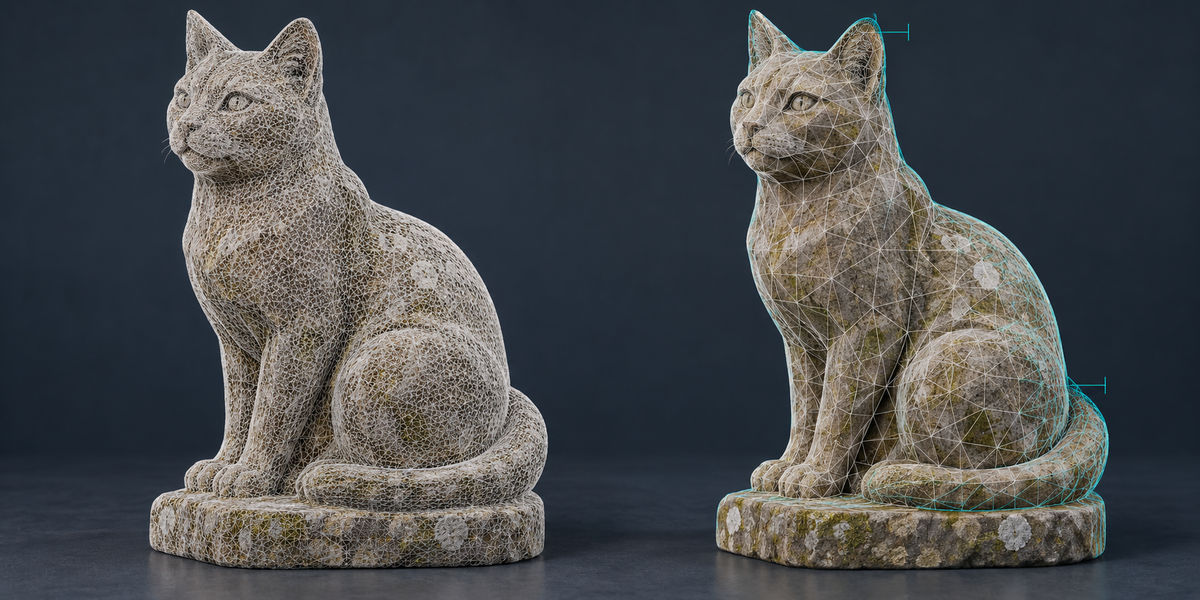
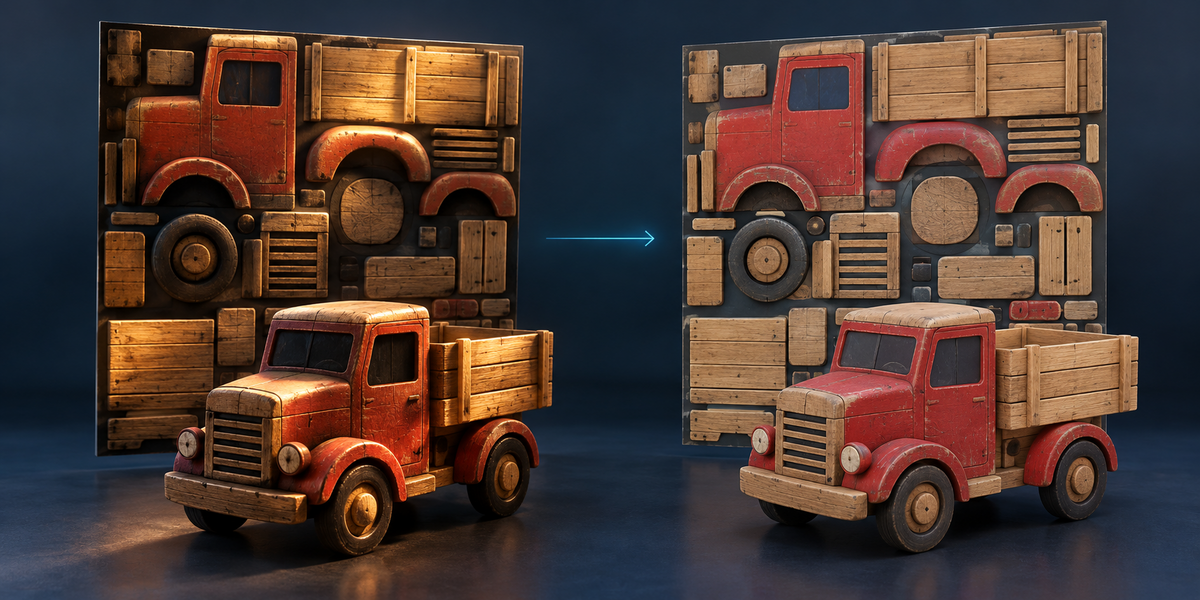
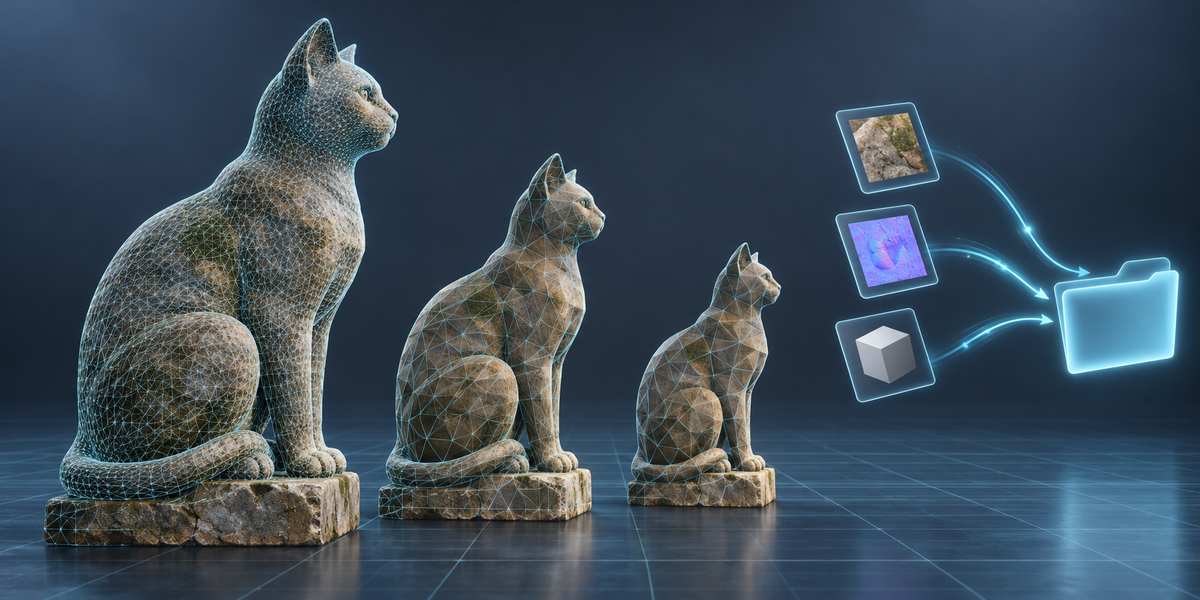
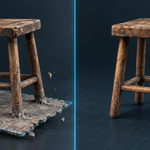
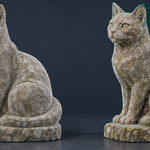
ScanForge turns a phone or photogrammetry scan into a game asset and measures every step. It finds the floor under the scan, stands the asset on it and cuts the floor away; removes loose crumbs; closes the holes the camera left; brings the mesh down to your triangle budget and tells you, in millimetres, how far the asset moved from the scan; unwraps it, bakes colour, normals and ambient occlusion from the scan; removes the light that was baked into the scan's texture; makes two LODs; and writes GLB and FBX with their textures into a new folder. Your scan is never changed: the asset, its LODs and its images are new.
Requirements
- Blender 4.2 or newer. Checked on Blender 4.2.9 and 5.2.2.
- ScanForge uses only Blender itself (Cycles for baking) and numpy, which ships with Blender. No Python packages to install, no cloud, no account, no AI model. Checked on Windows 11.
Install
- Keep the archive zipped. In Blender open Edit > Preferences > Add-ons.
- Press the arrow button in the top right corner and choose Install from Disk, pick the archive, tick ScanForge.
Press N in the 3D Viewport; the sidebar tab is called ScanForge.
Forge an asset
- Import your scan (OBJ, PLY, glTF/GLB or USD — Blender's own importers) and make it the active object, in Object Mode. A scan with an image texture gives the colour map from that texture — also when the material is "unlit" (many GLB files from Sketchfab and from scanning apps come so); a scan with only vertex colours (PLY often comes so) gives it from the vertex colours; the report says which. Meshes that apps split along their texture seams are joined back before any step, so they reduce and clean like one surface.
- Set the options below and press Forge Asset. The asset appears in a collection called ScanForge, next to the scan, standing on the floor of the scene.
- Read the report under the button: every step says what it did and how much, in numbers.
Options
- Triangle Budget — the asset gets at most this many triangles. ScanForge reduces with Blender's own Decimate (edge collapse); the report gives the count it reached. A scan already within the budget is not reduced, and the report says so.
-
Floor:
- Find and Cut (default) — for an upright scan: finds the flat area under the object that the whole object stands on, turns the asset so that this floor is level, puts it at height zero and cuts the floor and everything under it away.
- Scan Is Tilted — the same, but the floor may lie in any direction.
- Leave As Is — no floor search; the asset keeps the scan's position.
- Remove Loose Bits — removes crumbs and small pieces floating away from the object. Pieces are grouped by distance: everything that touches or nearly touches the object, directly or through a chain of neighbouring pieces, belongs to it and is kept, however small (a thin part of a scan often falls apart into many small pieces). A group away from the object is removed when it is small next to the object or made only of crumbs. The report says how many pieces were removed, what share of the surface they were, and how many small pieces were kept as parts.
- Close Holes and Hole Size Limit — closes a hole only if its edge is shorter than this share of the scan's size (default 0.5), plus the cut along the floor, which always gets a flat bottom. Larger openings are treated as part of the object (a window, a handle, the open edge of a sheet) and stay open; the report counts them. Shiny and glass surfaces often scan with large holes (the camera sees reflections, not the surface): raise the limit for such an object if those holes should be closed too.
- Texture Size — 1024, 2048 or 4096 pixels, or No Textures for geometry only.
- Remove Light — how much of the light baked into the scan's texture to remove (0 to 1). See below.
- LODs — also make LOD1 (half the triangles) and LOD2 (a quarter), each measured against the scan like the asset.
What the numbers in the report mean
- Floor: how much the scan was tilted, and how much of its surface was floor and is now cut away.
- Loose bits: how many pieces were removed and what share of the surface they were.
- Holes: how many were closed, how many of them at the floor, how many large openings were left open. A closed hole has no scan surface behind it, so its patch of the colour map is filled from the neighbouring colour; the report gives that share of the texture.
- Shape kept within … mm at the worst of … sampled points, 95% of the surface within … mm: the distance between the asset and the cleaned scan, measured in both directions — from points spread over the scan to the asset (where the asset cut a detail away) and from points spread over the asset to the scan (where the asset added surface that was not there). The first number is the worst of the sampled points (60,000 on each side), not a guaranteed maximum; the second is what 95% of the surface stays within. Points are spread by area, so a miss in the middle of a large asset face is found, not only at its corners. Millimetres follow the scene's unit scale.
- Light in the texture: how strongly the brightness of the texture follows the light ScanForge read from the scan, before and after (0 means none of that light is left), and how strongly it follows ambient occlusion.
Removing baked-in light
A scan's texture is the object's colour multiplied by the light in the room where it was scanned. ScanForge reads that light from the scan itself — a smooth sky described by nine spherical-harmonic coefficients per colour channel, darkened by ambient occlusion — and divides it out. It does this in rounds: after the first estimate, what looks much darker than the rest is taken for dark material rather than shadow and is left out of the next estimate.
Measured through the whole add-on — bake from the scan, then removal — on 8 CC0 models (wood, painted metal, plastic, rubber, marble, fabric) lit by 2 HDRIs (a low sunset sun and a soft studio), with the true colour known: the median colour difference to the true colour (ΔE2000, where 1.0 is what the eye just notices) fell from 4.89 to 3.11 (median of the 16 cases; mean 6.05 → 4.27). It improved in 13 of the 16 cases, stayed the same in 1 and got worse in 2 (in one of them by 0.04).
Where it stops:
- Dark material next to light material in the same shape can look like shadow. A chair with a dark wooden frame and light upholstery in soft studio light came out worse than the scan (2.27 → 4.96). When the result starts to follow the light the wrong way, ScanForge lowers the strength by itself and the report says so; for such objects set Remove Light lower.
- Sharp contact shadows (a part pressed against another) are reduced, not removed: the light model is smooth.
- Places the light never reached — inside a cavity, behind a part — have no colour in the scan to recover. Where the light was very weak, colour is brightened at most ten times, and the report gives the share of such texels.
Set Remove Light lower if you want to keep some of the original mood.
Export
- Choose a Folder and the formats (GLB, FBX), press Export Asset.
- ScanForge creates one new folder inside the one you chose, named after the asset (…_ScanForge, or …_ScanForge_2 and so on if that name is taken), and writes only there. Nothing that is already in your folder is overwritten.
- Textures are written as 8-bit PNG: the colour map in sRGB, the normal map and the ambient-occlusion map as data, each with a Unity .meta file beside it so that Unity imports the normal map as a normal map and keeps the full texture size. The ambient-occlusion map is a separate file: Blender's Principled shader has no input for it, so the material does not use it. GLB and FBX are written at the same real size: the scene's unit scale is applied to both.
What has been checked
- The add-on installed from the archive, Forge Asset and Export Asset pressed, the GLB opened again in Blender (same triangle count, colour texture on the material, both LODs, the asset standing on height zero within 0.1 mm) — 26 checks, all passed on Blender 4.2.9 and 5.2.2. The scan was compared before and after, vertex by vertex: unchanged. Exporting into a folder that already held a folder of the same name left the other folder untouched. Eleven deliberately broken copies of the add-on (a folder overwritten, the scan moved, the colour map written without sRGB, no floor search, no reduction, one LOD missing, the colour map not connected, the normal map's Unity settings wrong, a dot in the name cutting the file name, no unit scale on GLB, export without textures failing) were each caught by these checks.
- The exported FBX and textures opened in Unity 6 (6000.4.5f1): same triangle count and real size as in Blender, standing on the floor, colour map imported as colour (sRGB), normal map as a normal map, full texture size kept.
- Floor, cleanup, holes and reduction on 44 CC0 library models, each turned into synthetic phone scans in three ways — the model's parts as they are, a fused photogrammetry-like shell, and a shell with no floor — each with surface noise, three holes, 25 floating crumbs, tilted 4° and lifted. Where a floor was scanned, it was found on all 44 models in both ways, the tilt was recovered within 0.02° and the bottom of the object landed on height zero within 0.8 mm. Where no floor was scanned, no floor was reported on any of the 44 and nothing of the object was cut. All 2,200 floating crumbs were removed. Distance from the asset to the true model outside the holes: median 0.5–0.6% of the object's size.
- 20 real phone scans downloaded from Sketchfab under CC BY 4.0, made with six apps (KIRI Engine, Polycam, Scaniverse, Apple Object Capture, Trnio, 3d Scanner App), including shiny ceramic, metal and painted toys: Forge Asset and Export Asset finished on all 20, about 50 to 90 seconds each on a 2017 laptop (Intel i7-7700HQ) for scans of about 11,000 to 121,000 triangles. A floor was found and cut on 6 of the 20 (among them a stump on grass and a tuk-tuk on a street); on the other 14 nothing was cut.
Limits
- Removing light: see the measured numbers above; a dark material next to a light one in soft light can come out worse than the scan.
- A scan made of hundreds of thousands of open sheets (a tree with every leaf scanned) is not a scan with holes: when there are more than 20,000 small openings, ScanForge closes none of them and says so.
- Some apps export a scan turned inside out (its faces point inwards; one of the 20 scans, from Polycam). ScanForge then does not find the floor: nothing of the object is cut, the floor stays in the asset, and the report says that no floor was found. Flip the normals of such a scan in Blender (Edit Mode, Mesh, Normals, Flip) before Forge Asset.
- Thin parts thinner than the scanner can resolve come as loose crumbs in the scan; if they float far from the rest, they are removed with the crumbs.
- On an 8-million-triangle model (a tree), reading the scan, finding the floor, removing loose bits and handling its openings took under 4 minutes; reducing it to the budget and baking were not timed to the end.
- All measured runs above were made on Windows 11 with Blender 4.2.9 and 5.2.2; macOS and Linux have not been run.
Have questions about this product?
Login to message
| Published | 2 days ago |
| Blender Version | 4.2 - 5.2 |
| Extension Type | N/A |
| Render Engine Used | Cycles |
| License | GPL |
Discover more products like this
albedo 3D Scan LOD baking photogrammetry scan cleanup gltf low poly decimate Game asset delighting hausdorff