 Nothing Software


Purpose
This Simple yet useful Set Project Tool creates an entire structured folder system for your project with just a few clicks, and tells Blender where everything lives so you're not hunting through your Downloads folder six months later wondering where a render went.
Installation
1. Download set_project_tool.zip
2. Open Blender and go to Edit › Preferences › Add-ons
3. Click Install… and select the file
4. Enable the add-on by checking the box next to Set Project
How to Use It - Setting Up a New Project
1. Open a fresh unsaved .blend file
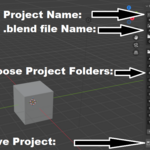
2. Under Project Name give your project a name, then under File Name give your blend file a name.
3. Next in Project Location set the path to where you want your project to live. You can change it again later.
4. Now, choose which folders you want to be in your project, you can add, remove, and rename all the Project Folders
NOTE: removing Autosave will cause Blender handle autosaves in the default blender folder rather than in your project.
4. When you're done, Click Set New Project
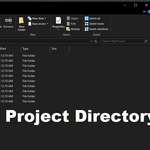
5. The add-on creates the full folder structure at that location
After Your Project is Set
Once a project is active:
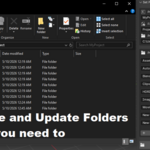
- You can rename your Project Name and File Name just press Update Project when you're done
- You can add, remove, and rename Project Folders after your project is set
- You can move your entire project anywhere you want by editing the Project Location file path without having to worry about enabling Relative Remapping.
- Open Folder — opens the project root in your OS file manager
AI Usage Disclosure: This addon was developed with the assistance of AI (large language models) for code generation, structuring, and optimization. All AI-generated code has been reviewed, tested, and curated by a human developer to ensure functionality, quality, and security.