 Rasheed's Edit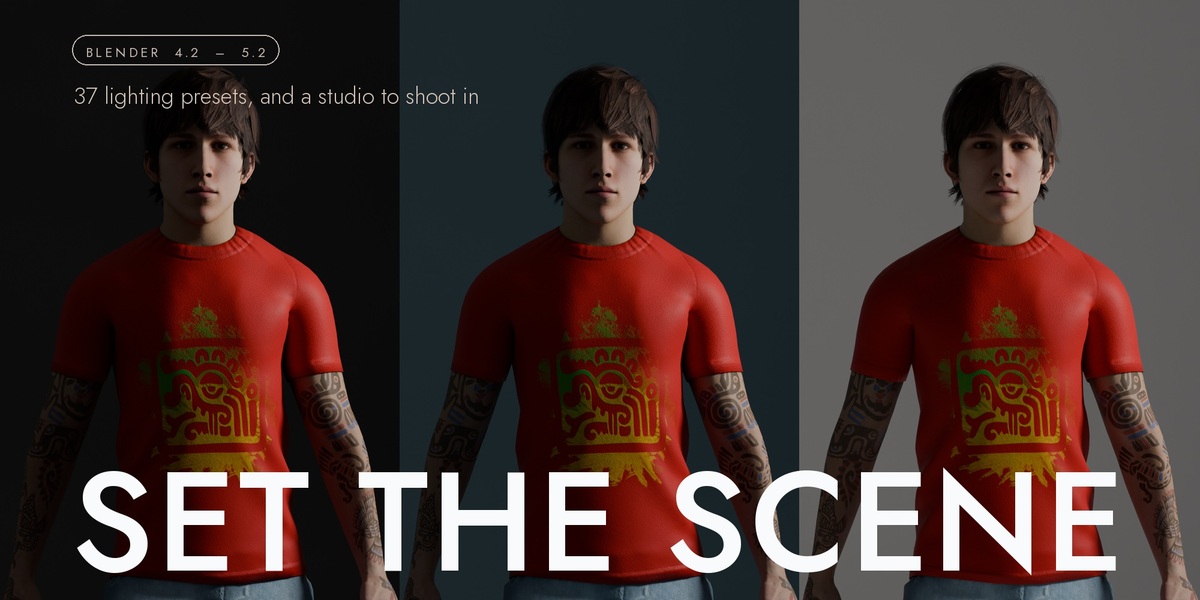






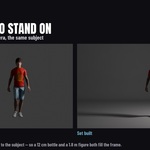


You lit it, and it is standing on nothing.
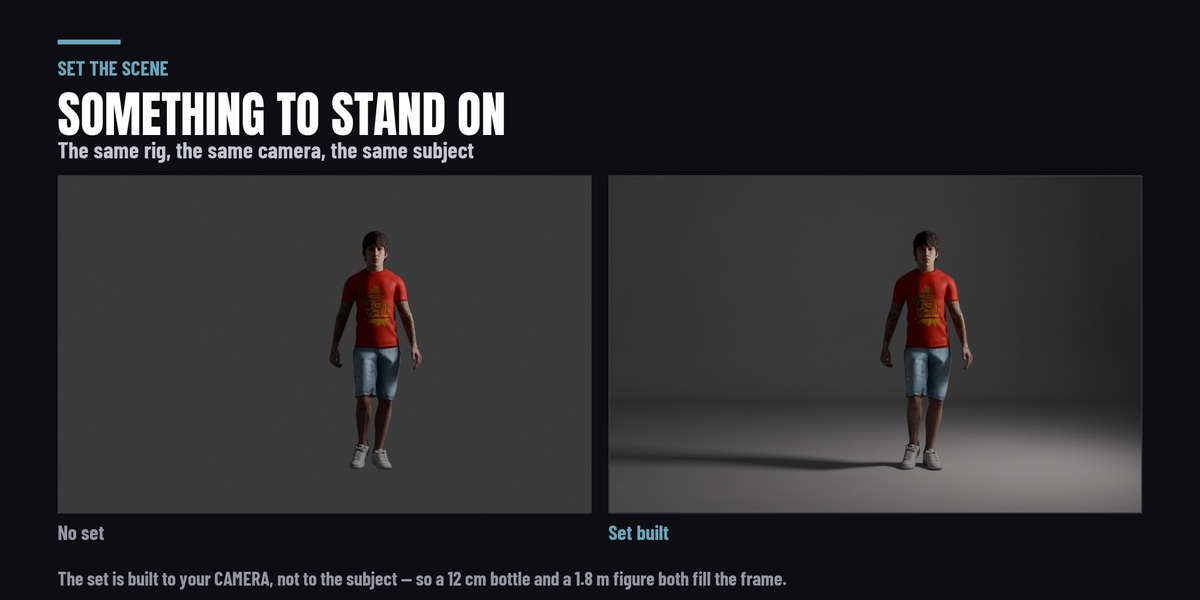
The light is right and the render still looks like a 3D render, because the subject is floating on the default grey with a hard line where the world ends. The fix is the thing a photographer sets up before the lights go on - a floor that curves into a wall with no seam in it - and building one by hand is twenty minutes of bending a plane and guessing how big it needs to be.
Set the Scene does both halves: 37 studio lighting presets, and a backdrop that measures itself against your camera instead of your object.
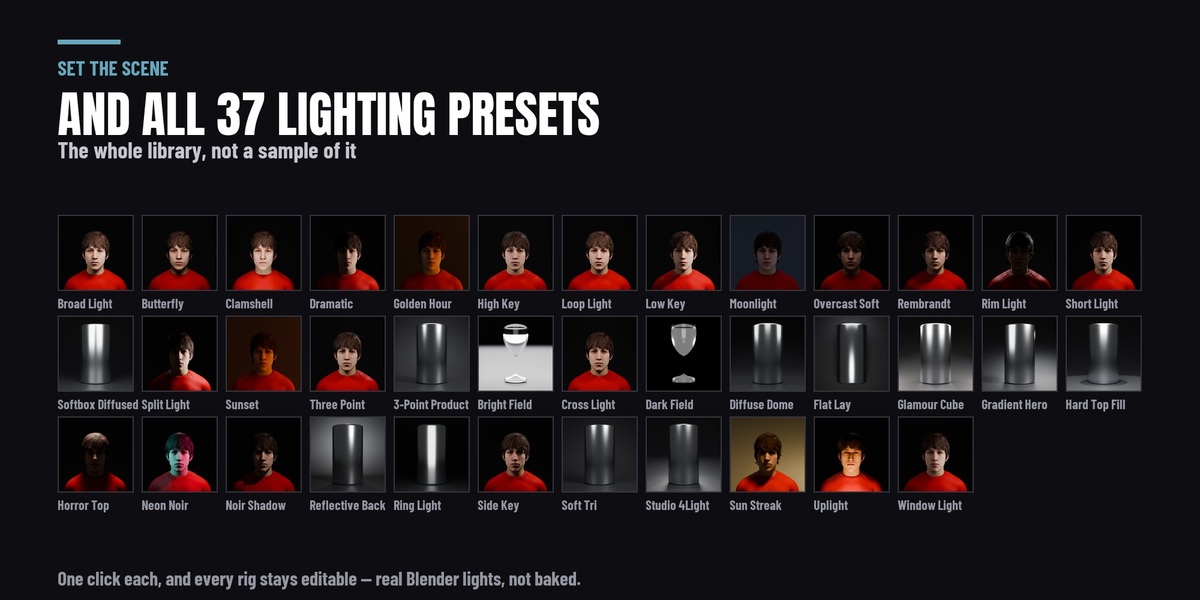
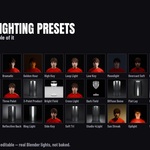
37 lighting rigs, by name
Rembrandt, clamshell, butterfly, split, loop, bright field, dark field, noir, golden hour, uplight, ring light, window light - each one rendered as a thumbnail so you choose a look by looking at it, not by reading a list.
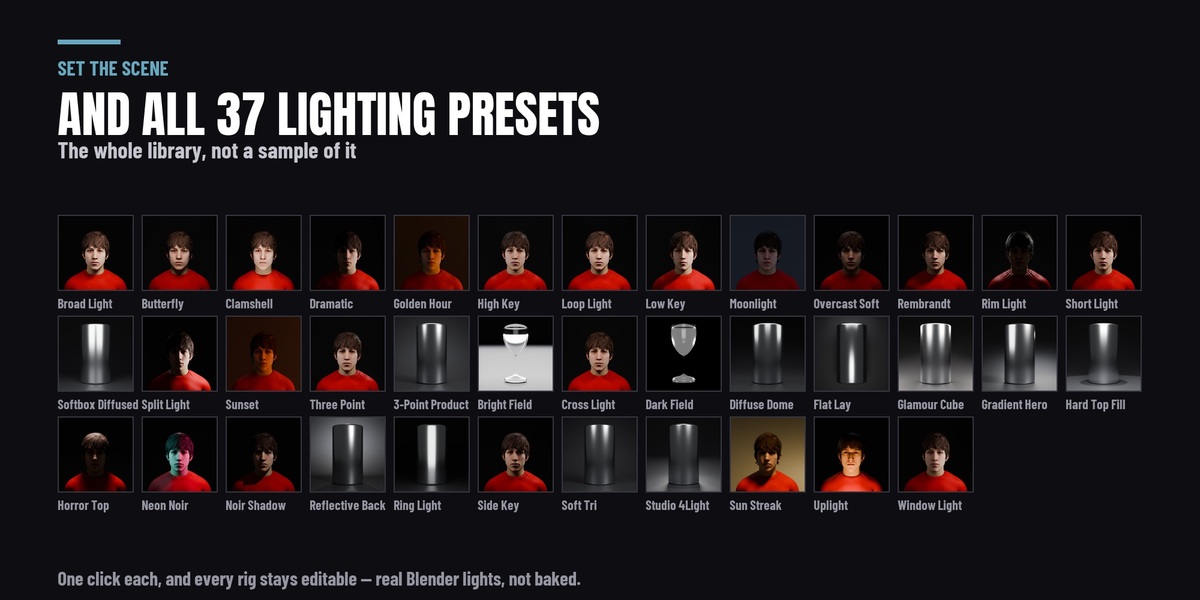
Every rig is ordinary Blender lights in their own collection. Nothing is locked, nothing is driven, there is no custom node group to reverse-engineer. Select a light and move it. The preset is a starting point you are meant to leave.
Four controls move the whole rig at once - intensity, colour temperature, key-to-fill ratio and orbit - holding the relationship between the lights while you change it. They are absolute rather than incremental: take intensity to 3.0 and back to 1.0 and you are exactly where you started, to the last decimal. That sounds like a detail until the fifth time you have nudged a value and lost the look you had.
And you can save your own. Light something by hand, press save, and it joins the library with the rest.
Every rig fits what it is lighting
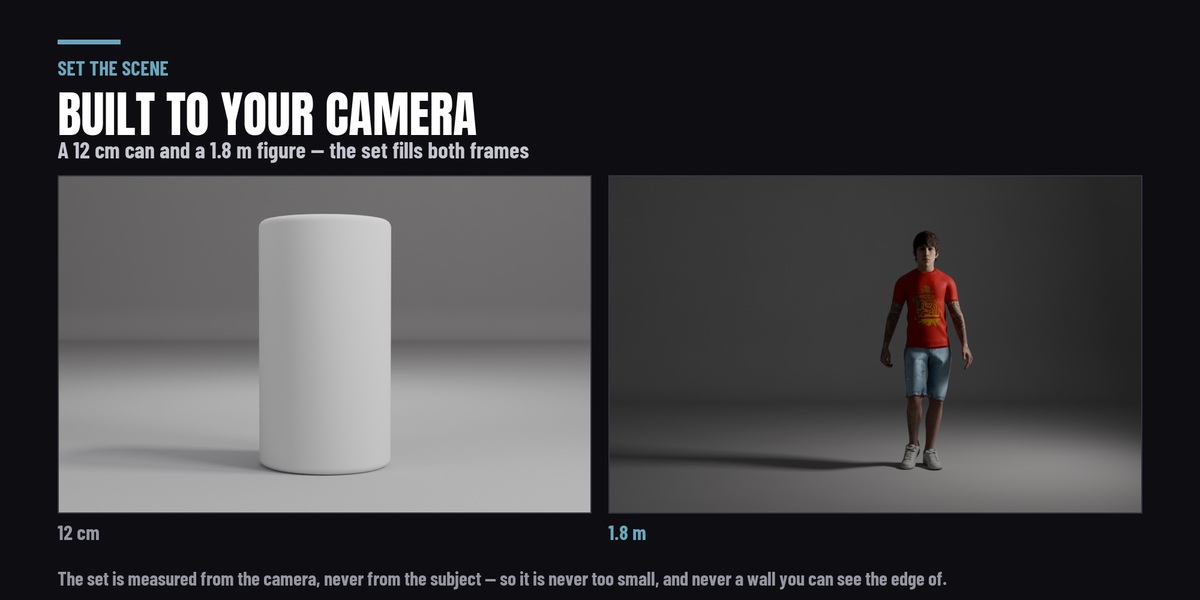
The same preset on a person and on a 12 cm bottle gives the same look - not a softbox ten times the bottle's size. Distance, source size and power scale together, so the exposure does not move when the subject does.
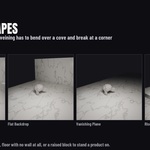
Four set shapes
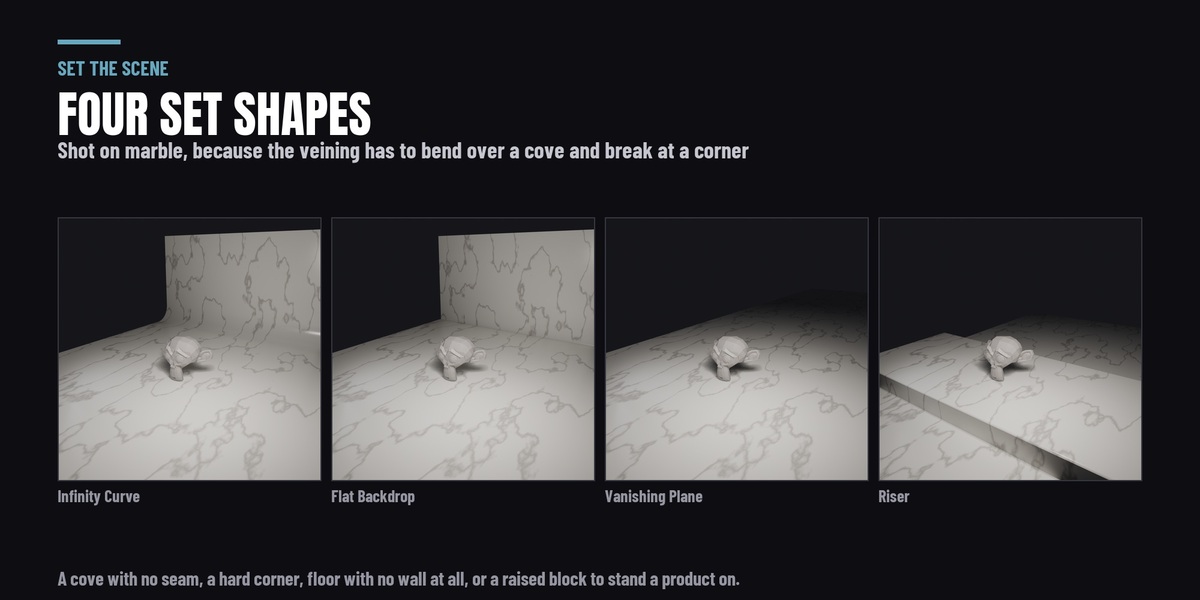
Infinity Curve - the seamless cyclorama, floor curving into wall with no horizon line. Flat Backdrop - a wall and a floor with a real corner. Vanishing Plane - floor only, running out to nothing. Riser - a plinth to stand a product on.
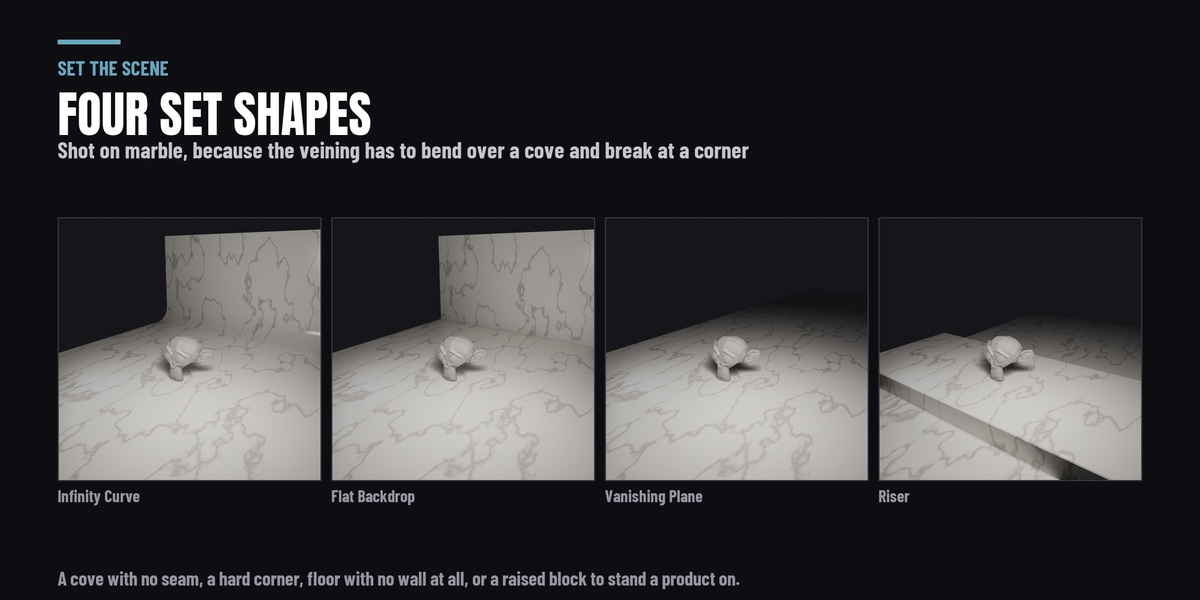
They are mesh, built in your scene, yours to edit. The edges carry a bevel, because nothing in the world has a perfectly sharp edge and a sharp edge catches no highlight at all - it is only the boundary between two shaded faces, and it is one of the reliable tells that a render is a render.
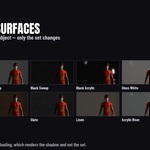
Twelve surfaces, and they are procedural
White Sweep, Grey Sweep, Black Sweep. Gloss White, Black Acrylic, Acrylic Riser. Marble Slab, Slate, Concrete, Butcher's Block, Linen Drape. And Floating, which is not a surface at all - see below.

Not a texture pack. There is nothing to download, nothing sitting in your project folder, and nothing to run out of. The set is unwrapped in metres, so a texture scale means repeats per metre and survives the set being resized - wood's grain runs along the floor and keeps running up the wall instead of smearing where the surface turns vertical.
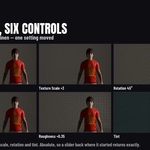
Six controls on whatever you picked
Pattern scale, roughness, relief, texture scale, rotation and tint - live, on the surface, recomputed from what the material was authored with rather than from wherever the slider was last. Reset puts it back exactly.
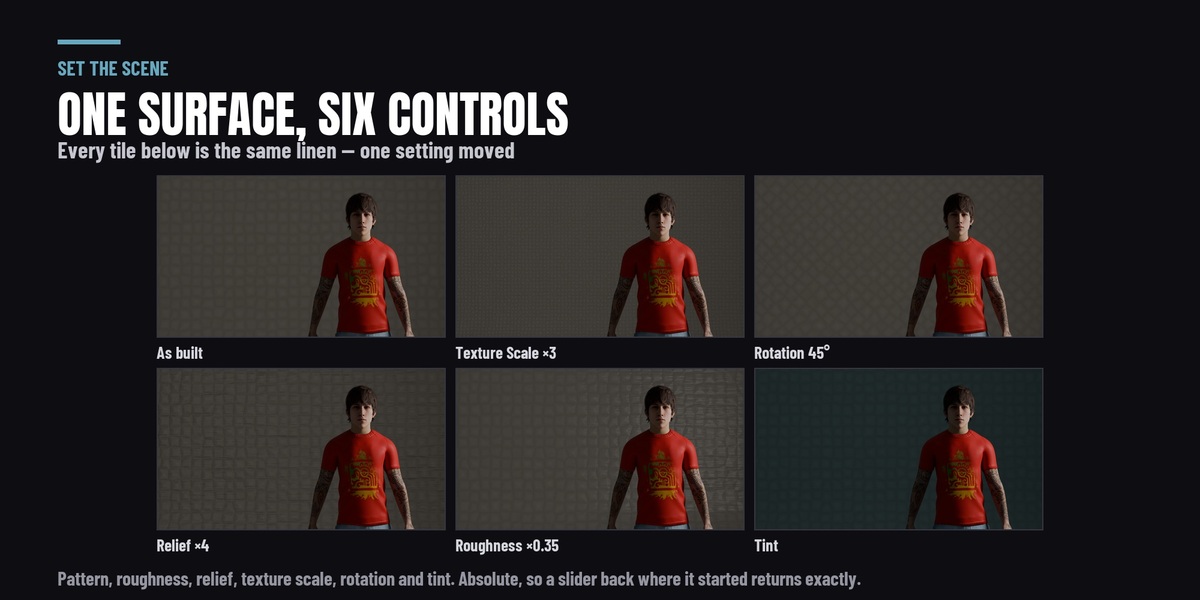
The tint is a multiply, so white is the identity and a coloured sweep is one slider away from the grey one. On the four gloss surfaces the roughness and pattern controls are clamped, because past a certain roughness EEVEE switches the reflection off entirely - and the reflection is the whole reason those four exist.
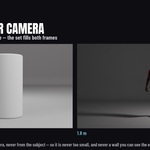
The set is measured from your camera, not from your object
This is the part that is easy to get wrong by hand and the reason the same set works for a perfume bottle and a standing figure. A backdrop sized from the subject's bounding box is wrong by a factor of fifteen across that range - too small for one, absurd for the other, and either way you find out when the edge of it shows up in frame.

Here the set is built to fill the camera's own frustum, so there is no visible background edge at either end, and the wall sits far enough back that a rim light or a backlight is still behind the subject rather than buried in a wall. With no camera in the scene it falls back to sizing from the subject and tells you that is what it did, in the same line that reports the dimensions.
Floating - the shadow without the set
Pick the Floating surface and the set stops rendering while the shadow and the reflection stay. You get your subject on transparent, grounded, ready to composite.
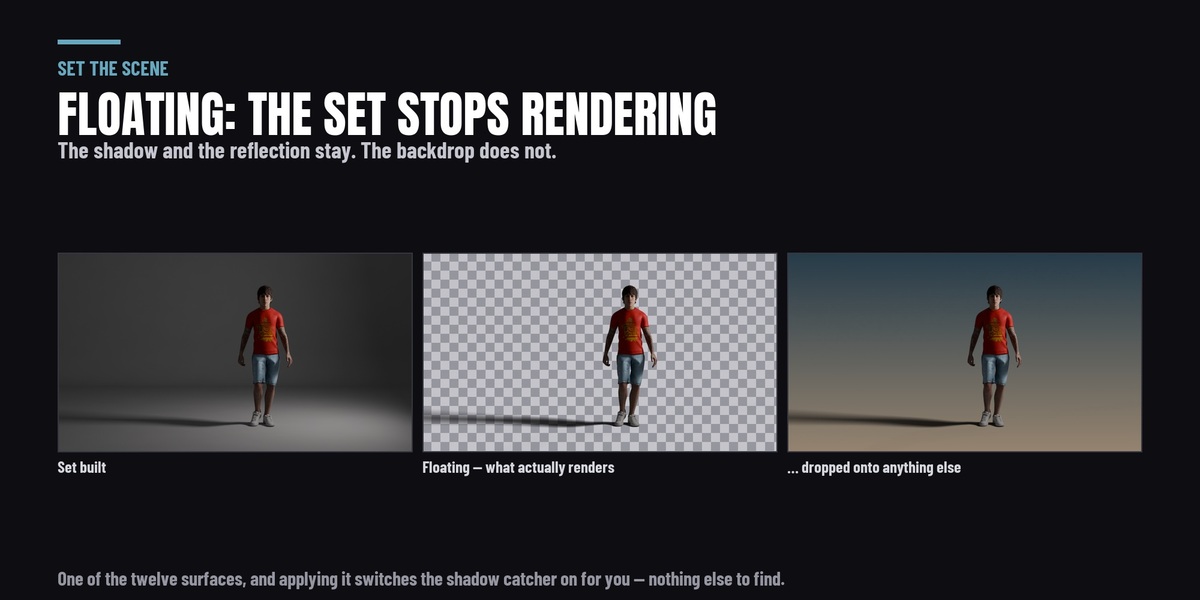
The honest caveat, and it is the thing most people lose a day to: Blender's shadow catcher is Cycles only. The checkbox does not exist in EEVEE's interface at all, which is why the usual conclusion is that the feature has been removed rather than that the engine is wrong. The panel says so where you can see it instead of failing quietly.
And because a floor is an occluder, a few of the 37 rigs place a light below it on purpose — uplight and clamshell do. Light passes through the set by default so those presets still do what they were authored to do. A real stage cannot do that; a render can, and there is no reason not to.
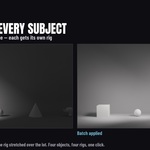
One preset across everything in the shot
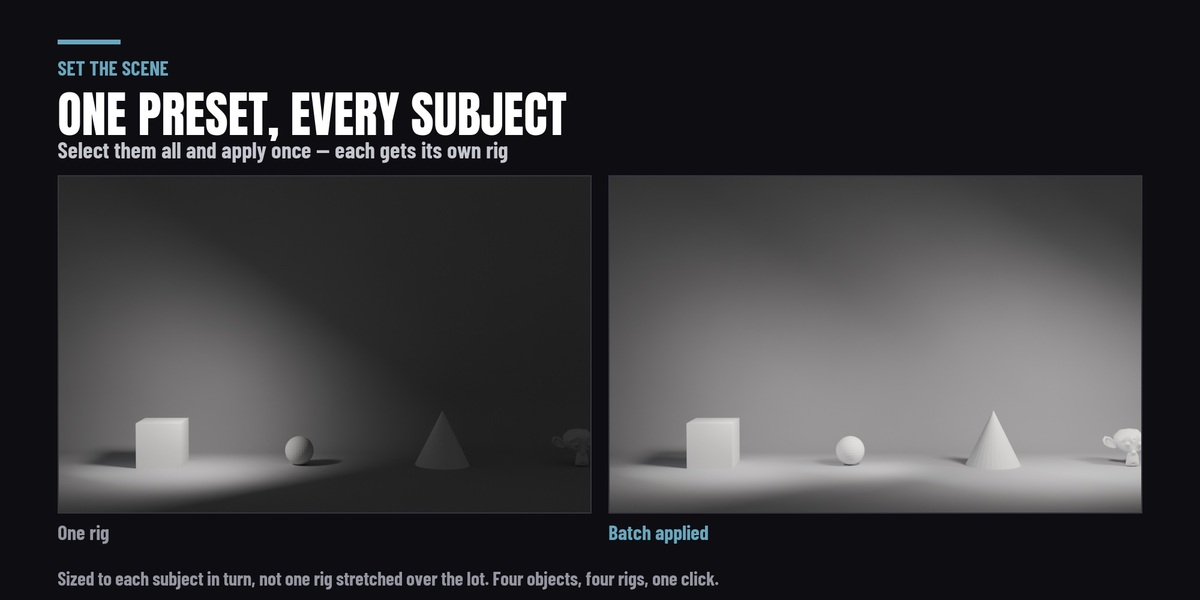
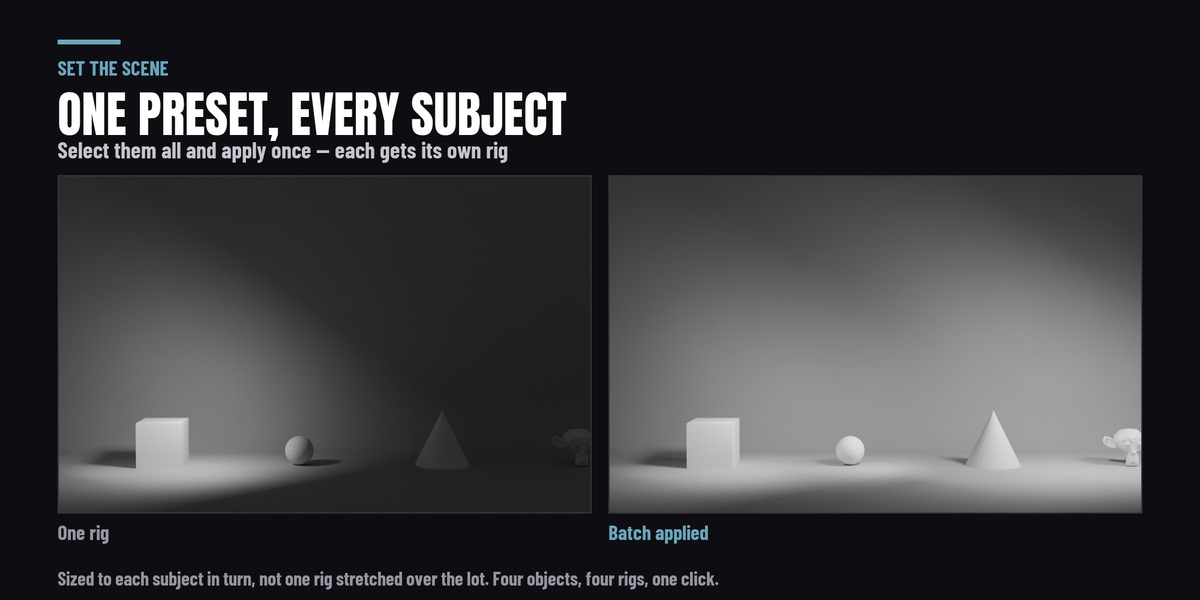
Select several objects and apply a rig to each of them at once — each fitted to its own subject rather than all of them sharing one.
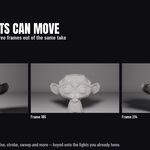
And then make them move
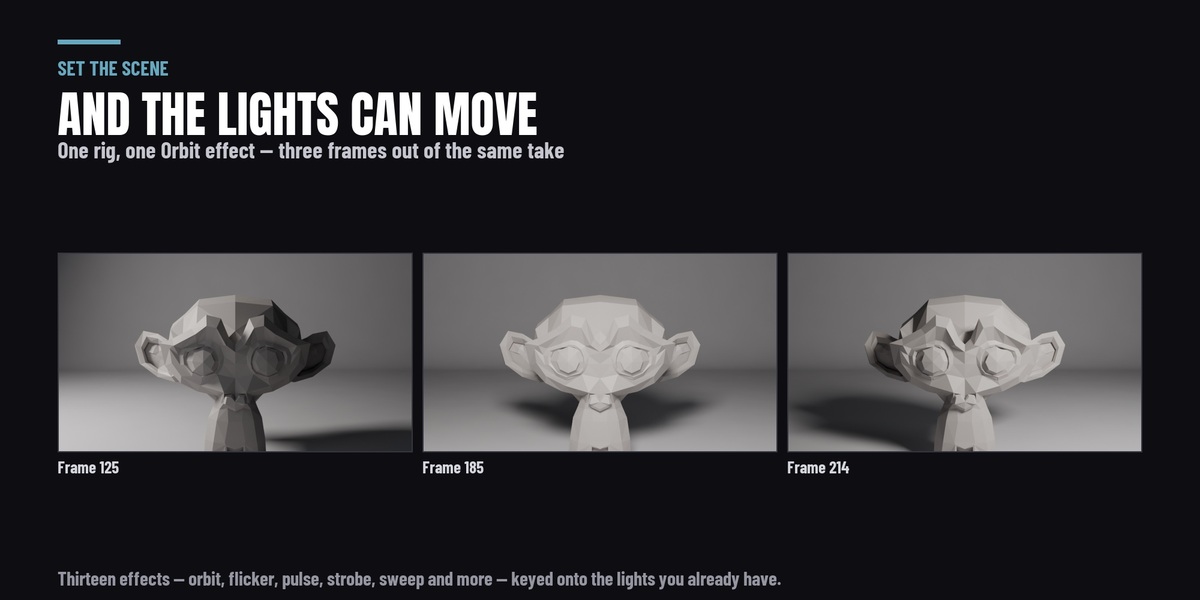
Thirteen animated lighting effects, applied to the rig you just built or to any lamp you already had. Orbit, Follow, Sweep and Light Swarm move the lights through the scene; Flicker, Noise Flicker, Strobe, Pulse, Breathe, Bounce, Fade, Colour Fade and RGB Cycle drive their power and their colour. Pick one, set its parameters, press Apply.
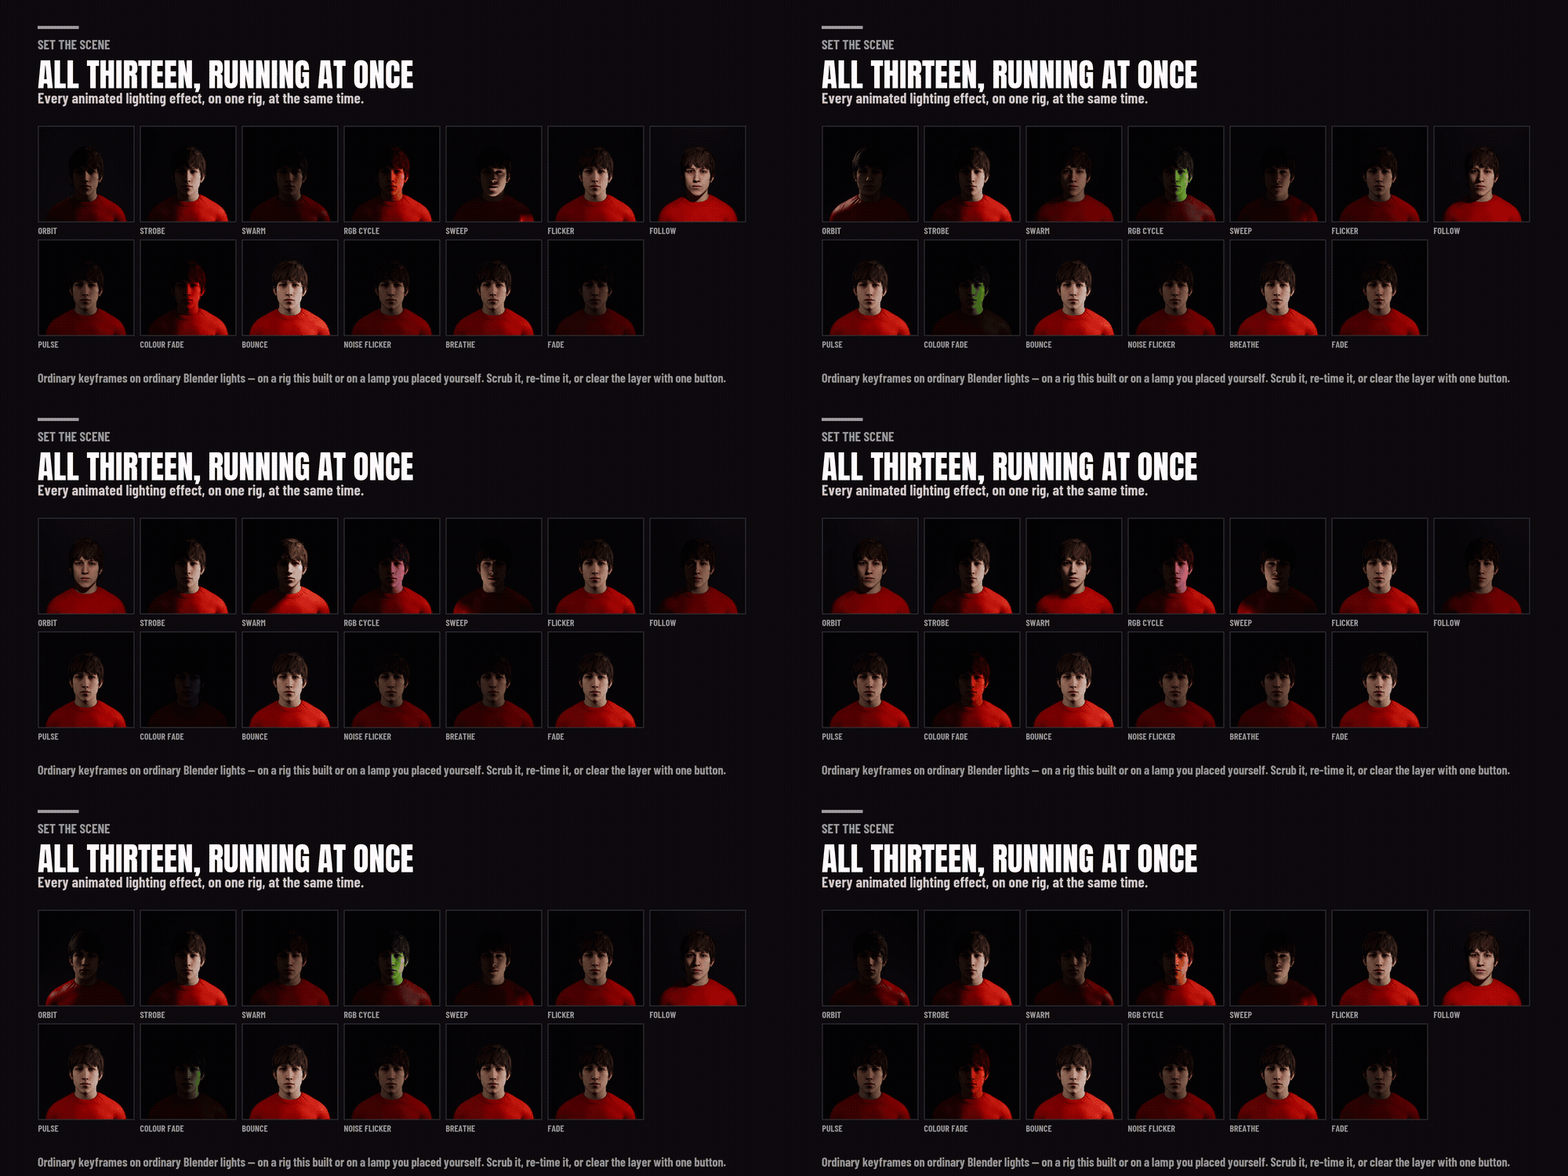
What comes back is ordinary Blender F-curves on ordinary Blender lights — open the Graph Editor and re-time any of it by hand, keep the parts you like, or clear the whole layer with one button. Nothing is baked and nothing is driven by a node group you cannot open.
One panel, four sections
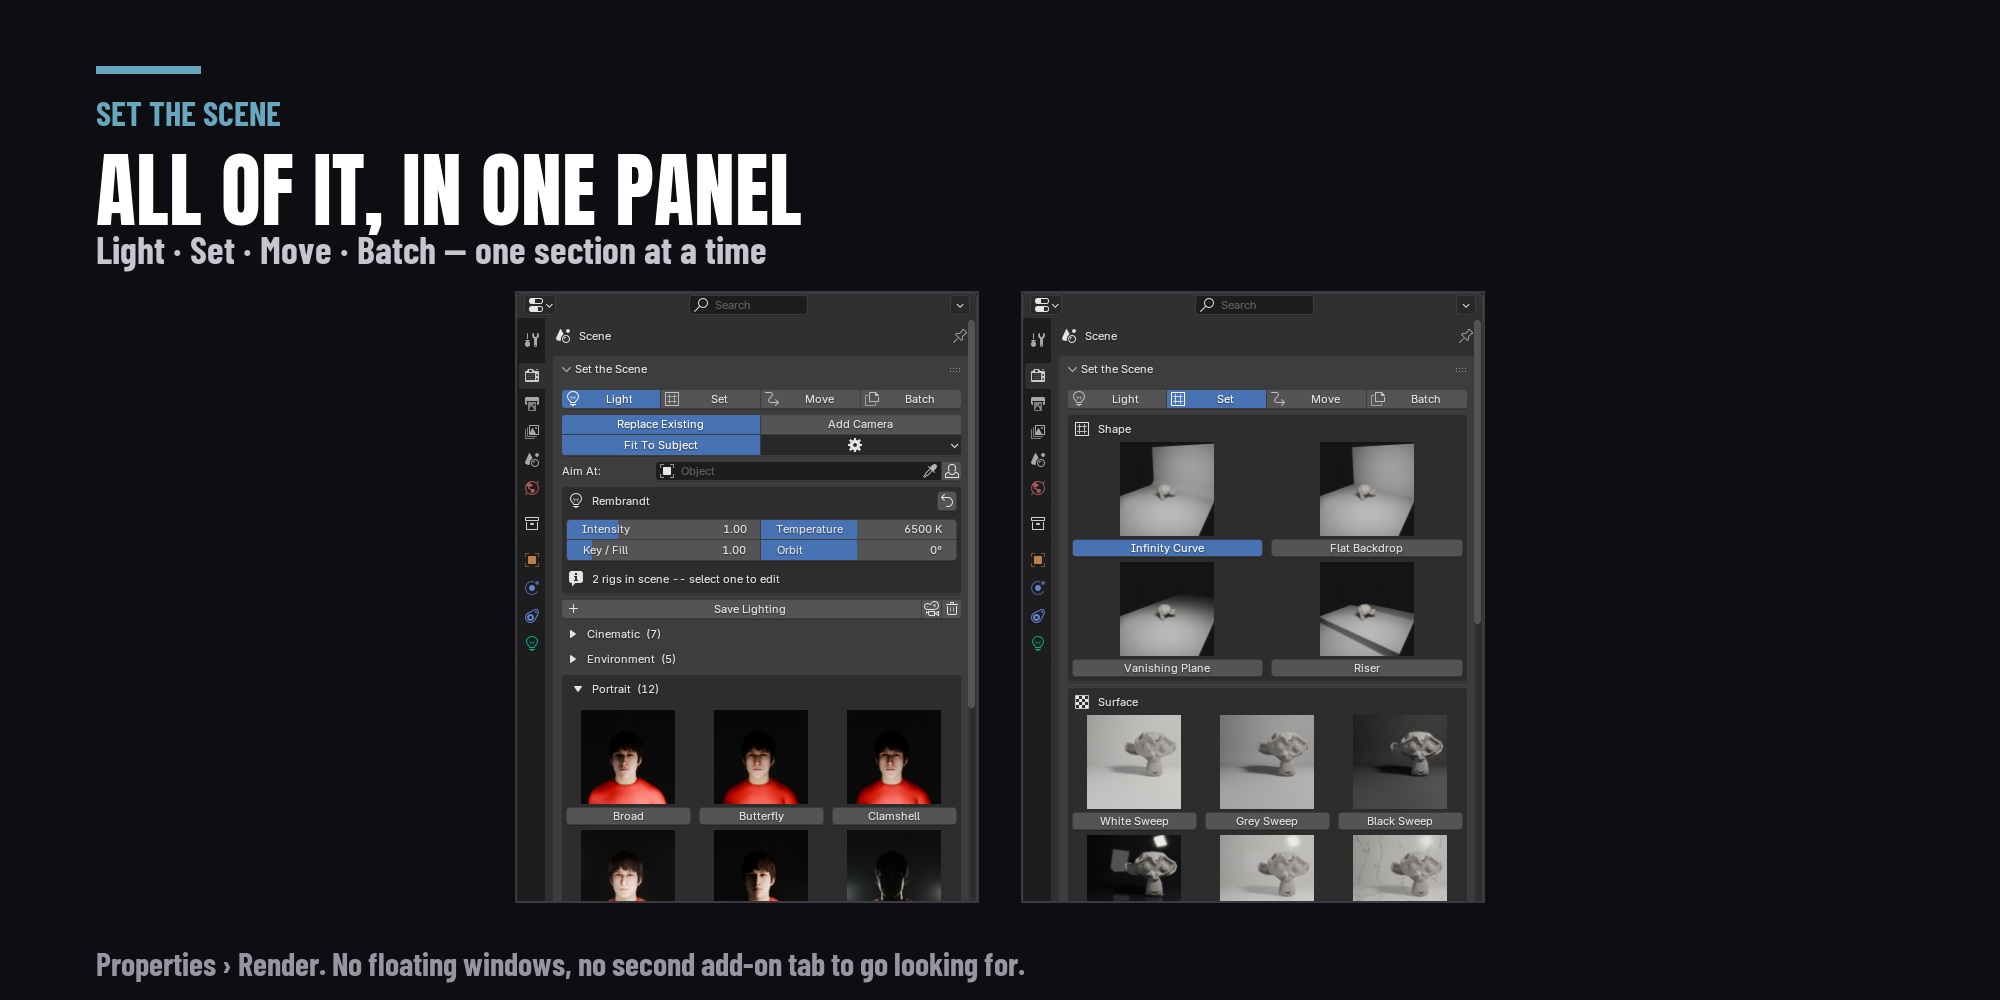
Properties › Render. Light, Set, Move, Batch — one at a time, not six stacked boxes. No floating window, no second add-on tab to go looking for.
What it runs on
Blender 4.2 LTS through 5.2, in Cycles and EEVEE, with two differences that are Blender's and not the add-on's, both named in the panel rather than buried here: the shadow catcher is Cycles-only, and the planar reflection probe that sharpens the gloss surfaces is EEVEE-only — in Cycles the reflection is traced and needs no probe, so none is added.
It ships as a Blender extension and installs by drag-and-drop. It writes nothing into its own folder; saved presets go where you point them, or to Blender's own extension data directory if you would rather not choose.
What is not in it
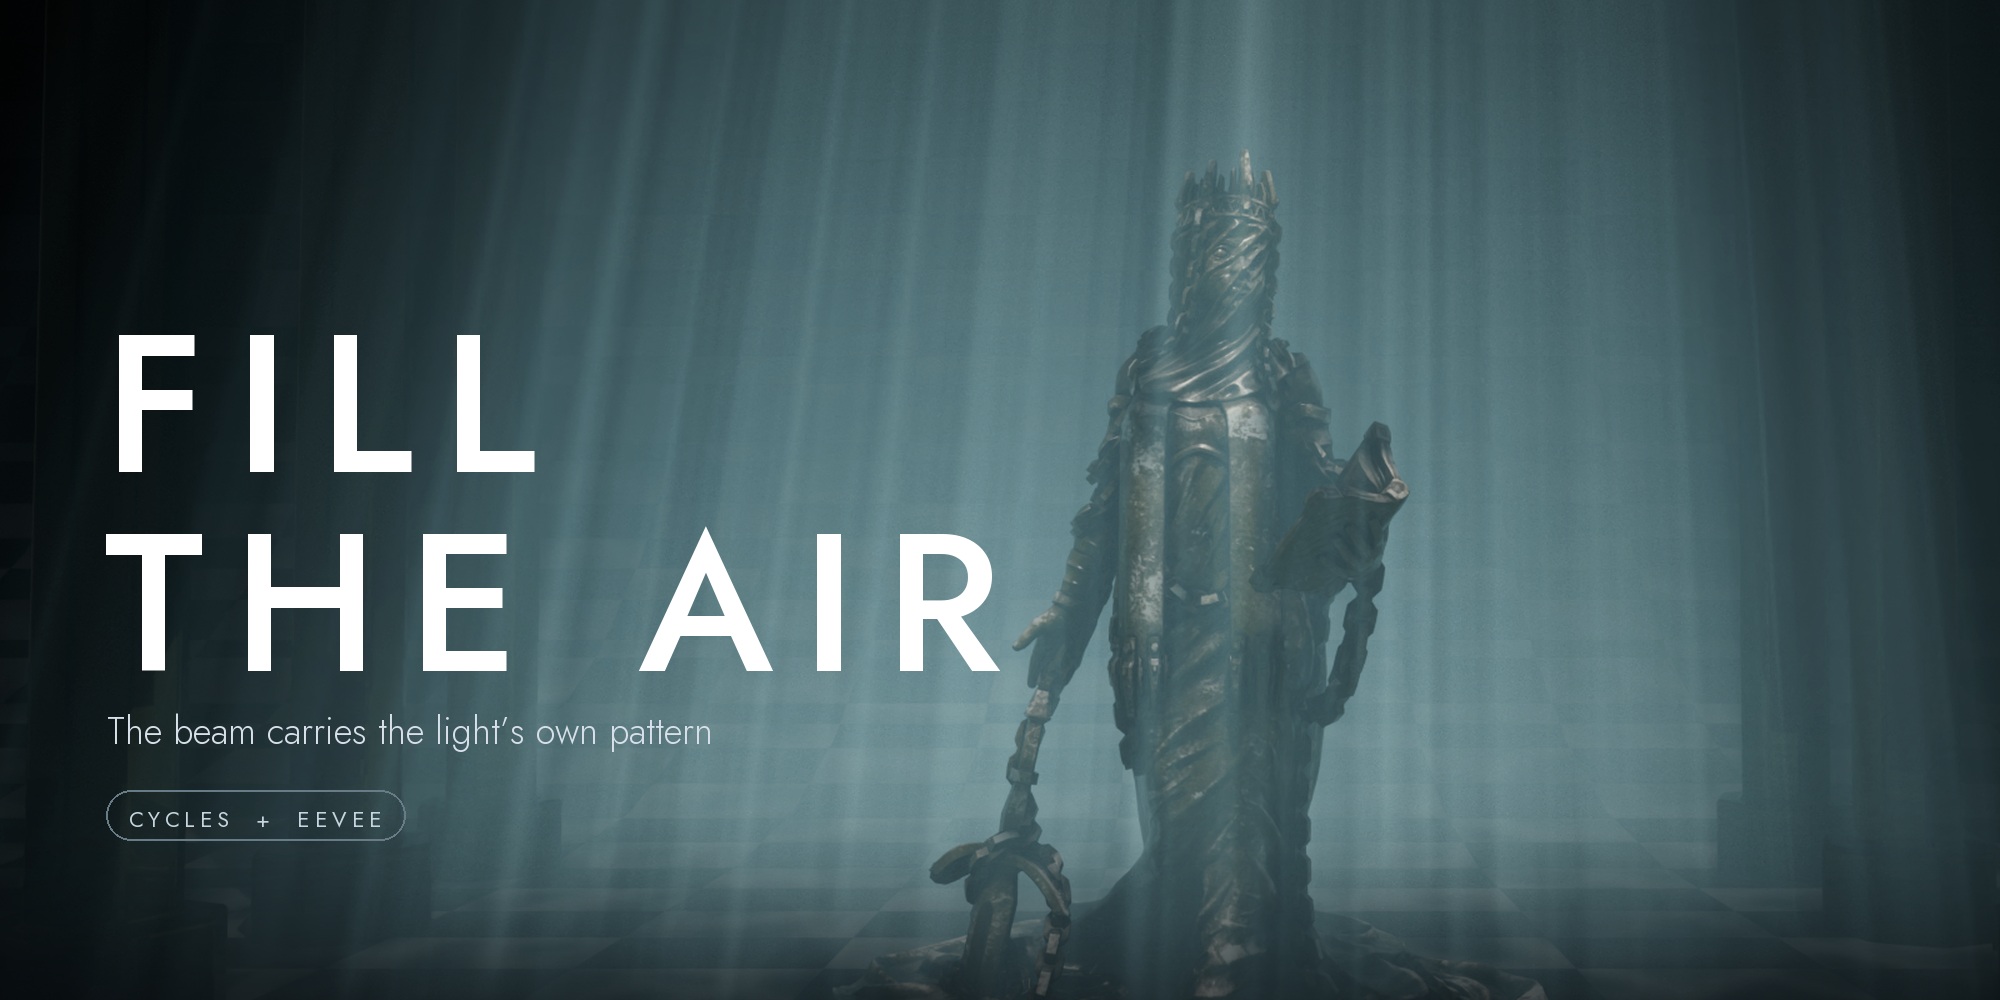
Straight, so you can decide before you buy rather than after. No volumetric fog and no visible light beams — that is Fill the Air, at the same price. No gobos, IES profiles or softbox modifiers, no HDRI world lighting, no reference-image matching, and no render-pipeline layer — those are in Light It Up. This is the lighting library and the set it stands on, and it is a whole thing on its own.
And if you want all of it
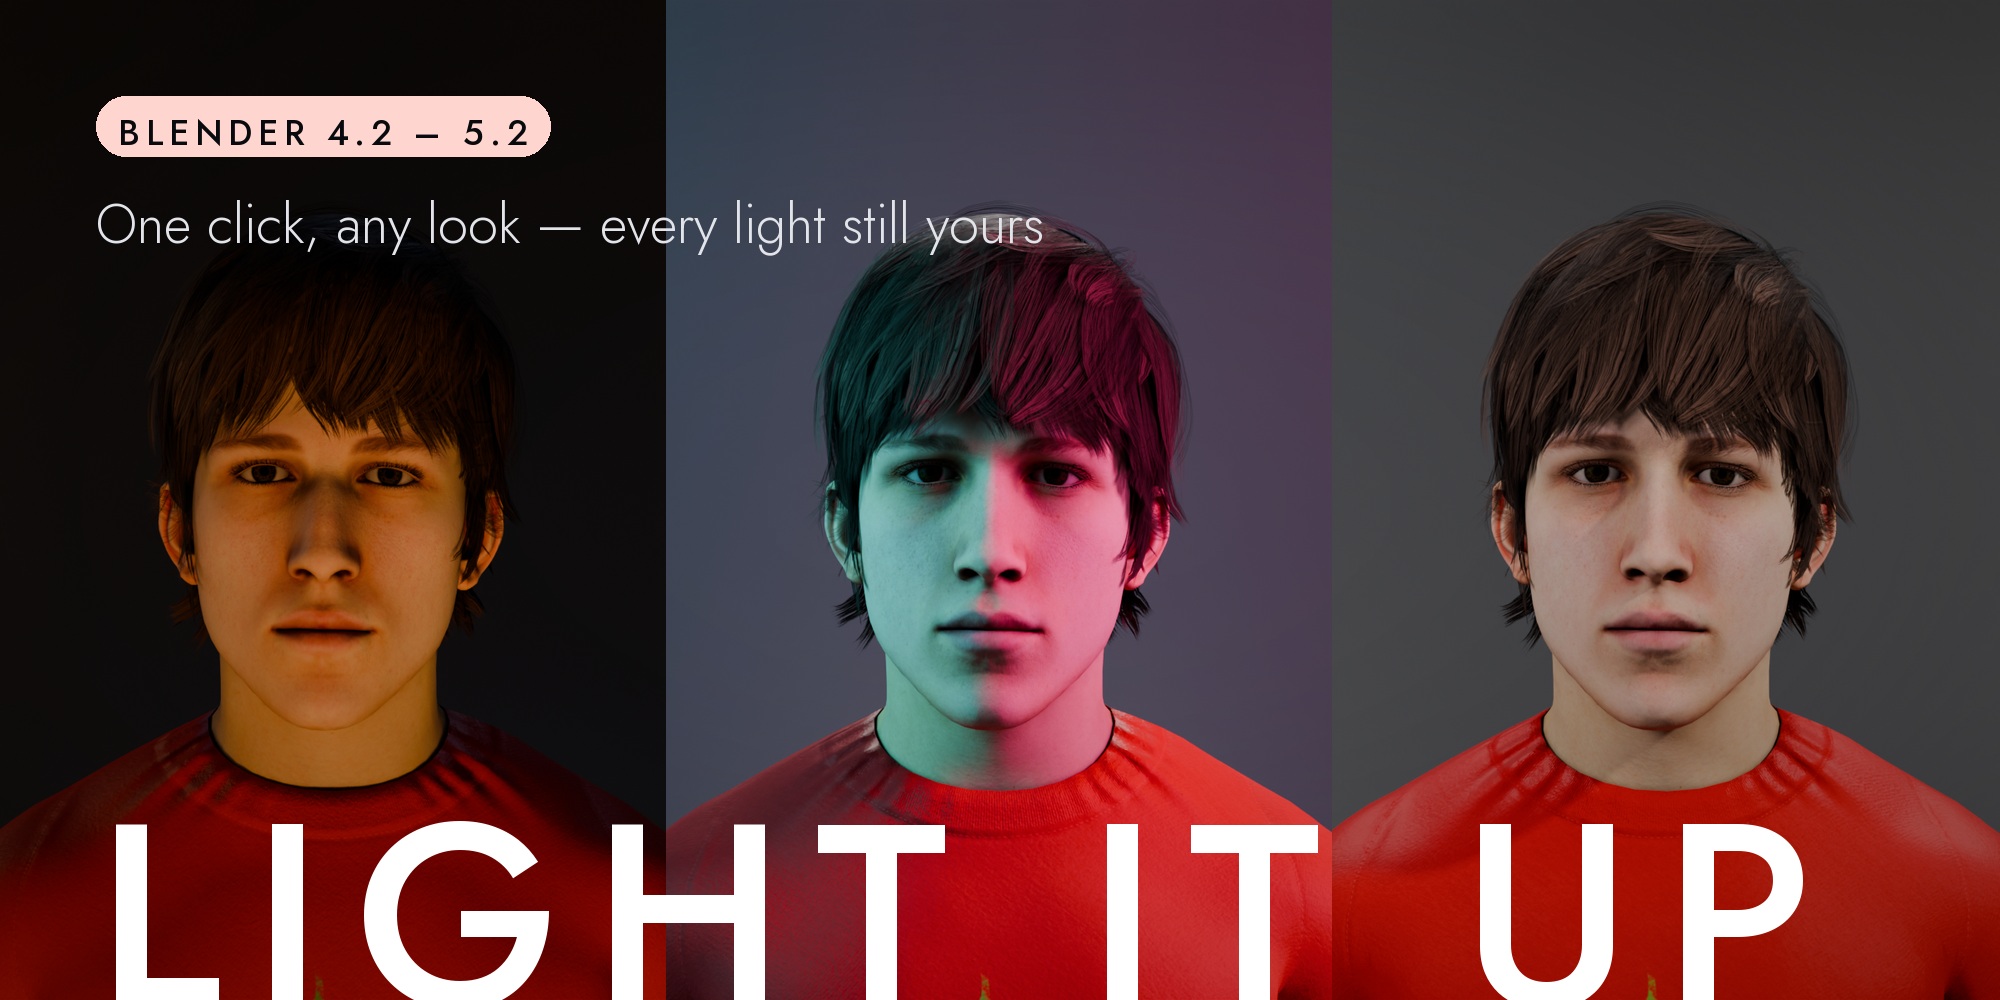
Light It Up is $49 and contains this page in full — the same 37 rigs, the same sets, the same controls — plus the gobos, the IES profiles, the softbox modifiers, the visible light beam, the 22 volumetric atmospheres, HDRI world lighting, reference-image matching and the render-pipeline layer. Both $19 products together come to $38 and stop there; the suite is eleven dollars more and carries six feature groups neither of them has.
So buy this one if lighting and a backdrop is the job. Buy the suite if you want the whole lighting department. Owning both is not a problem either — Set the Scene detects the suite, steps aside and says where its features live, so the two cannot collide.