Shmexy Auto Texture
 VisionAir Studio
Installation
- Download shmexy_auto_texture-1.3.0.zip (the newest version on your downloads page). Do not unzip it.
- In Blender, open Edit > Preferences > Get Extensions, click the arrow in the top right and choose Install from Disk, then pick the zip. You can also drag the zip into the Blender window.
- Open the 3D Viewport sidebar (press N) and click the shmexy tab.
- Your library starts as Documents/Shmexy Textures. The folder is created when you save your first texture. To use another folder, or several, open the add-on's preferences (Edit > Preferences > Add-ons > Shmexy Auto Texture) and add or change library folders.
To update, install the new zip the same way; your textures and settings are kept.
Create Texture
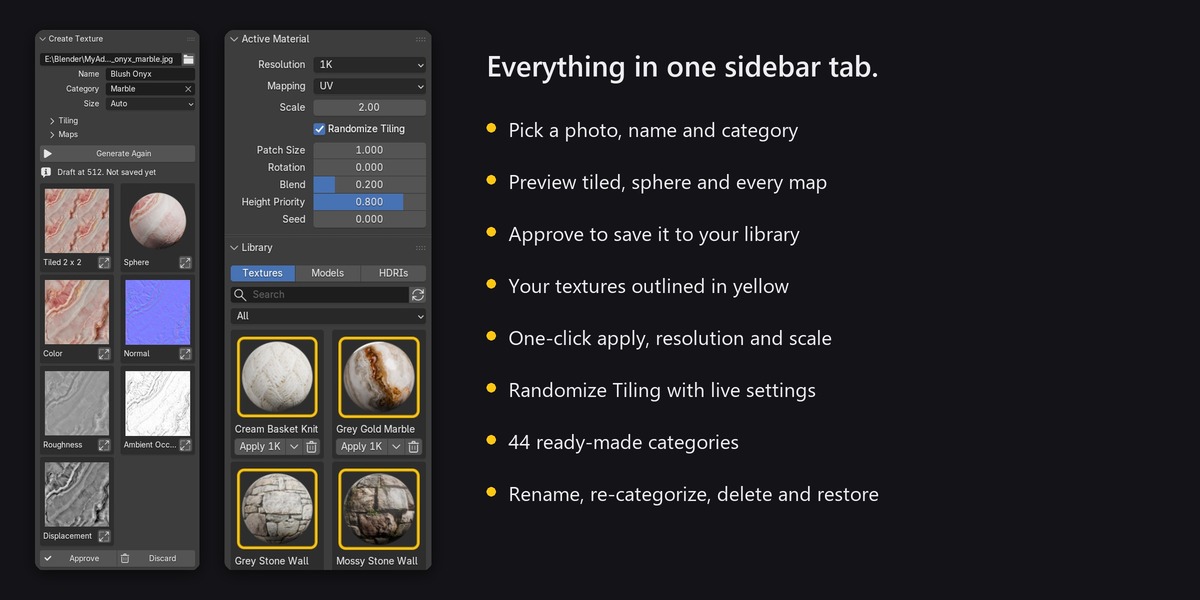
At the top of the shmexy tab.
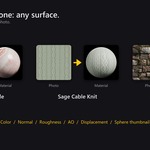
- Photo: pick a photo. The name is filled in from the file name; change it at any time.
- Category: pick one of the built-in categories or type a new one. Left empty, the texture goes under Custom.
- Save To (shown when you have more than one library folder): where the texture is saved.
- Size: Auto picks the largest of 512, 1K, 2K or 4K the photo can fill without enlarging it. A 2K texture needs a photo about 2400 pixels on its short side.
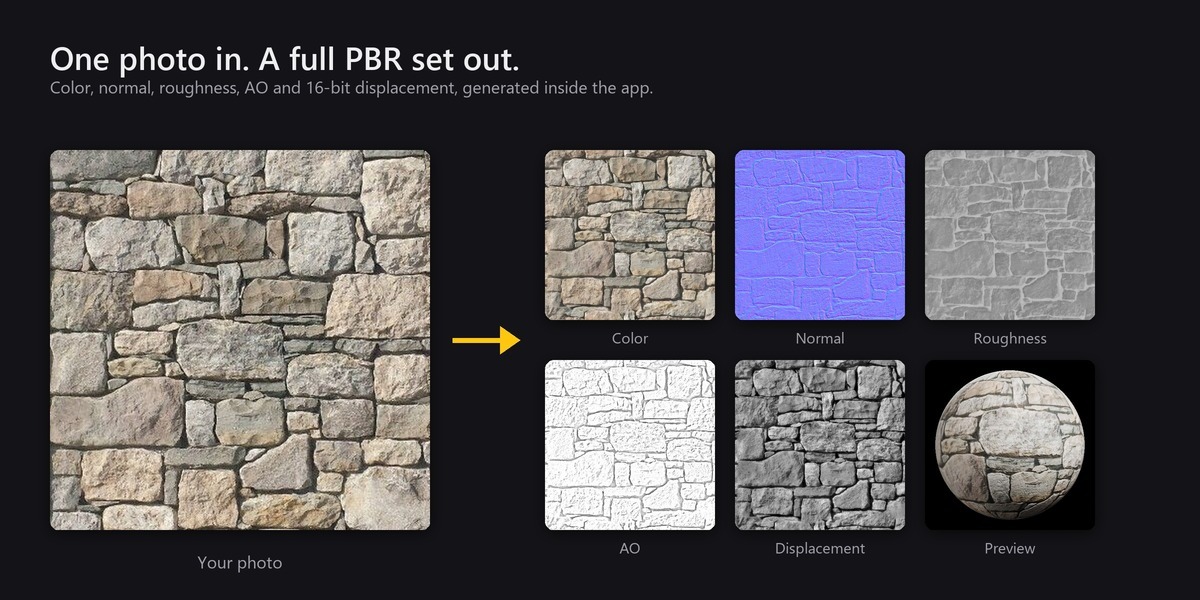
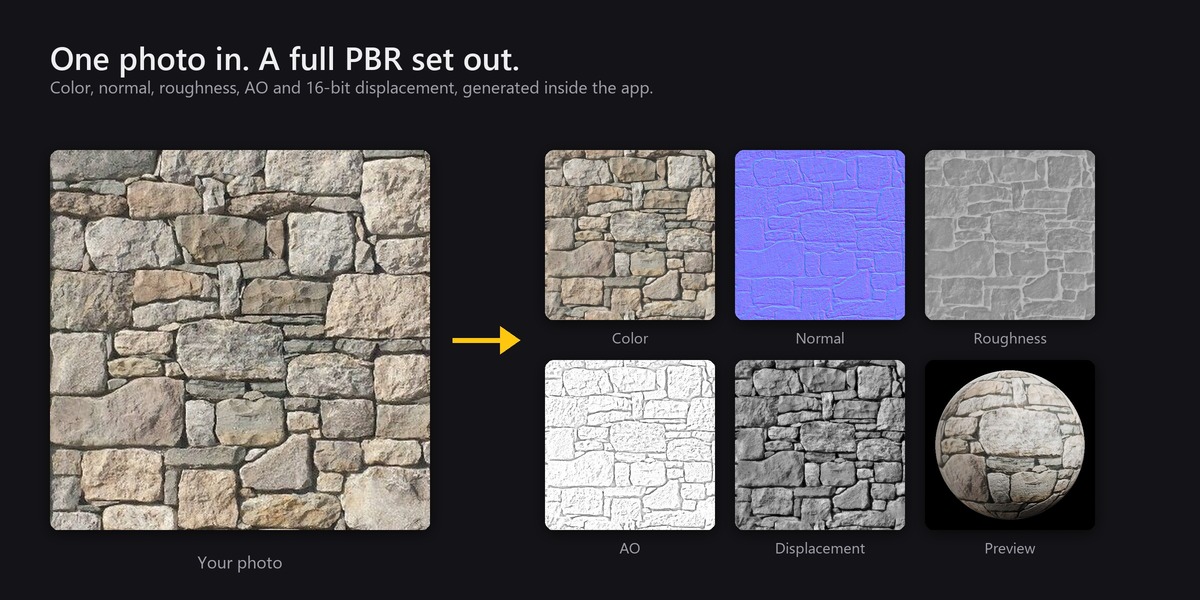
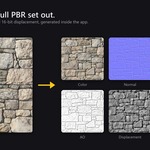
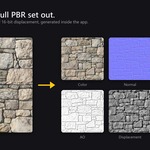
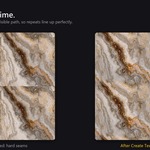
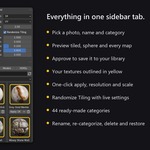
- Press Generate Maps. After a few seconds you see the 2 x 2 tiled preview, a rendered sphere and each map. The small button in a preview's corner opens it full size.
- Adjust settings and press Generate Again, or press Approve to save it to your library, or Discard. Nothing is written to your library until you approve.
Settings:
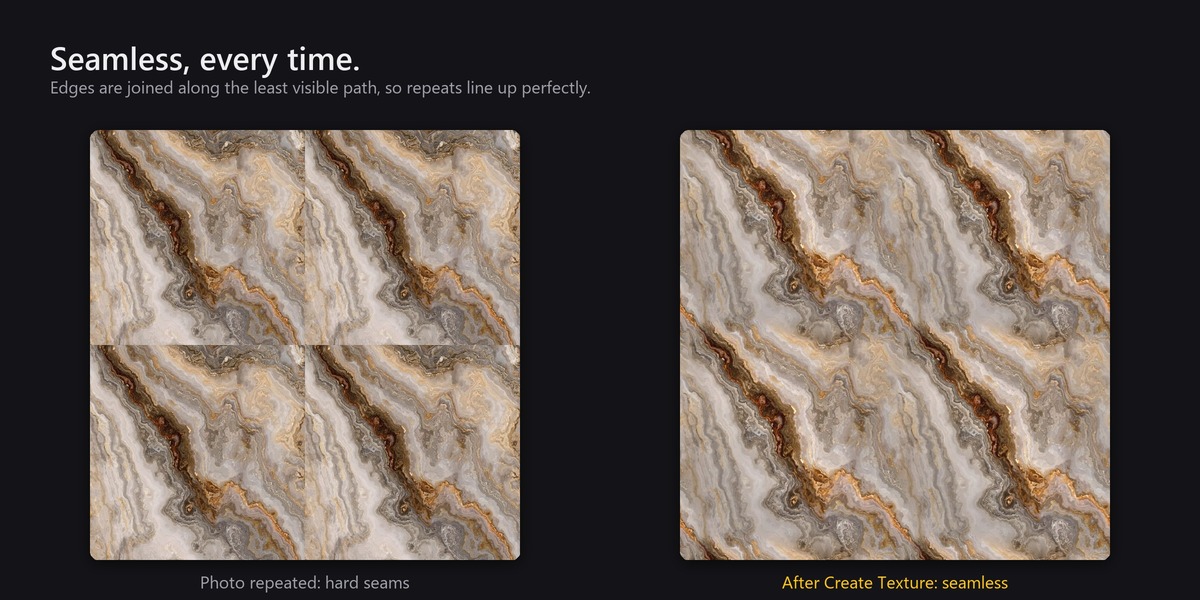
- Tiling > Method: Smart Seam (default) joins the edges along the least visible path. Soft Blend cross-fades instead, which is softer and can ghost. Already Tileable only crops and resizes, for photos that already tile.
- Tiling > Overlap: how much of each edge is used for joining.
- Tiling > Crop, Shift X, Shift Y: use a smaller part of the photo, and move which part is used.
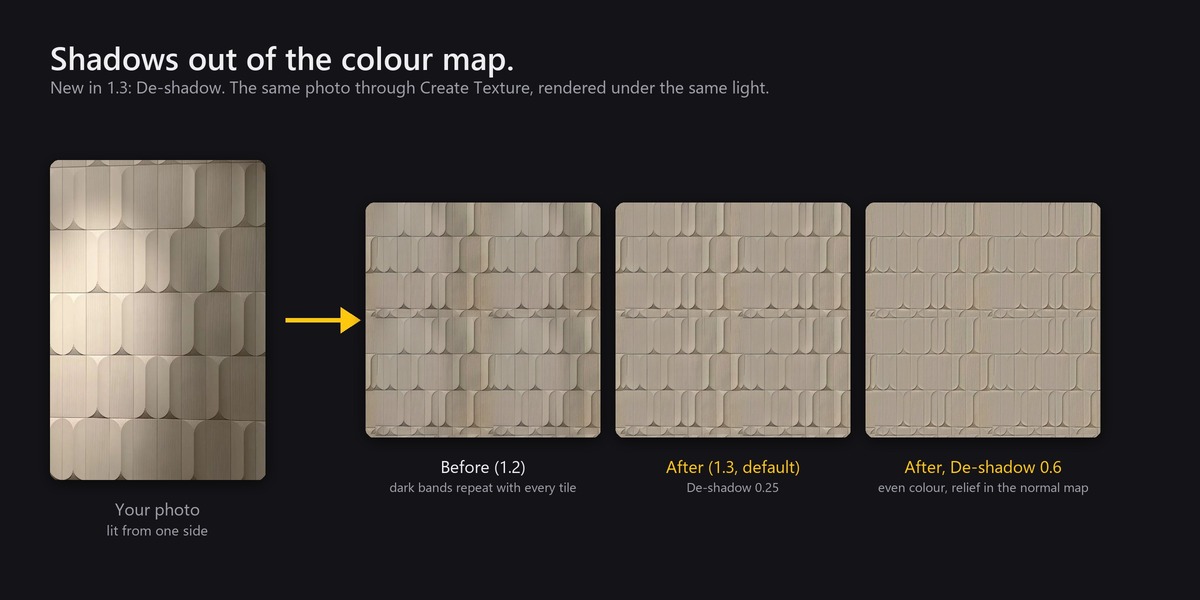
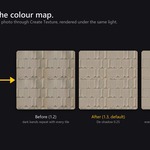
- Tiling > De-shadow: takes shadows and patches of light and shade out of the colour map, so the texture is one even shade when it repeats and the relief comes from the normal map under your scene's light. Raise it for surfaces of one colour with relief (tiles, plaster, concrete, fabric, leather); keep it low for marble or mixed stone, where darker areas are part of the surface. Differences in colour, such as moss, veins or mortar, are always kept.
- Tiling > Even Lighting: removes slow brightness changes, such as a photo that is darker on one side. Lower it if the photo has large features you want to keep.
- Maps > Dark Is High: the height is estimated from brightness, with bright meaning raised. For surfaces with light grooves, such as brick with pale mortar, turn this on.
- Maps > Shape vs Detail: whether the height follows large forms or fine surface detail.
- Maps > Normal Strength, Roughness, Variation, AO Strength: fine-tune the generated maps (Variation is how much the roughness follows the photo).
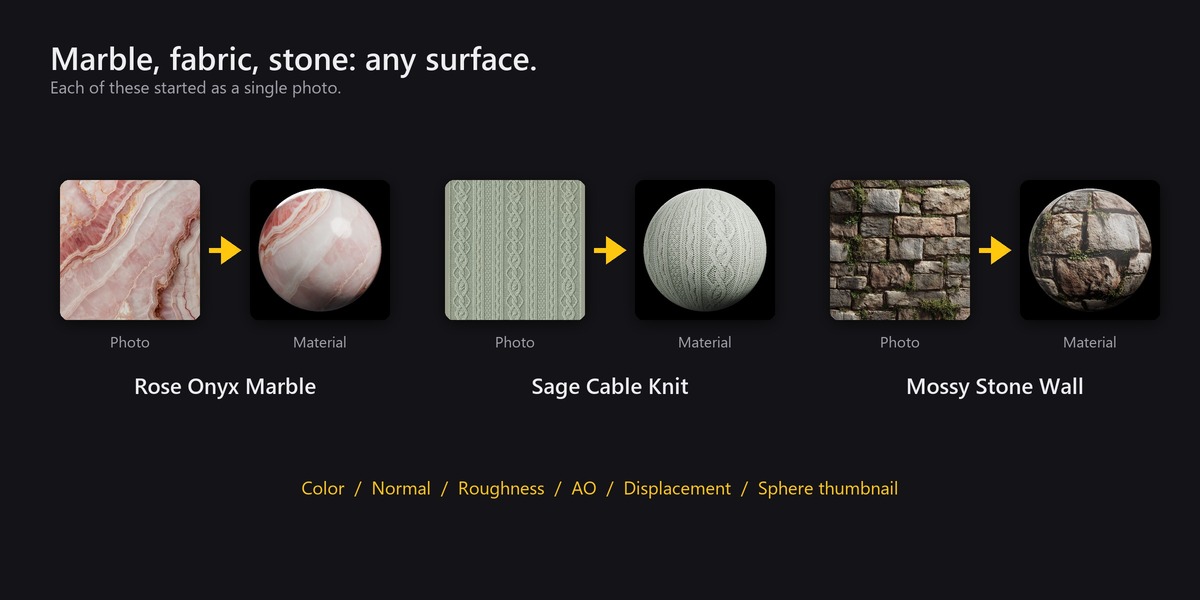
Approving creates a folder named after the texture in your library, holding the five maps, the sphere thumbnail and a small shmexy_texture.json file with the category and the settings used.
Tips for the best results: shoot flat surfaces straight on, in even light (overcast daylight is ideal), and fill the frame. Shadows in the photo are read as dips, because the maps are estimated from one photo rather than scanned.
Library
- Textures / Models / HDRIs tabs, a search field and a category menu.
- Apply puts the texture on the selected objects, or on selected faces in Edit Mode. With nothing selected the button says Import and only creates the material.
- The arrow beside Apply lists the sizes on disk, plus Create Without Applying, Set Category, Rename Texture, Create Sphere Thumbnail and Open Folder.
- Textures you made with Create Texture have a yellow outline and a trash button. Delete asks first, warns if materials in the open file use the texture, and moves the folder to the Recycle Bin (Windows) or to a hidden
.deletedfolder next to the texture (macOS and Linux). - Add Material copies texture files you pick into a new folder in your first library. You can also drop folders into a library folder; they appear within a few seconds.
- Use one folder per material. Common map names are recognised: Color, Albedo, Diffuse, BaseColor, Normal, NormalGL, Rough, Roughness, Metallic, AO, Height, Displacement, Opacity and more. DirectX normal maps are skipped in favour of OpenGL ones when both exist.
Active Material
Shown in the sidebar (and the Material properties tab) when the active object uses a material from the add-on.
- Resolution: swap every map to another size on disk.
- Mapping: UV, Flat, Box, Sphere or Tube.
- Scale: how many times the texture repeats.
-
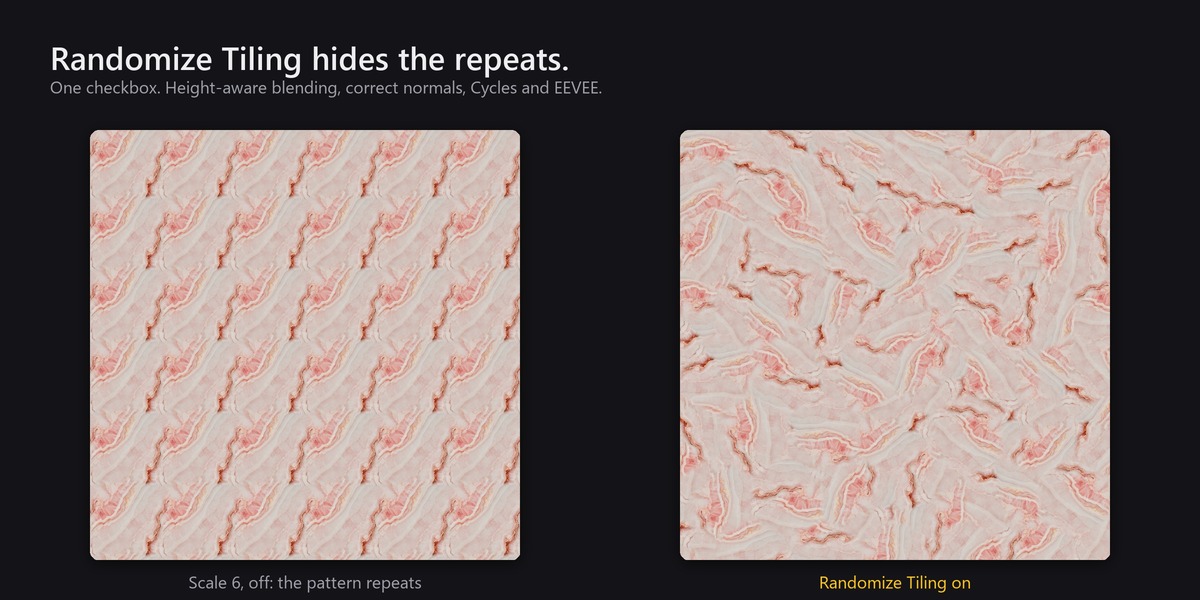
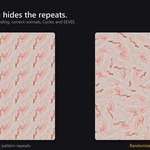
Randomize Tiling (UV and Flat mapping): hides repeats. Its settings appear when it is on:
• Patch Size: size of each patch in texture repeats (default 1). Smaller hides repetition more but cuts through large features.
• Rotation: how far patches may turn. Directional textures start at 0.
• Blend: width of the soft border between patches.
• Height Priority: how much raised parts win at the borders.
• Seed: a different random arrangement.
Turning Randomize Tiling off returns the material exactly to how it was. Each map is read three times when it is on, so rendering is a little slower.
Blender's Adjust Last Operation panel, after applying, has the full options: size, mapping, scale, displacement method and strength, Randomize Tiling and 16-bit maps.
Glass
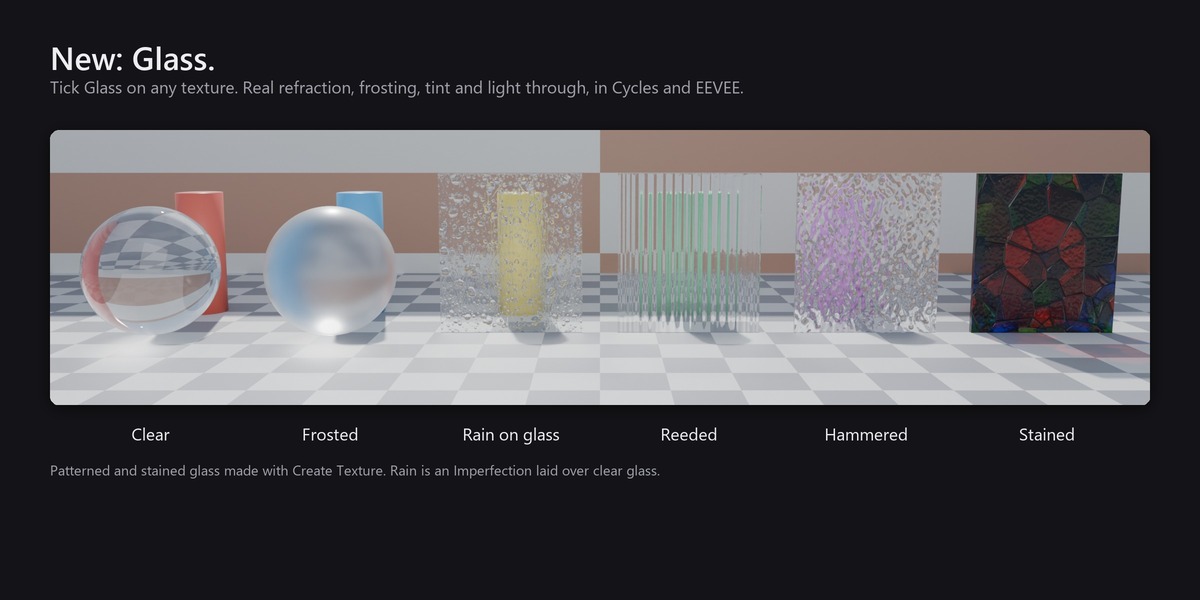
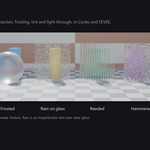
Tick Glass in Active Material to turn the material into glass. To make patterned glass, run a photo of it (reeded, hammered, rain, frosted or stained glass) through Create Texture, apply the texture and tick Glass: the texture's relief bends the view the way the real pattern does.
- Glass type: window, crown, borosilicate, fused silica, lead crystal, flint, dense flint, acrylic, water, sapphire or diamond. Sets the index of refraction and the Abbe number of that material.
- Transparency: how much light goes through. Lower it for milky glass.
- Refraction (IOR): how strongly the glass bends light. A higher index also reflects more.
- Frosted: roughens the surface so the view through it is blurred.
- Texture Frost: how much of the texture's own roughness is added, for etched patterns.
- Tint: the colour seen through the glass.
- Texture Color: how much of the texture's own colour is used. Set it to 1 for stained glass.
- Light Through: lets lamps, the sun and the sky light what is behind the glass, tinted by it, instead of the glass casting a solid shadow.
- Thin Pane (Blender 5.2 and newer): for a window drawn as a single face.
- Dispersion and Abbe Number (Blender 5.3 and newer): splits white light into colours at edges, as lead crystal does.
- Save Glass with Texture: stores these settings with the texture, so it is glass every time you apply it.
Tips: patterned glass needs an object with real thickness and applied scale (Ctrl+A). In EEVEE, turn on Raytracing (the panel offers a button) so the glass refracts what is behind it. Untick Glass to put the material back exactly as it was. Glass works together with Imperfections, for fingerprints, water droplets or dirt on the glass, and with Randomize Tiling.
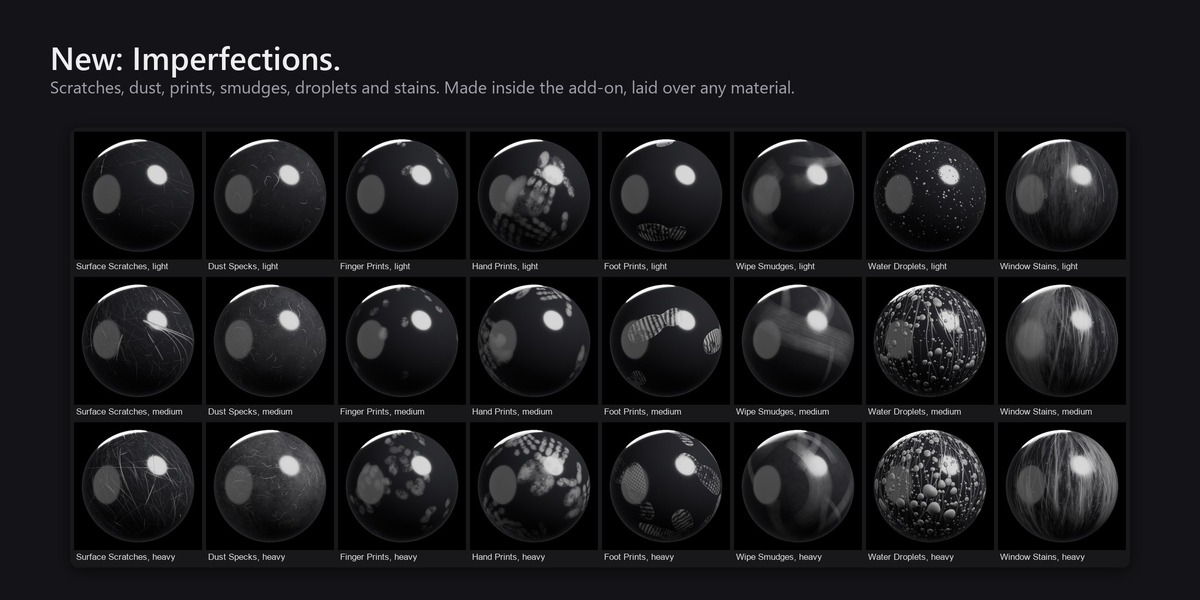
Imperfections
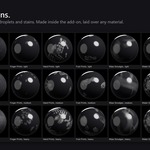
Scratches, dust, fingerprints, hand prints, foot prints, smudges, water droplets and window dirt stains that go on top of any material.
Create Imperfection (sidebar panel, below Create Texture):
- Type: Scratches, Dust, Fingerprints, Hand Prints, Foot Prints, Smudges, Water Droplets or Window Dirt Stains.
- Amount: Light, Medium or Heavy.
- Seed: each seed gives a different arrangement of the same type. The seed moves on by one after each Create.
- Size: 512, 1K, 2K or 4K.
- Press Create. The imperfection is drawn by the add-on and saved in your first library folder, under Imperfections, with a sphere thumbnail. Create Pack makes every type at every amount in one go, as many of each as you choose (5 of each gives 120). You can keep working while a pack is made, and stop it at any time.
Each imperfection is a folder of seamless maps: Name_OVERLAY_VAR1_2K.jpg (white surface, dark marks), Name_OVERLAY_VAR2_2K.jpg (black surface, white marks) and Name_NRM_2K.jpg (the relief of the marks). Imperfection assets you already own in this form are recognised and listed too.
Adding one to a material: tick Imperfections in Active Material and choose one from the menu, or press Add on an imperfection in the library's Imperfections category. It is laid over the active object's material, whether or not that material came from the add-on. Settings:
- Scale: how many times the imperfection repeats, separately from the material's own scale.
- Strength: overall amount.
- Roughness: how much the marks change the surface's roughness. Positive makes them rougher (scratches, dust, smudges); negative makes them glossier (water).
- Color and Tint: how much the marks tint the surface, and the colour they tint it. Use for dust and dirt.
- Bump: the relief of the marks, taken from the imperfection's normal map.
Untick Imperfections to put the material back exactly as it was. It works together with Randomize Tiling.
World HDRI and Models
The HDRIs tab sets an HDRI folder from your library as the world, with strength and rotation in the World HDRI panel. The Models tab imports FBX or .blend models from your library at the 3D cursor.
Preferences
Library folders (the first one is where new textures are saved), default texture and HDRI sizes, displacement method, 16-bit maps, thumbnail size and assets per page.
Have questions about this product?
Login to message
| Blender Extension Compatible | Yes |
| Published | about 16 hours ago |
| Blender Version | 5.1 - 5.3 |
| Extension Type | Add-on |
| Render Engine Used | Cycles, Eevee |
| License | GPL |
Discover more products like this
displacement photo to texture Texture Library tileable anti-tiling normal map texture PBR materials seamless