Silhouette Viewer
 BlendyLabX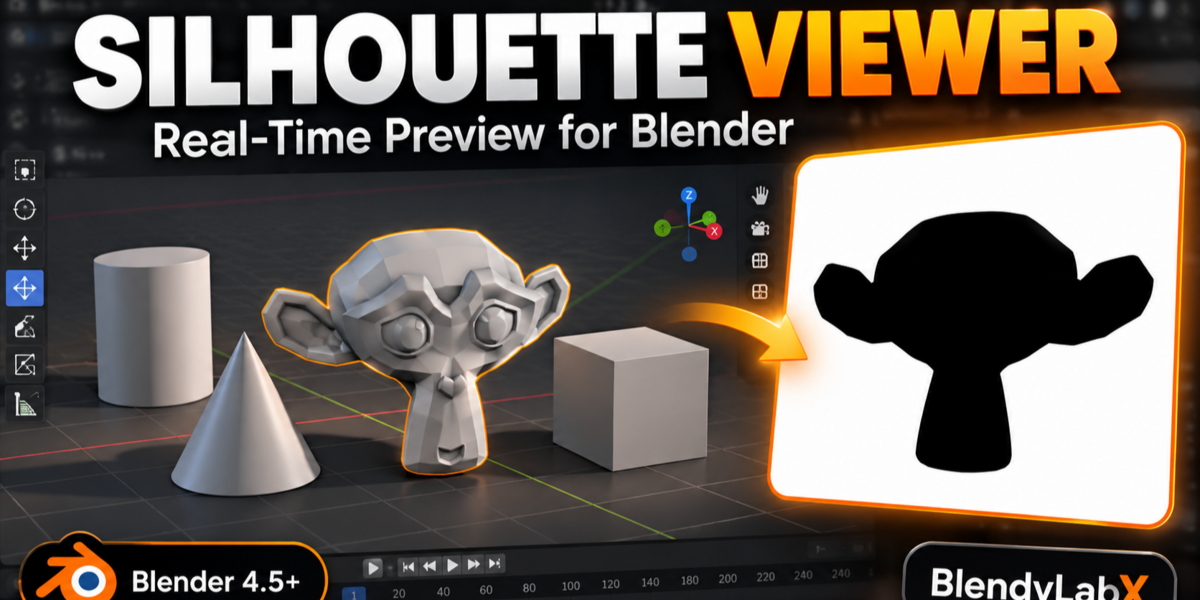
Silhouette Viewer v1.0.0 — User Guide
BlendyLabX · Recorded interface: v1.0.0
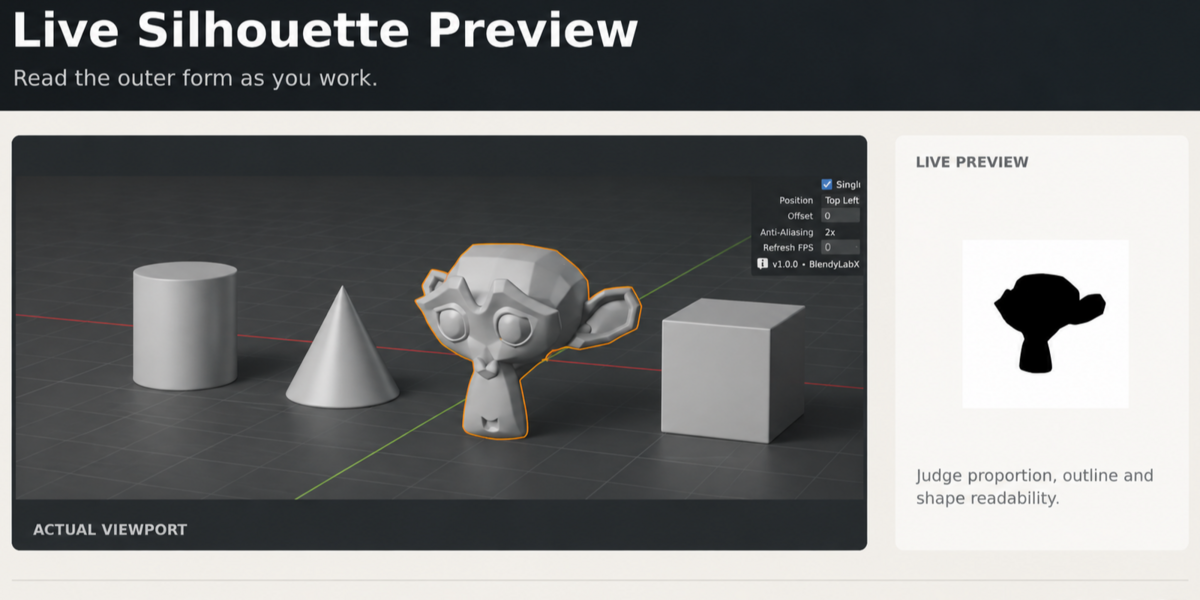
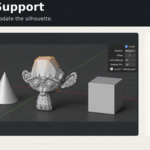
Model. Sculpt. Pose. Silhouette Viewer keeps a live silhouette of your target mesh in a viewport overlay. Use it to review proportions and overall form while editing geometry, sculpting or adjusting a character rig.
Requirements
Minimum required version: Blender 4.5 LTS. Use a mesh object in a 3D Viewport. For Pose Mode, use a character mesh driven by an armature. The supplied recordings demonstrate Object, Edit, Sculpt and Pose Mode workflows. Check the product listing for versions tested with your installed release.
Installation
- Download the Silhouette Viewer installer ZIP from your purchase. Keep it compressed.
- Open Blender and go to Edit → Preferences → Add-ons.
- Open the menu in the upper-right corner and choose Install from Disk. Select the downloaded installer ZIP and confirm.
- Search for Silhouette Viewer in Add-ons and enable it if necessary.
- Return to the 3D Viewport. Place the cursor over it, press N, and open the Silhouette tab.
Quick start
- Select a mesh in Object Mode.
- Open N → Silhouette and enable the preview using the eye button beside Silhouette ON/OFF.
- Expand Advanced Settings if the detailed controls are collapsed.
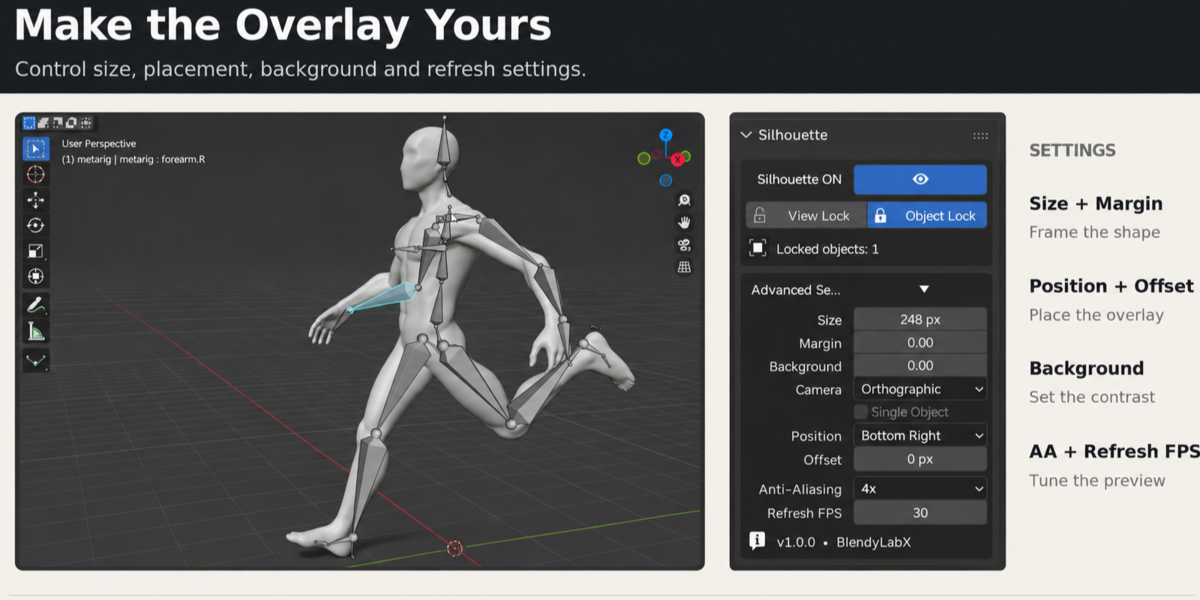
- For a clear starting view, set Background to 1.00, choose Orthographic, and use a Size around 200–250 px.
- Choose a Position that leaves room for your tools. Adjust Margin and Offset if needed.
- For modeling or sculpting, enter Edit Mode or Sculpt Mode and check the silhouette as you change the mesh.
- For posing, enable Object Lock on the character mesh, select its armature and enter Pose Mode. Adjust a bone and watch the character outline update. See Working in Pose Mode for the full workflow.
- Use the same eye button to turn the preview off when finished.

Current panel and activation steps. Suggested starting values are separate from the values visible in the recording.
Appearance and placement
| Control | What it does / when to use it |
|---|---|
| Size | Sets the preview overlay size in pixels. Increase it for inspection; reduce it when workspace is limited. |
| Margin | Adds padding around the silhouette inside the preview. Increase it when the shape needs more breathing room. |
| Background | Controls the white preview background's opacity. Use 1.00 for an opaque white card; lower values reveal more of the viewport behind it. |
| Position | Chooses the overlay's viewport corner. Move it away from toolbars and the area you are editing. |
| Offset | Adjusts the preview's distance from its anchored position. |
| Camera | Chooses the silhouette projection. Orthographic is useful for reviewing shape without perspective size changes; use Perspective when that projection is available and useful for comparison. |

Current appearance controls from the supplied v1.0.0 recording, with explanatory labels outside the screenshot.
Selection and lock controls
Camera selects projection. View Lock keeps a fixed preview angle; earlier recordings may label this button Camera Lock.
For object switching, unlock Object Lock and select the next mesh. For posing, lock the character mesh before selecting its armature.
| Control | How to use it |
|---|---|
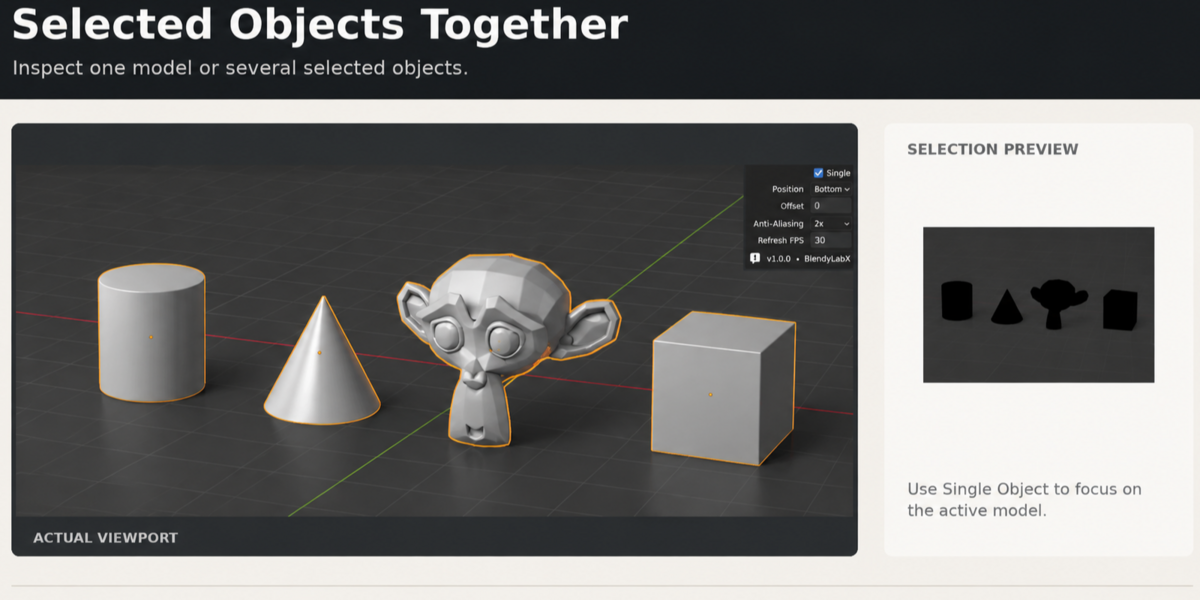
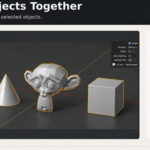
| Single Object | Enable to focus on the active object. Disable to review multiple selected objects together. |
| Object Lock | Keeps the chosen mesh as the preview target while changing selection. For posing, lock the character mesh before selecting its armature. Unlock to choose a different target. |
| View Lock | Keeps the preview view for comparison while you navigate the working viewport. Unlock it to return to the following view. |

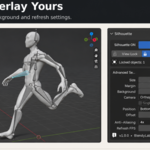
Current View Lock, Object Lock and quality controls from the supplied Pose Mode recording.
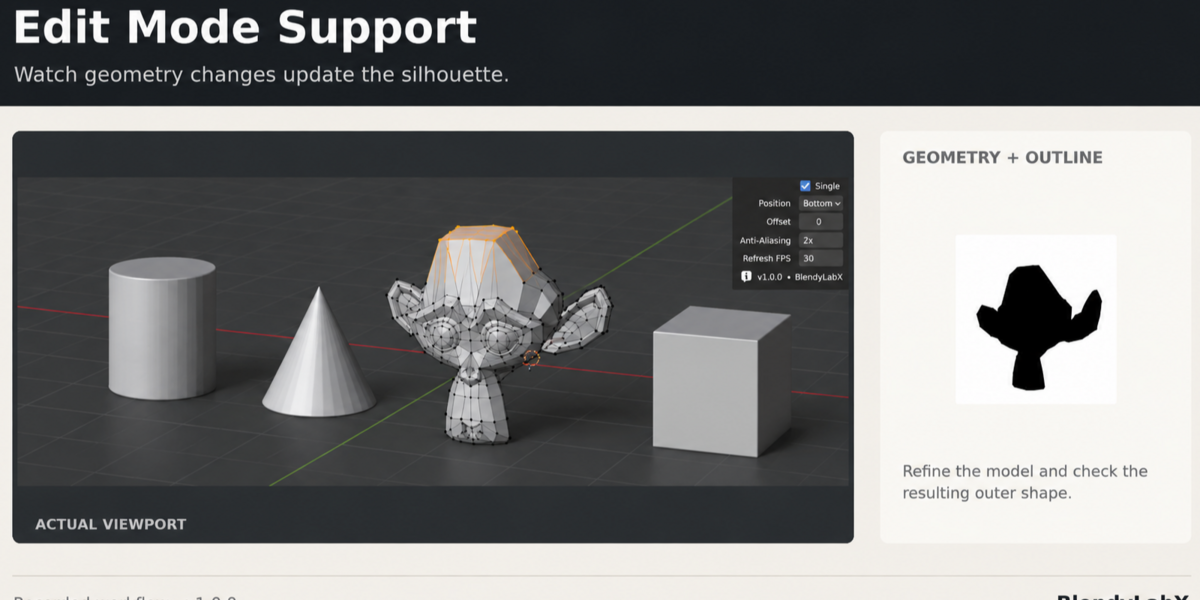
Working in Edit Mode
- Select your mesh and enable the silhouette in Object Mode.
- Enter Edit Mode and edit the geometry.
- Check the outer shape as you move vertices or adjust larger sections.
- If the outline is hard to read, increase Background opacity or Margin and review a different viewing angle.

Recorded geometry changes and corresponding silhouette updates.
Working in Sculpt Mode
- Select the mesh you want to sculpt and enable the preview.
- Enter Sculpt Mode and shape the model with your usual brushes.
- Keep the overlay near an unused corner so it remains visible without covering your brush area.
- If the scene becomes slower, reduce preview Size, anti-aliasing or Refresh FPS before increasing them again gradually.

Live shape feedback during the recorded sculpting demonstration.
Working in Pose Mode
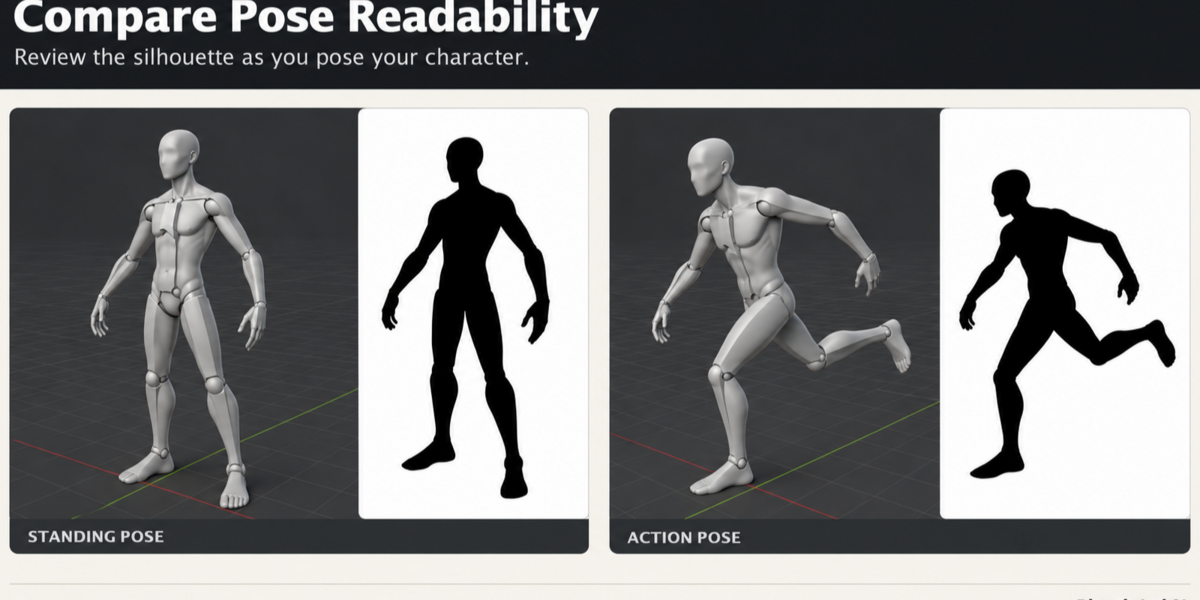
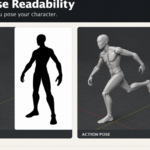
The supplied clip shows bone adjustments changing the character mesh and silhouette, with the preview remaining visible during viewport navigation. Use this feedback to check limb separation and the overall gesture.
- In Object Mode, select the character mesh and enable Silhouette Viewer. Make sure the mesh follows its armature when posed.
- Enable Object Lock to keep that mesh as the preview target.
- Select the armature that drives the character and enter Pose Mode.
- Select a bone and adjust it using your usual pose controls. Check how the character's silhouette changes as the mesh deforms.
- Review the pose from useful angles. Leave View Lock off when you want the preview to follow viewport navigation; use it when you want a fixed comparison view.
- When changing to another character, return to Object Mode, unlock Object Lock, select the new mesh and lock the new target.

Have questions about this product?
Login to message
| Blender Extension Compatible | Yes |
| Published | 3 days ago |
| Blender Version | 4.5 - 5.2 |
| Extension Type | Add-on |
| License | GPL |
Discover more products like this
sculpting viewport artist-tools silhouette Pose Mode shape readability addon character design Workflow Live Preview modeling character posing