Snapsplit - Cut & Build Custom Connectors For 3D Printing
 Betakontext




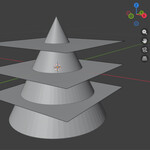
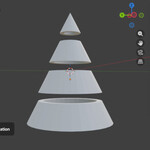
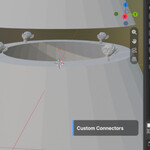
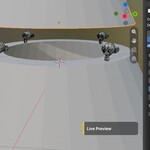

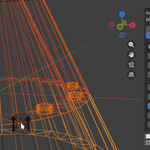
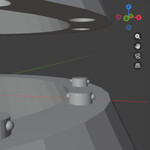


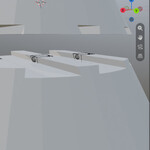
For now I tested it with Blender 4.5.3 LTS, 4.5.9 LTS, 5.0.1, 5.1.0, 5.1.1, 5.2.0, 5.2.2 LTS which work fine. Please let me know if you test on other Blender versions to update version compatabilities.
Please let me know if you test other Blender versions. Lets update version compatabilities.
Installation
- Download snapsplit.zip
- In Blender: Edit → Preferences → Add-ons → Install… → select the *.ZIP → enable.
- Unit system: Metric, Unit scale: 1.000, Length: Adaptive
- The UI is accessible over the N-Panel in Blender.
- Scale Unit = 1.000, Metric: Adaptive
- Before splitting: use f.e. 3D-Printing Toolbox (manifold, thin walls, intersections).
- Select a watertight (manifold) mesh.
- Ctrl + A -> Apply all transforms
- This is also important after each change, f.e. rotatations or scale.
- After splitting: visually check that all parts contain polygons.
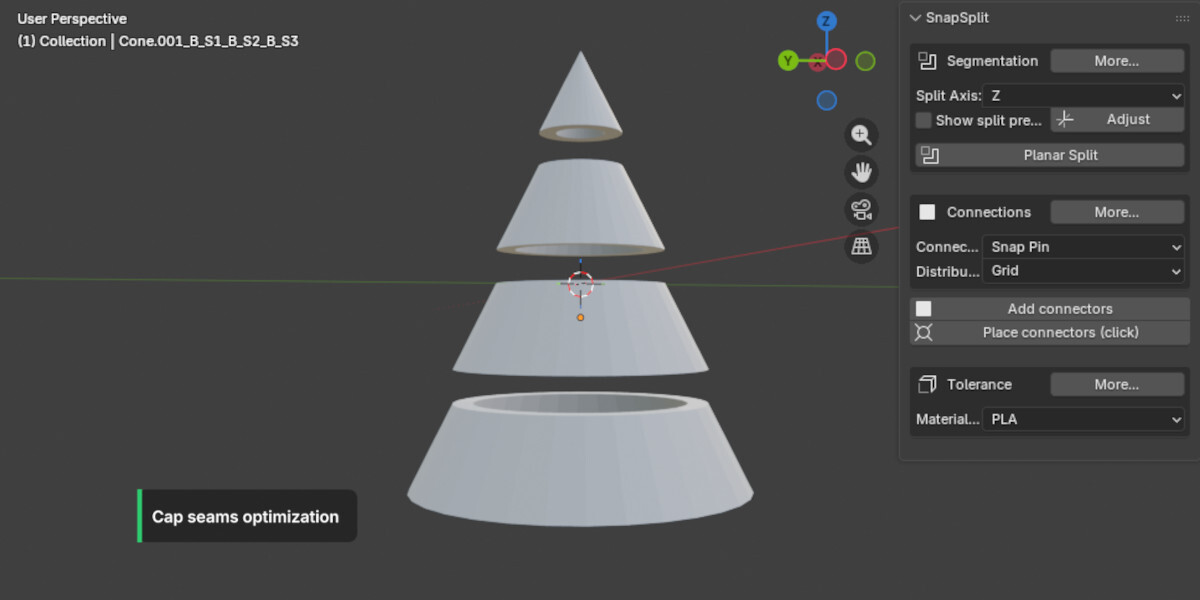
Unfold the segmentation part (More...) to get ready for the split.
-> Click "Show split preview" if you want to see the split preview plane permanently. Offset 0 is the middle of the selected part.
-> Choose desired number of parts and adjust the split axis offset. -> Push: "Adjust split axis"
-> For larger part numbers you can deselect "cap seams" and create the caps afterwards. -> Cap seams closes walls, if a pre boolean, hollow or solidify is detected it closes only the side walls to leave the inside open f.e. for casting forms. If none it closes the whole cut area. You can also use it per part afterwards if "Cap seams" is deselected
-> Run "Planar Split"
Build Connections:
Unfold the connections part (More...) to choose and place your connectors.
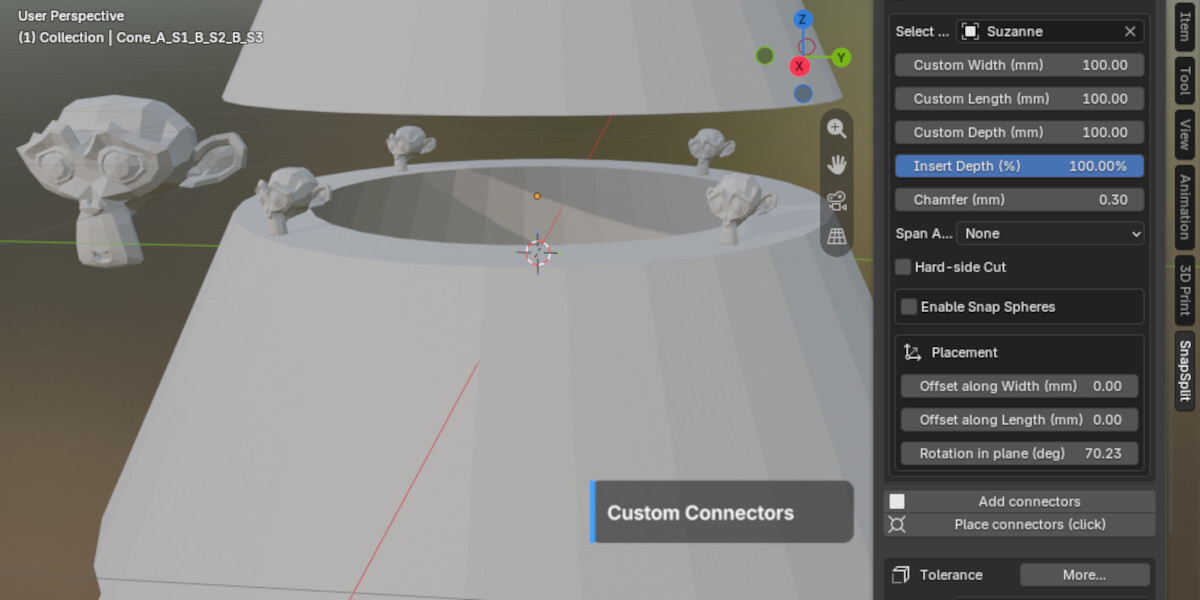
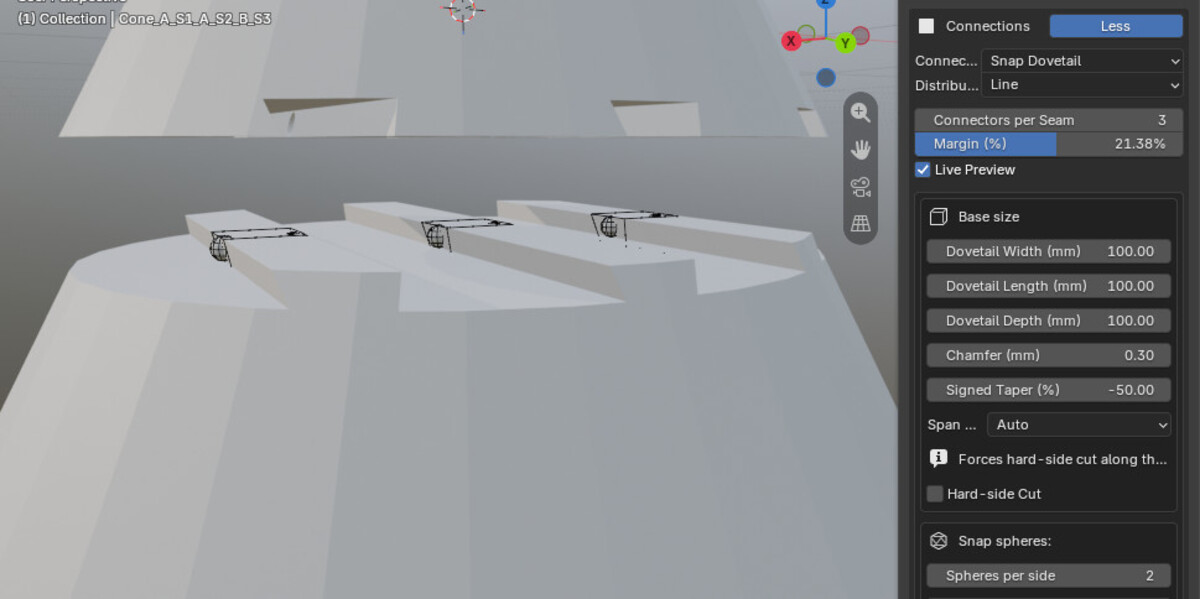
-> Select two or more adjacent parts (order does not matter). -> Choose pins or tenons, Dovetails or build a Custom Connector distributed along a seam line or spread across a grid, or Placed per click on the cut plane, with or without Snap-Pins for glueless connection. -> Define your tolerance profile (under Connections UI) for your material.
-> Click “Add connectors”: The pin/tenon gets embedded into Part B, and a socket with tolerance is cut into Part A. or -> Choose "Place connectors (click)" to set individualized connectors with your mouse clicking at spots along the seems.
__________________________________________-
Property group with:
- Segmentation: Number of parts. Unclick "cap seams" for larger part numbers
- Connections: Cylindrical Pin, Rectangular Tenon, Dovetail, Snap-Pin, Snap-Tenon, Snap-Dovetail, Custom Connector
- Tolerance: Material profiles (PLA, PETG, ABS, ASA, TPU, SLA)
- Alignment: Face to face alignment option in object mode
Operators:
- Planar Split along a global axis into the specified number of parts
- Split preview and adjustment
- Decap and cap seams toggle, pre and post split
- Percentage-based edge margin for connector placement
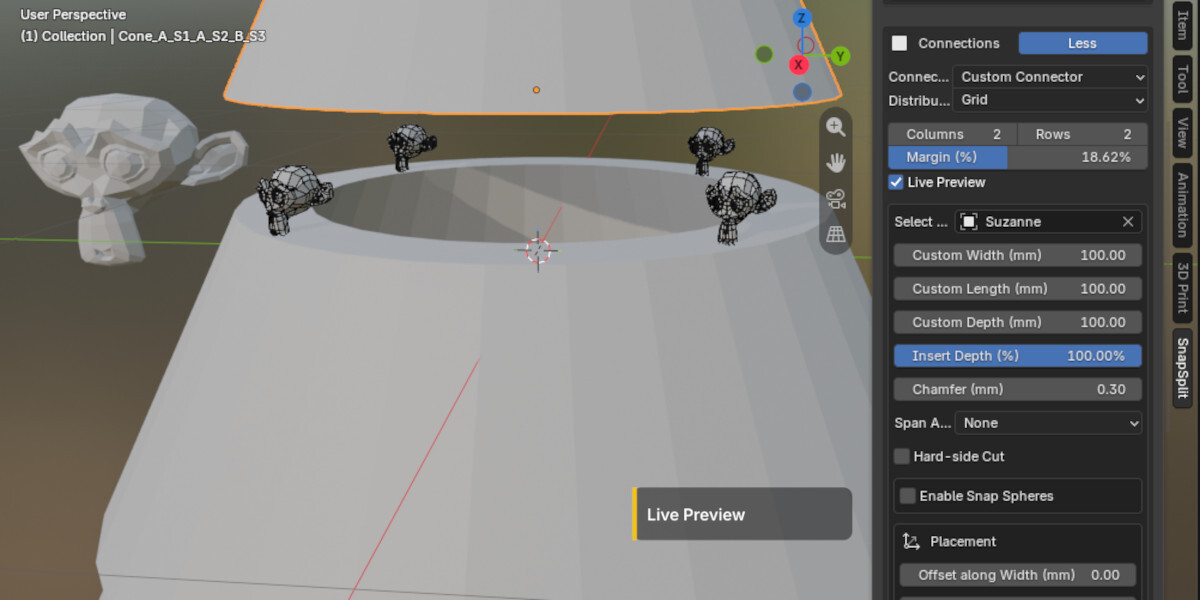
- Seam line connectors, Grid connectors with rows and columns input and individual per click connectors placement on the cut face.
- Pin, Tenon, Dovetail and Snap-variant adjustments
- Custom Connector placement using a user-selected mesh object, scaled to Width/Length/Depth
- Adjustable insertion depth. Default: 50%
- Alignment with face selection in object mode
Tolerance profiles (guidelines, adjustable):
- PLA: 0.15–0.25 mm per side
- PETG: 0.25–0.35 mm per side
- ABS/ASA: 0.20–0.30 mm per side
- TPU: 0.30–0.45 mm per side
- SLA: 0.05–0.15 mm per side
These are provided as presets and can be overridden
CONTACT: [email protected]
 Included
Includes 12 months of
- Support from Betakontext
- Product updates
Extend this product’s Support Period +12 months: 50% of product price
Have questions before purchasing?
Login to message
| Blender Extension Compatible | Yes |
| Sales | 30+ |
| Dev Fund Contributor | |
| Published | 6 months ago |
| Blender Version | 4.5 - 5.2 |
| Extension Type | Add-on |
| Render Engine Used | Cycles, Eevee |
| License | GPL |

Discover more products like this
3D Print Alignment connectors 3dprintable automated advanced customization connect align cut glueless 3dprint split and snap print connections