StageKit One-Click Product Studio Builder
 Hatim Dahmouni



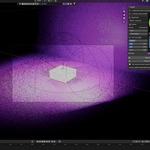
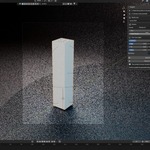
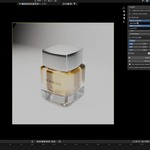
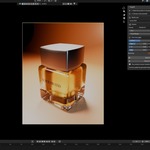
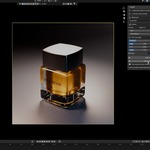
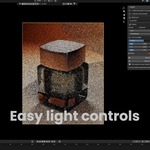
INSTALLATION
1. Download stagekit-1.0.0.zip.
2. In Blender, open Edit > Preferences > Extensions.
3. Open the Extensions menu and choose Install from Disk.
4. Select the ZIP file. Do not unzip it first.
5. Enable StageKit if Blender does not enable it automatically.
QUICK START
1. Open or import your product model.
2. Select all product parts, or select the parent Empty containing them.
3. Press N in the 3D Viewport and open the StageKit tab.
4. Choose Clean Studio, Bright E-commerce, or Luxury Dark.
5. Choose 1:1, 4:5, 9:16, or 16:9 output.
6. Click Build Stage.
7. Adjust the camera, framing, lights, backdrop, and format live.
8. Click Remove Stage when you want to restore the previous scene setup.
WHAT STAGEKIT CREATES
• A camera fitted to the complete selected product
• Auto-scaled key, fill, and rim area lights
• A smooth cyclorama backdrop
• A dedicated studio world
• An organized StageKit collection
• A social-ready output resolution at 100%
COMPATIBILITY
• Tested with Blender 4.2, 5.0, and 5.2
• Compatible with Cycles and Eevee workflows
• No third-party dependencies or external services
NON-DESTRUCTIVE BEHAVIOR
StageKit reads the evaluated bounds of the selected geometry and creates a separate tagged setup around it. It does not move or delete the product, change product materials, or replace the current render engine. Remove Stage deletes only StageKit-generated data and restores the previous camera, world, and output resolution.
SUPPORT
Contact Hatim Dahmouni through Superhive messages. Include your Blender version, StageKit version, what you selected, and clear steps to reproduce the problem. Support requests are answered within three business days.
 Included
Includes 12 months of
- Support from Hatim Dahmouni
- Product updates
Extend this product’s Support Period +12 months: 50% of product price
Have questions before purchasing?
Login to message
| Blender Extension Compatible | Yes |
| Published | about 2 months ago |
| Blender Version | 4.2 - 5.2 |
| Extension Type | Add-on |
| Render Engine Used | Cycles, Eevee |
| License | GPL |
Discover more products like this
Studio Lighting camera-framing product render product lighting social-content Workflow rendering ecommerce