 Salman Animator
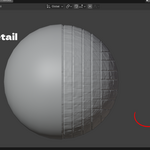
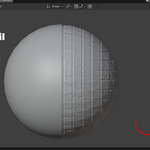
The problem
You want a wall to look like real brick, a log to have deep bark, or a floor to crack. In Blender that usually means sculpting by hand, or building a Subdivision + Displace + texture setup and then wondering why the displacement modifier is not showing any detail. Side faces stretch unless you unwrap UVs, and one Subdivision level too many can freeze the viewport.
The solution
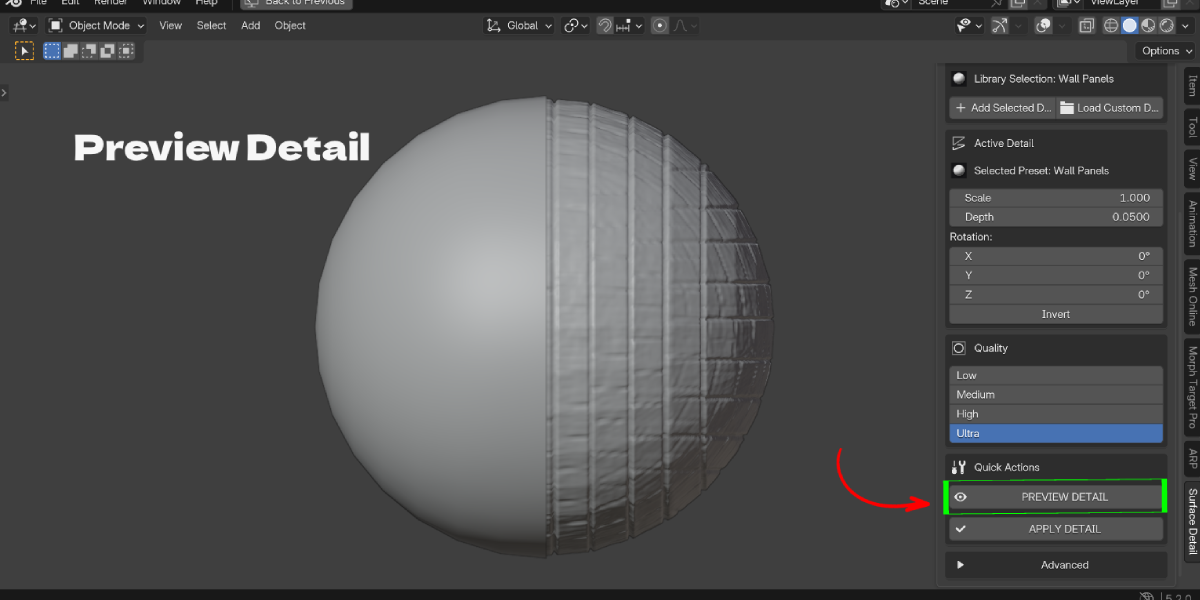
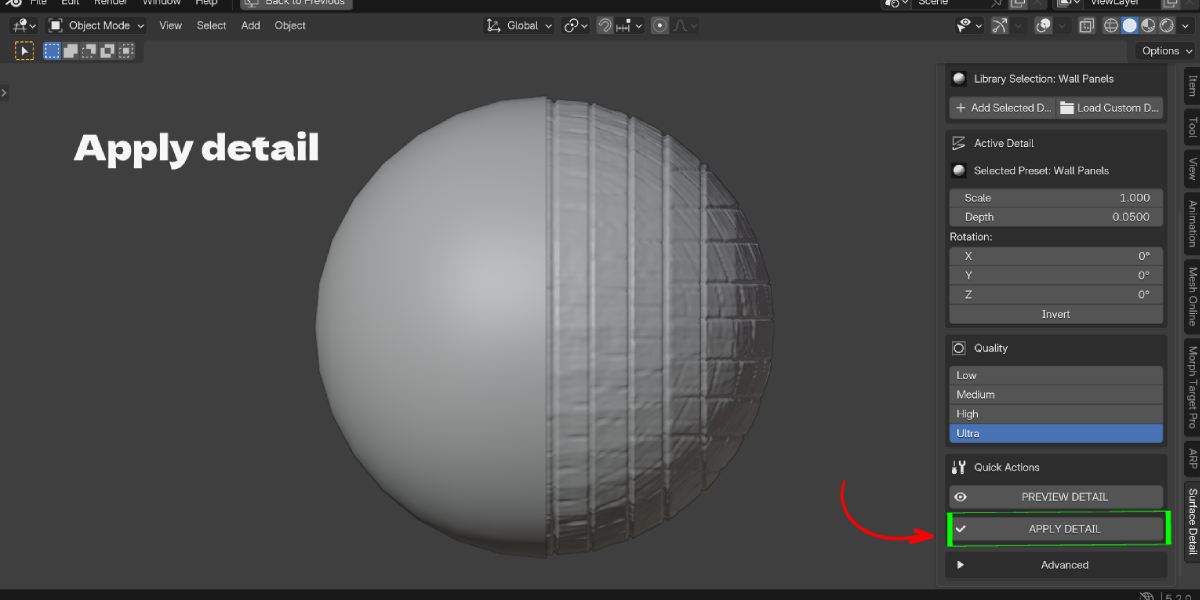
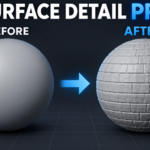
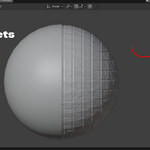
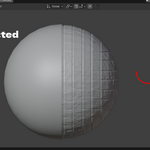
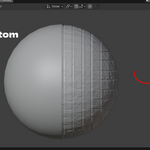
Surface Detail Pro turns images into real surface geometry with one click. Select a mesh, pick a preset such as Brick Wall, Tree Bark or Cracked Concrete, and the detail appears live on the object. Change Scale, Depth and Rotation until it looks right. When you are happy, click APPLY DETAIL to make it real mesh geometry.
It is built on Geometry Nodes, so the detail stays non-destructive until you apply it. Your base mesh is not touched while you experiment.
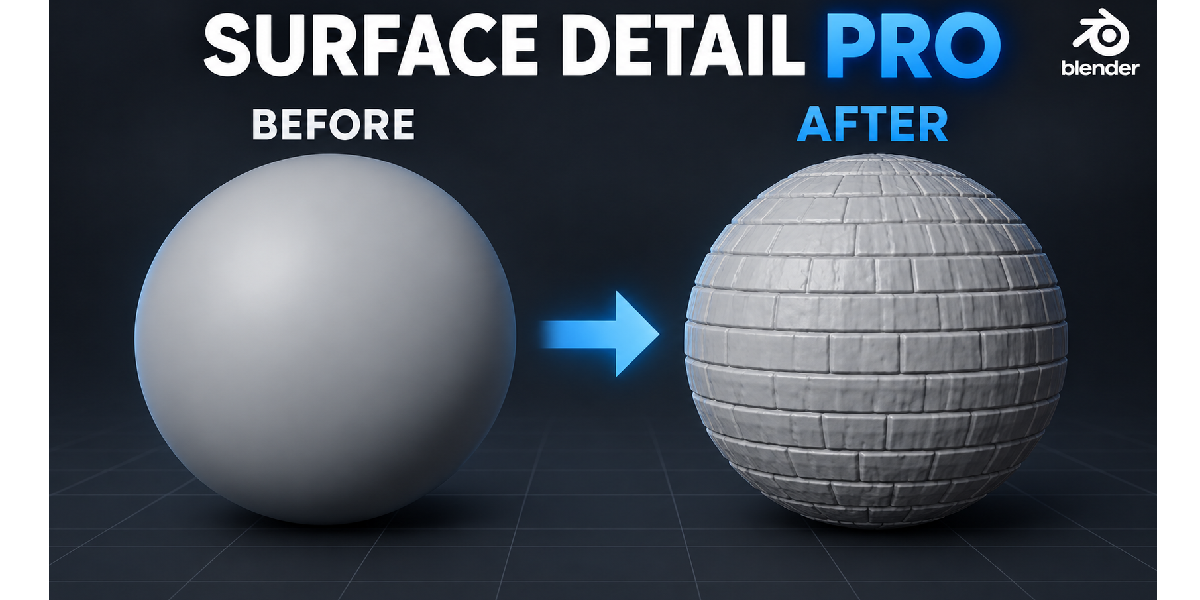
Before and after
- Before: flat sphere, cube or cylinder, plus a long node and modifier setup.
- After: the same object with real, shadow-casting brick, bark or stone detail that changes the silhouette, not just the shading.
Key Features with Benefits
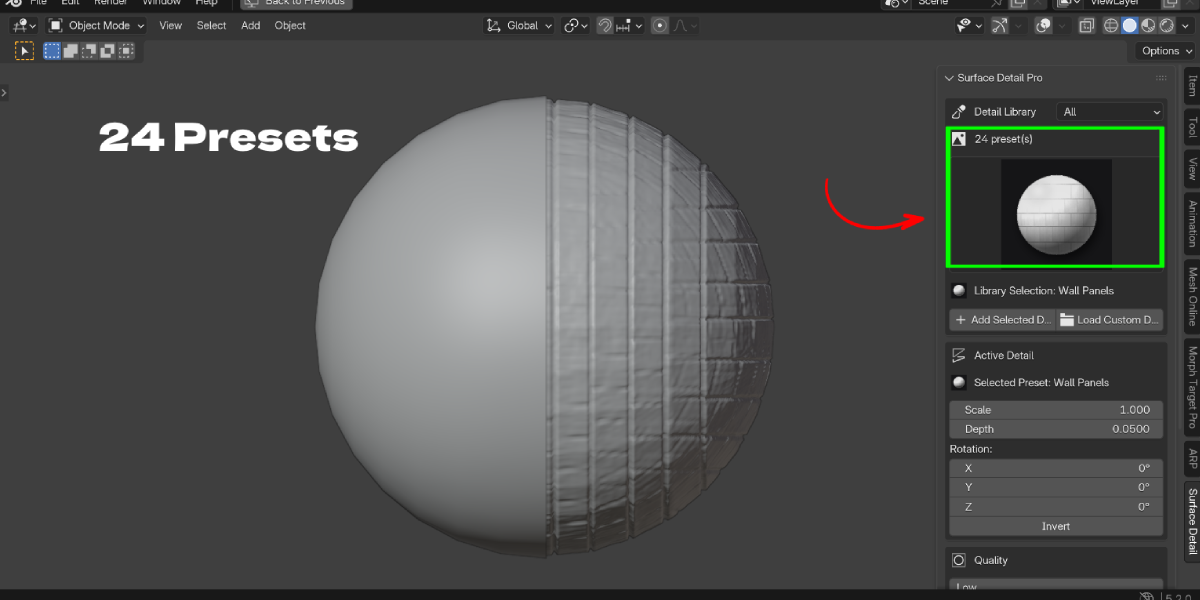
- 24 built-in detail presets: Brick Wall, Wall Panels, Ceramic Tiles, Tree Bark, Rugged Tree Bark, Grass, Dry Leaves, Fur Strands, Rock, Stone, Stone Mosaic, Cracked Concrete, Concrete Deep Cracks, Damaged Wall, Cracked Brick Wall, Fabric Weave, two Woven Fabrics, three kinds of Scales, Brushed Metal, Ground Detail and Dry Mud Cracks. Benefit: you start from a good looking result instead of an empty node tree.
- Visual preset library with categories: Structure, Organic, Stone, Damage, Pattern and Ground, each with a preview thumbnail. Benefit: find the right look by eye, no file browsing.
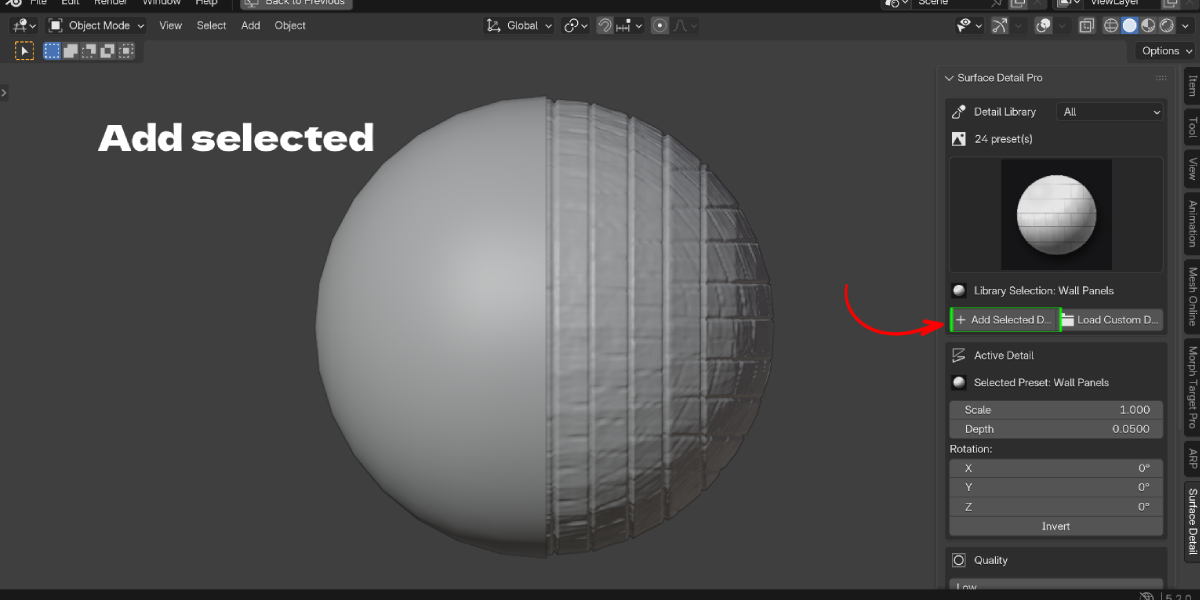
- One click Add Selected Detail: creates the full setup for you. Benefit: no more "why is my displacement not showing" debugging.
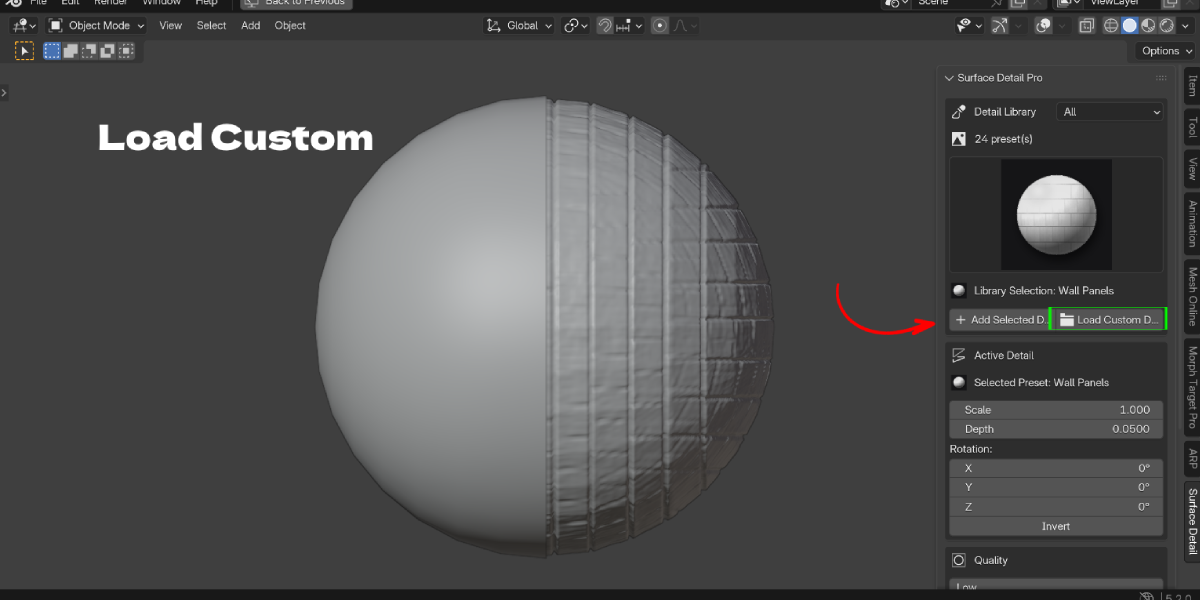
- Load Custom Detail: use your own PNG, JPG/JPEG or TIFF height map. Benefit: any grayscale image becomes real geometry, so the tool grows with your own texture collection.
- Box / Triplanar projection (no UVs): Locked mode compensates for object scale, Object mode uses local space. Benefit: detail wraps around sides and corners without UV unwrapping or stretching.
- Planar and UV projection too: Planar projects along local Z with optional falloff; UV uses your active UV map. Benefit: full control when you do want an exact placement.
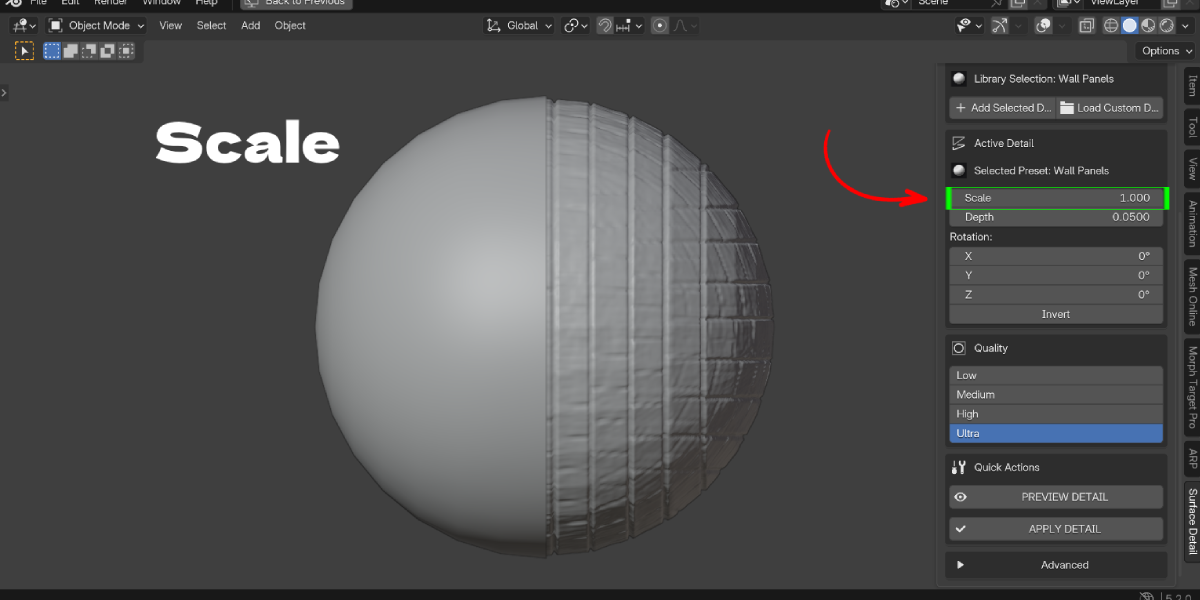
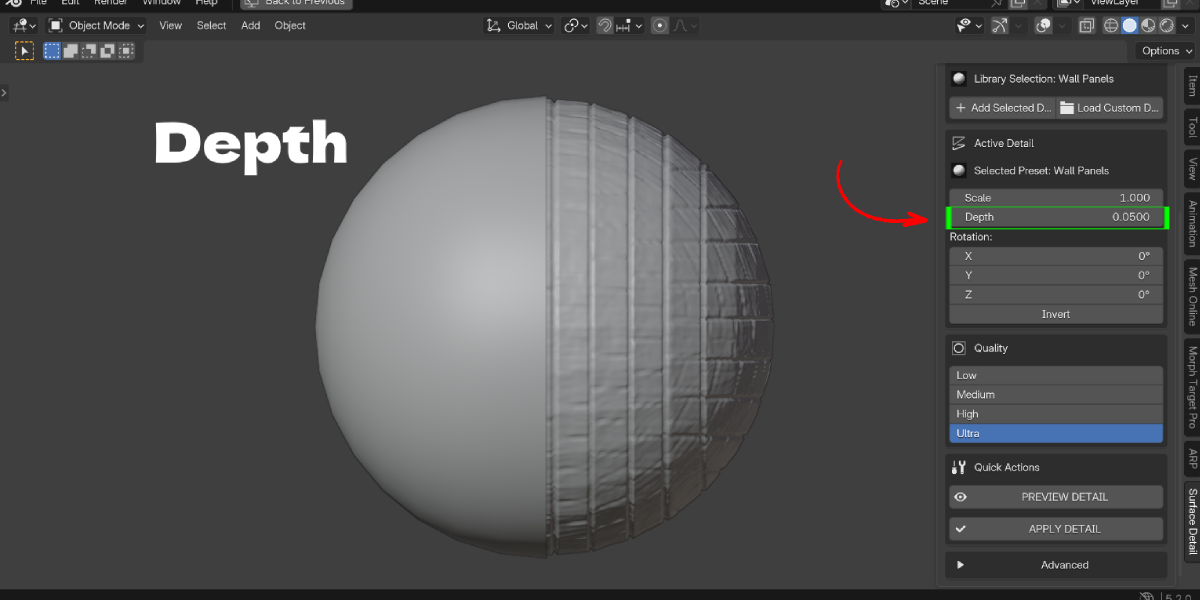
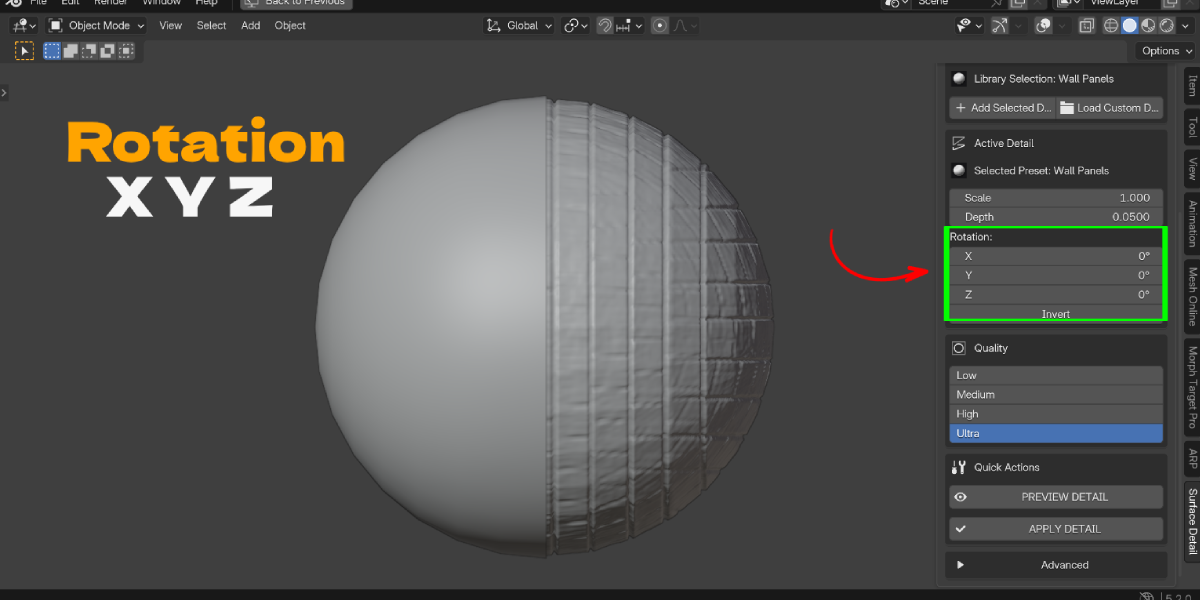
- Scale, Depth, Rotation XYZ, Offset and Invert: Depth supports negative values. Benefit: push detail in or out and line it up without moving or rotating the object.
- Midlevel, Contrast, Tiling and Use Image Alpha: Benefit: fix flat or washed out height maps right inside the panel.
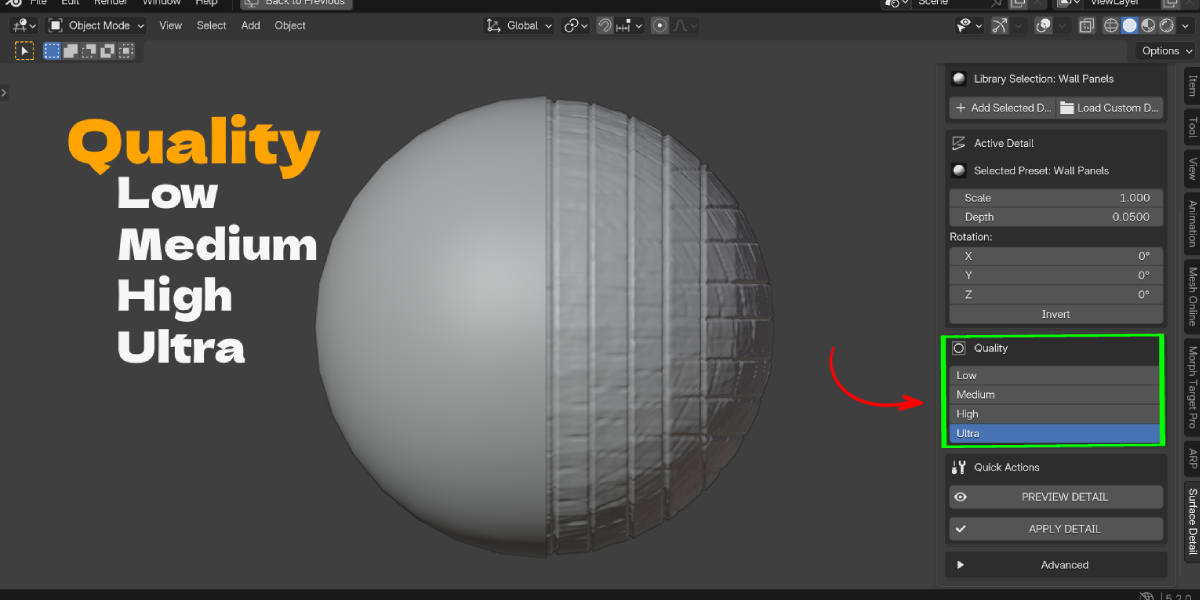
- Quality Low, Medium, High, Ultra plus Detail Resolution (Auto, Fine, Very Fine): uses Simple subdivision so the base shape is kept, not smoothed. Benefit: quick previews while working, fine detail for the final result.
- Automatic safety clamp: the live face count is limited to about 1.5 million faces. Benefit: one click on Ultra will not lock up Blender on a heavy mesh.
- Detail Layers: add several details to one object, then select, duplicate, reorder, hide or delete each one. Benefit: mix bricks with cracks, or bark with dry leaves, and adjust each part separately.
- Live, non-destructive preview and APPLY DETAIL: Benefit: experiment freely, then bake real geometry for export, 3D printing or further modeling only when you are ready.
- Repair and Reset Transform tools: Benefit: rebuild a broken setup or start the projection fresh without redoing the layer.
Workflow Benefits
- Old way: add Subdivision, add Displace, create an image texture, set it to Non-Color, choose coordinates, fix modifier order, then test. New way: select the mesh, choose a preset, click Add Selected Detail.
- Old way: unwrap UVs so the texture does not stretch. New way: keep Box / Triplanar projection and skip unwrapping.
- Old way: guess subdivision levels and risk a frozen viewport. New way: pick a Quality level; the safety clamp protects heavy meshes.
- Old way: sculpt brick or bark by hand and start over if the client wants it bigger. New way: change Scale or Depth and see the update live.
- Old way: stack modifiers for two textures and lose track of them. New way: use Detail Layers with clear names, visibility toggles and ordering.
- Old way: apply modifiers one by one and hope you picked the right ones. New way: APPLY DETAIL bakes everything into the mesh in one step.
Everything stays inside the 3D Viewport sidebar (N panel), so you never need to open the Geometry Nodes editor unless you want to.
Who it is for and Use Cases
- Environment artists: brick walls, tiled floors, rocky ground, cracked concrete and mud for game and film scenes.
- Prop and hard surface artists: wall panels, brushed metal and damage on props and kitbash parts.
- Nature and stylized artists: tree trunks, logs, bark, grass and leaf layers.
- Creature and character artists: reptile scales, layered scales and fur strand base detail.
- Product and fashion visualization: woven fabric and textile surface detail.
- 3D printing and CNC makers: real geometry relief that exports with the mesh after APPLY DETAIL.
- Beginners: get real displacement results without learning sculpting or node setups first.
