Transpose Classic : ZBrush Style Action Line to Move, Rotate and Scale Masked Sculpts
 blenderustad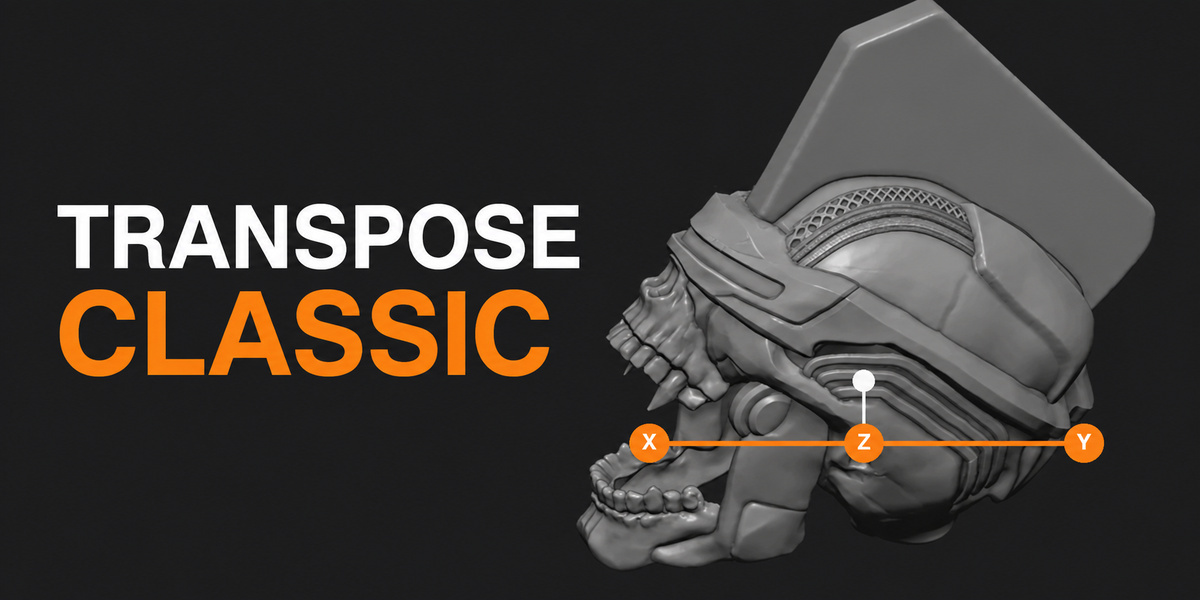
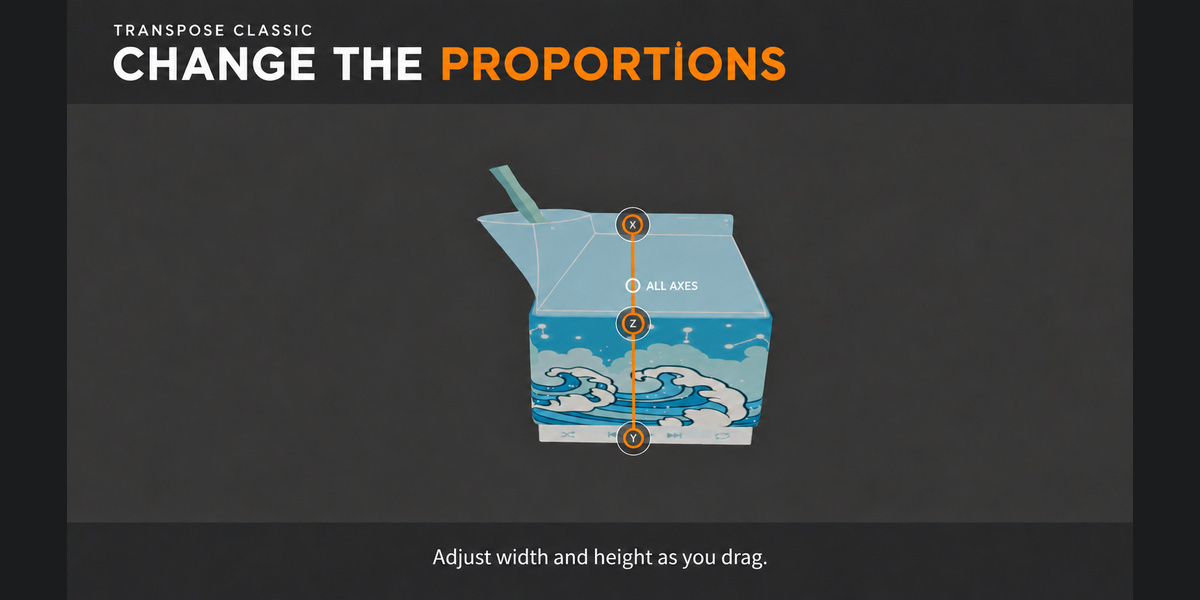
I pressed U and nothing happened. What is wrong?
Your mouse must be over the 3D Viewport, you must be in Object or Sculpt Mode, and the active object must be a mesh. If several objects are selected and none is an active mesh, select just the one you want to pose and press U again. Also check that no other addon is using U in the 3D View keymap.
Why does it say "Apply or remove shape keys"?
Transpose Classic writes directly to the base mesh coordinates. With shape keys present, those edits would conflict with the key data. Apply your shape keys (or remove them) and the tool will start normally.
Can I use it on a mesh with a Multires modifier?
Not while the Multires modifier is visible in the viewport. Disable its viewport visibility to work on the base level mesh, or apply the modifier if you are done with multi-resolution sculpting.
The whole mesh moves instead of just one part. Why?
The tool only protects masked vertices. If nothing is masked, everything moves. Paint a mask over the areas that should stay still in Sculpt Mode, then start the tool. You can invert the mask with Ctrl + I if you masked the wrong side.
My bend looks like a hard crease at the joint. How do I soften it?
Soften the edge of your mask. Partially masked vertices move partly, so a blurred mask edge gives a smooth falloff. Use Smooth Mask from the Mask menu, or paint the edge with a lower strength mask brush.
How is this different from Blender's own Move, Rotate and Scale tools in Sculpt Mode?
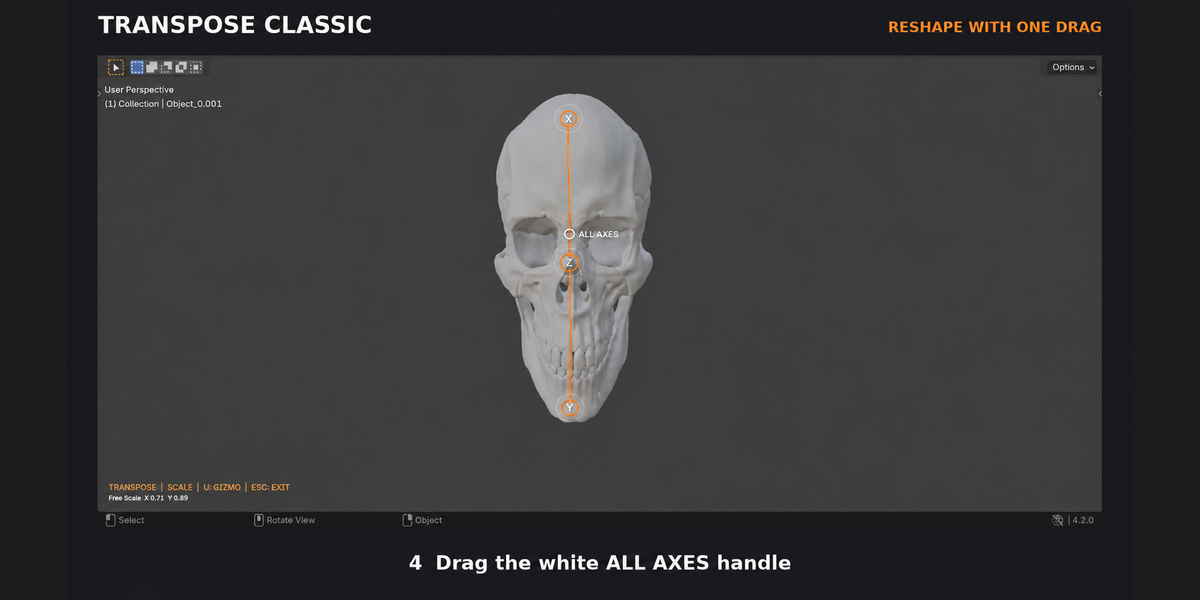
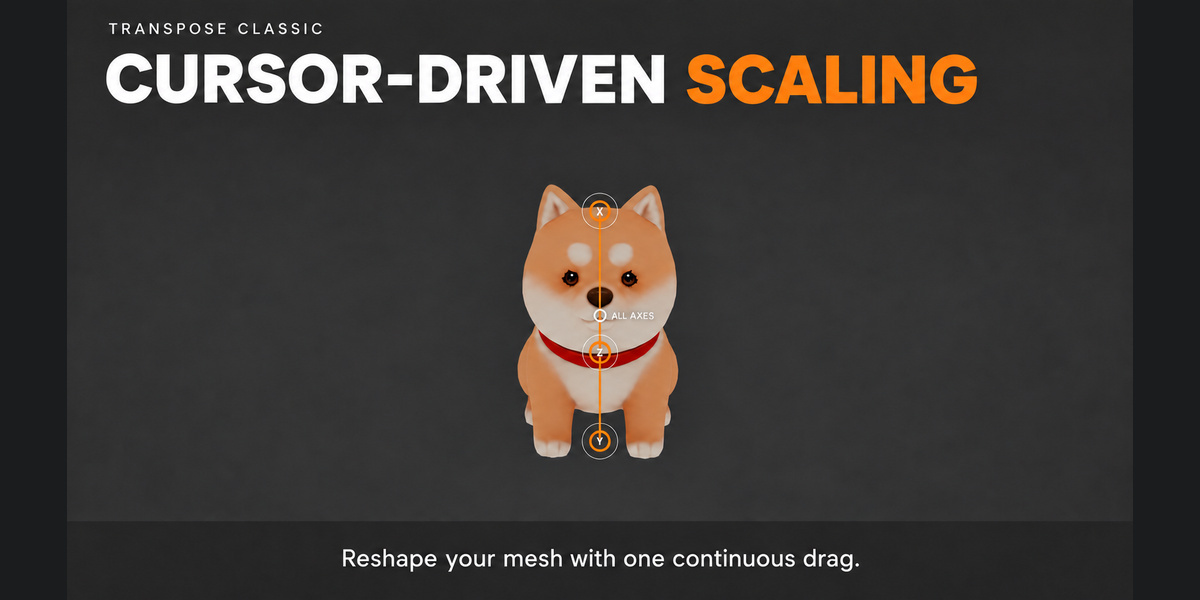
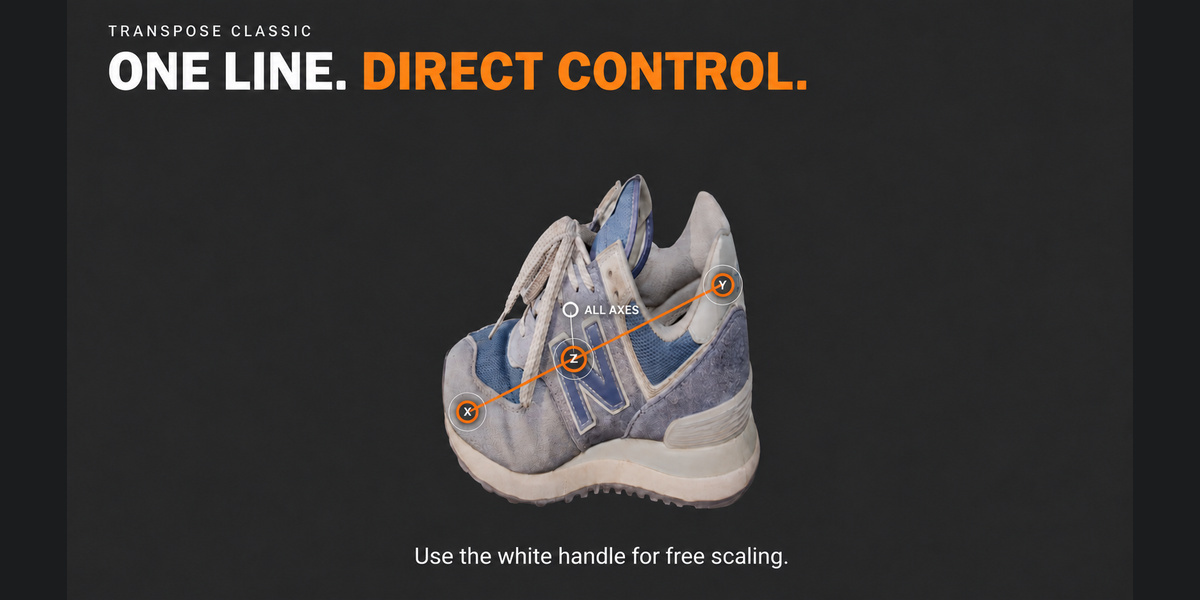
Blender's tools also respect the mask, but you set the pivot separately. With Transpose Classic, you draw the line on the surface and the pivot and axis come with it. Rotating from an end handle pivots around the opposite end, which is how joints behave. That makes posing limbs and fingers much faster.
I made a bad move. How do I go back?
While you are still dragging, right-click to cancel and the mesh snaps back to where that drag started. After you release, you can keep adjusting with more drags. Once you exit the tool, use Blender's normal undo. For big pose changes, saving a version first is a good habit.
$0
Have questions about this product?
Login to message
| Blender Extension Compatible | Yes |
| Downloads | 30+ |
| Published | 9 days ago |
| Blender Version | 3.3 - 5.2 |
| Extension Type | Add-on |
| Render Engine Used | Cycles, Eevee |
| License | GPL |
