 blenderustad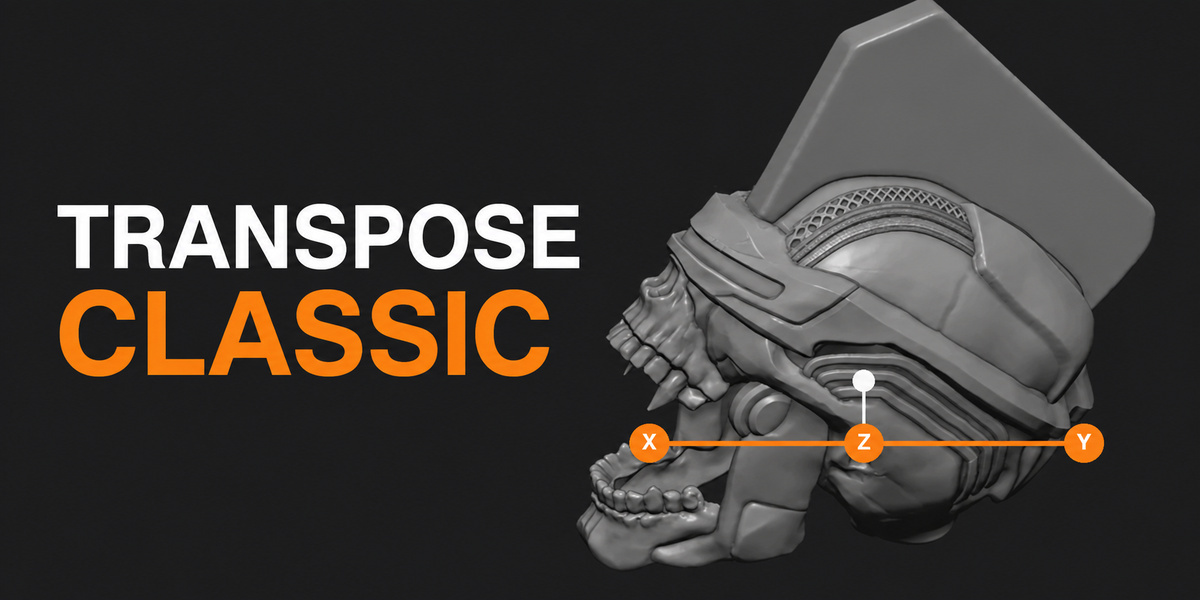
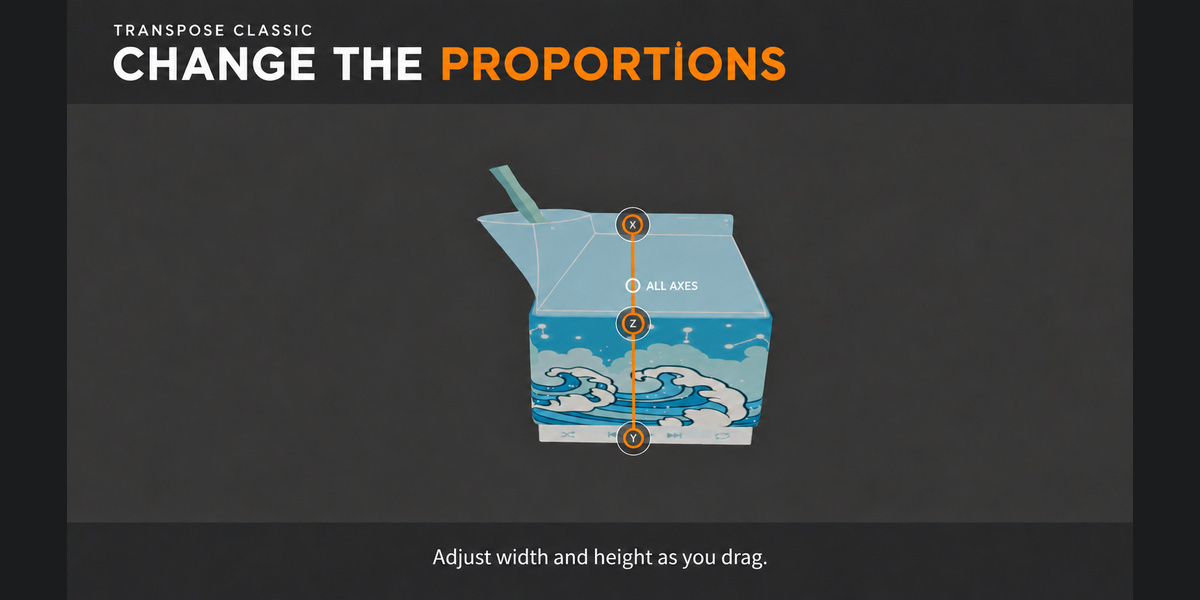
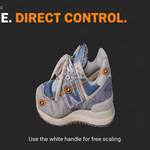
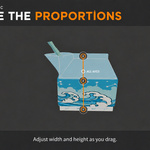
Pose and reshape sculpts the way ZBrush users already know
If you came to Blender from ZBrush, you probably miss one tool more than any other: Transpose. Mask a finger, draw a line from the knuckle to the tip, and bend it. No armature, no pivot hunting, no switching between three different tools.
Transpose Classic gives you that action line inside Blender. Press U, drag across your model, and you get a line with three handles. Press G, R or S and drag a handle to move, rotate or scale everything that is not masked. Masked areas stay put.
Why Blender's built-in tools are not quite enough
Blender's Sculpt Mode has Move, Rotate and Scale tools that respect the mask, and they work well. The problem is the pivot. You have to place it, check it, and place it again every time you pose a new part. On a character with ten fingers, two arms and a head, that adds up fast.
The action line solves this by turning the pivot into something you draw. The ends of the line snap to the surface of your mesh. Drag the end handle and the part rotates around the other end, like a joint. You see the axis, you see the pivot, and you place both in one stroke.
Built for blocking, posing and quick proportion changes
Bend an arm at the elbow without rigging it
Tilt a head, open a jaw, or curl a tail from a masked base mesh
Stretch a limb or a horn along one axis to fix proportions
Nudge a whole masked section into place before detailing
Works with the mask you already painted
Transpose Classic reads Blender's real Sculpt mask. Fully masked vertices never move. Partly masked vertices move partly, so a soft mask edge gives you a soft bend instead of a hard crease. You do not need vertex groups or extra setup.
Simple to learn, fast to leave
Everything is on the keyboard. U starts the tool. G, R, S switch mode. Right-click cancels a drag. Esc exits. Press U again and you drop straight into Blender's native Move, Rotate or Scale gizmo, matching the mode you were in. A short cheat sheet sits in the 3D View sidebar under Transpose in case you forget a key.
Free to download and use
Transpose Classic is free and open source under GPL-3.0. Download it, use it in personal and commercial projects, and share it with your team.
Take your sculpts further
If Transpose Classic helps your posing, these two tools from the same developer fit right into the next steps of the workflow:
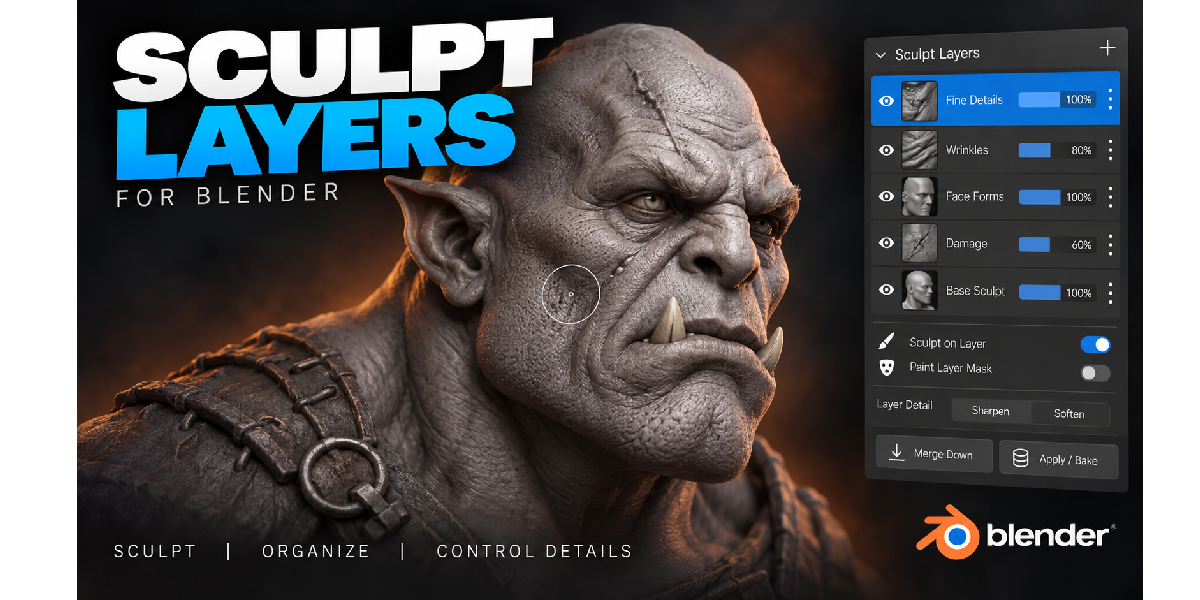
Sculpt Layers Non-destructive sculpt layers for Blender. Sculpt details on separate layers, dial each one up or down with a -1 to +1 strength slider, hide layers without losing data, and mask them with weight paint. Merge or apply when you are happy. Works with Blender's native sculpt brushes. Blender 3.4 to 5.2.
Texture Paint Layers Layer-based texture painting inside Blender. Paint color, roughness, metallic, height and normal in one stroke, use paint and fill layers with per-layer masks and nine blend modes, and let the addon wire up your material nodes. Works in Cycles and Eevee. Blender 3.3 to 5.2.
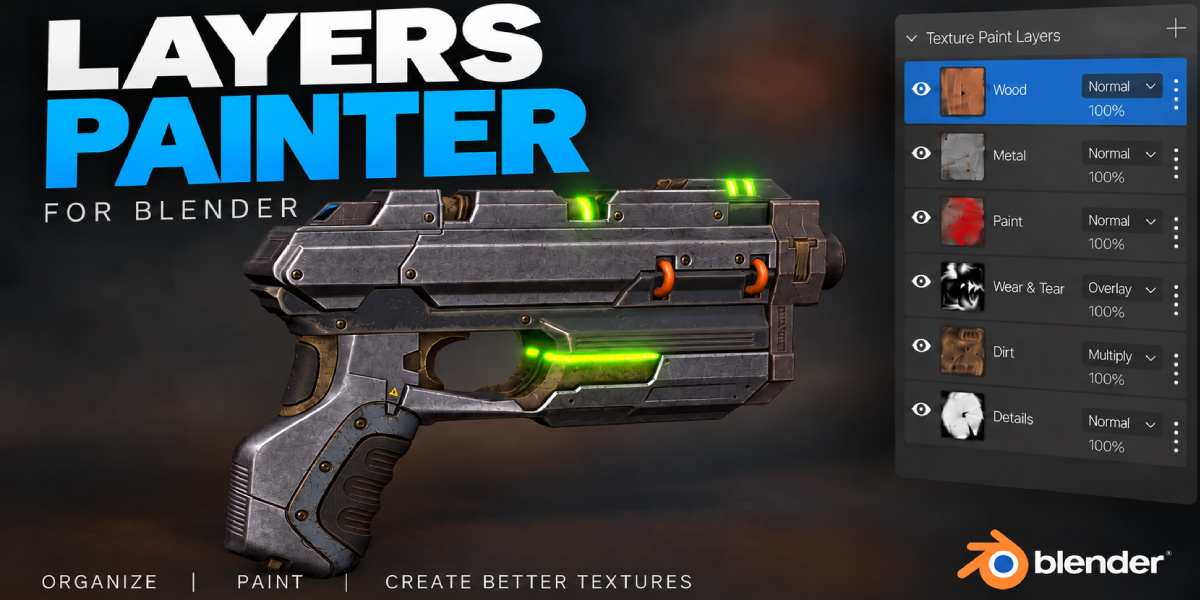
Pose with Transpose Classic, refine with Sculpt Layers, then paint with Texture Paint Layers, all without leaving Blender.
Key Features with Benefits
| Feature | What it means for you |
|---|---|
| Three-handle action line | Draw your transform axis and pivot in one drag instead of setting them up by hand. |
| Surface snapping | Line ends land on the mesh under your cursor, so the pivot sits exactly on the joint you are posing. |
| Move, Rotate and Scale modes (G / R / S) | The same line handles all three transforms. Switch with one key and keep working. |
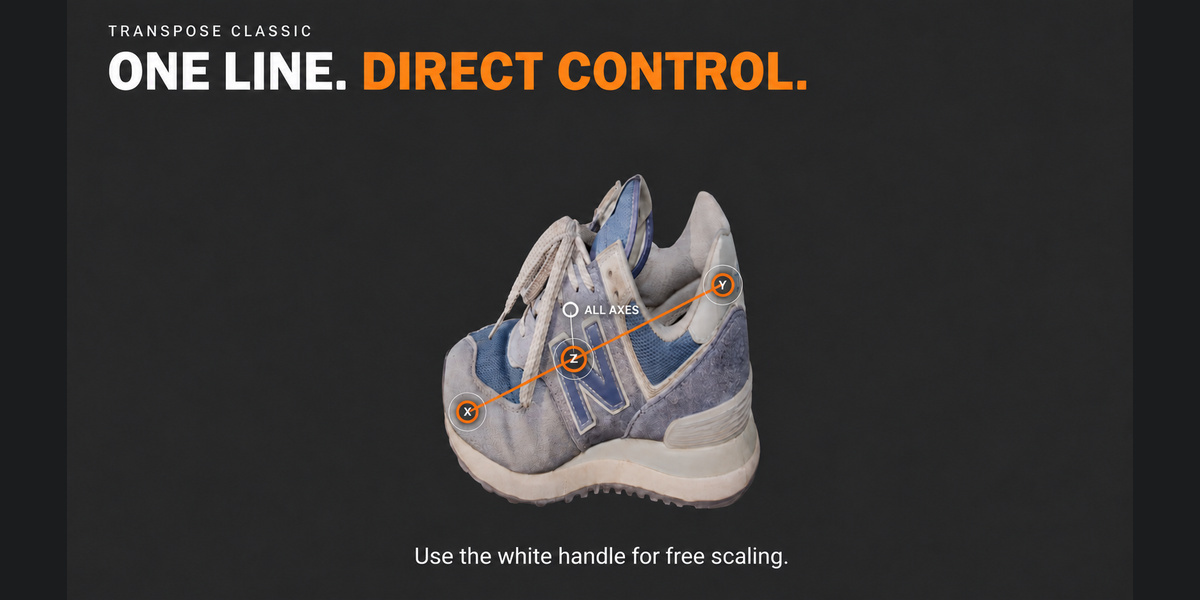
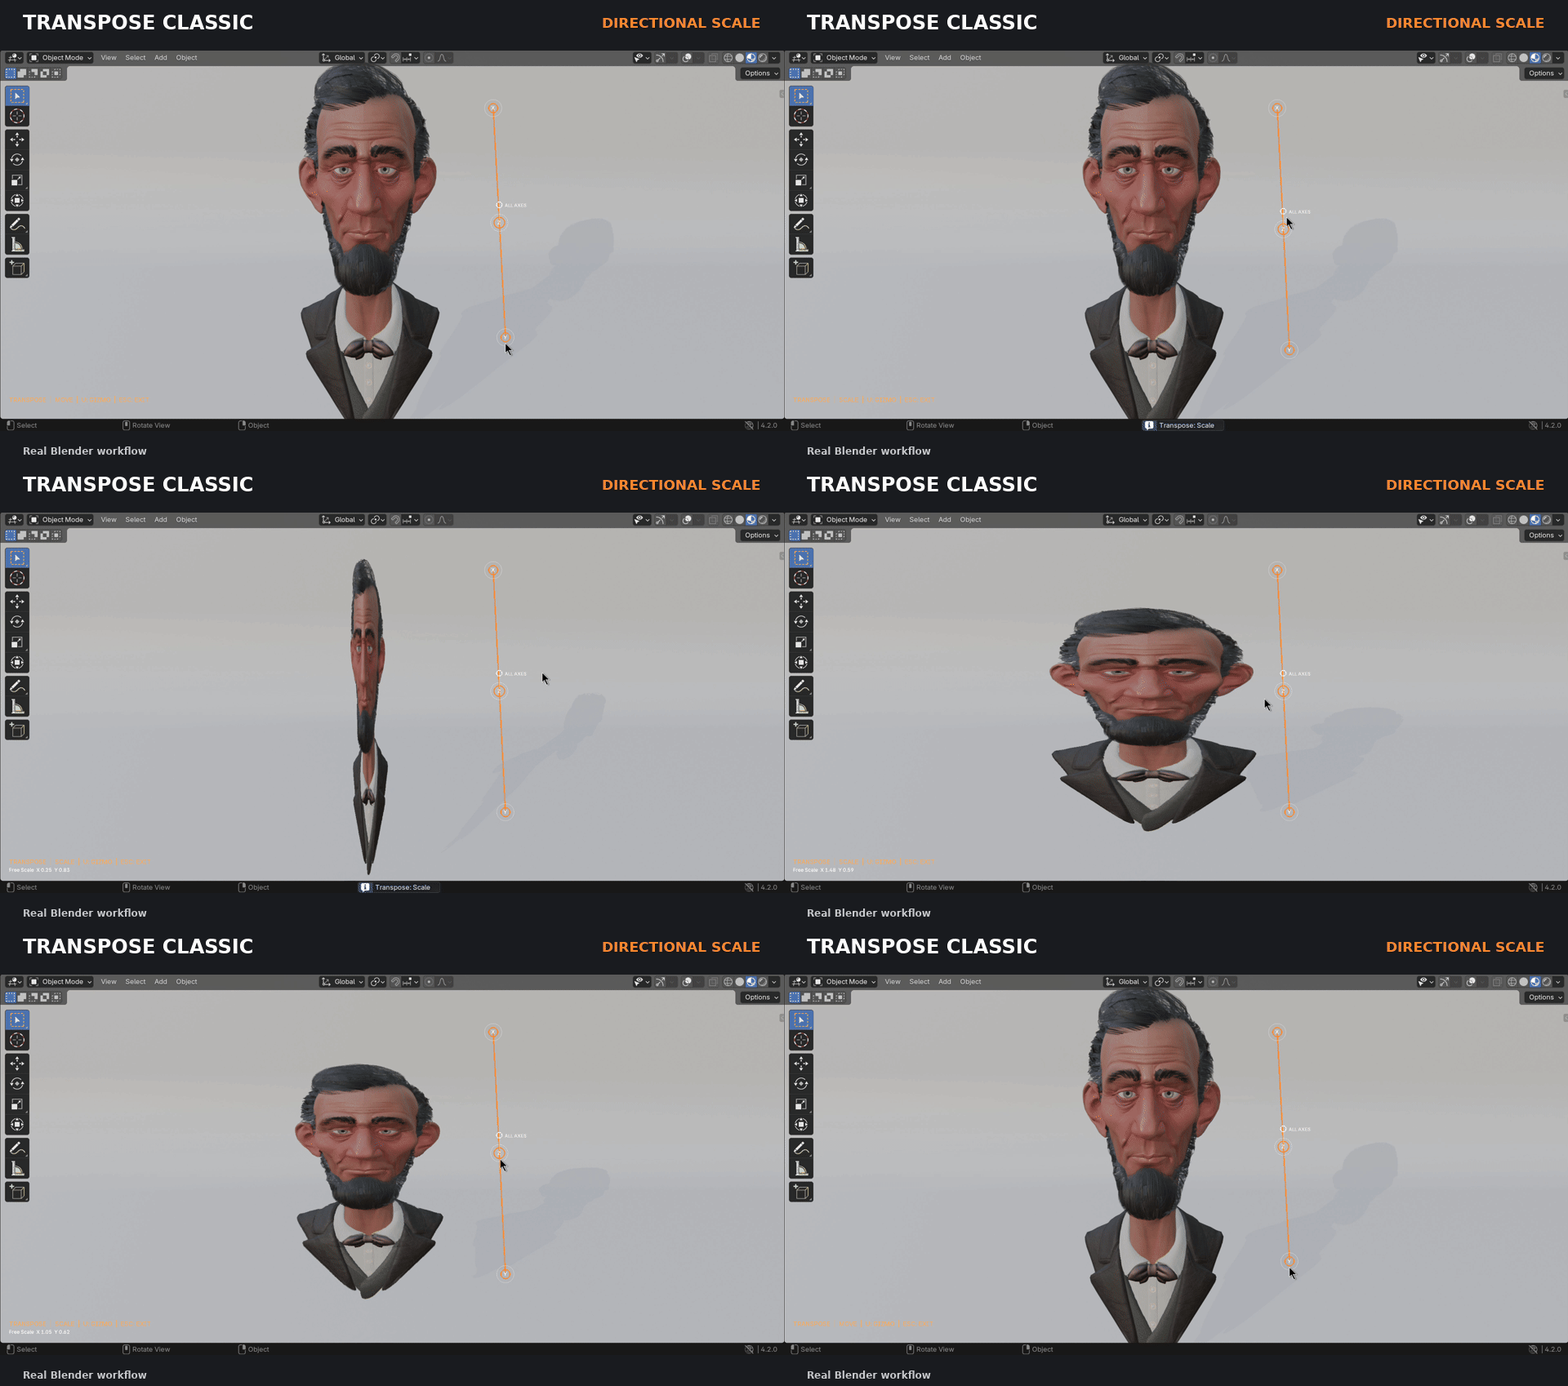
| World-axis orange handles | Screen-left handle uses X, the middle uses Z, screen-right uses Y. Predictable, constrained transforms with no axis menu. |
| Rotate around the opposite end | Drag an end handle in Rotate mode and the mesh pivots around the other end of the line, like a real joint. |
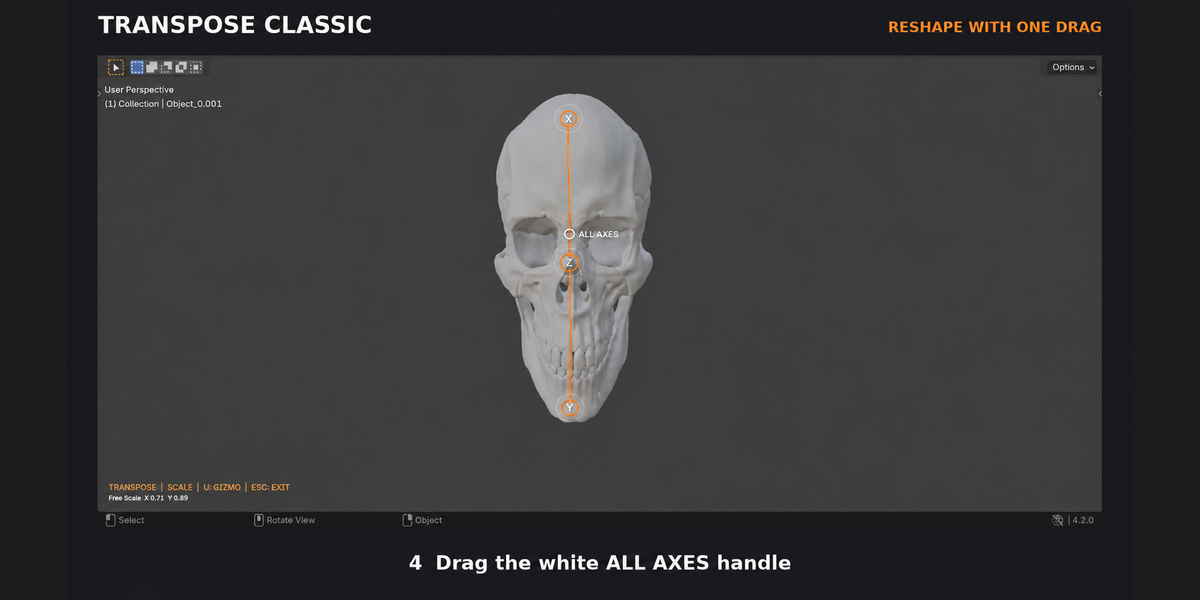
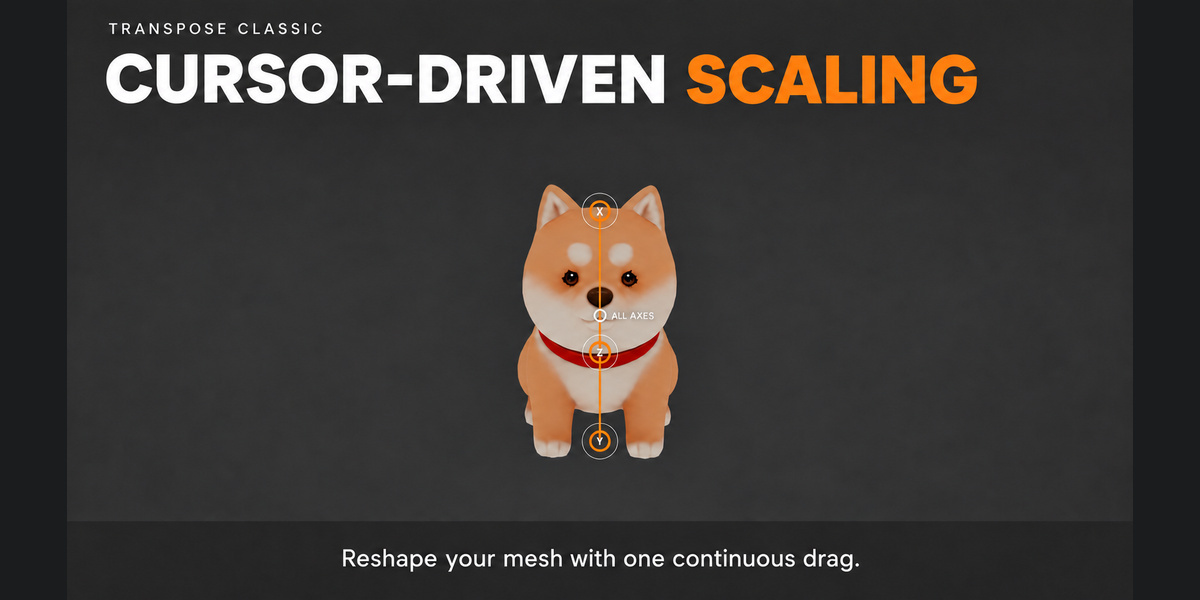
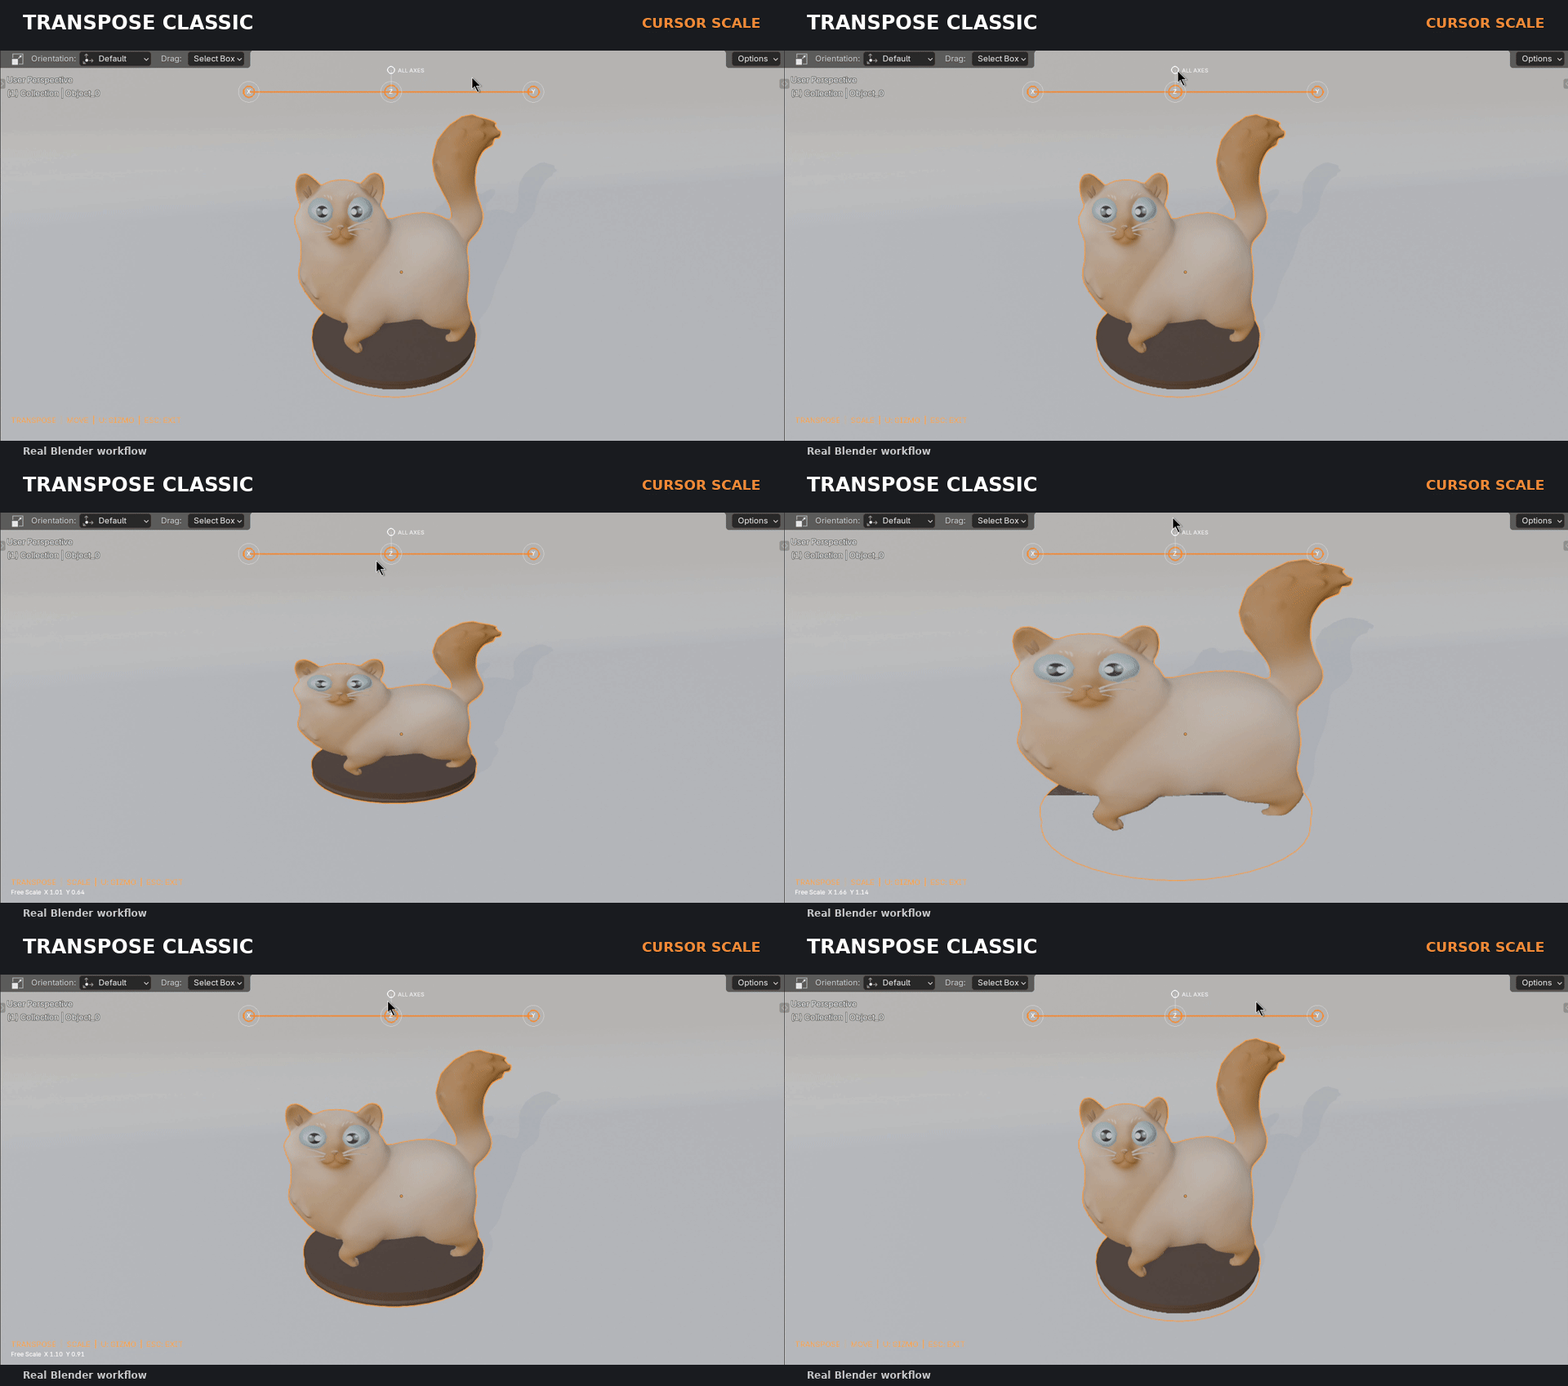
| White ALL AXES handle | Free move in the view plane, free rotate around the view direction, or free scale. The line follows the mesh when you move or rotate freely. |
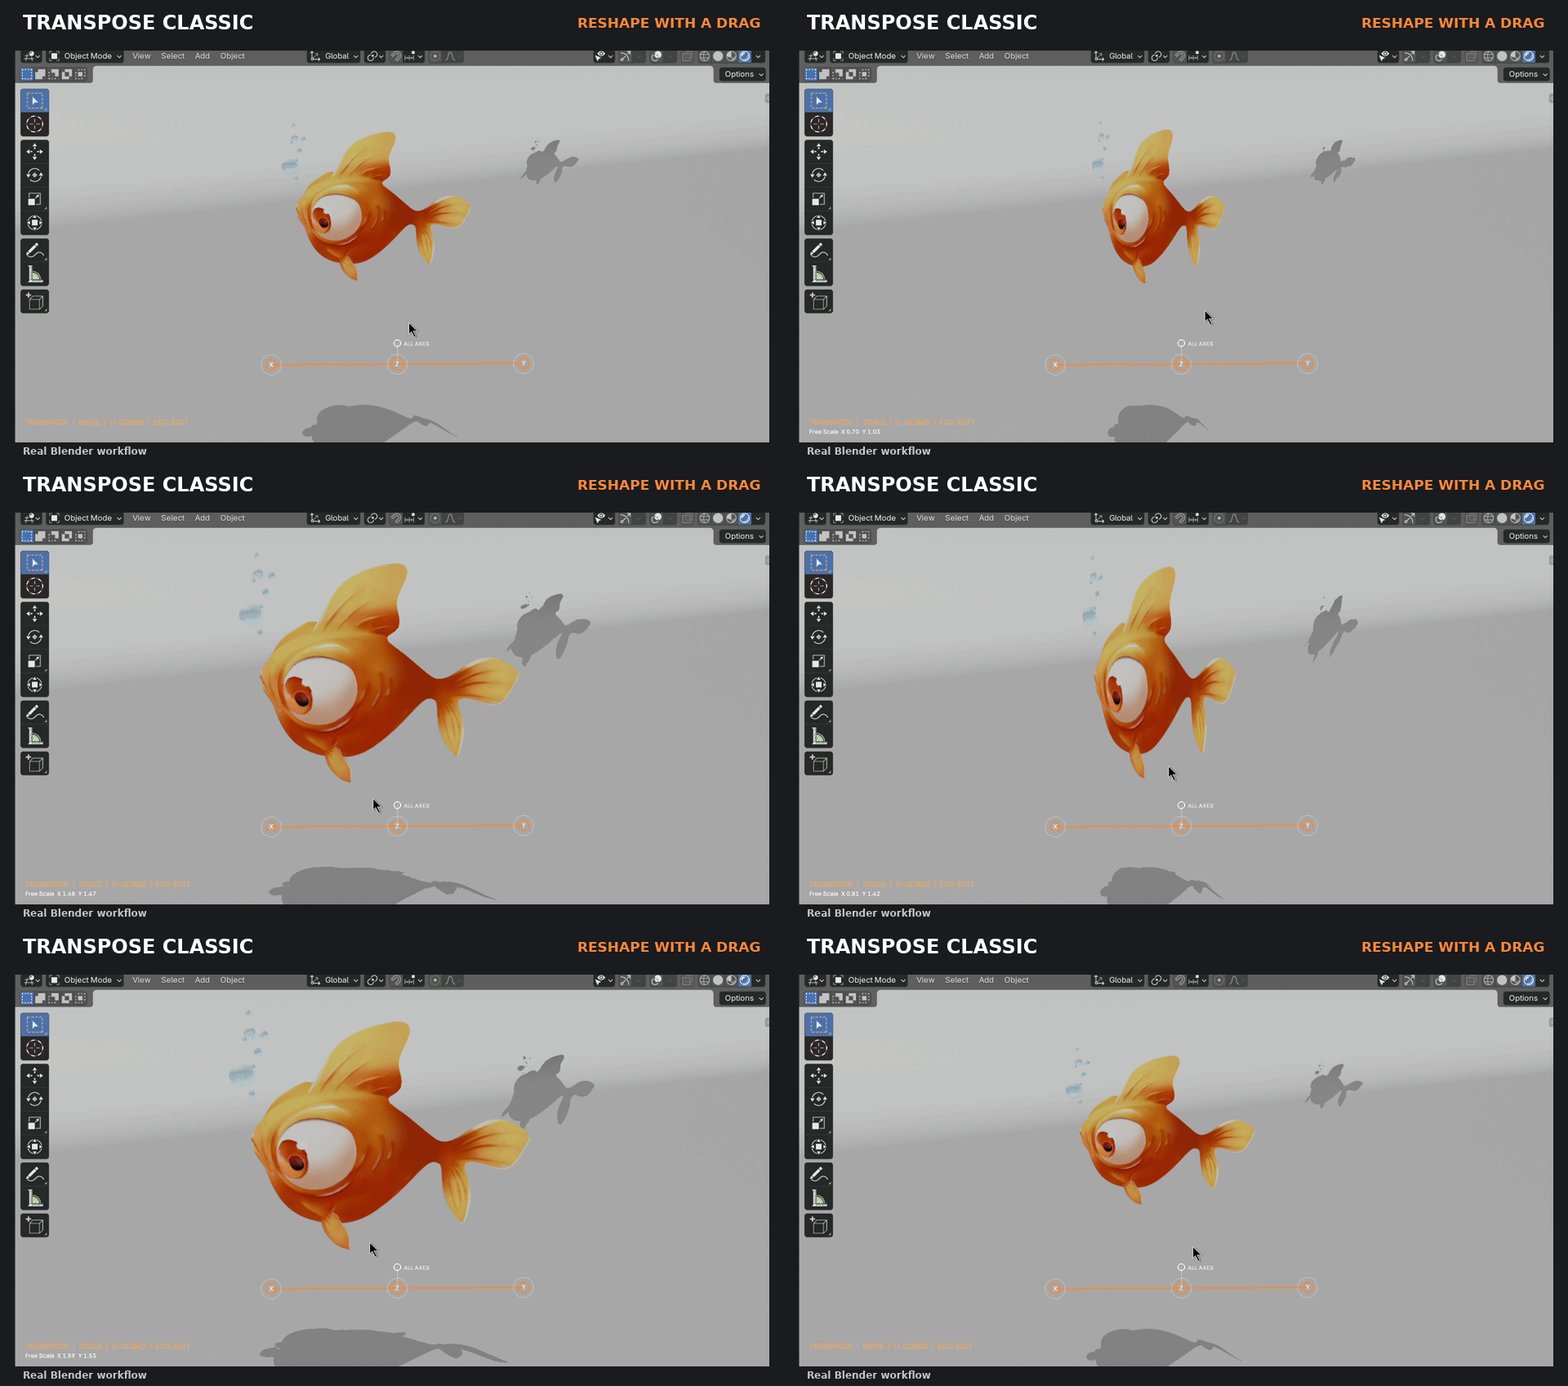
| Two-direction free scale | In free Scale, horizontal and vertical cursor movement stretch the mesh independently, with a live X / Y readout on screen. |
| Scale anchored to the movable part | Scaling centers on the unmasked geometry, so the masked base does not drift. |
| Full Sculpt mask support | Fully masked vertices stay fixed. Partial mask values give smooth falloff for natural bends. |
| Outer rings to reposition | Drag an outer ring to move one end of the line, or the middle ring to slide the whole line, without touching the mesh. |
| Right-click cancel | Undo a single drag instantly and try again, without leaving the tool. |
| U toggles to the native gizmo | Jump back to Blender's Move, Rotate or Scale tool in the matching mode whenever you need it. |
| Viewport navigation stays live | Orbit, pan and zoom with middle mouse, scroll wheel or a 3D mouse while the line is active. |
| Object and Sculpt Mode | Use it while sculpting or on a mesh in Object Mode. Sculpt Mode is restored when you exit. |
| Lightweight | One small Python file. No extra panels to manage, no scene data added. |
| Free and open source | GPL-3.0 licensed. No cost, no account limits, use it in commercial work. |
Workflow Benefits
Fewer tool switches. One line does the work of placing a pivot, picking an axis and choosing a transform tool. You stay in a single tool from mask to pose.
Posing without rigging. For a concept sculpt or a turnaround, building an armature just to bend an arm is overkill. Mask, draw, rotate, done.
Faster iteration on proportions. Try a longer neck or a wider chest in seconds. Right-click if you do not like it. The original shape comes back instantly.
Familiar muscle memory for ZBrush users. If you learned Transpose in ZBrush, the idea carries over: mask, draw a line, drag a handle. You spend less time relearning and more time sculpting.
Clean, constrained moves. The orange handles lock to world axes, so you can push a part straight along X, Y or Z without it sliding off in a random screen direction.
Soft deformation for free. Blur your mask edge and the transform blends into the rest of the mesh. No separate smoothing pass to hide a hard seam.
Use Cases
Character posing for portfolio renders. Mask an arm from the shoulder, draw the line from shoulder to elbow, and rotate it down from a T-pose to a relaxed pose.
Hands and fingers. Mask everything except one finger, draw from the knuckle to the tip, and curl it. Repeat for each finger in under a minute.
Creature design. Lengthen horns, bend tails, open jaws and tilt heads while you explore silhouettes.
Fixing proportions late in a sculpt. Mask the legs and scale the upper body along Z, or stretch a limb along one axis to correct anatomy.
Stylized and toy sculpts. Scale heads, hands and feet with the white handle to push exaggerated proportions, watching the live X and Y values.
3D print preparation. Rotate parts like arms or weapons into a more printable position on a single mesh before export.
Hard surface blockouts. In Object Mode, move or rotate a masked section of a single mesh without separating it into parts.
