 DONGHYUN KIM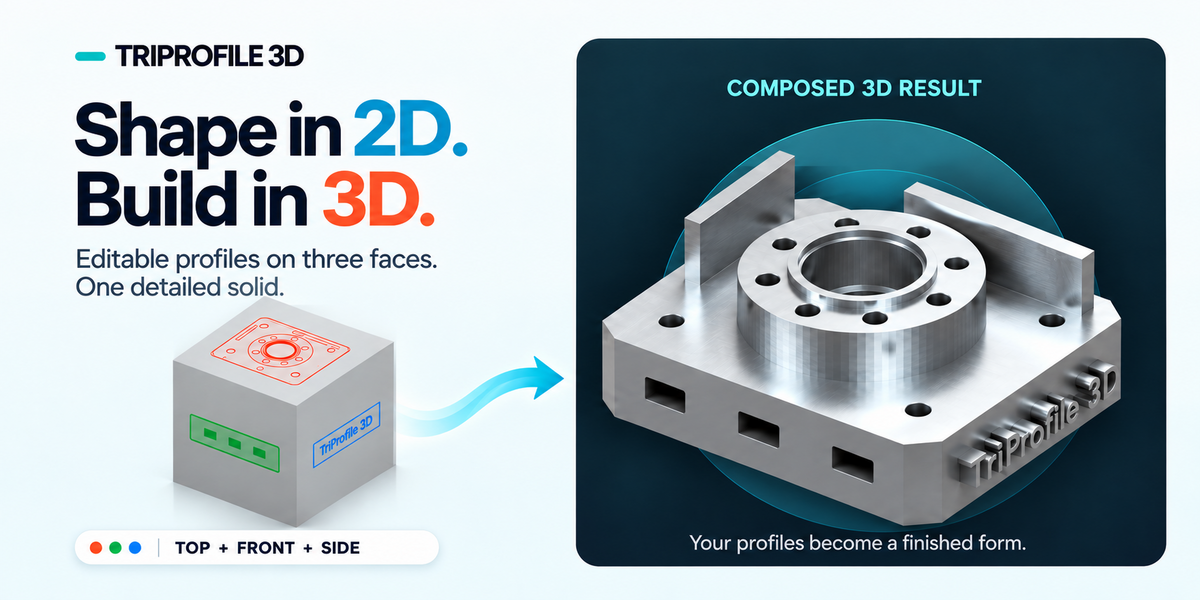
TRIPROFILE 3D / BLENDER MODELING EXTENSION
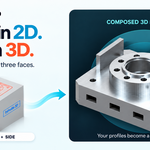
Shape in 2D.
Build in 3D.
Draw editable profiles on multiple faces, combine them into a 3D form, and refine it with cuts, additions, arrays and walls — while keeping the source shapes.
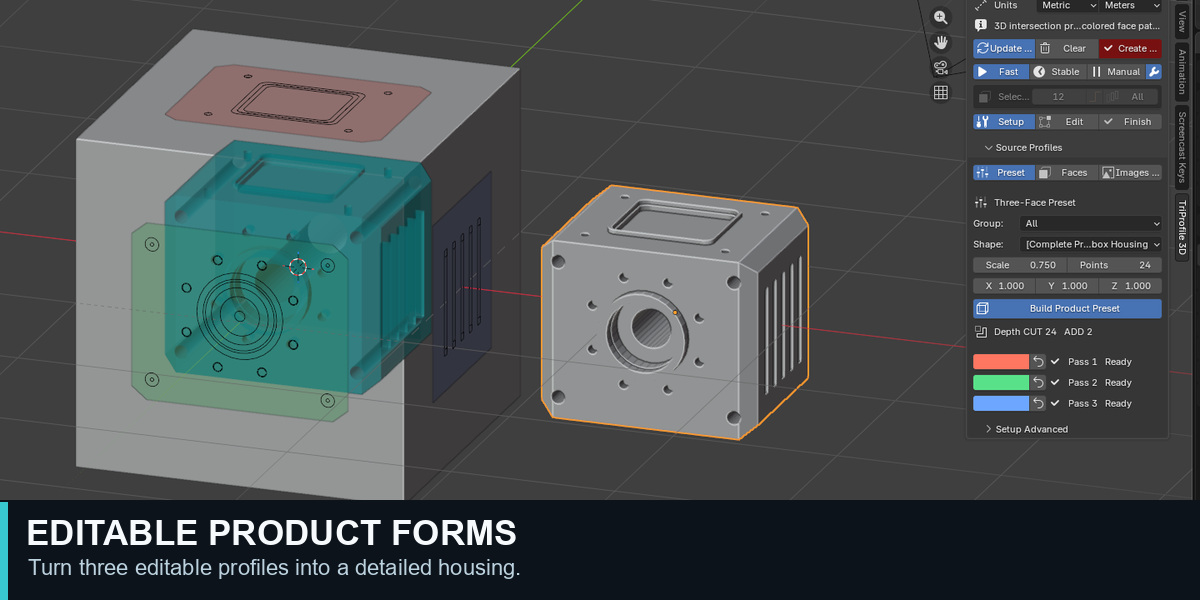
EDITABLE PROFILES · CUT + ADD · ARRAYS + WALLS
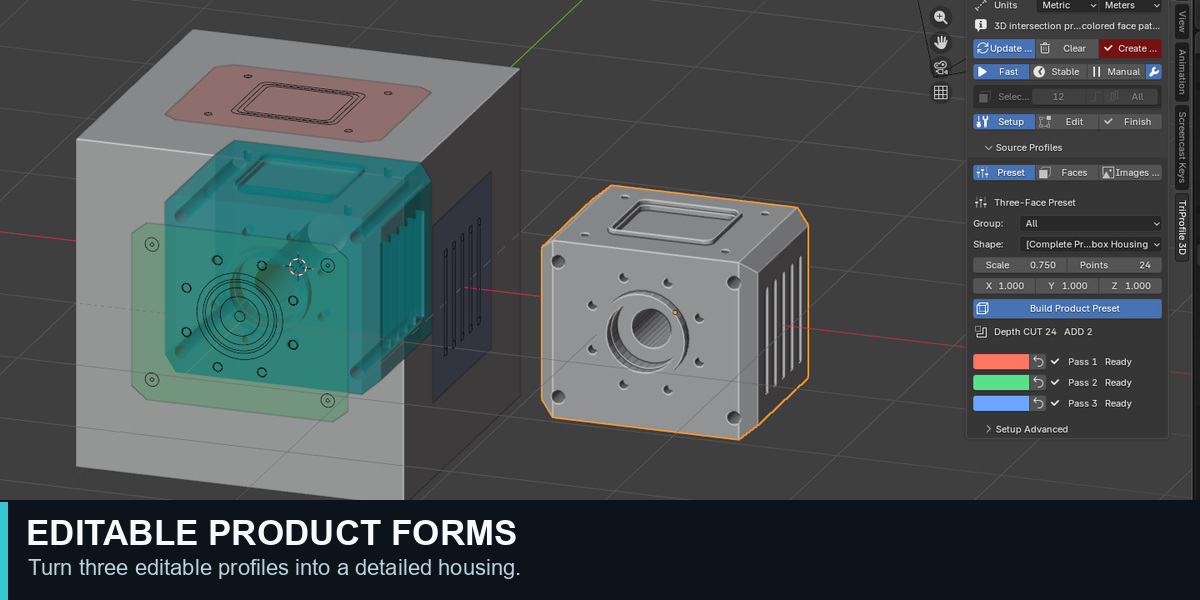
Actual Blender capture — editable source profiles and the generated form.
THE CORE IDEA
Three views. One form.
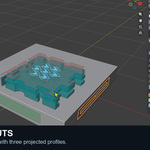
Set up profiles on the top, front and side of a target. Adjust a source profile in the viewport, inspect its 3D intersection, and keep the source objects available for the next edit.
GET STARTED IN BLENDER
From Cube to your first form
01 Select a Cube. In Object Mode, select a mesh Cube and set it as the target in the TriProfile 3D panel.
02 Apply a preset. In Setup → Source Profiles → Preset, choose a shape and click Apply Three-Face Preset.
03 Shape with Alt+G. Select a colored EditPass (Pass 1, 2 or 3), enter Edit Mode with Tab, then press Alt+G for Smart Grid. Draw a CUT or ADD shape and press Enter or Space to apply it.
Click Update 3D to inspect the composed form. When it is ready, use Create Final for a separate result mesh.
WATCH THE WORKFLOW
See TriProfile 3D in Blender
Watch the complete modeling workflow, from editable profiles to the composed result.
FROM IDEA TO FORM
Start simple. Keep shaping.
Begin with a rough outline, explore proportions across different faces, and reshape the source profiles as your idea develops. Add CUT, ADD, arrays or walls when you need more detail. Update the 3D result to see each change.
01 / EDIT IN CONTEXT
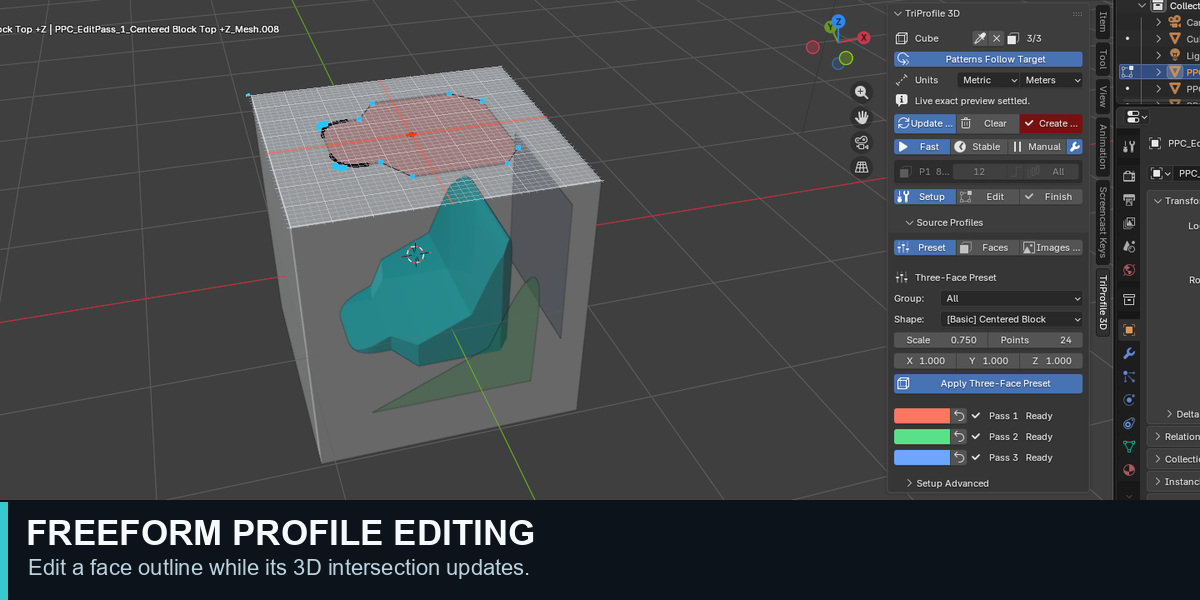
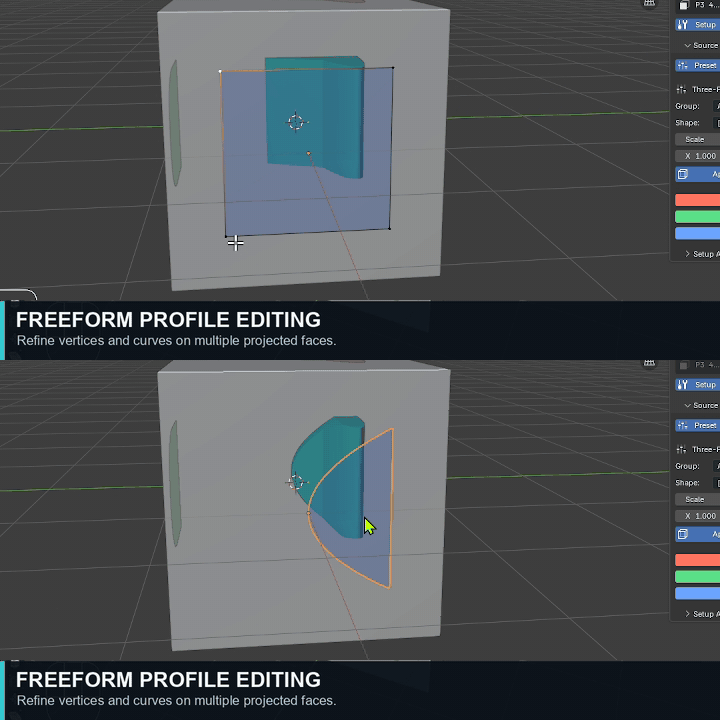
Freeform profile editing
Move profile vertices directly on the editing face to reshape the boundary and its contribution to the composed 3D form. Keep your source profiles editable as the design evolves.
02 / SMART GRID
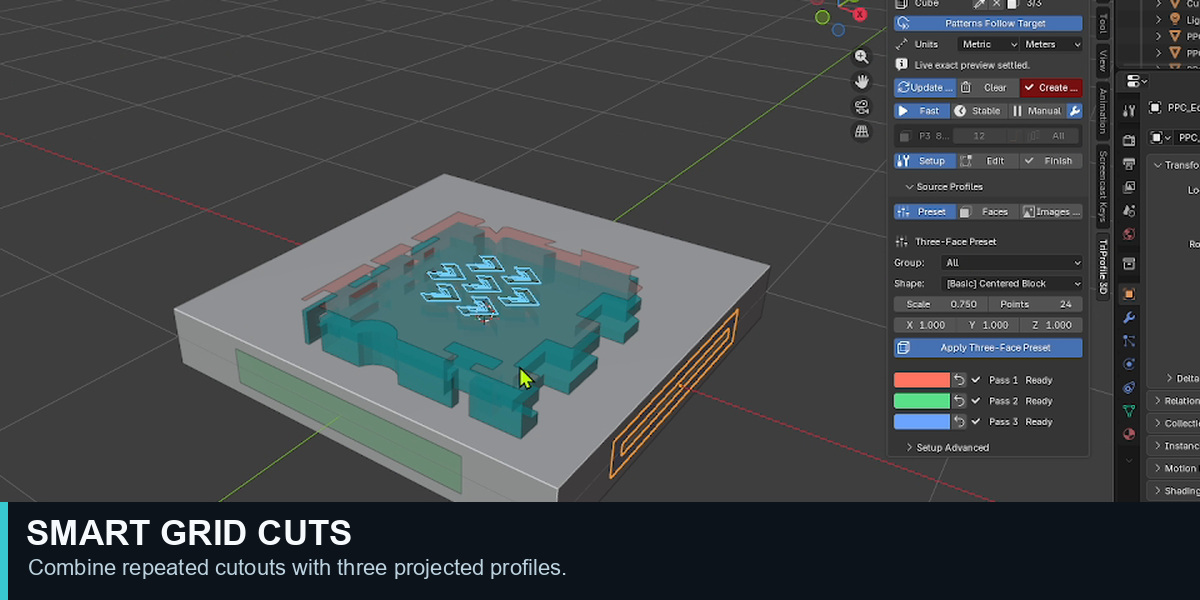
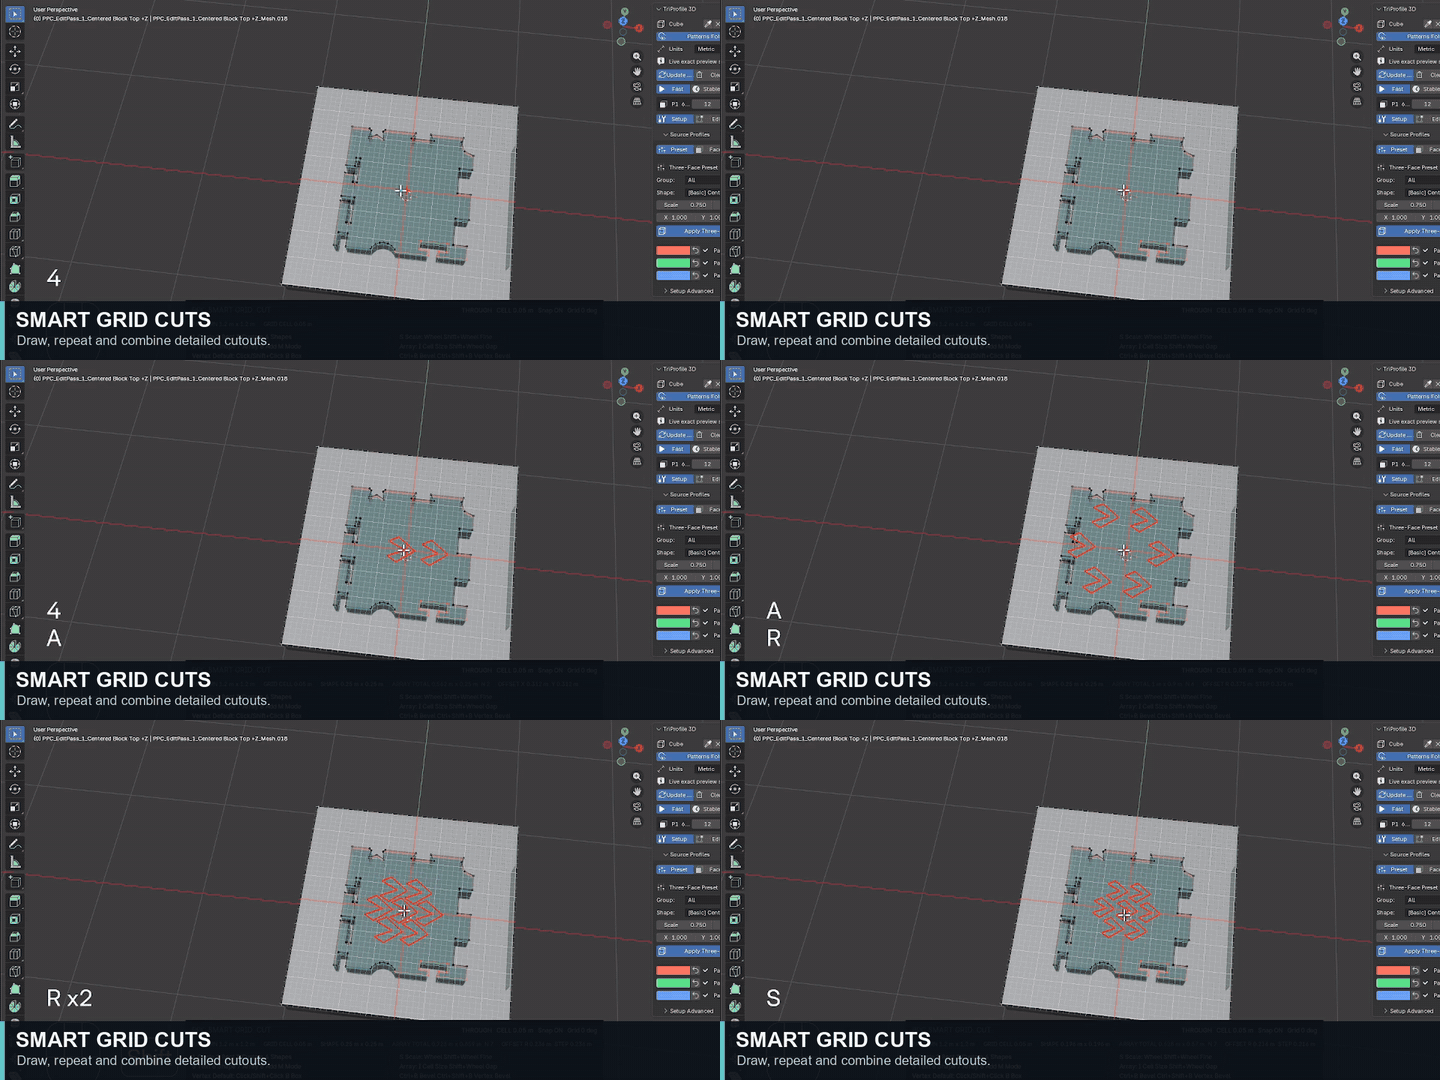
Draw the cut. See the form.
Open Smart Grid on an EditPass with Alt+G. Draw rectangles, circles or custom outlines; repeat details and work with Through CUT or limited Depth CUT.
03 / ADD DEPTH
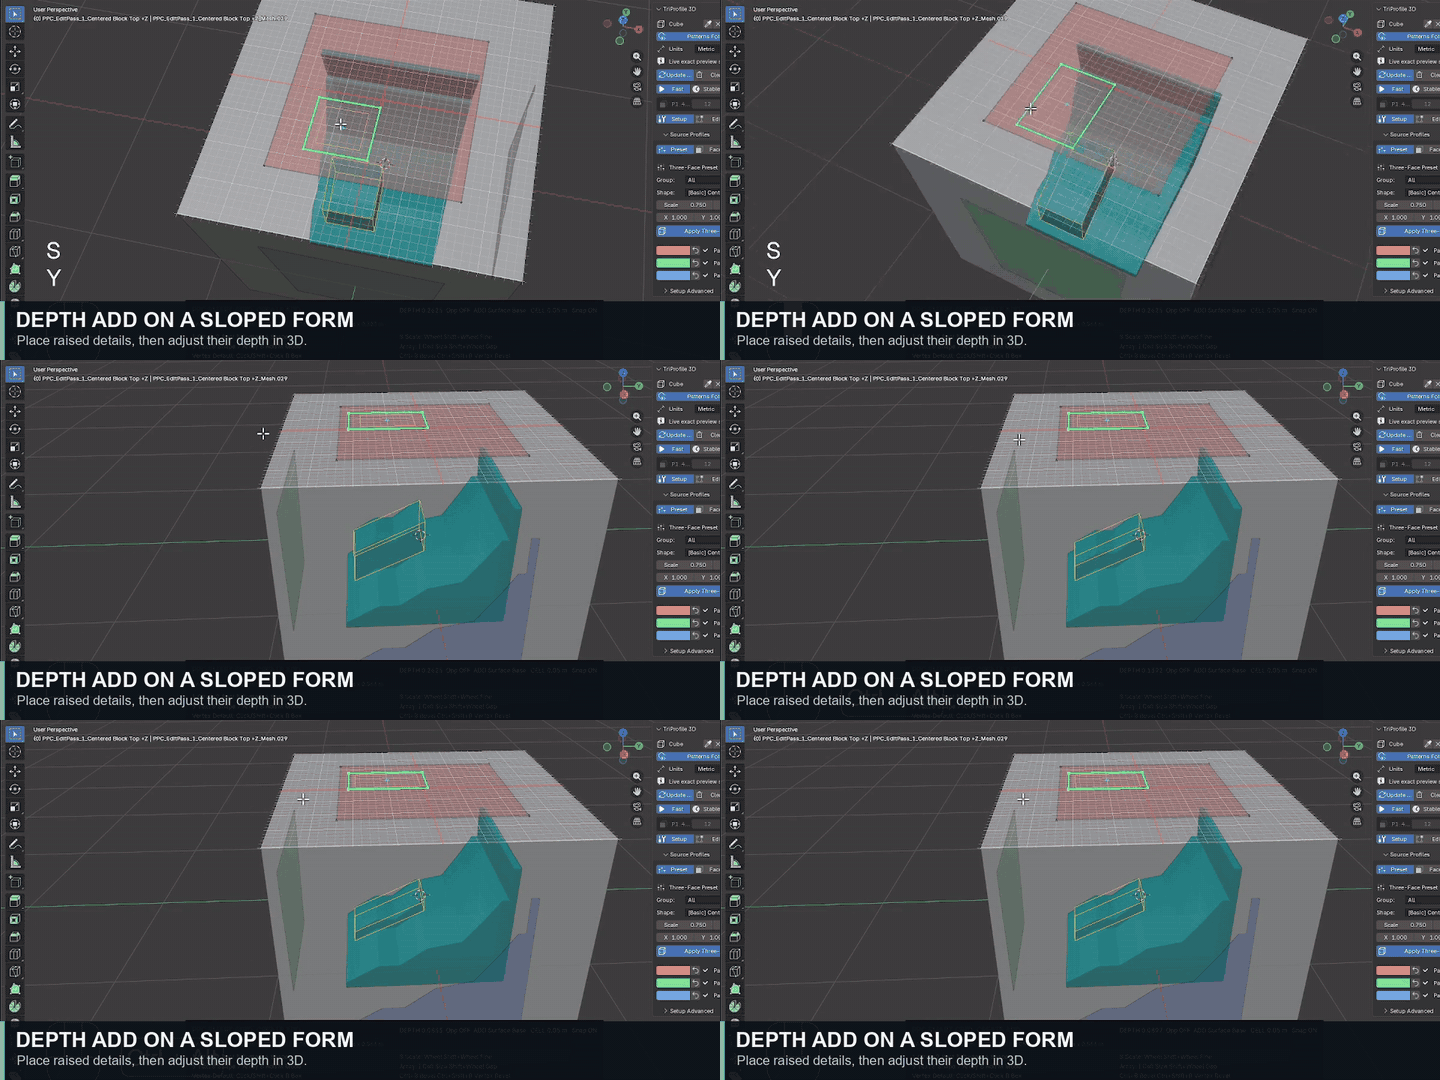
Raise details on sloped forms
Build a raised ADD feature and adjust its height in the viewport. Surface Follow and Level Top provide two ways to control how the new shape meets the existing form.
04 / PATTERNED DETAIL
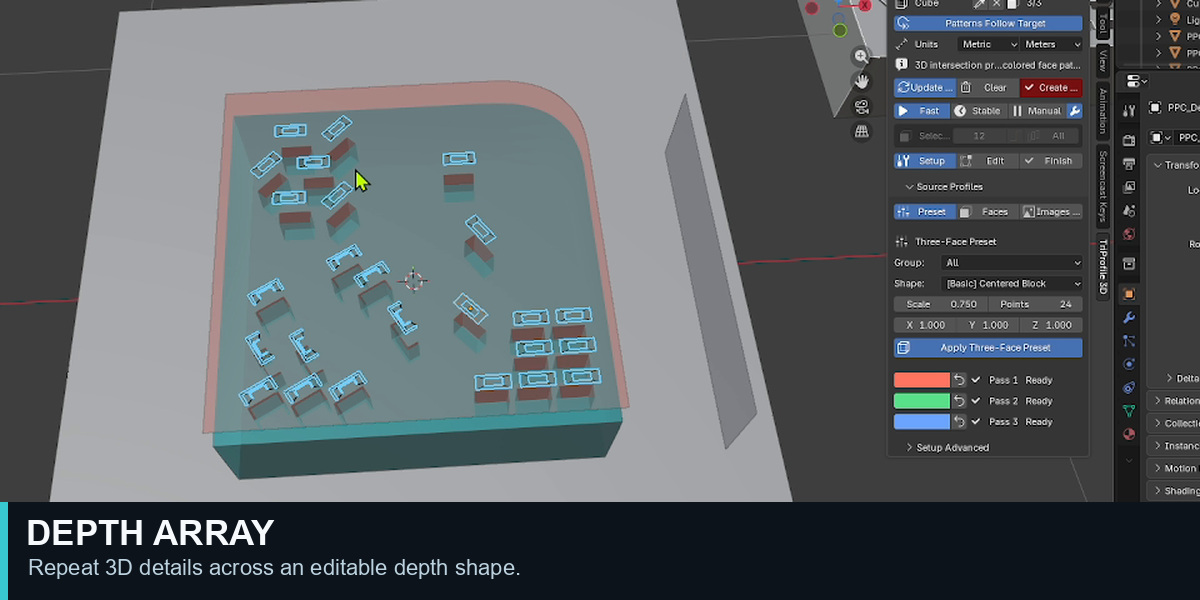
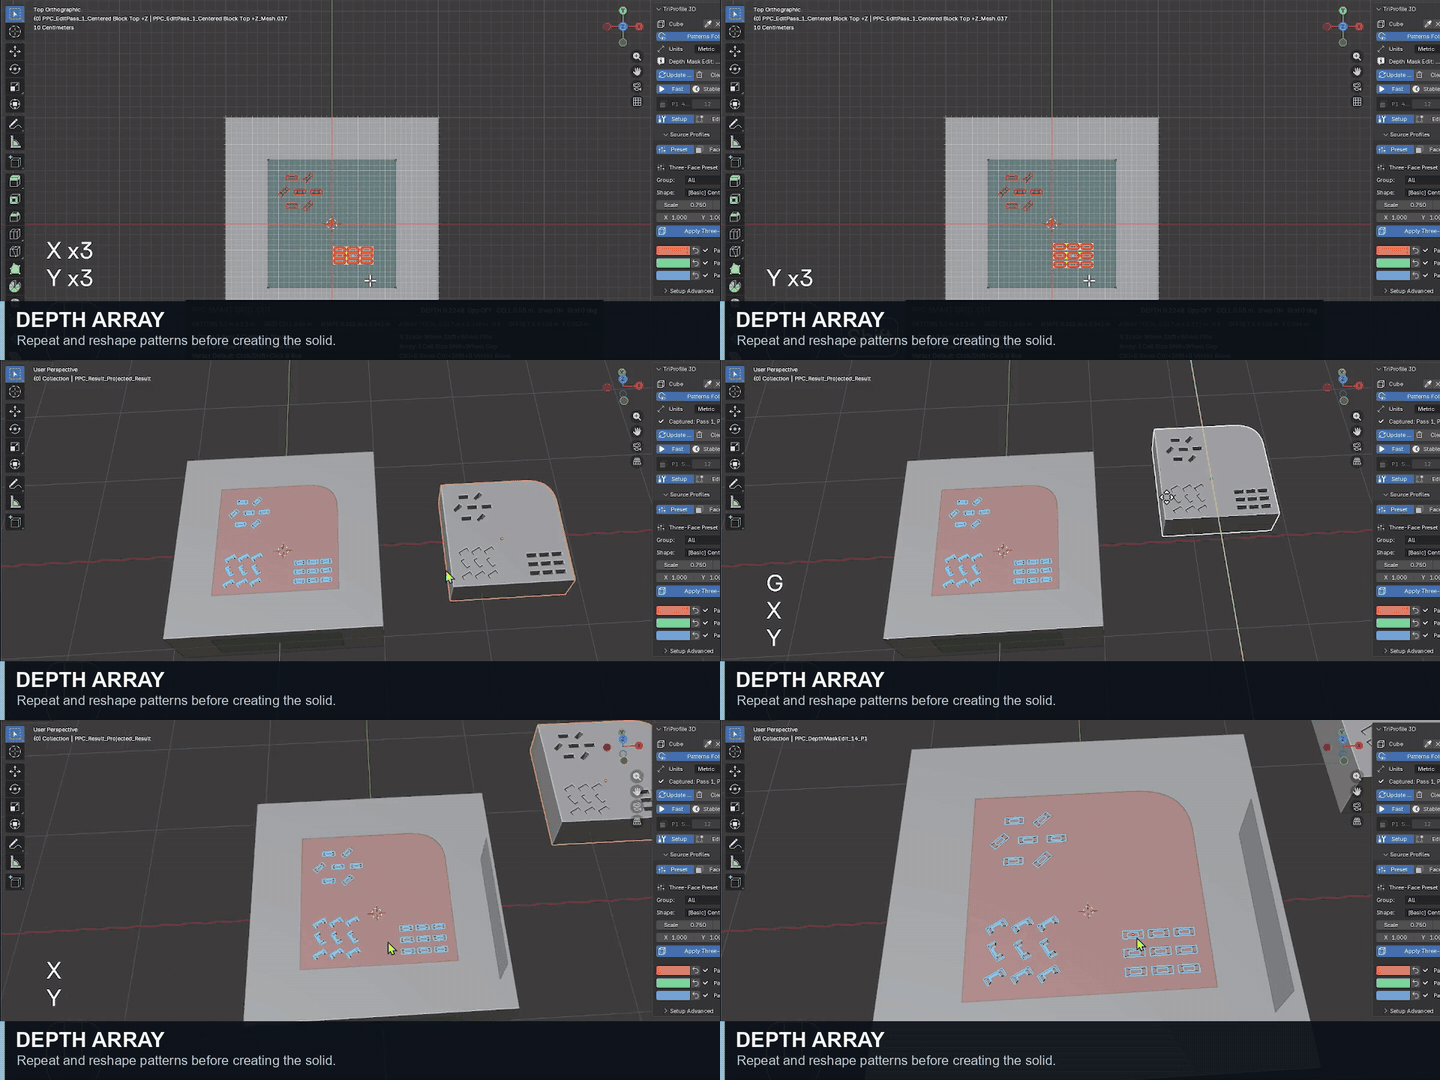
Repeat with depth arrays
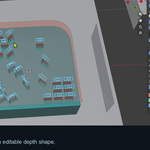
Turn one depth feature into a repeated pattern. Adjust its count, direction and spacing before creating the result.
05 / CUSTOM STRUCTURES
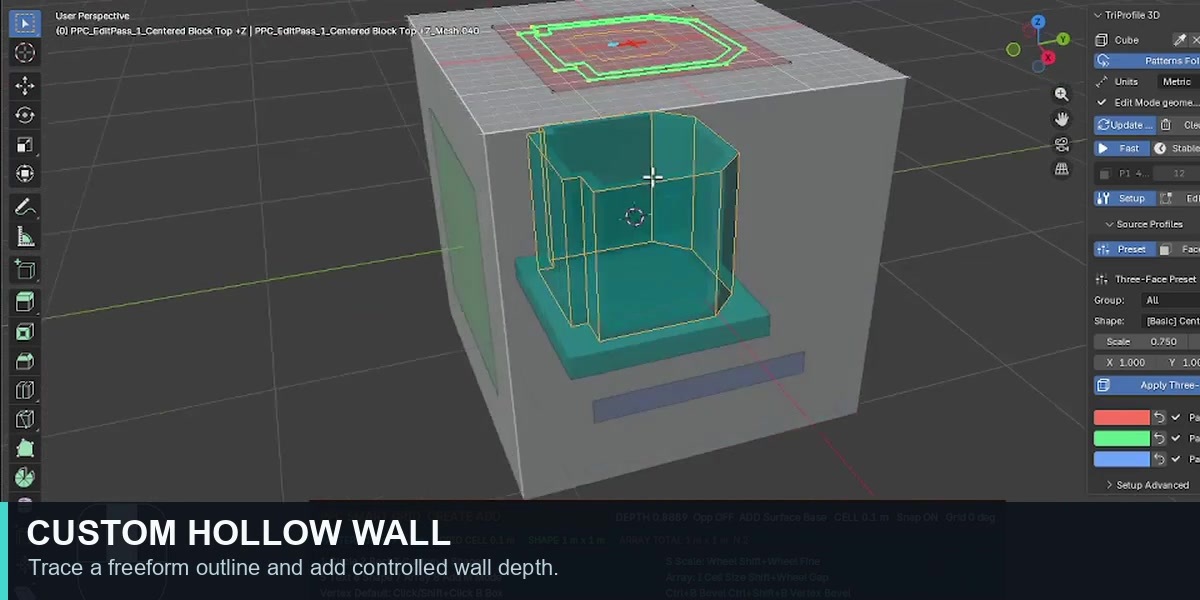
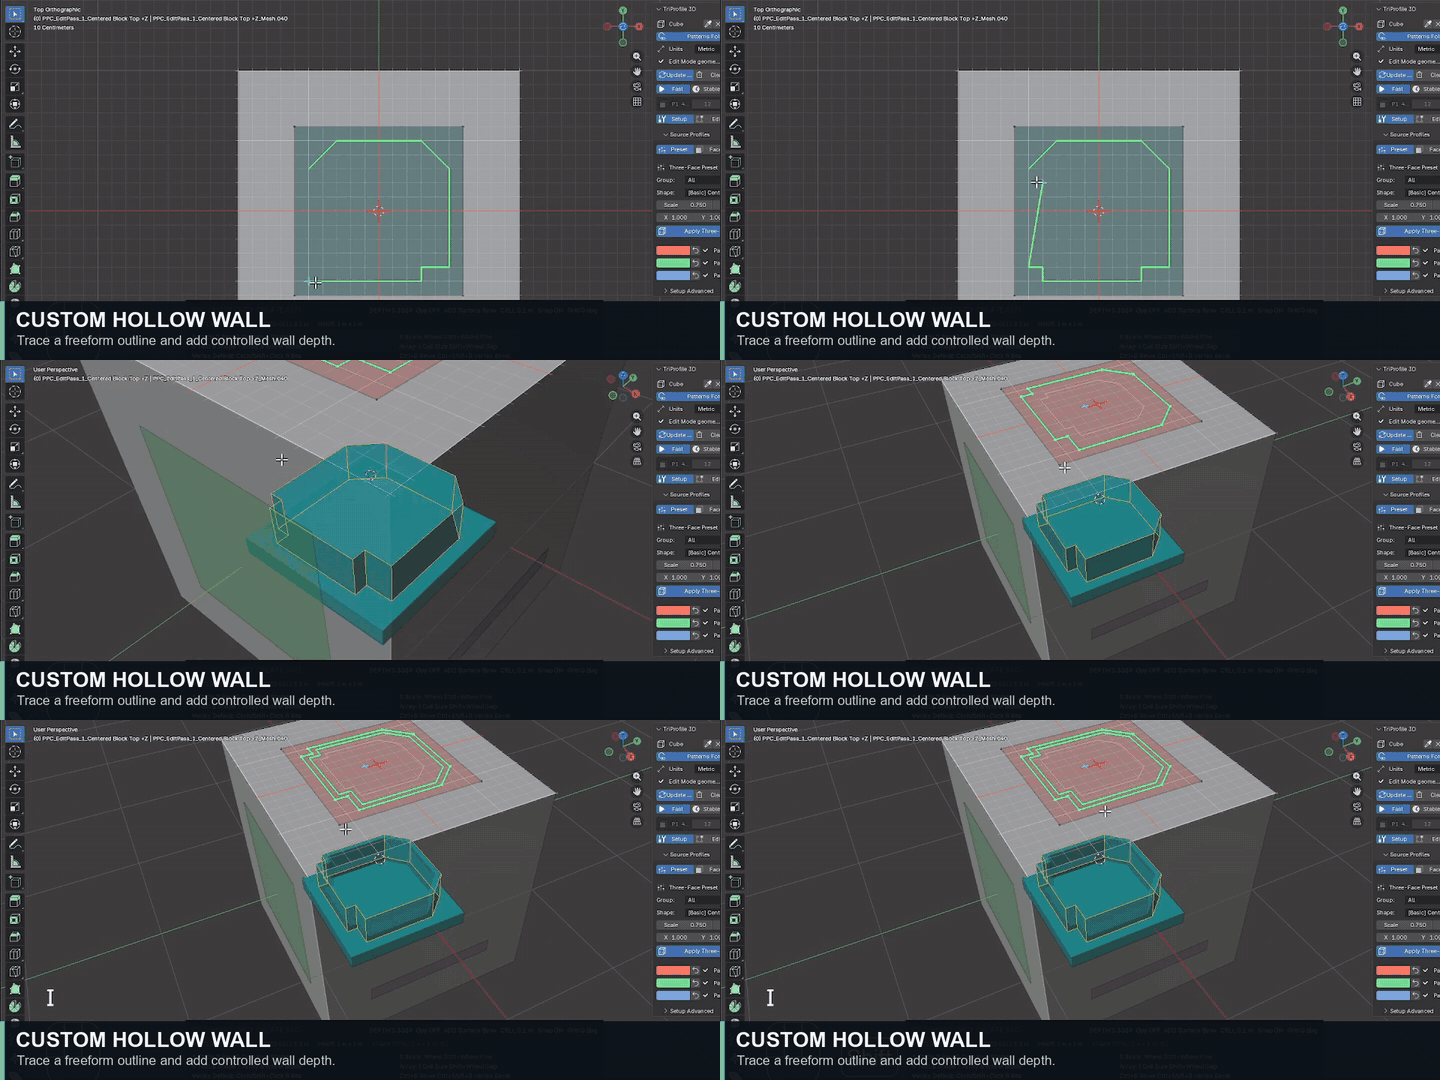
Outline to hollow wall
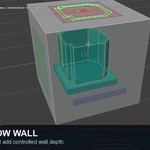
Trace a custom boundary and turn it into a wall with adjustable thickness and depth. Continue refining the wall after creation.
MORE WAYS TO SHAPE
Tools for the details
CUT / Through, limited Depth and tilted profile cuts.
ADD / REPLACE / Raised features, surface-aware placement and level tops.
REFINE / Loft and taper, chamfer and round corners, linear and radial arrays, text and fonts.
GUIDED EDITING / A viewport helper shows active settings and relevant shortcuts. Press H to show or hide it.
Made for iterative hard-surface work.
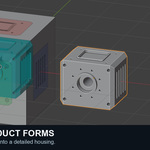
Use TriProfile 3D for fixtures, enclosures, mechanical-style forms and product concepts where editing profiles is a natural way to explore shape.
Compatibility: Blender 4.4–5.2.x · Included: Blender Extension ZIP and English PDF guide · License: GNU GPL v3 or later.

