 ZibadMend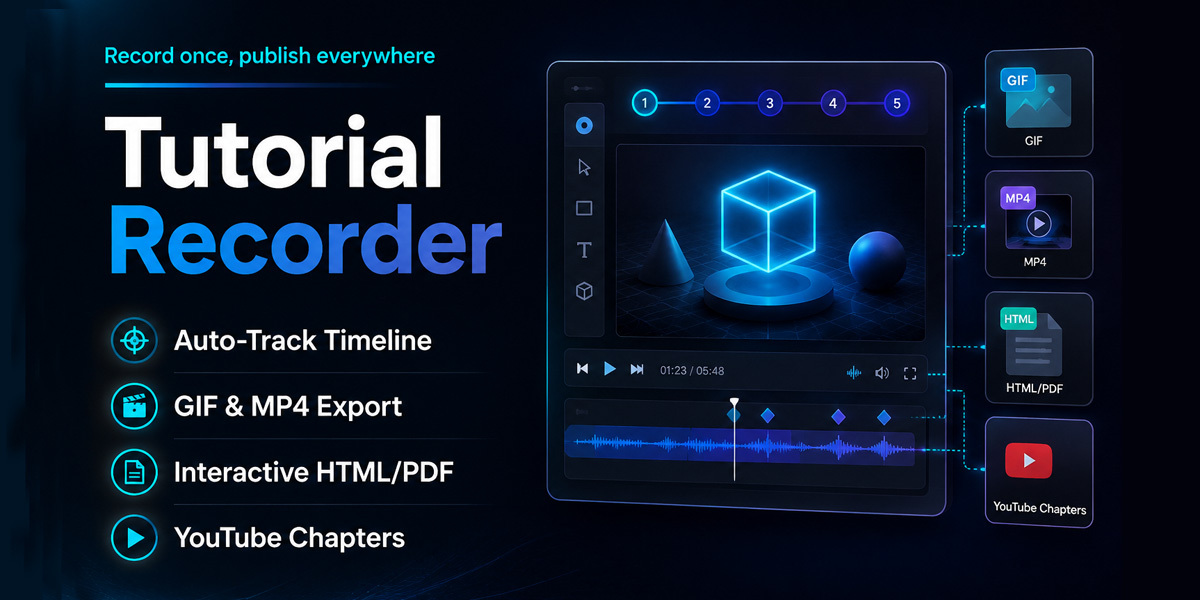
Tutorial Recorder - User Manual
Welcome to the official documentation for Tutorial Recorder. This tool is not just a screen recorder; it is an entire Content Creation Studio built directly into Blender.
Whether you are creating quick progress GIFs for your team, recording YouTube Shorts in 9:16 format, or generating step-by-step PDF manuals for your students, Tutorial Recorder automates the tedious parts of content creation so you can focus on 3D modeling.
1. Initial Setup & Dependencies
To provide lag-free video encoding and advanced GIF generation, the add-on relies on Python libraries and the industry-standard FFmpeg engine. The installation is highly automated.
Step 1: Install Python Libraries
If you see a red warning box in the panel, click the Install Python Libraries button. The add-on uses bundled offline .whl files, so this works even without an internet connection. Restart Blender after this step.
Step 2: Download FFmpeg
If FFmpeg is not detected, click Download FFmpeg. The add-on will automatically download the correct, official binary for your Operating System (Windows, macOS, or Linux) directly into its secure cache folder.
Step 3: Define Workspace
Set your Workspace Folder. Every time you start a new recording session, the add-on will create a timestamped folder here to neatly organize your MP4 video, screenshots, PDF/HTML docs, and .blend backups.
2. Capture Targets & Formats
Configure exactly what part of your screen gets recorded and how it looks.
- Full Window: Captures the entire Blender application window.
- Specific Panel: Allows you to target just the 3D Viewport, the Outliner, or the Properties panel. Great for focused micro-tutorials.
- Custom Region: Click Draw Region, then click and drag a box anywhere over your Blender UI. The area inside the box will be recorded. Click Apply to confirm.
Aspect Ratio (Formats)
Don't waste time cropping in Premiere Pro. Set your format before recording:
- Desktop (16:9): Standard YouTube format.
- Shorts (9:16): Automatically crops the center of your screen vertically for TikTok, Instagram Reels, and YouTube Shorts.
- Instagram (1:1): Perfect square crop.
3. Recording, Audio & OSD
Audio Recording (Zero-Lag)
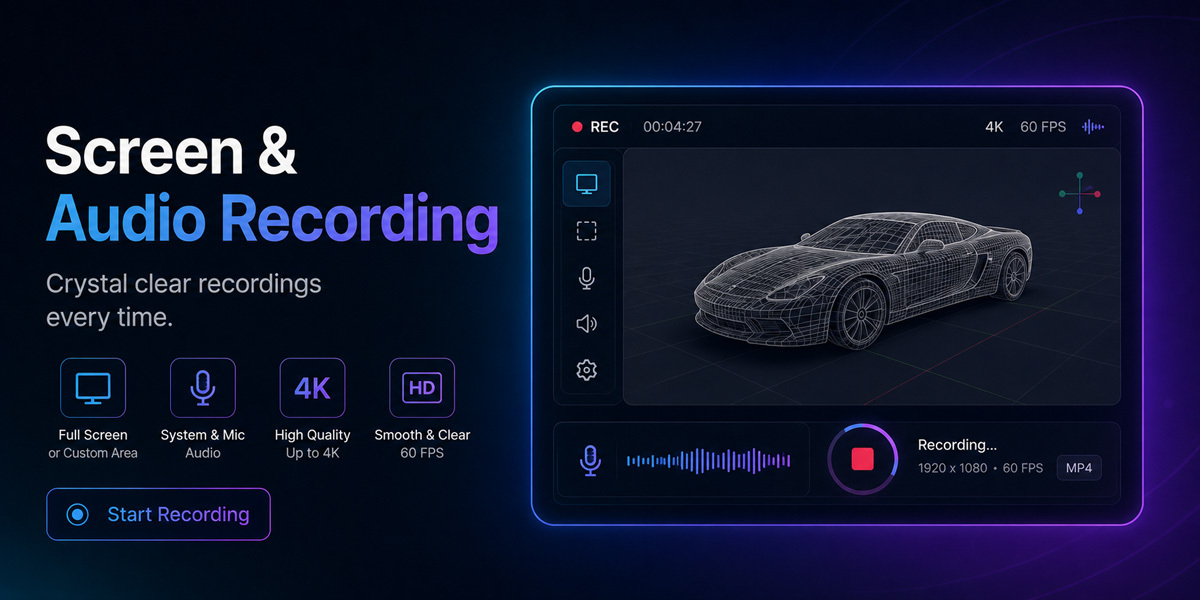
Enable Record Audio to capture your voice. The add-on runs an asynchronous background scanner to find your microphones without freezing Blender's UI. Microphones are marked with a 🎤 icon.
Screencast & OSD (On-Screen Display)
Enable Show Pressed Keys to overlay your keystrokes and mouse clicks directly onto the viewport while recording. Unlike other screencast add-ons, this is baked directly into the video.
Check the "Auto Close Panel" option. When you click "Start Session", the add-on's N-Panel will automatically slide shut right before the recording starts, keeping your UI clean and professional.
4. Auto-Track Exclusions (Ignore List)
The add-on automatically tracks every tool you use (see next section). However, you probably don't want it to track every time you pan the camera or click to select an object.
By default, standard navigation tools (Move view, Rotate view, Zoom) are ignored. If there are other tools you want to ignore:
- Use the tool in Blender (e.g., Box Select).
- Go to the Auto-Track Exclusions panel.
- Click the Ignore Last Used Tool button.
This tool is now permanently added to your personal Ignore List across all your Blender projects.
5. Timeline & Docs (The Ultimate Feature)
This is where Tutorial Recorder truly shines. It bridges the gap between creating a video and creating written documentation.
How Auto-Tracking Works
When you are actively recording, the add-on acts as a silent stenographer. Every time you perform an action (e.g., Bevel, Extrude, Add Subdivision Modifier), the add-on:
- Logs the exact timestamp of the video.
- Extracts the specific values you used (e.g., Segments: 3 | Offset: 0.25m).
- Takes a silent screenshot of the Blender UI at that exact moment.
- Adds a new Step to your Timeline list.
Manual Steps
You aren't limited to automatic steps. At any point during a recording, you can click Manual Snapshot & Step. This immediately captures a screenshot and drops a new step in the timeline at the current video timestamp, allowing you to highlight something specific.
Editing the Timeline inside Blender
In the Timeline & Docs panel, you will see a list of all captured steps. If you click on a step, a box opens below it where you can edit:
- Title: The headline for this step (e.g., "Creating the Base Mesh").
- Operator Used: Automatically filled (e.g., "Bevel"), but you can rename it.
- Description: The automatic values are placed here, but you can type in your own custom instructions for your students.
Generating the Final Documentation (HTML/PDF)
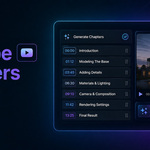
Once you click Stop & Save on your recording, your video is saved. Now, click the Export PDF (HTML) & Chapters button.
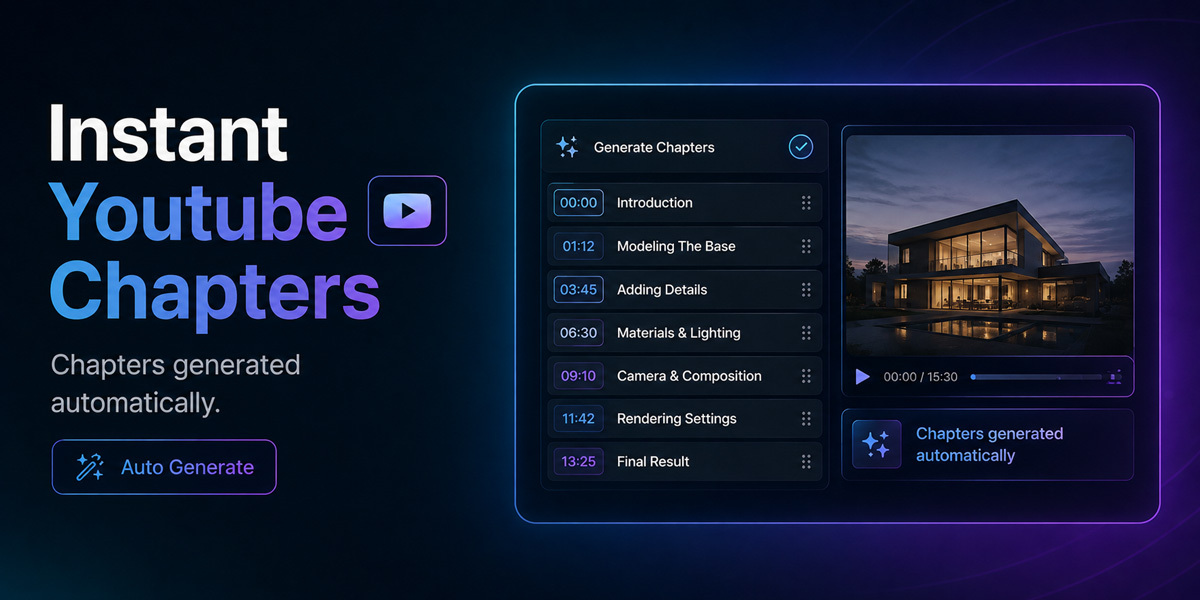
YouTube_Chapters.txt)A text file is generated in your folder looking like this:
00:00 - Intro
00:15 - Extrude Region
00:42 - Bevel Edges
Simply copy and paste this into your YouTube video description, and YouTube will automatically generate clickable chapters for your viewers!
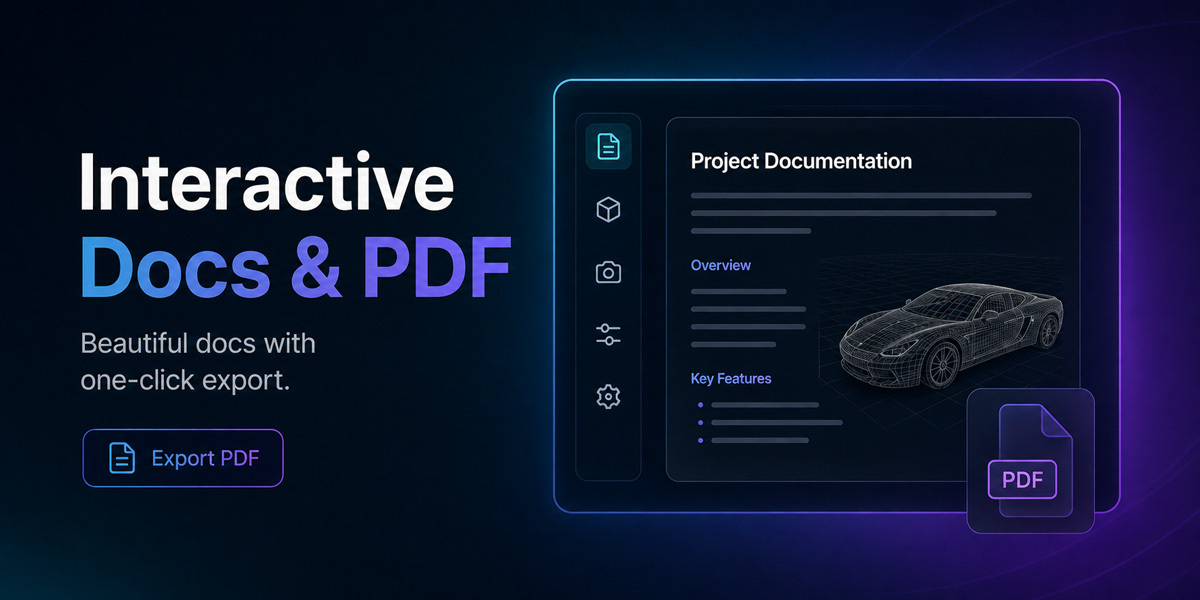
Tutorial_Document.html)A beautifully formatted web page will open in your default browser containing your title, description, and every step chronologically listed with its timestamp, tool details, and high-quality screenshot.
The generated HTML file is fully interactive. Did you notice a typo in step 4? Do you want to add a warning note to step 2? Just click the text directly in your web browser and start typing! Every piece of text on the page can be edited on the fly.
Saving as a PDF
Once you have reviewed and live-edited your document in the browser, simply click the orange 🖨️ Save as PDF button at the top of the page. Your browser's print dialog will open. Set the destination to "Save as PDF" and you instantly have a professional, printable tutorial manual ready to be shared on Patreon, Gumroad, or with your classroom.
6. GIF Converter
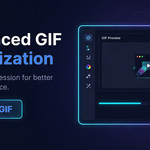
Why use clunky third-party websites to make GIFs? The add-on includes a highly optimized FFmpeg GIF engine.
- When you stop a recording, the Input Video path is automatically filled with your latest MP4.
- Compress & Optimize: When checked, the add-on runs a complex two-pass palette generation algorithm (using Bayer dithering). This results in GIFs that look incredibly sharp but have a drastically reduced file size—perfect for ArtStation, Twitter, or Discord.
- Click Create GIF and the file will be saved alongside your original video.
7. Troubleshooting & FAQ
| Issue | Solution |
|---|---|
| Linux: Video is completely black. | You are likely using the Wayland display server (default on newer Ubuntu/Fedora). Wayland blocks screen recording for security. Fix: Log out, click the gear icon on the login screen, select "GNOME on Xorg" or "Ubuntu on Xorg", and log back in. |
| "Audio Device not found" or audio fails. | Check your OS privacy settings. On Windows (Settings > Privacy > Microphone) and macOS (System Settings > Privacy & Security > Microphone), you must allow desktop apps (Blender) to access the microphone. |
| Missing FFmpeg libraries error. | Click the "Download FFmpeg" button in the Setup panel. If you are entirely offline, you can manually place ffmpeg.exe inside C:\Users\YourName\.cache\tutorial_recorder_pro\. |
| The Custom Region box disappeared. | The region box is "Panel-Aware". If you close the N-Panel (pressing N), the box hides so it doesn't distract you. Press N again, and the box will reappear. |
 Included
Includes 12 months of
- Support from ZibadMend
- Product updates
Extend this product’s Support Period +12 months: 50% of product price
Have questions before purchasing?
Login to message
| Blender Extension Compatible | Yes |
| Published | about 2 months ago |
| Blender Version | 4.0 - 5.2 |
| Extension Type | Add-on |
| License | GPL |