 Outlier Labs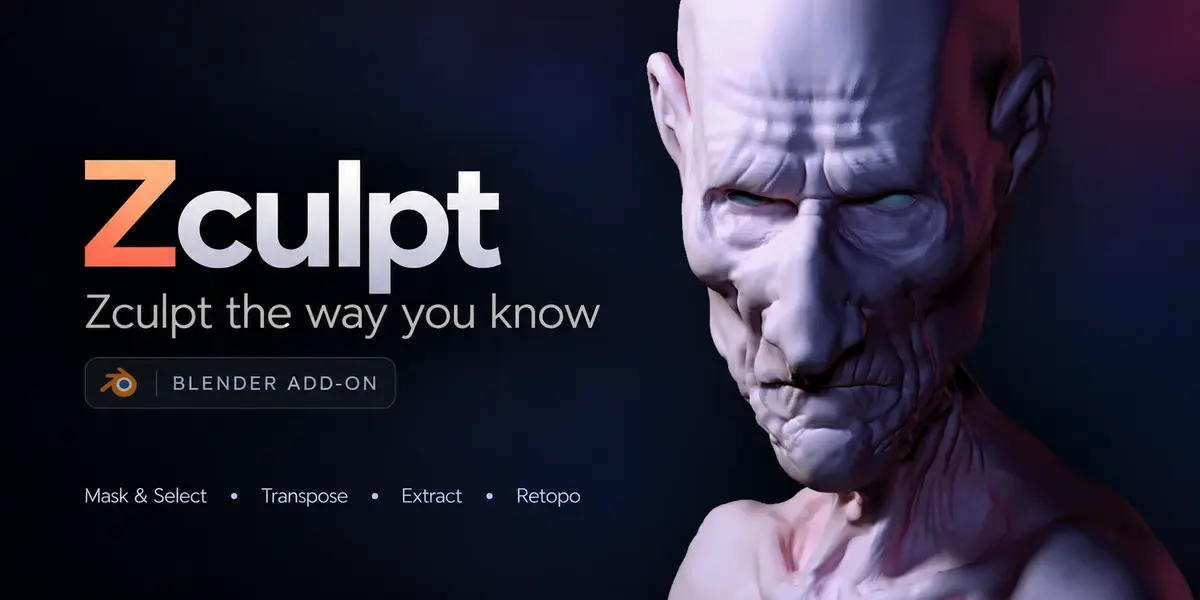
ZCULPT / OUTLIER LABS
YOUR SCULPTING INSTINCT. INSIDE BLENDER.
Sculpt the way
you know.
Stay in Blender.
Your hand already knows what to do.
Give it a sculpting workflow that feels familiar.
Familiar gestures · Native Blender engine · Pen or mouse
Less friction between your hand and the sculpt.
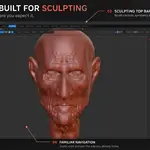
Zculpt brings familiar navigation, masking, brushes and Transpose-style controls into Blender. Move from shaping a silhouette to building new pieces, drawing topology and projecting detail, with your tools close at hand.
Made for artists who already know how to sculpt and want to bring that muscle memory into Blender. Keep your attention on form, proportion and character.

Sculpted in Blender with Zculpt. The native viewport, with sculpting controls and Subtools within reach.
The gestures you reach for. Right where you expect them.
Shift Smooth Ctrl Mask Alt Invert Space Radius B Brushes X Symmetry
01 / MASK & SELECT
Decide what moves.
Protect an area, isolate a form and keep working. Use box and lasso tools for masking and selection, and organize your sculpt with groups built on Blender’s Face Sets.

Mask, unmask and isolate without losing sight of the shape.
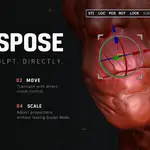
02 / TRANSPOSE
Push the silhouette.
Find the character.
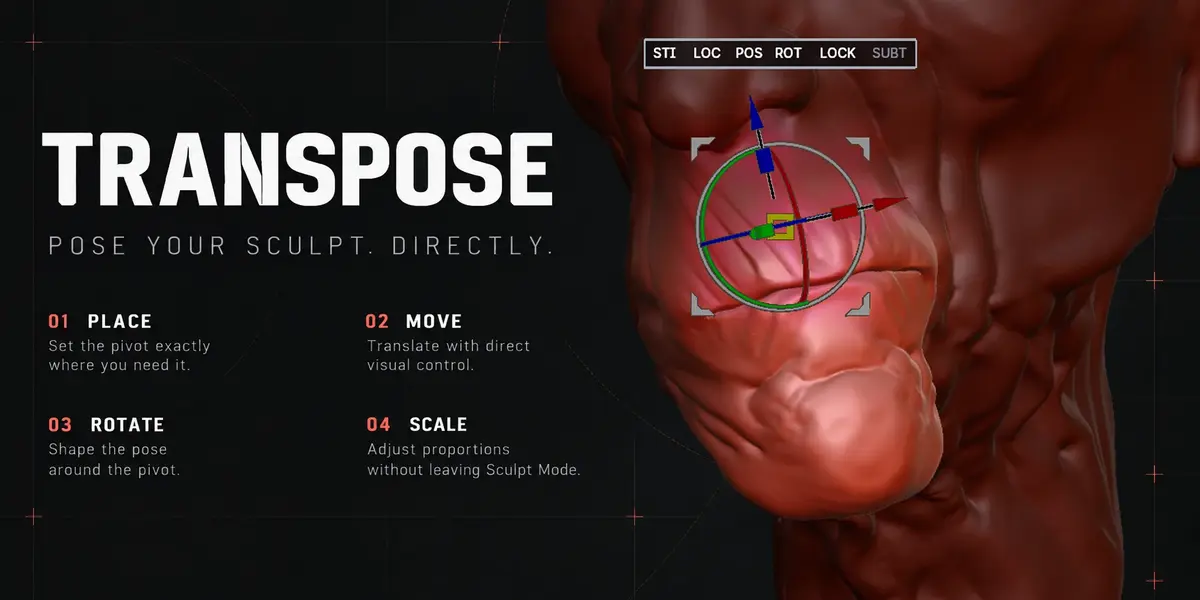
Move, rotate and scale parts of your sculpt with an interactive Transpose-style gizmo. Use Radius Blur to soften a mask’s edge and create a gradual transition into the surrounding form.

A softer mask. A smoother transition when you reshape.
03 / EXTRACT
A mask becomes
a new piece.
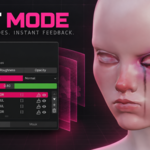
Turn a masked area into separate geometry. Adjust the thickness, preview the result and accept it as a new Subtool, ready to sculpt into clothing, armor or another part of your character.

From the surface you already have to the next piece you need.
04 / RETOPO BRUSH
Draw the next surface.
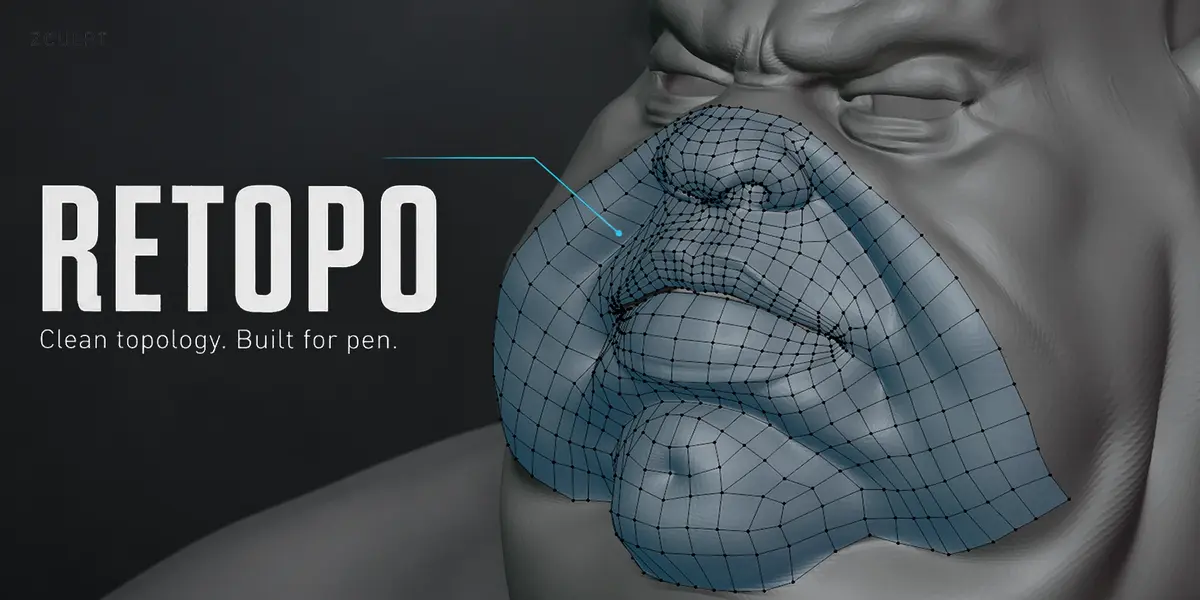
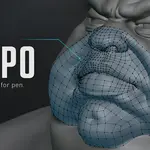
Build low-poly topology directly over your sculpt with pen or mouse. Shift-drag to lay down a quad on the reference Subtool below: preview it as you draw, release to confirm or press Esc to cancel.

Place the topology yourself, one quad at a time.
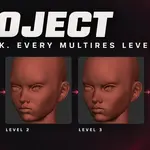
05 / PROJECT & MULTIRES
New topology.
Bring the detail with you.
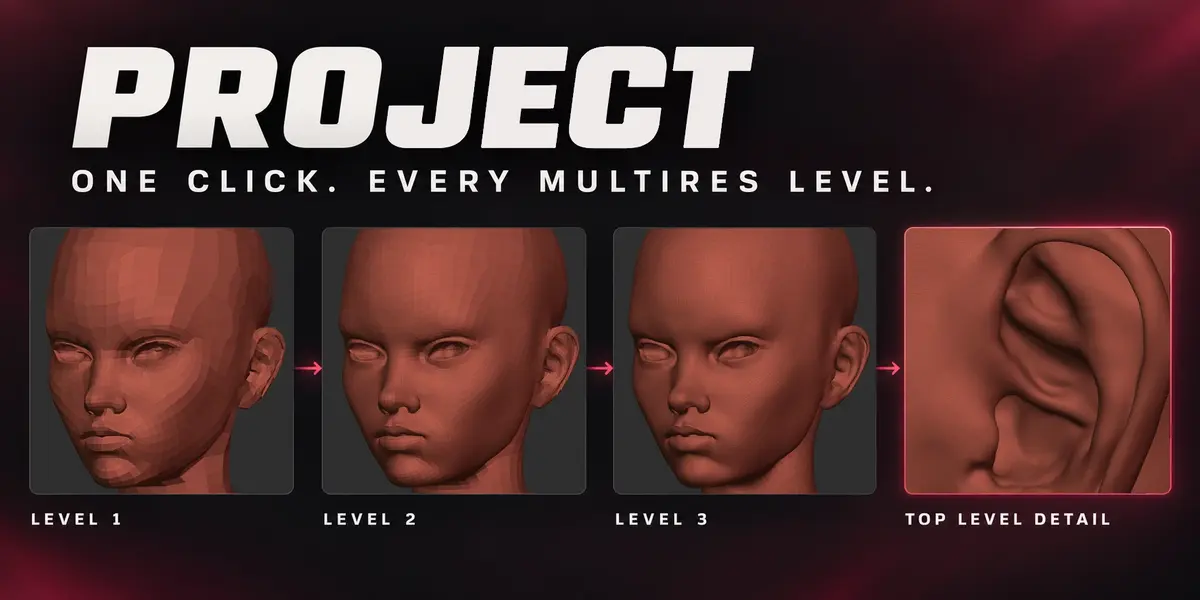
Project shape and sculpted detail from the reference Subtool onto your working mesh. Choose the current Multires level or all levels, set the projection distance and direction, and review the estimated face count and memory before you commit.

Retopologize, subdivide and project within Blender’s native Multires workflow.
06 / BRUSHES & ZPANELS
Reach for the brush.
Keep your rhythm.
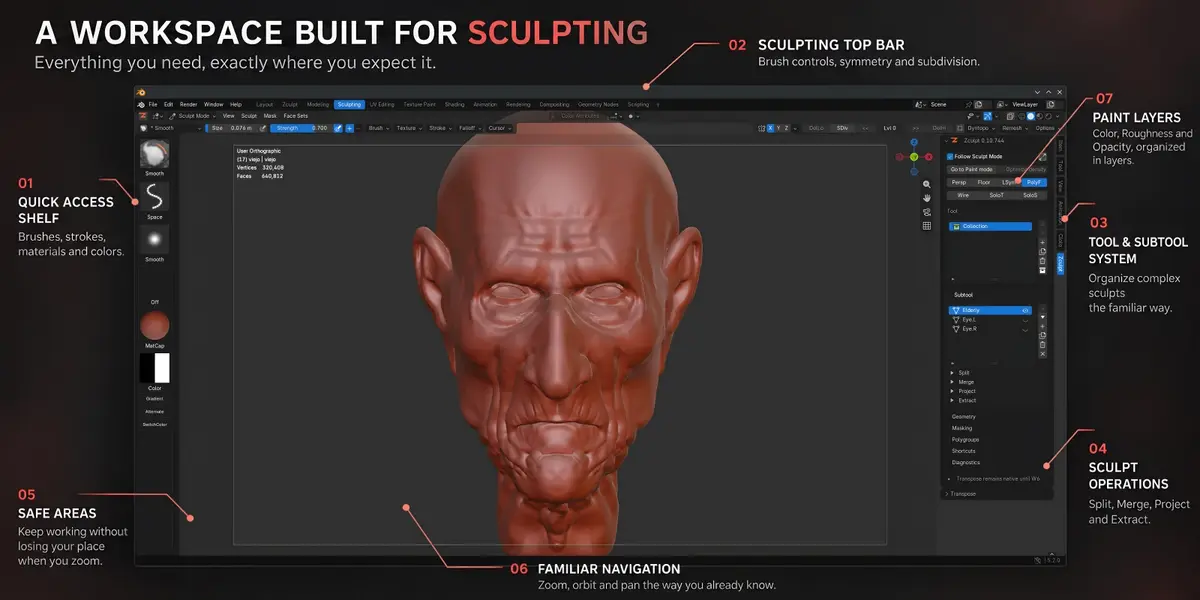
Find native Blender brushes in a searchable island, with recently used brushes in Quick Pick. Keep sculpting controls in the left ZT-Panel and manage Tools and Subtools in the right ZN-Panel: Zculpt’s ZPanels replace Blender’s T-Panel and N-Panel.

Brushes, radius, masking, groups and topology controls organized around sculpting.
07 / ZREF
Keep inspiration in view.
Arrange reference images beside your sculpt in an expandable panel. Scale, flip and rotate them as you work, and choose whether new references are copied to a folder or embedded in your .blend file.

Look, compare, sculpt. Your references stay beside the work.
FAMILIAR WORKFLOW. NATIVE FOUNDATION.
Still Blender.
Through every stroke.
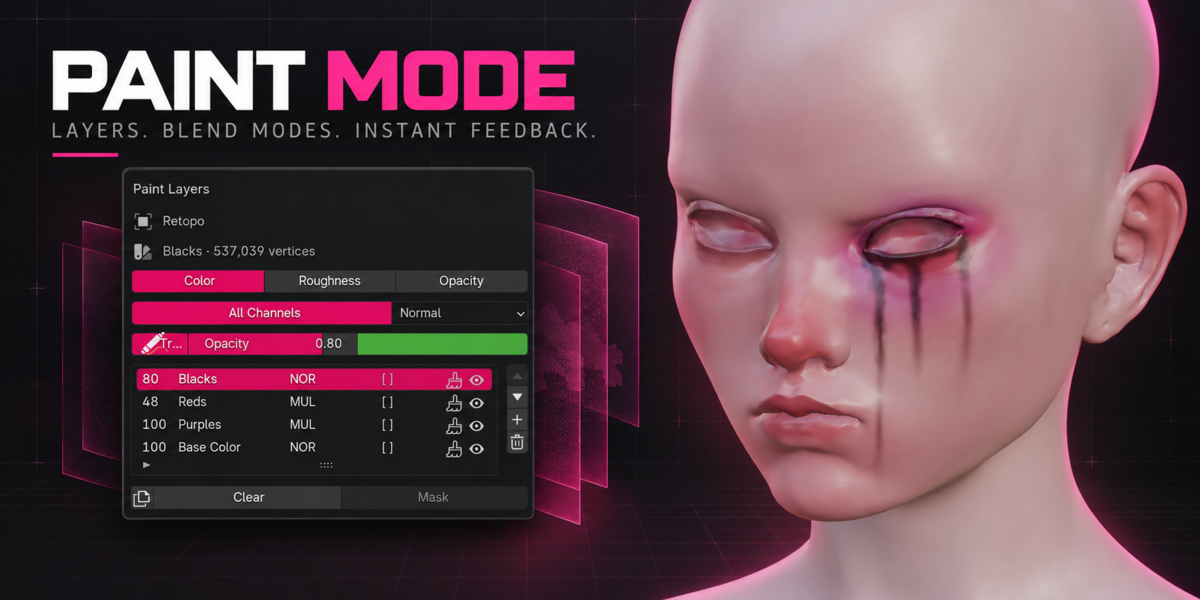
Zculpt organizes the experience around Blender’s own sculpting engine, meshes and modifiers. Your scene stays a Blender scene and your files stay .blend files. Voxel Remesh, Dyntopo and Multires remain native tools, with their own capabilities and limits.
BEFORE YOU START
Your setup. Your support.
- Blender 5.2 LTS or later. Built and tested against Blender 5.2.1.
- Windows or Linux. macOS is not yet tested.
- Mouse supported. Pen tablet recommended.
- No external dependencies. No other sculpting application required.
12 months of support & updates
Your purchase includes support and access to new versions released during your active support period.
