Zculpt — Public Beta
 Outlier Labs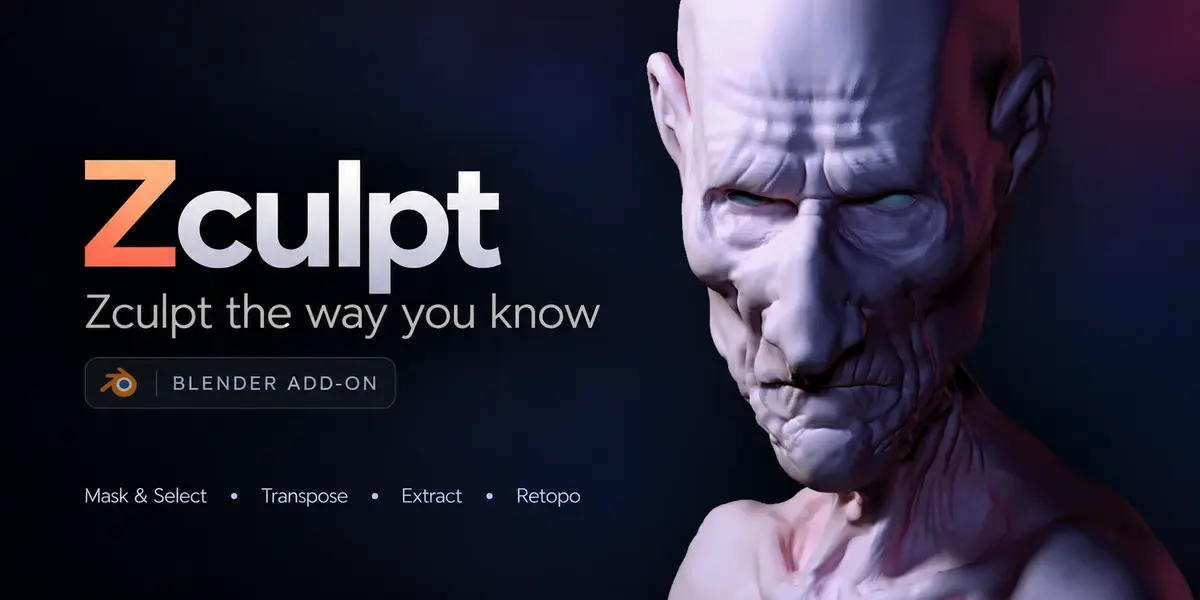
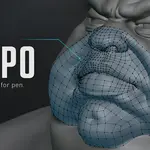
Zculpt Documentation
Zculpt brings familiar sculpting navigation, Tools and SubTools, Transpose, retopology, projection and layered painting workflows into Blender while keeping your project as ordinary Blender data.
For detailed instructions, limits and tool-specific workflows, visit the complete documentation:
https://outlierlabs.dev/zculpt/docs/
Requirements
Blender 5.2 LTS
A visible and editable Mesh object
Currently tested on Linux x64
Blender 5.3 adds Sculpt Mode preview for Zculpt Paint layers. Other Zculpt painting and texture-generation features are available in Blender 5.2.
Installation
Download the supplied Zculpt ZIP archive.
Do not extract the ZIP.
In Blender, open Edit → Preferences → Get Extensions.
Open the menu and choose Install from Disk.
Select the Zculpt ZIP and complete the installation.
Install future updates using the same procedure.
Quick Start
Select a visible, editable Mesh object.
Open the Zculpt workspace.
Press B to open the brush library.
Sculpt directly on the model.
Drag on the background to orbit around the object.
Hold Space and drag to change the brush radius and strength.
Create a Tool and organize its objects through the SubTool list.
Zculpt can also adopt an existing Blender Collection as a Tool.
Workspace and ZPanels
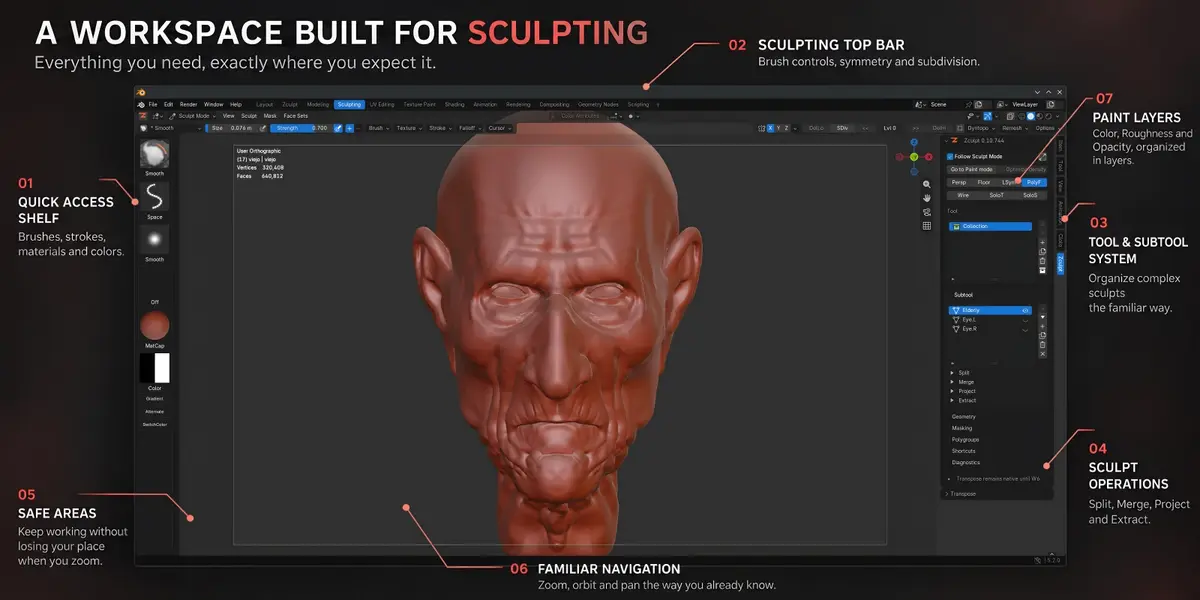
Zculpt adds its own workspace without rearranging your original Blender workspace.
The ZT-Panel on the left contains brushes, stroke controls, colour controls and ZRef.
The ZN-Panel on the right contains Tools, SubTools, Geometry, Masking, Polygroups and related operations.
Disabled actions explain which condition must change before they can be used.
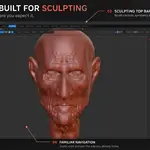
Sculpting
Zculpt uses Blender’s native sculpt brushes and ordinary Blender mesh data.
Press B to open the full brush library.
Hold B to open the compact brush pie.
Hold Shift while sculpting for temporary Smooth.
Hold Alt to invert or subtract where supported.
Hold Ctrl to paint a temporary mask.
Hold Ctrl + Alt to remove mask.
Hold Space to adjust radius.
Hold Shift + Space to adjust strength.
Brush profiles, recent brushes and Sculpt/Paint brush selections are managed separately.
Masks, Visibility and Face Sets
Masks protect areas of the surface from deformation, while visibility controls hide geometry completely.
Ctrl + stroke: Mask
Ctrl + Alt + stroke: Unmask
Ctrl + click on background: Invert mask
Ctrl + W: Create a Face Set from the mask
Ctrl + Shift + click: Isolate or reveal geometry
Ctrl + Shift + drag: Box or Lasso visibility selection
Zculpt also provides Blur and Feather filters for refining mask transitions. Availability depends on the active mesh, Multires and Dyntopo state.
Face Sets are Blender’s closest equivalent to ZBrush Polygroups.
Tools and SubTools
A Zculpt Tool is a marked Blender Collection. A SubTool is a Mesh Object linked directly to that Collection.
Use the Tool and SubTool lists to:
Create and adopt Tools
Add, duplicate, rename and reorder SubTools
Control visibility
Isolate a Tool or SubTool
Merge compatible pieces
Split by mask, visibility or Face Sets
Delete individual or inactive SubTools
The SubTool immediately below the active one is used as the reference for operations such as Retopo, Project and MergeDown.
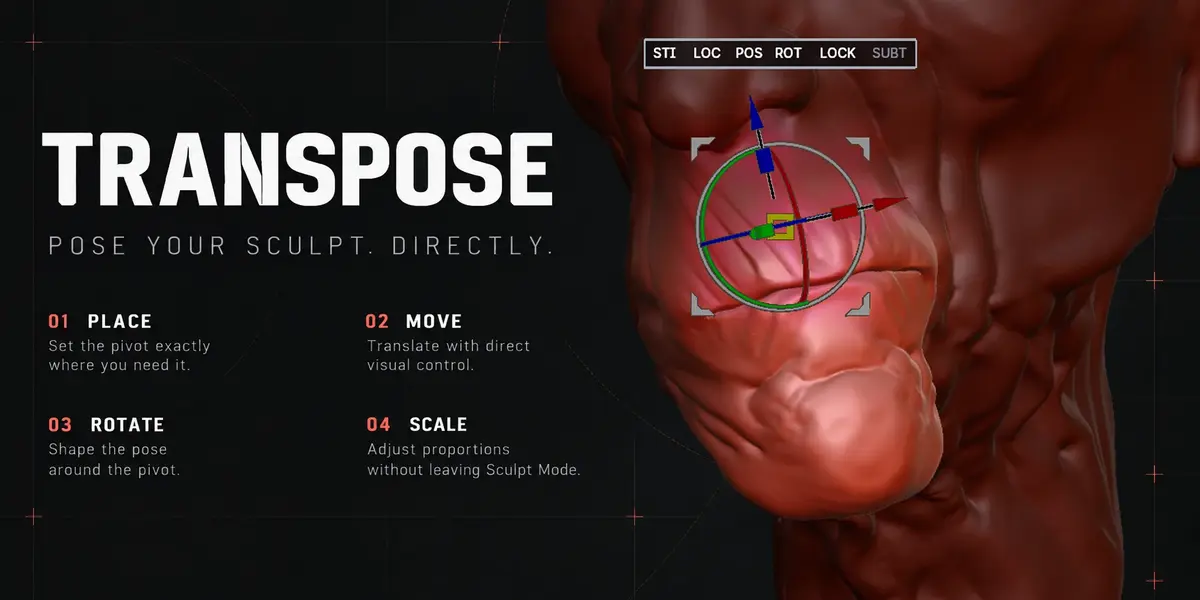
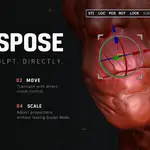
Transpose
Press:
W for Move
E for Scale
R for Rotate
Transpose can use either the traditional Line or Blender’s Gizmo 3D. Both share the same pivot and orientation.
Alt-click on the surface places and aligns the gizmo to that location. Holding Alt temporarily unlocks the gizmo so it can be repositioned without deforming the mesh.
Transpose supports regular meshes and specific Multires and Dyntopo workflows. Some operations temporarily use the base cage to preserve stability.
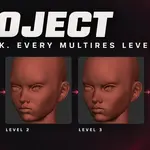
Geometry and Multires
Zculpt provides direct access to:
Multires subdivision
Subdivision-level navigation
Delete Higher
Voxel Remesh
Dyntopo
Del Low
Del Low rebuilds the Multires hierarchy so that the selected level becomes the new base while retaining higher sculpt detail. Dense meshes can require significant processing time.
Changing topology can invalidate an existing Paint surface, so save your project before major topology operations.
Retopo
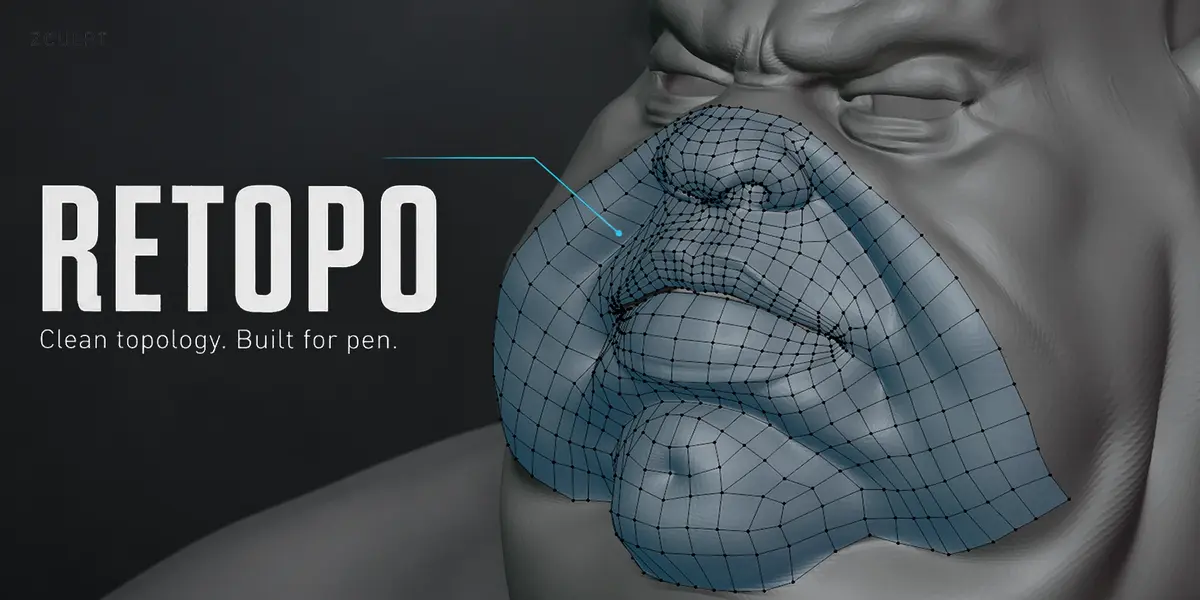
Retopo lets you manually draw a new quad surface over a reference mesh.
Place the reference Mesh immediately below the destination SubTool and activate Retopo. Use Shift-drag over the reference to create quads, then extend and adjust the surface using the Retopo controls.
Retopo creates real Blender mesh topology in Edit Mode. It is a manual quad-building workflow, not automatic remeshing.
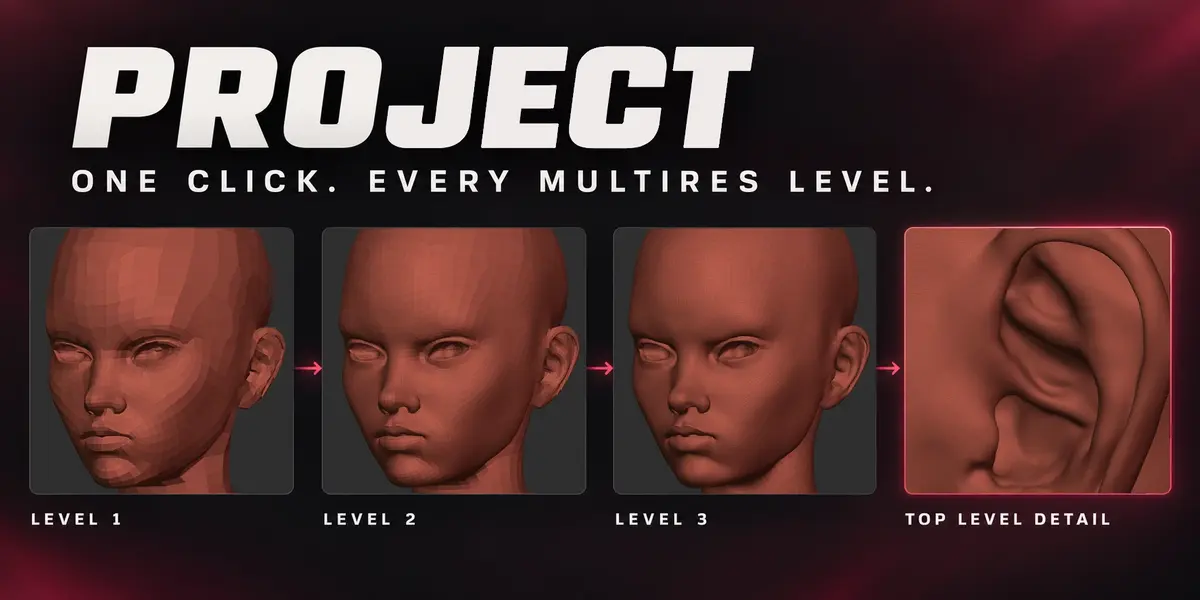
Once the low-resolution surface is complete, use Project to transfer the reference shape and sculpted detail.
Project
Project fits the active SubTool to the Mesh immediately below it in the SubTool list.
It can:
Project only the current level
Process all Multires levels
Add missing Multires levels
Adjust the base cage
Search inward, outward or in both directions
Preserve points where no safe projection is found
Start with a short projection distance around lips, fingers, folds and other close surfaces, increasing it only when required.
Extract
Extract creates a new shell from a masked area, suitable for plates, garments, helmets and similar forms.
Mask the desired region.
Open Subtool → Extract.
Set the Thickness.
Click Extract to generate a preview.
Click Accept to convert it into a new SubTool.
The accepted result is an ordinary Blender Mesh object.
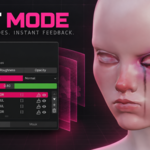
Paint Mode
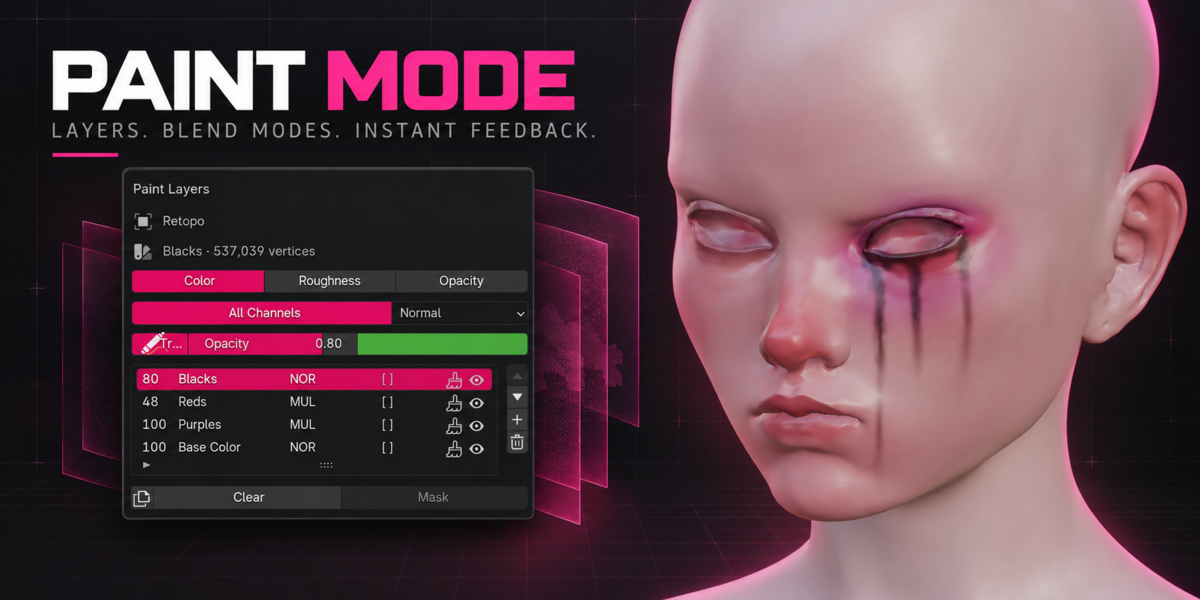
Zculpt Paint Mode uses native vertex painting on a separate editable surface. It supports:
Color
Roughness
Opacity
A base layer plus three additional layers per channel
Normal, Multiply and Overlay blending
Layer opacity
Black and white layer masks
Paint and Fill modes
Packed 4K texture output
Enter Paint Mode using the dedicated button below Follow Sculpt Mode.
The sculpt’s current resolution on first entry determines the Paint surface resolution. Painting detail therefore depends on mesh density.
Apply to Textures creates packed 4K images and connects them to the Blender material while leaving the Paint layers editable. Save the .blend file to preserve the generated images.
ZRef
ZRef provides a reference-image board beside the sculpt.
Widen the ZT-Panel to reveal it, then drag images into the board or use right-click → Add images.
You can:
Move, resize, rotate and mirror references
Sample visible colours with Alt-click
Store recent colour swatches
Pin important colours
Pack references into the project
ZRef currently supports still images, not video playback.
Essential Shortcuts
B: Brush library
Hold B: Compact brush pie
Shift + stroke: Smooth
Alt + stroke: Invert or subtract
Ctrl + stroke: Mask
Ctrl + Alt + stroke: Unmask
Space: Brush radius
Shift + Space: Brush strength
W / E / R: Transpose Move / Scale / Rotate
F: Frame the active SubTool or all visible meshes
X: Toggle the current symmetry combination
Ctrl + W: Create a Face Set from the mask
Ctrl + Shift: Visibility and isolation gestures
Background drag: Orbit
Alt + background drag: Pan
Ctrl + Alt + background drag: Zoom
These shortcuts apply inside the relevant Zculpt context. Outside Zculpt’s Sculpt, Paint, Retopo and ZRef workflows, Blender retains its normal controls.
Compatibility and Important Limits
Individual operations can require a local, editable and unshared Mesh without Shape Keys, incompatible modifiers or active Dyntopo.
Retopo, Project, Extract, Multires and Paint each have their own topology, face-count and memory limits. Zculpt reports why an operation is unavailable before changing the mesh.
Read the complete documentation before using topology-changing operations on production work:
https://outlierlabs.dev/zculpt/docs/
For support, contact:
-
$39
Full Zculpt add-on with 12 months of updates and technical support for one artist. Commercial use included. Keep using your downloaded versions after the support period ends.
-
$119
Full Zculpt add-on with 12 months of updates and team support covering up to 5 artists through one designated contact. Includes all Individual features and commercial use. Keep using your downloaded versions after the support period ends.
 Included
Includes 12 months of
- Support from Outlier Labs
- Product updates
Extend this product’s Support Period +12 months: 50% of product price
Have questions before purchasing?
Login to message
Discover more products like this
Blender sculpting retopology Subtools masking Sculpt Workflow sculpting ZBrush workflow remeshing polygroups Texture Painting multiresolution digital sculpting