 TastyVoxels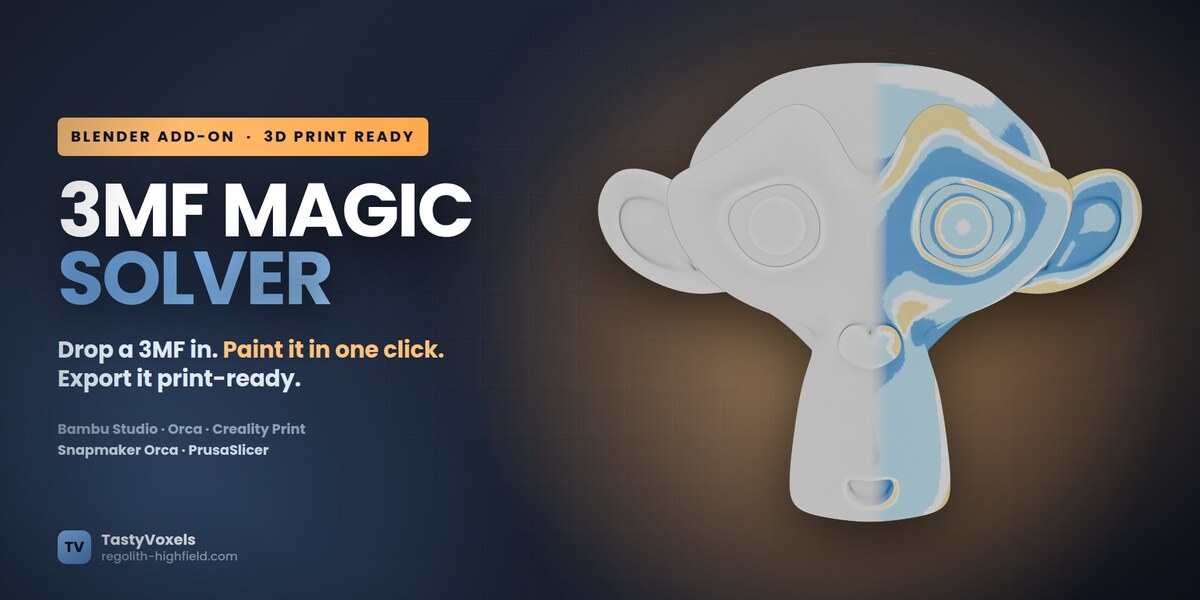









Version 1.0.1 is a beta — and that is why it is discounted
This is the first public release of 3MF Magic Solver. Everything described on this page works today and is covered by automated tests that run on Blender 4.2, 4.5 LTS and 5.2 — but no test suite has the imagination of real users and their files. A 3MF can come out of a dozen slicers, painted in a dozen ways, and the only way I find the awkward ones is if you send them to me.
So this version is launching at a discount, and what I want back is your feedback: what you dropped in, what came out, what surprised you. Message me here on Superhive. Bug reports go straight into the next update, and every future version is included — buy once, updated for good.
A 3MF lands on your disk. Blender either refuses it, or opens a grey mesh with the colours gone. You wanted to change one thing and print it — instead you are rebuilding materials by hand.
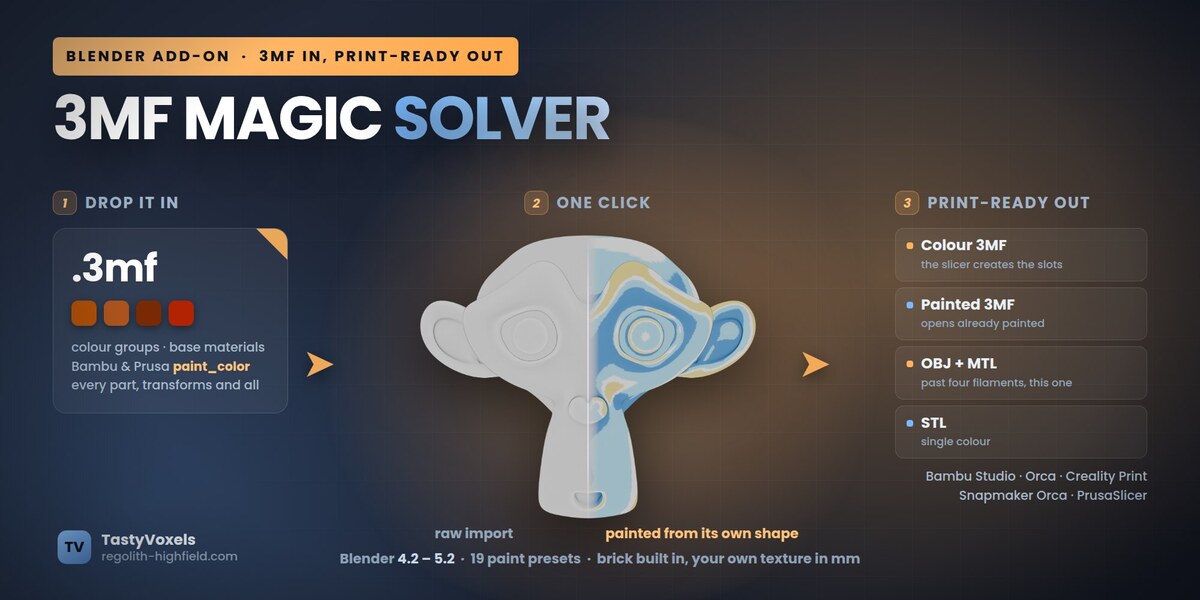
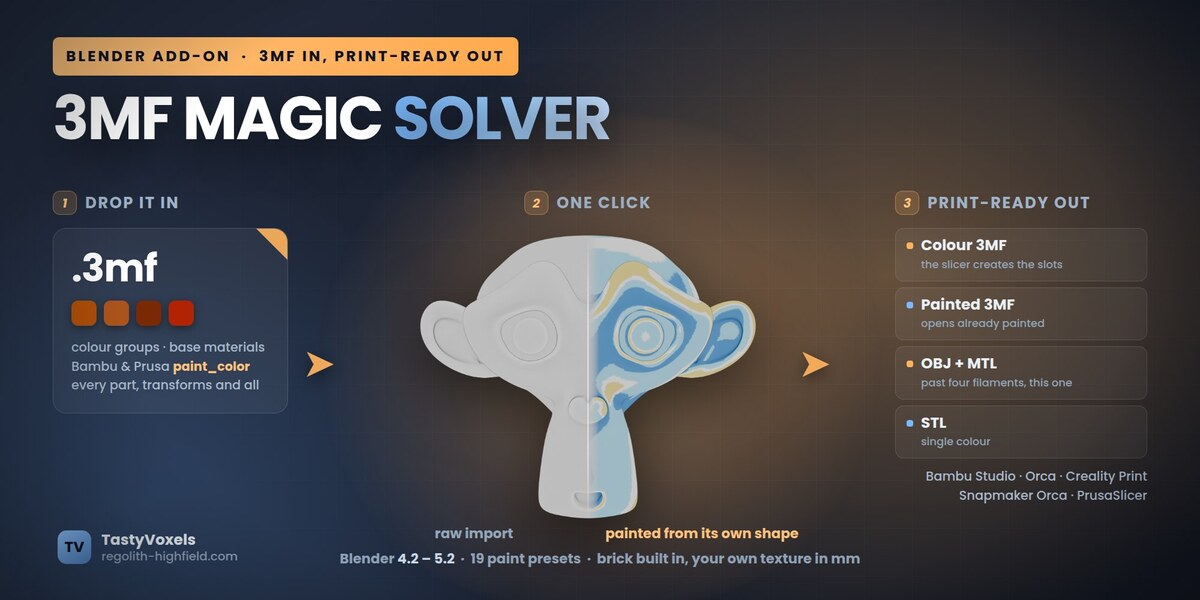
3MF Magic Solver ("3Mffer") is the round trip. Drag the file into the viewport and the model arrives with everything it carried: colour groups, base materials, and the actual painting from Bambu Studio or PrusaSlicer, face by face. Click one preset and the model is painted from its own geometry. Export, and the slicer opens it coloured — not a grey blob you have to paint again.
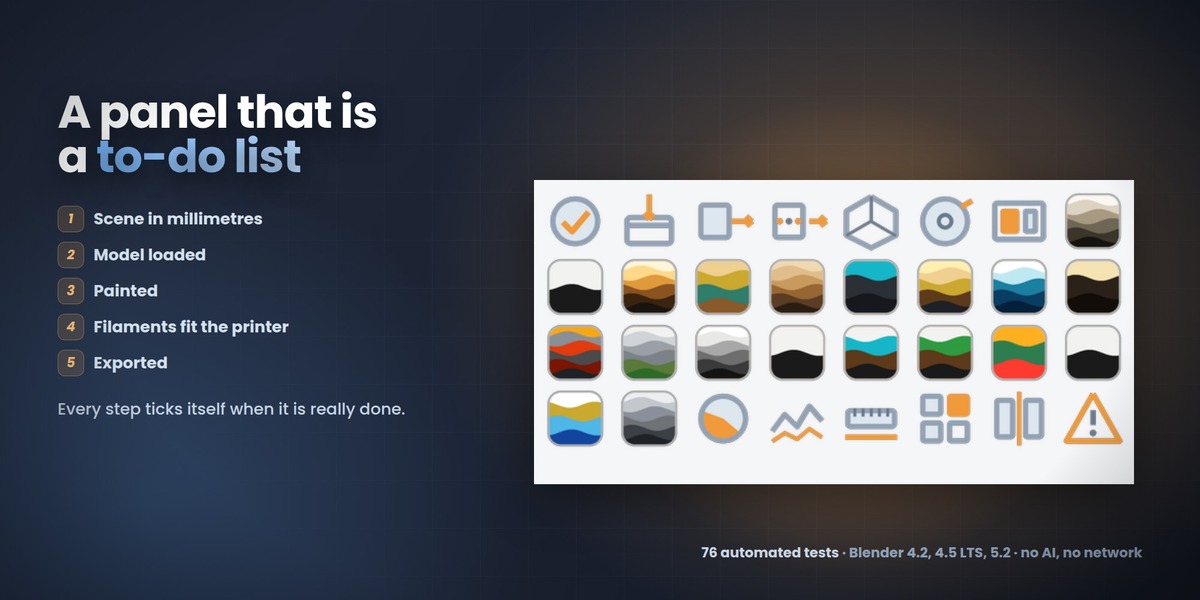
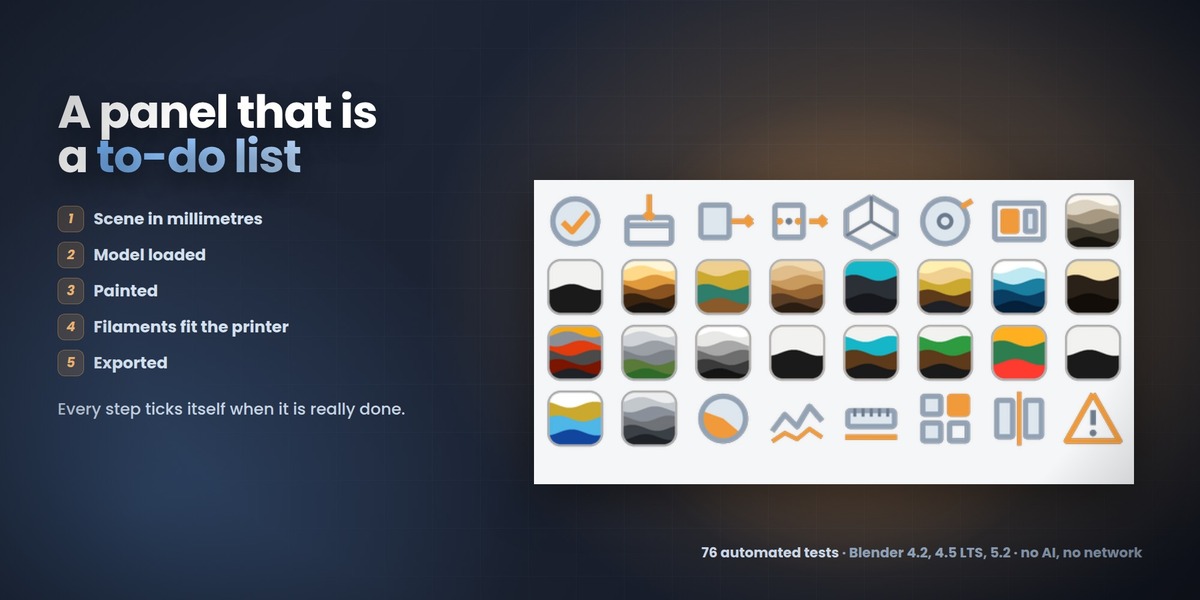
No tutorials, go fast. The panel is a five-step to-do list and every step ticks itself when it is really done: scene in millimetres, model loaded, painted, filaments within your slot count, exported.
Tutorials — going up during early access
Seven short videos cover the add-on click by click: the whole workflow end to end, plus one for each panel — Load, Paint in one click, Printable relief, Texture & displacement, Check Mesh & Quick Fix and Export. Every click is shown, and every click is followed by what it did, so they read even with the sound off.
While the add-on is in early access they go up a few at a time, and each one is linked here as it lands. I am aiming to have the whole set online by the end of September 2026.
The written walkthrough is already in the Documentation tab — the same steps, in text, readable before you buy.
Import that actually reads the file
A 3MF is a zip holding one or more models, a palette and — when it came out of a slicer — the painting itself. All of it is read: basematerials with a displaycolor per material; colorgroup, what Bambu Studio calls "standard 3mf colour import"; and paint_color, the PrusaSlicer / Bambu Studio MMU painting, decoded down its whole recursive split tree so the filaments land on the faces they were painted on.
Painting survives the round trip, exactly. A slicer paints per triangle and subdivides a triangle to cut an edge finer than the mesh allows. The file's own painting is kept alongside the mesh and written back untouched when you export a Painted 3MF without repainting — verified on real Bambu Studio projects: 916,350 triangles and 2,988 distinct painted states in, not one changed on the way out.
One honest thing about the preview, in this beta. Blender shows the painting one colour per triangle. Where the slicer cut a finer edge by subdividing a triangle, the viewport shows the filament covering most of it, so small painted shapes can look a little jagged on screen compared with your slicer. It is a preview limit, not a reading error: export a Painted 3MF and the painting is identical to what went in. Improving what the viewport draws is the next thing on my list.
Objects made of component references are flattened with their transforms — what the author modelled is what you get — and a Bambu, Orca or Creality project that hides its geometry in 3D/Objects/object_N.model is followed there. When the project declares its spools, the real filament colours come across with it. A 500,000-triangle painted Creality project imports in about 23 seconds with its palette intact.
Paint in one click, from the shape itself
Nineteen presets. No UVs, no textures, not one brush stroke — the colour comes out of the geometry:
- curvature tells a crevice from a ridge, normalised on the model's own 90th percentile, so a soft organic sculpt and a hard-edged mechanical part both use the full range instead of washing out;
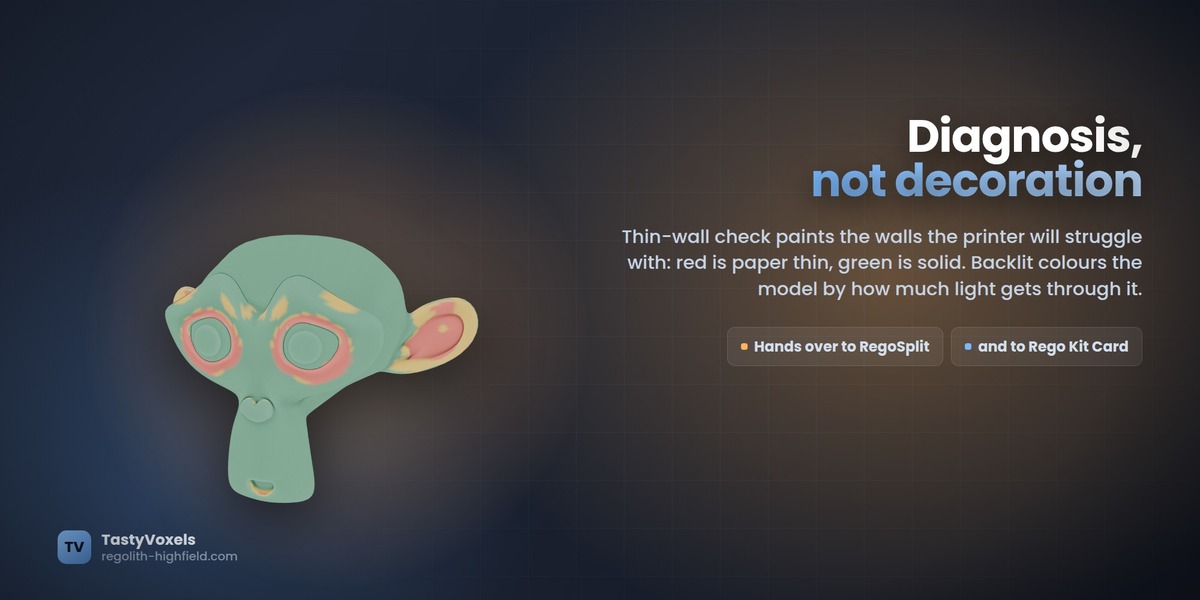
- thickness finds the walls too thin to print;
- ambient occlusion finds what sits buried in shadow;
- outward, height and normal fields do the rest.
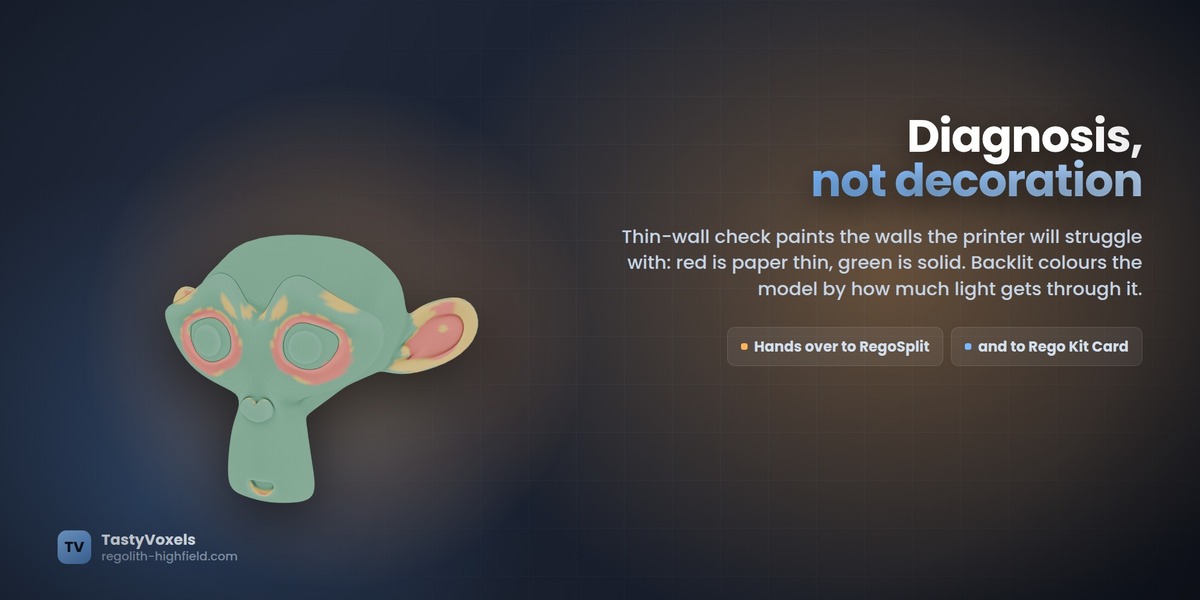
Weathered rock, carved wood, gilded relief, mossy stone, lava, ice, antique silver, water and jewels, terrain, edge highlight, two-tone… and two that are diagnosis rather than decoration: thin-wall check and backlit, which colours the model by how much light gets through the wall.
Every button carries a chip made of that preset's own filaments, so you see the palette before you click. Filament slots folds a richer preset down to the number of spools you actually own, closest colours merged first.

Printable relief
The same fields, moving the surface instead of colouring it: emboss the ridges, engrave the crevices, deepen the recesses by a millimetre you choose. Detail that survives even a single-filament print.

Bring your own texture
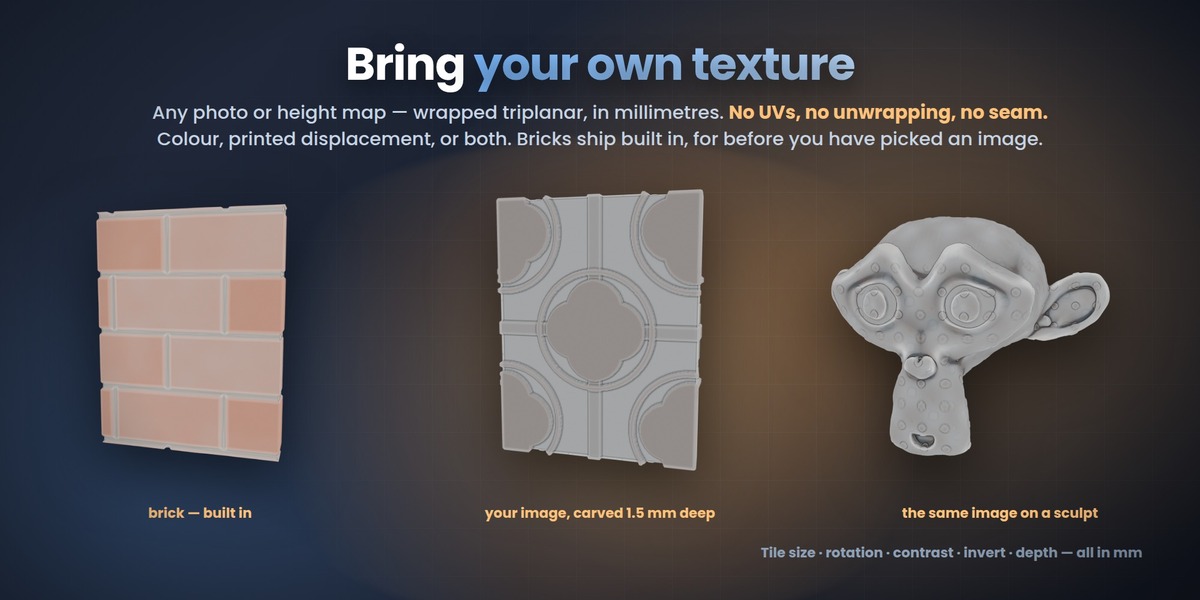
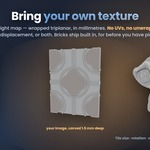
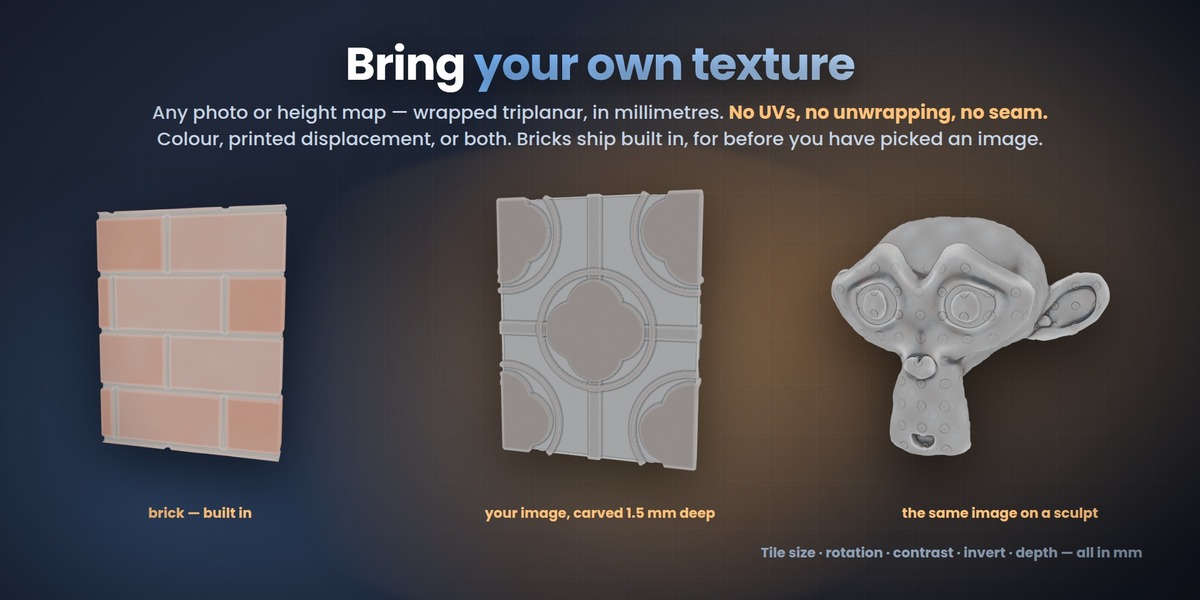
Where the presets read the shape, this reads space: a texture sampled in millimetres, so a 40 mm tile is 40 mm on the printed part whatever the size of the model.
Load your own image — a licensed wood or stone photo, a scan, a height map, your own artwork — and it is wrapped triplanar: no UVs, no unwrapping, no seam. That matters, because a 3MF that came out of a slicer almost never carries usable UVs, and nobody should have to unwrap a downloaded model before they can put a texture on it. Paint with the photo's own colours, or use it as a pure height map and carve it in.
Brick, cells, marble, clouds, brushed metal, stripes and rings are built in for before you have picked an image — brick is the default because a running bond with mortar joints is pure geometry, which is what a procedural is genuinely good at. Depth can be negative, so the joints go in and the bricks stand proud.
Nothing here is destructive. The untouched vertex positions are stored on the mesh, so Reset Shape always puts the surface back; relief measured from the original never stacks on itself; and Clear Paint restores the colours the file arrived with, not a flat grey.
Check the mesh before you export
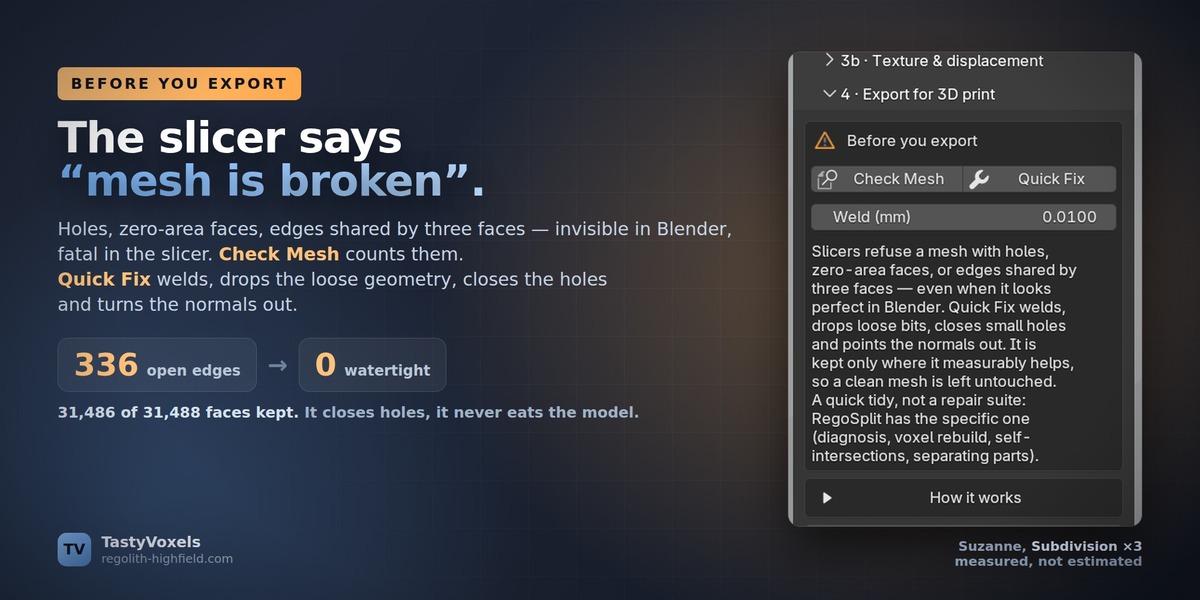
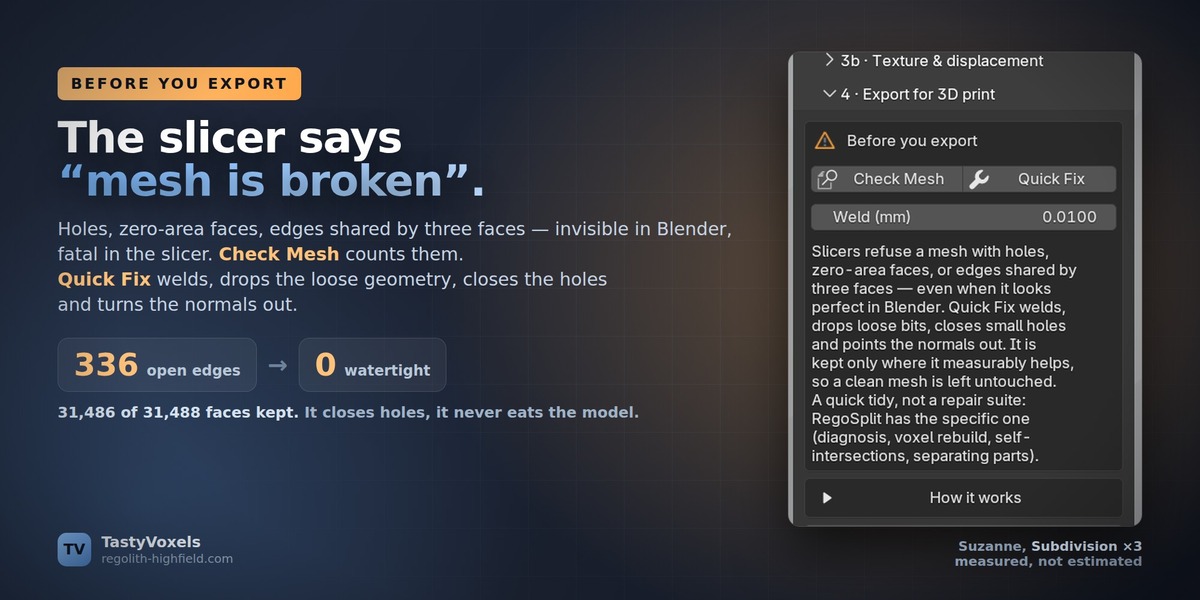
A slicer refuses a mesh with holes, zero-area faces, or edges shared by three faces — even when it looks perfect in Blender. Blender’s own Suzanne is the clearest example: she arrives with 42 open edges, and a Subdivision Surface at level 3 turns them into 336. Nothing looks wrong. She simply is not a solid.
Check Mesh counts what a slicer will refuse and changes nothing. Quick Fix welds coincident vertices, drops zero-area faces and loose geometry, closes small holes and points the normals outwards. Both sit right above the export buttons, and both work on whatever you have selected — a part that came out of a 3MF, or something you modelled yourself.
It cannot eat your model. The weld distance is capped at a fifth of the mesh’s own typical edge, so it can close a seam but never dissolve a feature, and a result that loses faces is thrown away and retried with a tenth of the weld, then with none at all. A mesh that is already clean is left untouched. Measured on that subdivided Suzanne at 60 mm: 336 open edges to none, 31,486 of 31,488 faces kept, exported as OBJ and read back watertight.
This is a quick tidy before export, not a repair suite. For diagnosis, voxel rebuild, self-intersections and separating parts, RegoSplit has the specific one — and the panel says so.
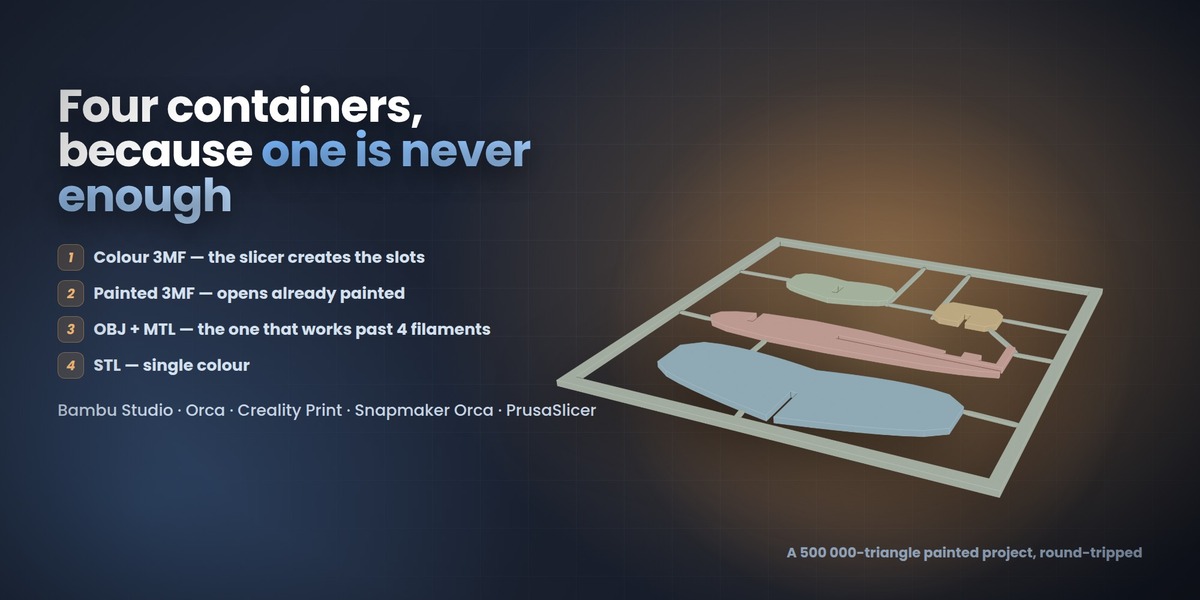
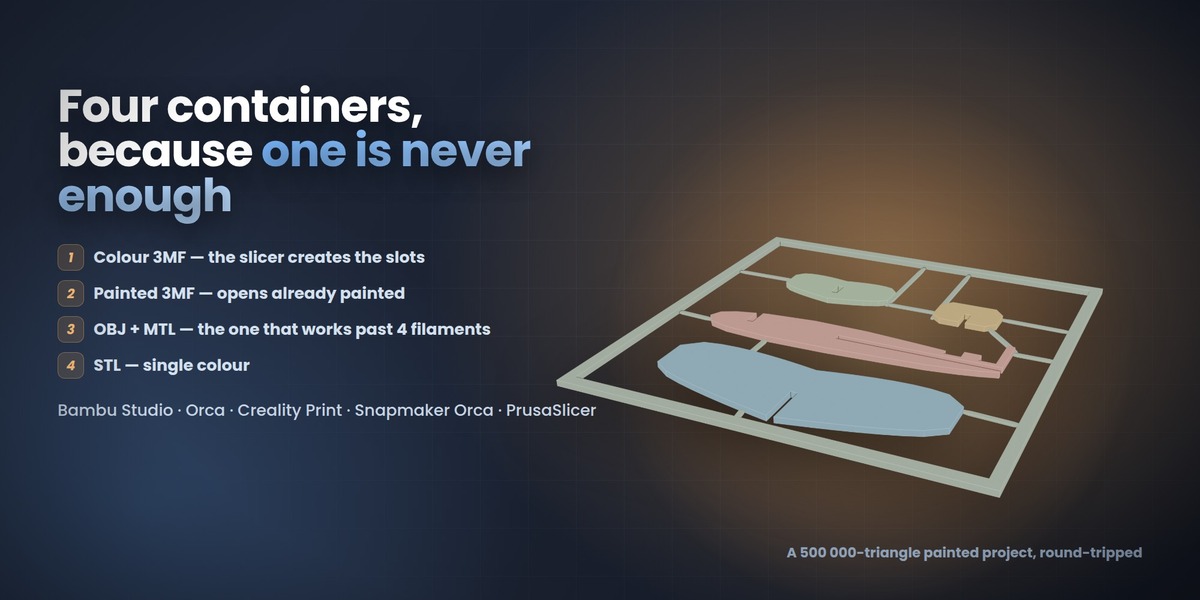
Export: four containers, because one is never enough
- Colour 3MF — standard 3MF plus a colour group, one object made of components, no Metadata folder. The slicer creates a filament slot per colour it finds. The universal one.
- Painted 3MF — a real paint_color per triangle plus the extruder map. The model opens already painted, ready to slice. Filament 1 is the object's own extruder and carries no attribute at all, exactly as the slicers write it themselves.
- OBJ + MTL — per-vertex colours in the OBJ, faces grouped per filament, MTL alongside. Past four filaments this is the one that works: the slicers read the colours from the vertices, not from the MTL, and their colour dialog opens fully populated.
- STL — geometry only, for a one-filament print.
Plus Bake Paint into Material Slots: one material per filament, the currency the rest of the pipeline speaks.
It plays with the other Rego add-ons
Install RegoSplit or Rego Kit Card and two more buttons appear. Hand to RegoSplit bakes the paint into material slots and passes the model over for Split with Pins, or Separate by Color when your printer has no AMS. Hand to Rego Kit Card traces it into flat plates that snap together on one card. No re-export, no round trip through disk.
3Mffer imports and paints. Cutting, pinning and colour separation stay RegoSplit's job; flat kit cards stay Rego Kit Card's. Buy one, buy all three — nothing is duplicated.
What it is NOT
Honest limits, so nobody buys the wrong thing:
- It reads geometry, colours and painting. Slicer settings, supports, plates and modifiers inside a project file are not imported.
- Painting is per vertex: a crisp boundary follows the mesh's own resolution. Subdivide first if you want a sharper line.
- There is no colour reduction and no colour separation here, by design. That is RegoSplit's ground.
- No brush. This add-on paints from the shape; hand painting is Blender's own vertex paint, which it reads and writes happily.
- Very heavy imports (500k triangles and up) take tens of seconds. The painting is decoded exactly, not sampled.
- Slicer behaviour is claimed from the file formats and from files produced by Bambu Studio, Orca, Creality Print and PrusaSlicer. Always check the filament mapping in your slicer before a long print.
Requirements
- Blender 4.2 LTS or newer (extension format). Tested on 4.2, 4.5 LTS and 5.2.
- Windows, macOS, Linux
- No internet connection required, ever
No AI, no network, no telemetry
3MF Magic Solver contains no artificial intelligence and no machine learning, and it has no network code at all: no telemetry, no analytics, nothing leaves your machine. It works fully offline.
I have been writing code since long before generative tools were mainstream, and every behaviour in this add-on is an engineering decision, not a prompt: the paint_color codec, the field engine behind the presets, the millimetre-accurate relief, the four export containers. I did not build it alone — I use AI tools the way I use every other tool in my kit, for coding assistance and for translating my documentation into English, which is not my first language. What I do not delegate is judgement. I read and understand every line that ships and I take full responsibility for how it behaves, and the numbers are there to back that up: 89 automated tests run headless against bpy on Blender 4.2, 4.5 LTS and 5.2 and check real results — every preset paints, every palette fits the slot count, all four exports write and read back, and the paint_color encoder round-trips against the decoder over the whole filament range. On top of those, an acceptance run installs the released zip into a clean Blender and drives the whole five-step flow on real slicer project files, then reopens every export and measures it: every part closed, no non-manifold edges, real volume.
Part of the Regolith Highfield toolset — regolith-highfield.com
Support and updates
Questions, bug reports and feature requests are welcome — message me here on Superhive, before or after buying. Updates and support are included for good: no support period, no renewal fee. Buy once and every future version is yours. More example files and presets are on the way, free with the add-on.
Built on the Regolith engines
None of this was invented for a plugin listing. The paint engine is a port of Regolith Surface, and the export paths come straight out of VOXL Regolith — the advanced Regolith Highfield software, built in collaboration with TastyVoxels, where the 3MF colour containers, the paint_color decoding and the OBJ route past four filaments were all worked out and tested on real prints first.
Those tools reach the public one at a time, as each becomes ready for everyday use by everyone: VOXL Regolith is on Kickstarter now, and the rest of the suite follows when it is genuinely ready — not before. What you get here is the part of that pipeline that is finished, tested and useful inside Blender today.
TUTORIALS & QUICK START GUIDE (coming soon, october 2026)
You do not have to work the panel out on your own.