Pulse
 Axis Interactive

How to install the Pulse addon
- open Blender and go to Edit in the top left
- select Preferences at the bottom
- choose the Addons tab on the left
- look for the arrow button in the top right which allows you to install an addon
- choose Install addon
- locate the Pulse v01.zip file (ZIP)
- and confirm Install
How to install the Keybind profile
- open Blender and go to Edit in the top left
- select Preferences from the drop down menu
- choose the Keymap tab
- then look for the Import button in the top right
- choose Import and locate the PulseKeybinds.py (PY)
- select the .py file and choose Install
How to disable the Pie menus not desired
- if you wish to disable any pie menus, go to the preferences within blender and open up the pulse pie addon within the addon tab. on the left you'll see checkboxes which you can toggle to disable or enable each preset pie menu. note the checkbox at the top toggles them all at once.
How to use the save reminder feature
- in the preferences, and within the pulse settings, at the very top, the pulse saving reminder is present and can be toggled off or on. The duration can also be set to a custom number of minutes for the timer to trigger and in the bottom right of blender where the blender version information is, you can see your save file information and reminder in either grey or red.
How to use Pie Menus
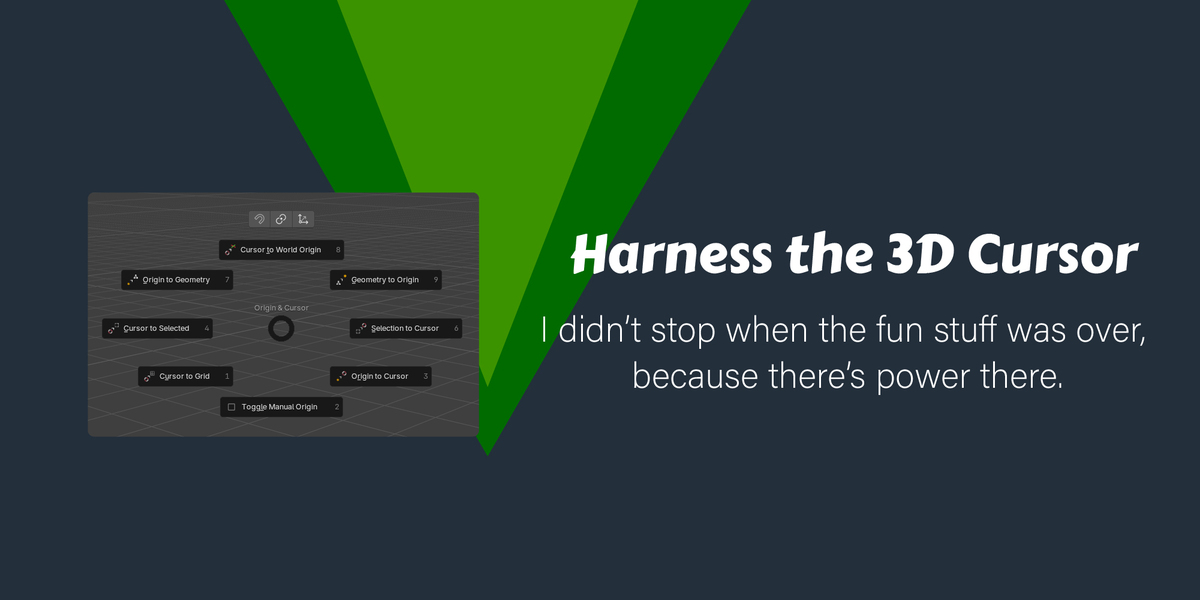
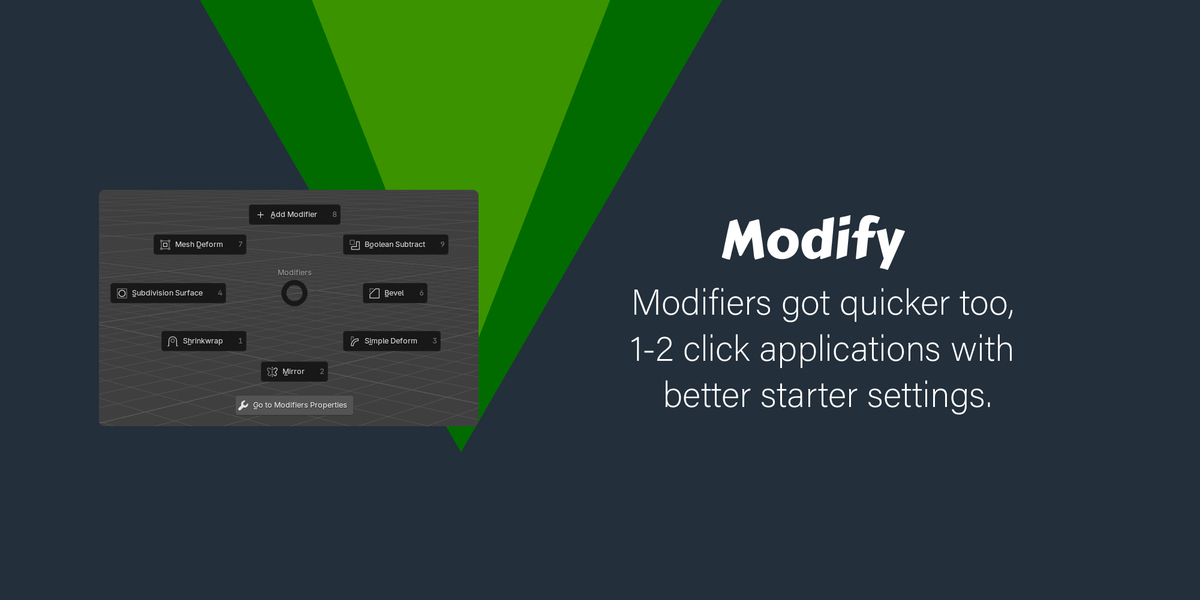
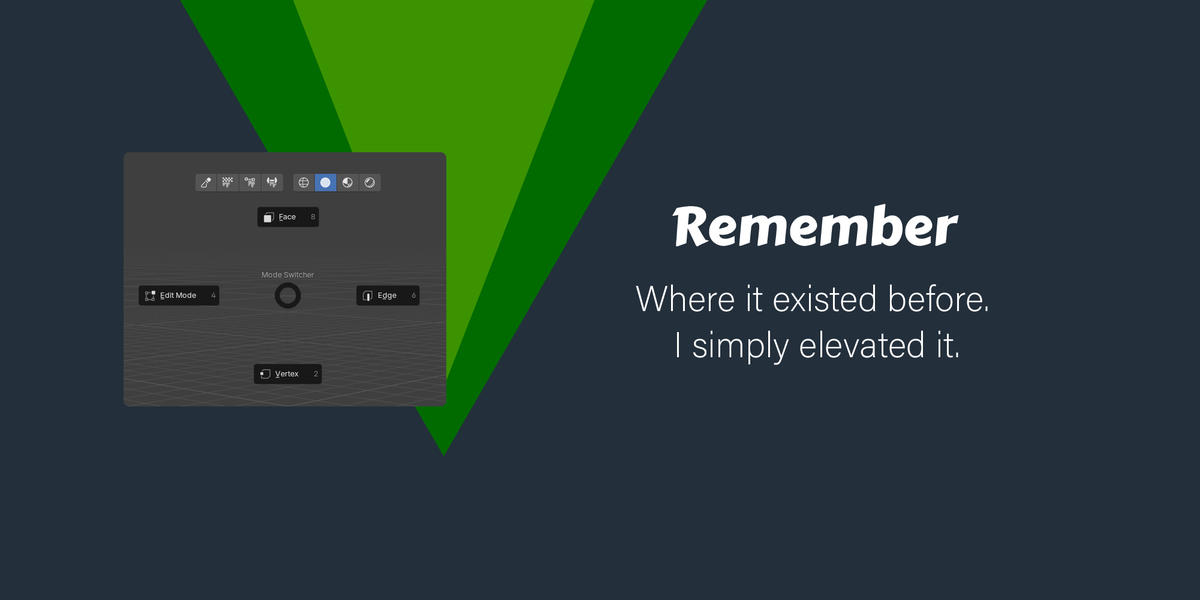
- While in the right Editor and Context, quickly press and release the keybind associated to your desired pie menu to bring it up and leave it in place until you click on a button or somewhere else
- To use a pie menu quickly, press and hold the keybind, then drag the mouse over a button and release the keyboards buttons to use the pie menu button faster
- if the pie menu has a nested pie menu within it, simply click the subsequent button you desire to use.
A summary of how to use the addon
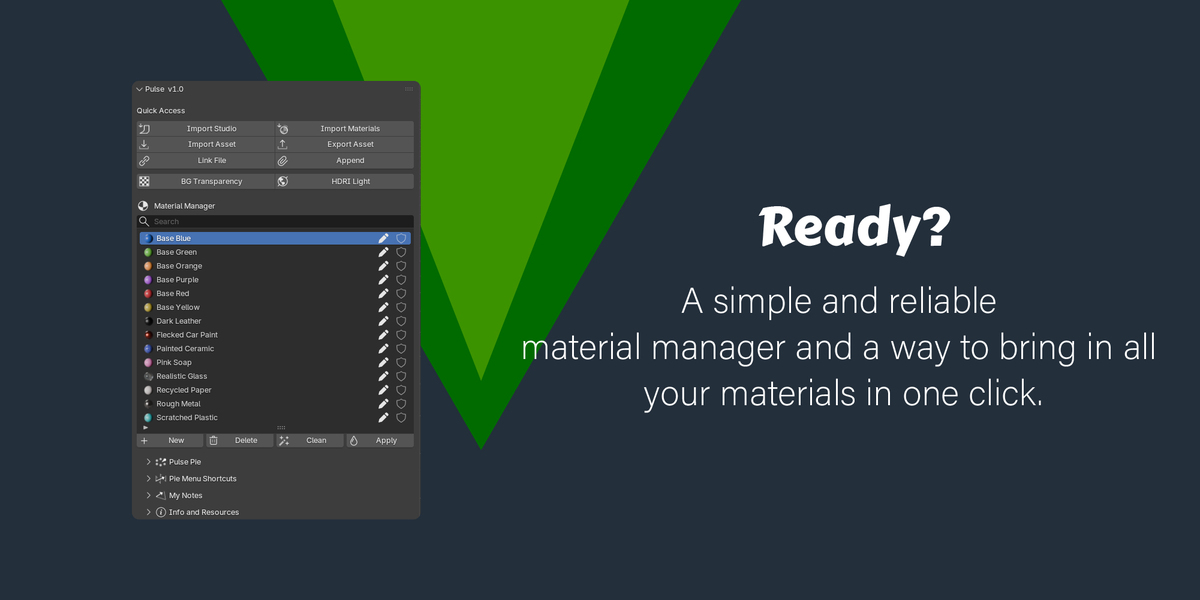
- Press the N key in the 3D viewport to bring up the N panel and navigate to the Pulse tab. There you will find from top to bottom: the quick access buttons, the material manager, the user customizable pulse pie manager, the preset pie menus, the my notes section, and lastly the info and resources. For the most part, you can hover over any button and learn more about its behaviors.
Setting a new keybind for a preset pie menu
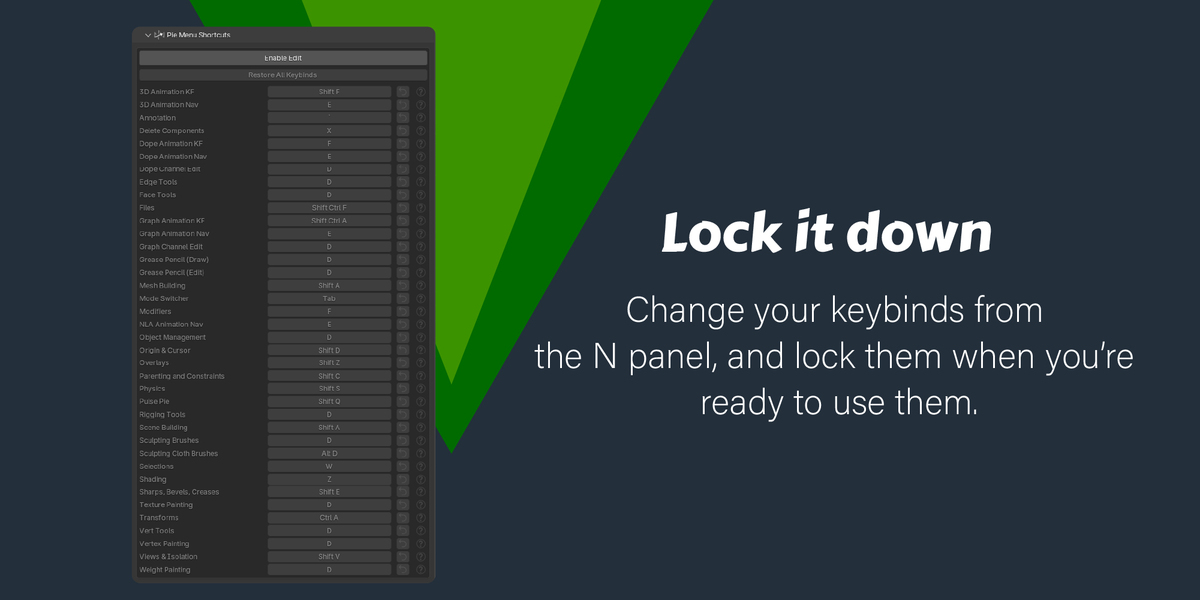
- open the Pie Menu Shortcuts section in the Pulse N panel
- unlock the section with the enable edit button at the top, then press any button with a keybind on it to change it. You'll press the desired button on your keyboard to do so and then you'll be done. you can reset the default keybind with the arrow button on it's right and see the editor and context you'll need to trigger the pie menu in Blender.
How to use the My Notes features
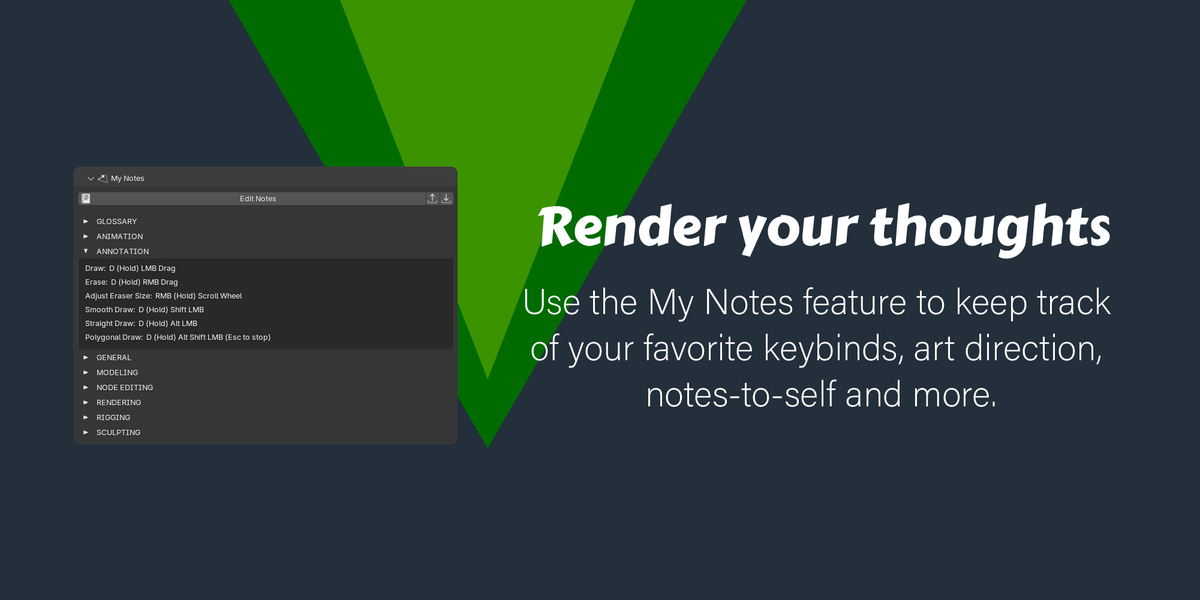
- simply open the Pulse N panel and then in the my notes section use it's largest button. This will take you to a new workspace where you can read more on how to make your notes. You're changes will take effect quickly when you click in the 3D viewport on the right. Make sure to keep the workspace name the same at the top and only edit the text below the grey text in the editor.
The Material manager in the Pulse N panel is quite intuitive, but what may not be is in order to rename a material, you'll need to simply double click on the material name and then edit. You can also quickly apply a material with a right click over the desired object.
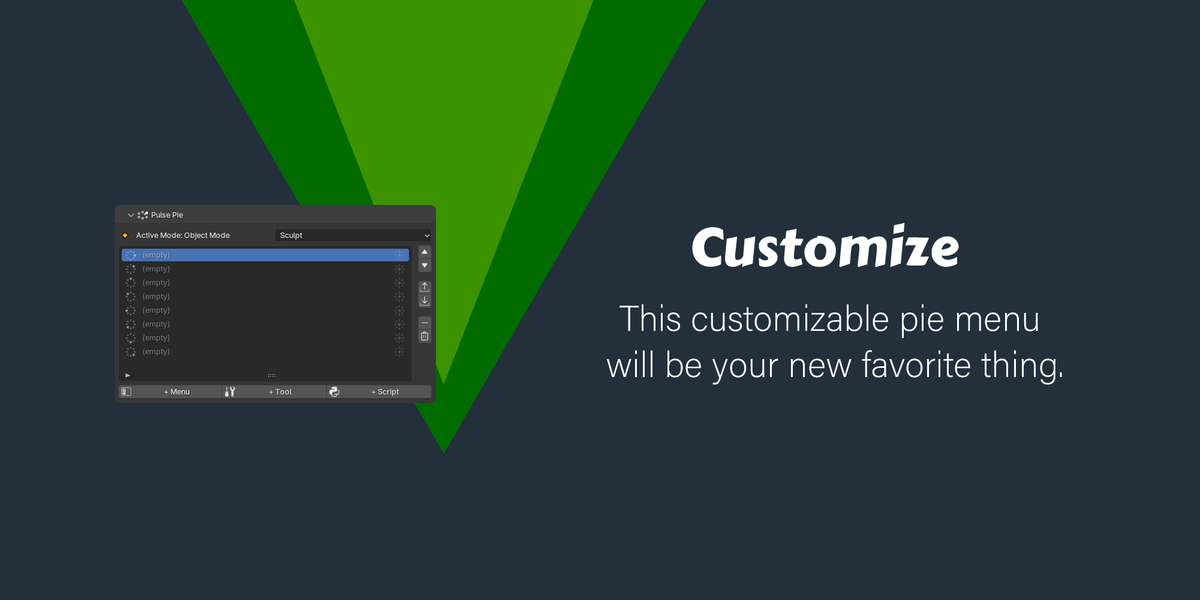
How to make your own Pulse Pie menu
- with the Pulse N panel open, you'll want to have the pulse pie section open and ensure the context drop down is set to the context you'll be editing in.
- Select the slot in the manager you want to assign a new feature to and then while in the matching context in blender, right click on the feature within blenders UI and select add to pulse pie
- Fill in the label and choose an icon from blenders library or your own and click ok
- This will add the feature to your Pulse Pie
- Trigger the Pulse pie with the default keybind Shift + Q, or set your own
- Go back to the manager and use the up and down arrows to change the buttons placement on the pie menu. The icons on the left indicate where the button will be with the large bright dot.
- You can use the buttons at the bottom of the manager to add features specifically by their label ID or by linking a custom python script to a button
- If you have made a lot of customizations and wish to back up your pie menus setup, use the export and import buttons on the right of the Pulse Pie manager. This will save your setup to a JSON file which you can later import.
- Remember that this pulse pie customization is context sensitive and that you can have pie menus for each context. ie. sculpt mode, 3D view mode, and so on.
- You can use the minus and trash icon buttons to delete one button or all buttons within a context
- The last thing about the pulse pie menu you'll need to know is that you can start to build a nested pie menu by using the circular grey icons on the far right of each button slot. This will bring you into a sub-pie.
That's about everything, but if you prefer to watch a video covering this information and assuming it's still available to view, you can do so at this link: https://youtu.be/FqcyA7hYOes
Have questions about this product?
Login to message
| Blender Extension Compatible | Yes |
| Dev Fund Contributor | |
| Published | 2 days ago |
| Blender Version | 5.0 - 5.2 |
| Extension Type | Add-on |
| Render Engine Used | Cycles, Eevee |
| License | GPL |
Discover more products like this
pie menus modeling rendering pulse custom-pie-menus Blender improvements sculpting timesaver productivity Lighting efficiency smart