 TastyVoxels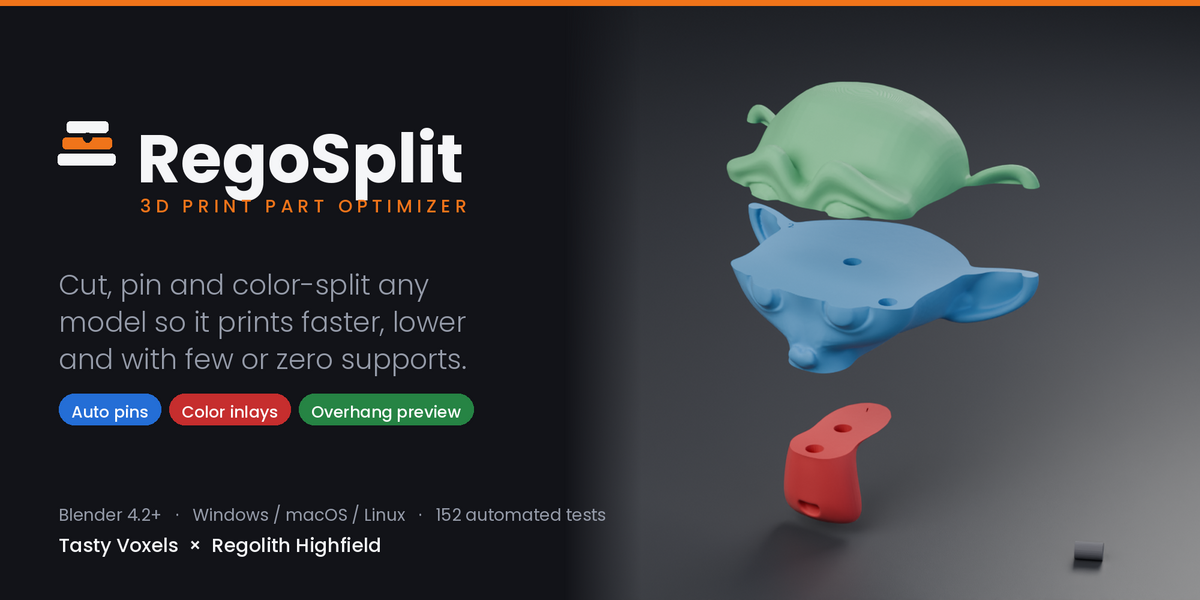



WHAT IS REGOSPLIT
Tall models don't fit. Multicolor models need a printer you may not own. Overhangs eat filament in supports you then have to cut off.
RegoSplit is one add-on for all three. It cuts a model into flat, low parts with pins that actually fit, turns every color region into a solid inlay you can print one at a time on any printer, and shows you the overhangs while you are still sculpting — so you design them out instead of patching them in the slicer.
No manual needed. The top of the panel is a numbered list with one button per step: set up the file, check the mesh, check overhangs, split the colors, cut it down, choose the pins, print. Everything below that is optional refinement.
WHAT IT DOES
Split with Pins
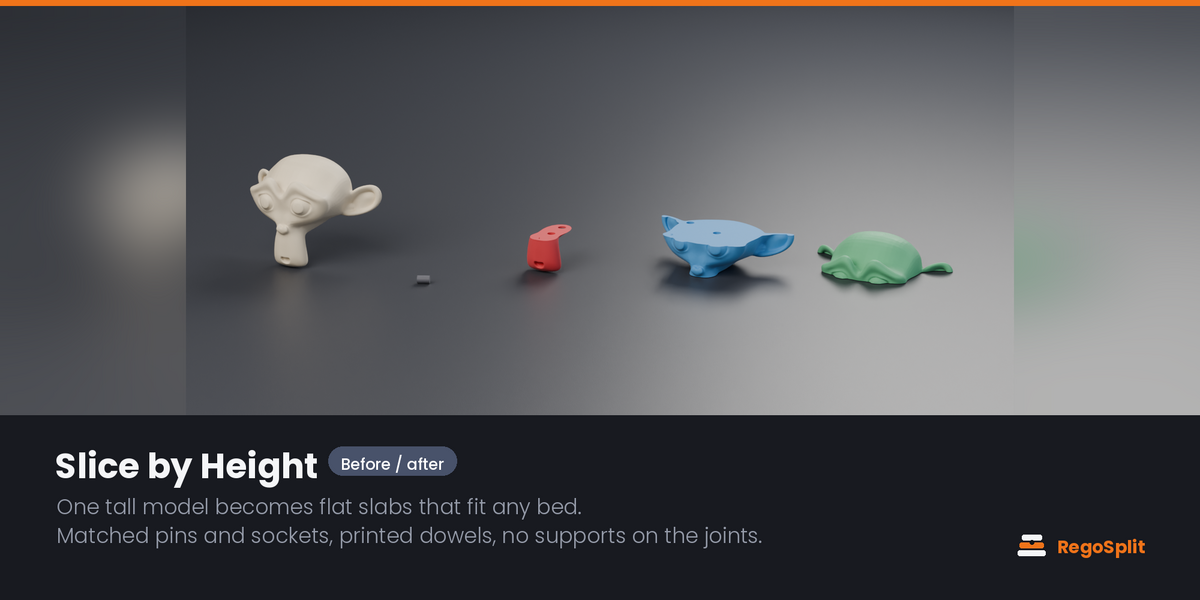
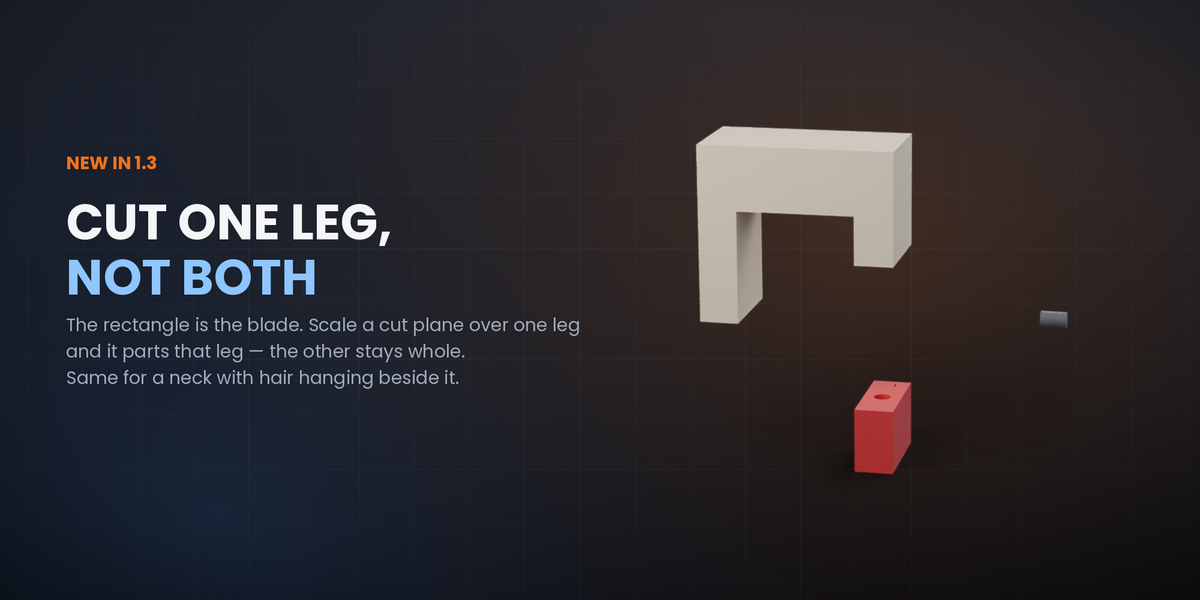
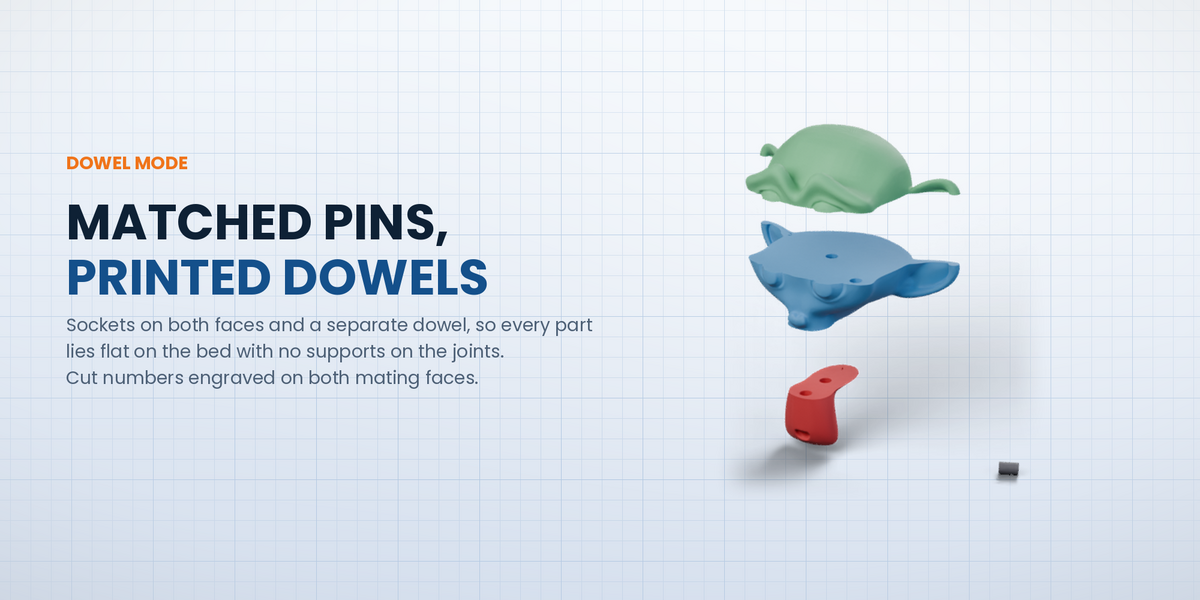
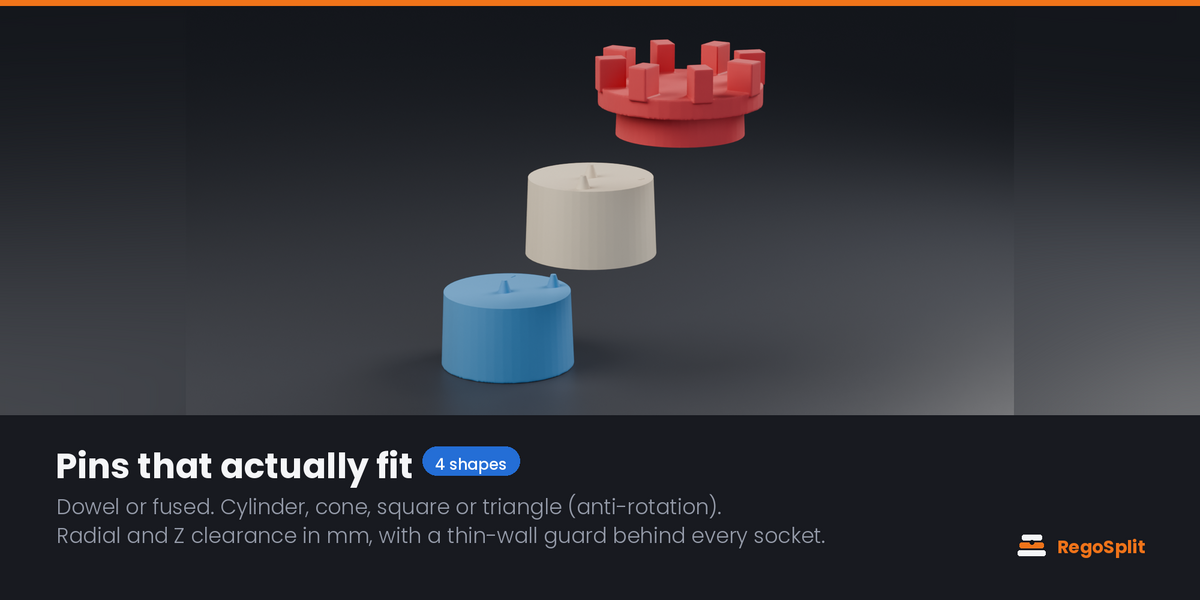
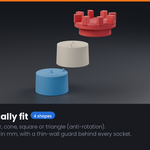
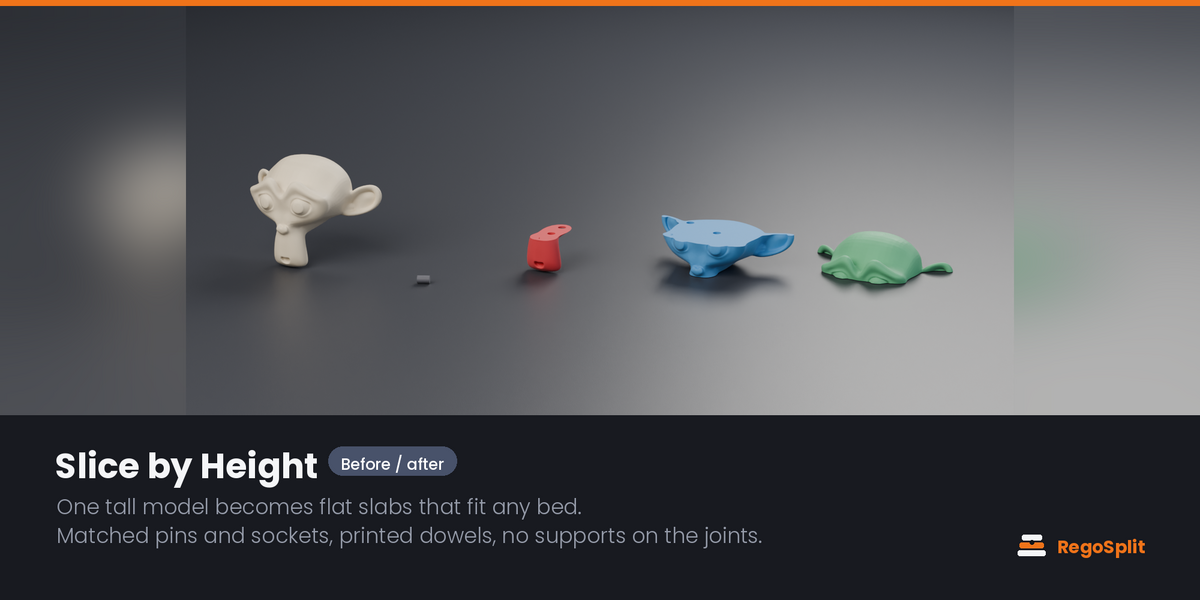
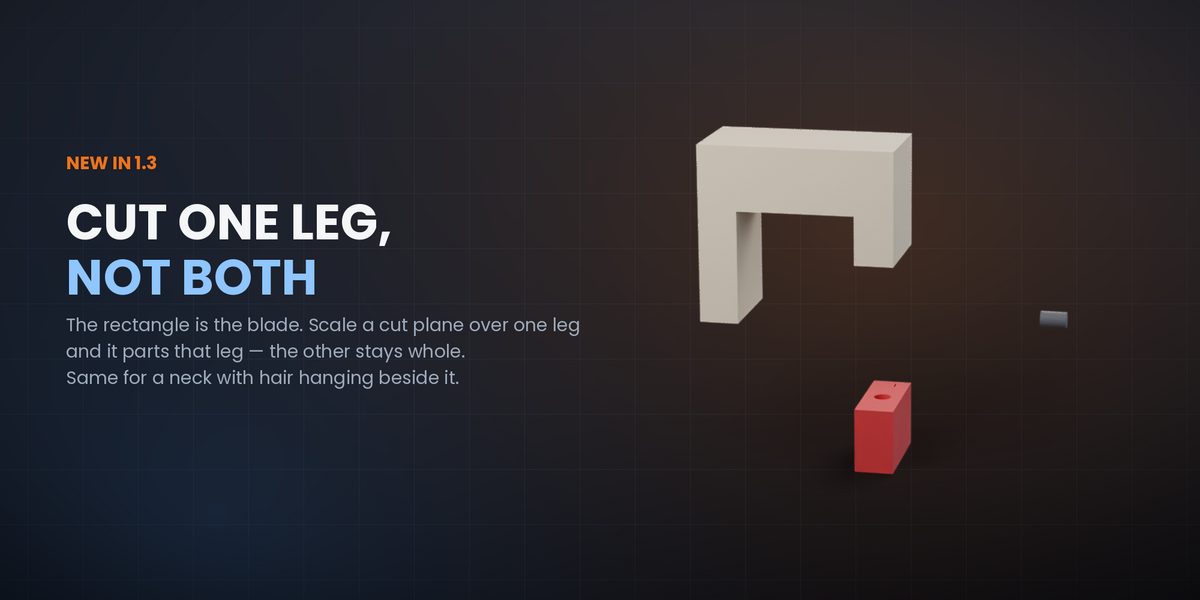
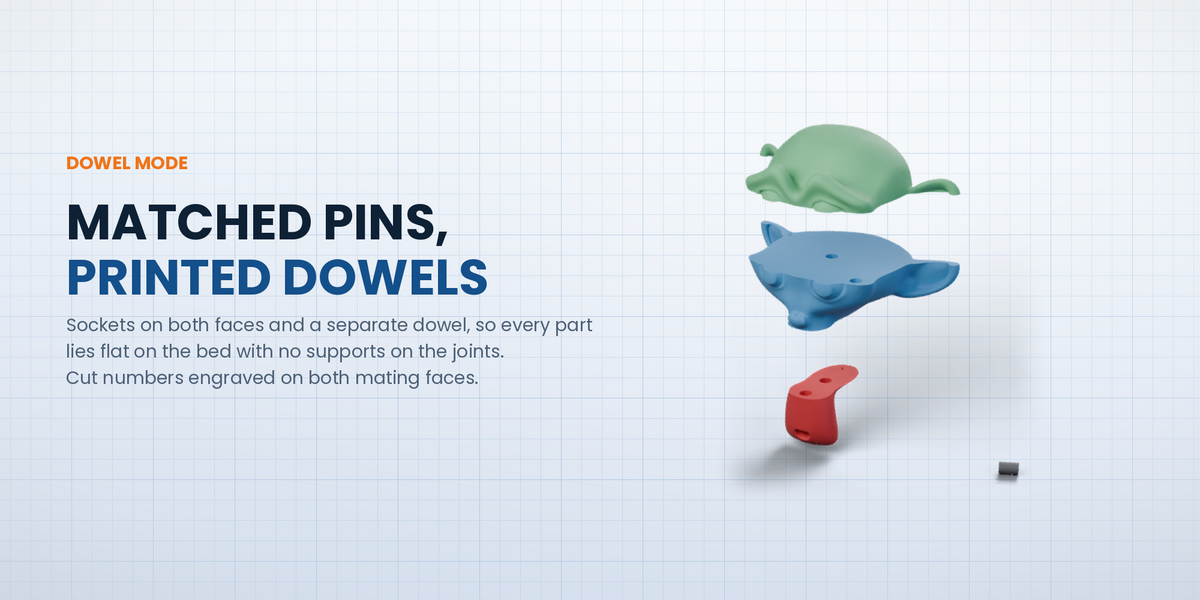
Free cut planes you move, rotate and scale like any object, or one-click Slice by Height. The rectangle is the blade — shrink a plane over one leg and it parts that leg while the other stays whole; cut a neck without touching the hair hanging beside it; open one arm of a pose and assemble the model in stages. A plane bigger than the model cuts straight through, as you would expect. If a rectangle enters a section without coming out the far side, Split stops and tells you the size to use, instead of tearing the mesh. Dowel mode drills sockets on both faces and gives you separate printed dowels, so every part lies flat on the bed with no supports on the joints. Fused mode is the classic pin-on-one-side style. Cylinder, cone, square and triangle pins — the last two stop parts twisting. Cut numbers are engraved on both mating faces, so assembly order is still obvious months later.
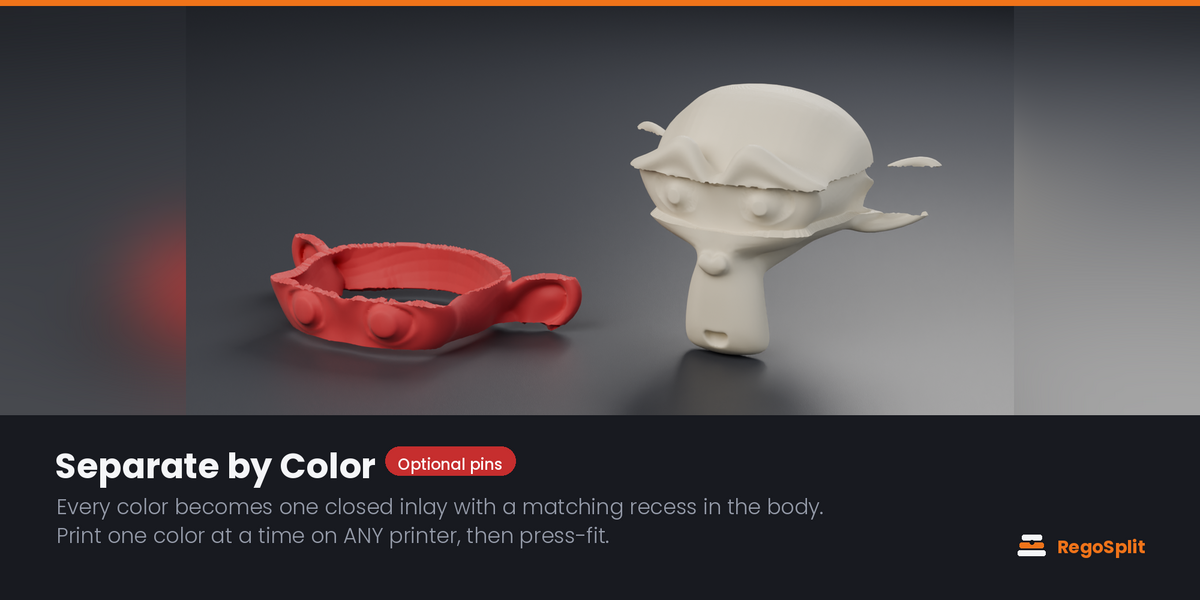
Separate by Color
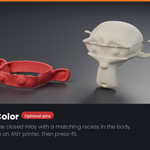
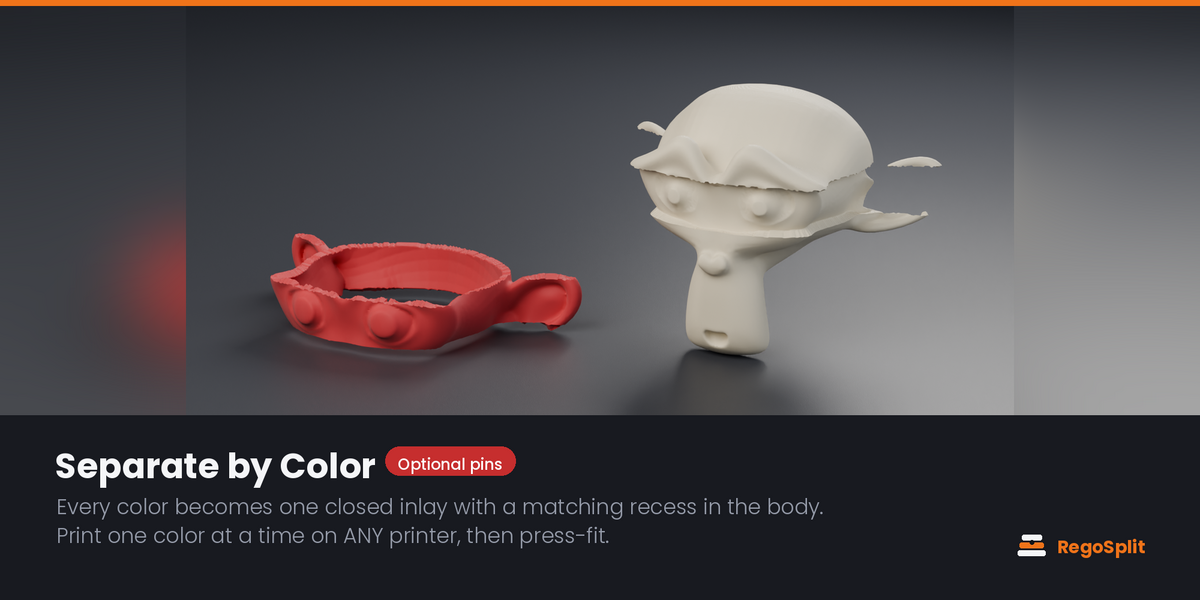
Every color becomes one closed solid inlay with a matching recess in the body. Print each color separately — even on a single-color printer — and press the pieces together. Optional locating pins make gluing easy. One part per color, not one per patch: a ragged color border still gives you the one big piece you were looking at.
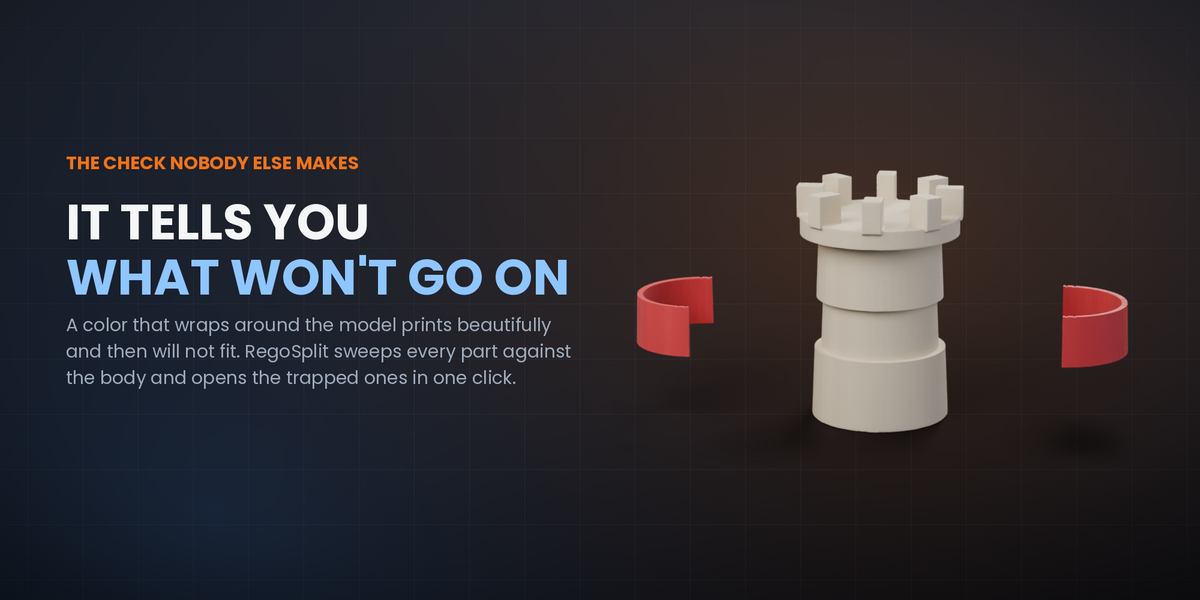
Assembly check — the one nobody else does
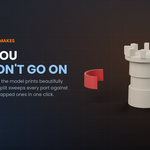
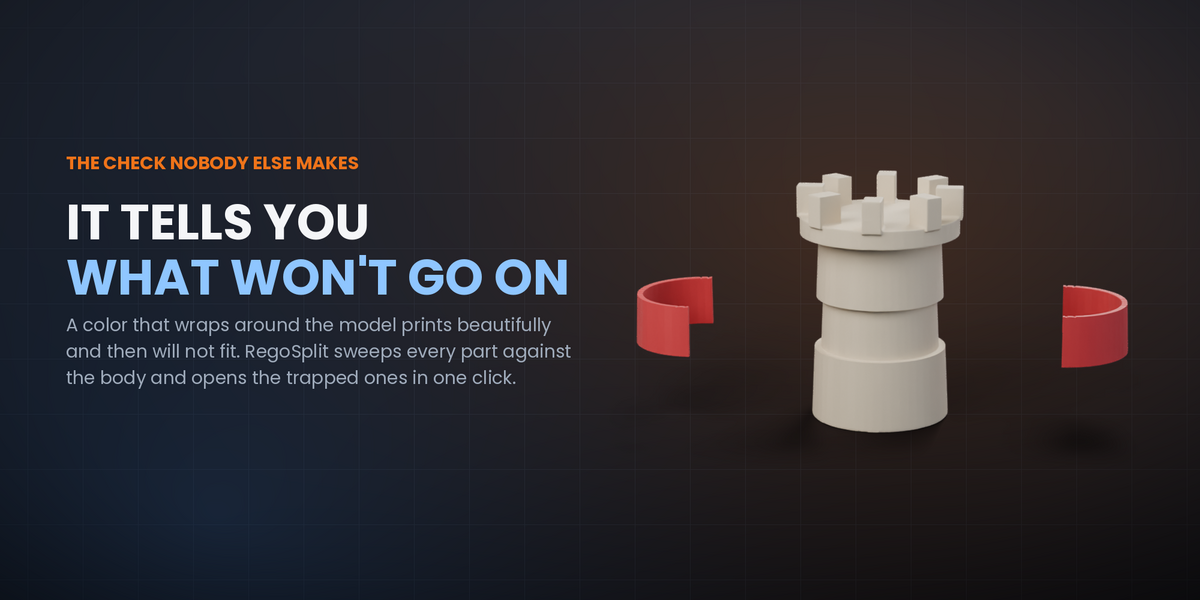
A color that wraps right around the model comes out as a closed collar: it prints beautifully and then will not go on, because its opening is narrower than the shape it has to pass over. RegoSplit tests every part against the body for a real straight-line assembly direction, tells you which ones are trapped, and opens them in one click into segments that close around the model.
Reduce Colors
Remap a full-color model to the palette you actually have (2–32). Perceptual (CIELAB), area-weighted, with a saturation boost so small vivid accents survive the reduction. It writes a _reduced copy; your original is untouched.
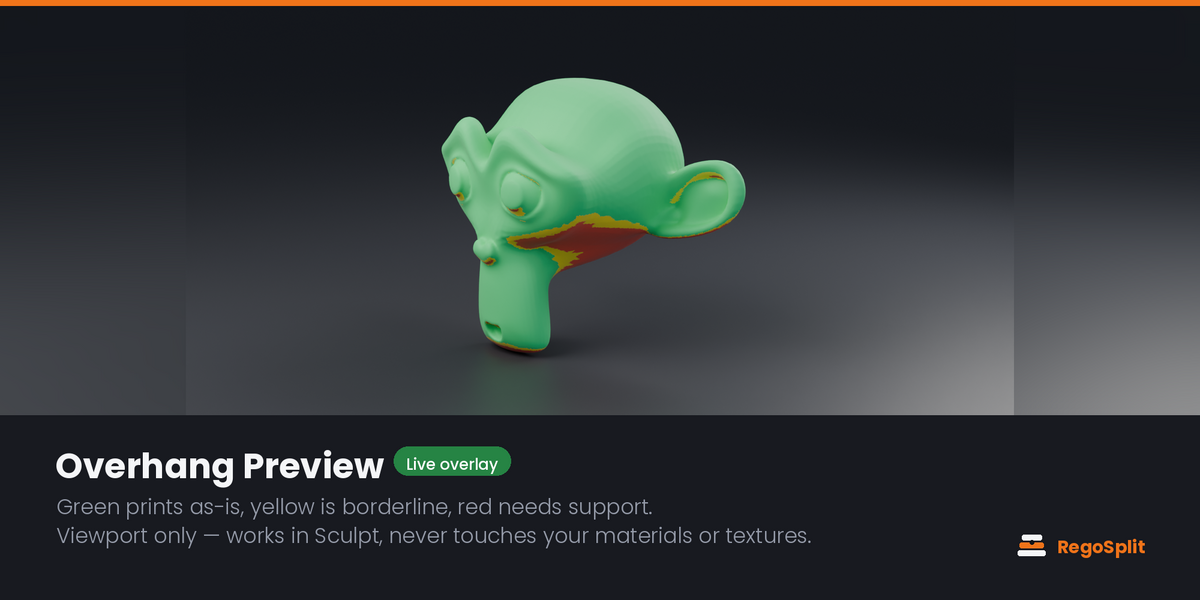
Overhang Preview
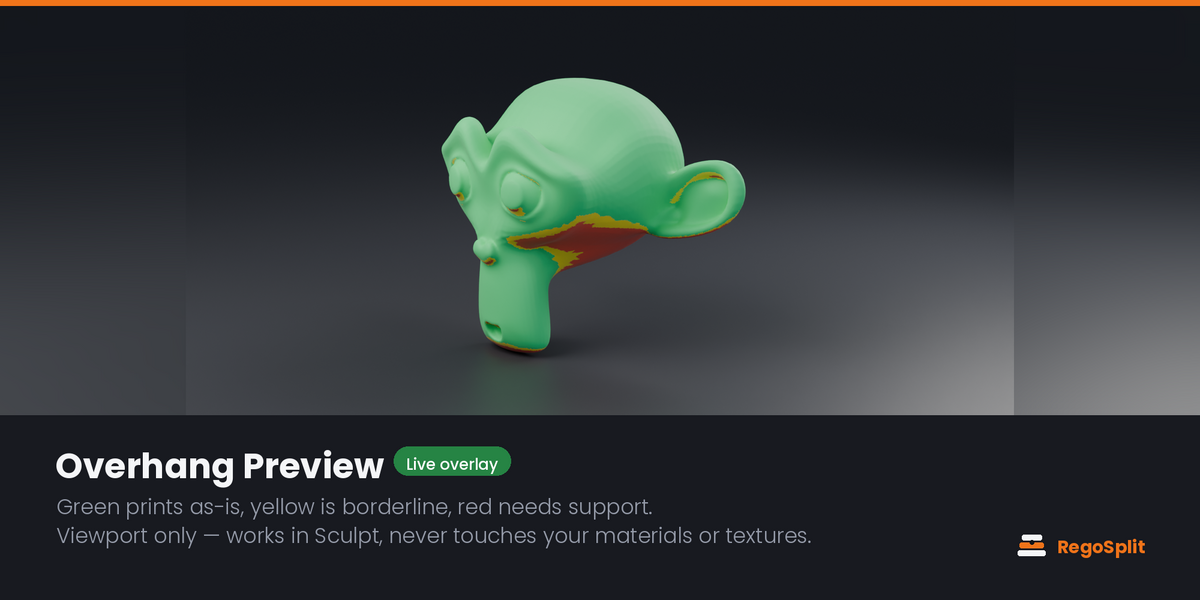
A viewport-only overlay, matcap-style, that works in Sculpt too: green prints as-is, yellow is near your critical angle, red needs support, magenta floats in mid-air. It never writes to materials, textures or mesh data — toggle it off and it is gone.
Mesh repair that explains itself
Check Mesh names every problem that can stop a boolean: non-manifold edges, holes, loose and zero-area geometry, self-intersections. Quick Fix welds and closes without touching the shape. Rebuild Solid re-voxelises a self-intersecting sculpt into one watertight surface in a single press, keeps your materials, and leaves a hidden backup — and it checks its own work, so if the grid was too coarse for a thin wall it says so instead of handing you a torn model.
Safety rails
Every operation that can take minutes tells you first what is wrong with the model, what the tool is about to attempt, how long Blender will look frozen, and whether your file is saved. Set Print Size catches the classic killer: a model still at meter scale, where every millimeter setting would be a thousand times too big.
Printer and layout
Build-volume presets or a custom bed. Check Bed Fit flags over-size parts. Arrange on Bed lays everything out in a grid at Z=0. Export All Parts writes one STL or OBJ per part, always in real millimeters, whatever your scene unit scale is.
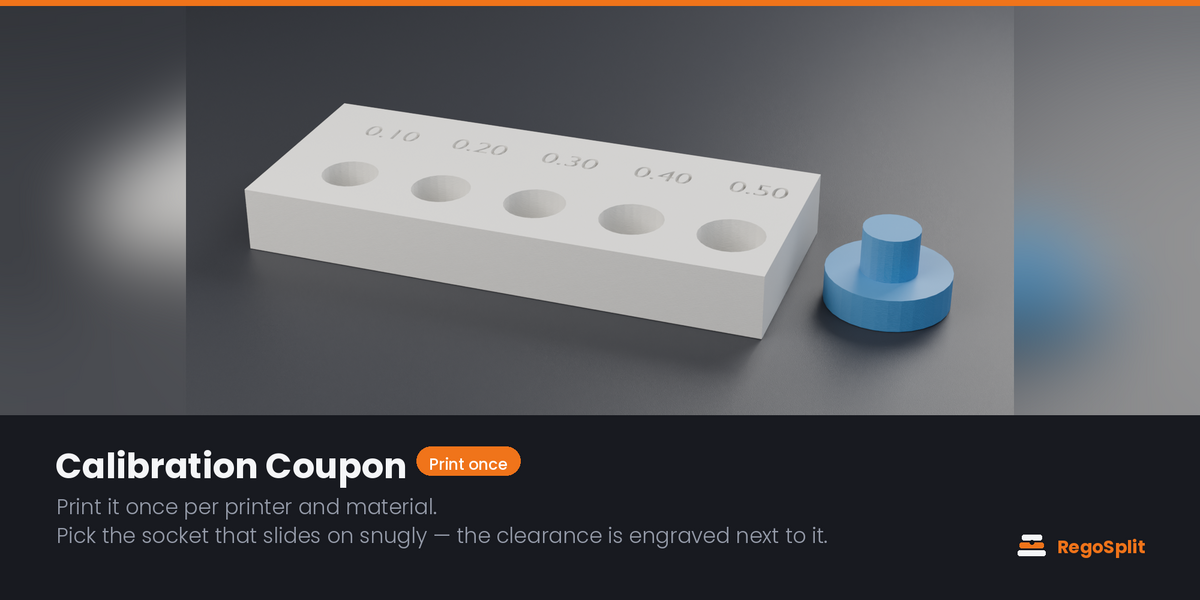
Calibration Coupon
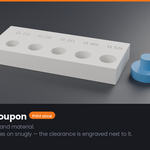
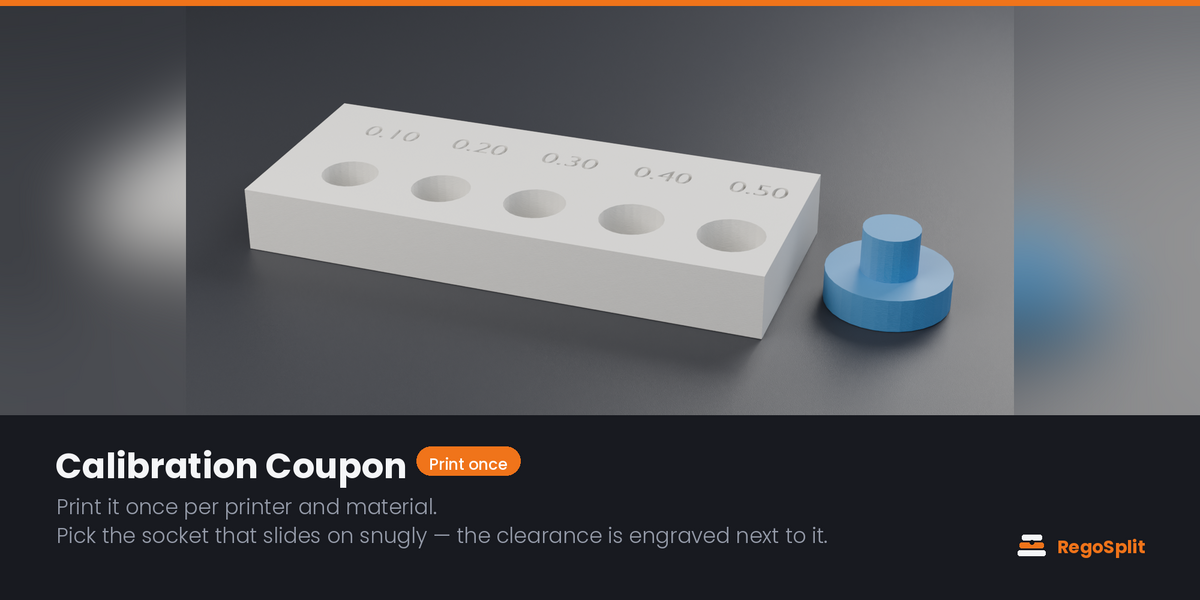
A test bar with sockets at increasing clearance, values engraved next to each one. Print it once per printer and material, pick the socket that slides on snugly, type that number in. About 0.20 mm on a well-tuned machine, 0.35–0.50 mm on most.
WHAT IT IS NOT
Honest limits, so nobody buys the wrong thing:
- Needs a closed manifold mesh. There is a repair path and a non-manifold override, but results are not guaranteed.
- Cuts are planar — freely positioned and rotated, but not curved.
- Color regions follow the material assigned to faces. Vertex colors and image textures are not read yet.
- Pin settings are global per split; there is no per-pin editing yet.
- Articulated and print-in-place joints are out of scope.
- Physical fit always depends on your printer and material. That is exactly what the Calibration Coupon is for.
REQUIREMENTS
- Blender 4.2 LTS or newer (extension format)
- Windows, macOS, Linux
- No internet connection required, ever
MADE BY A PERSON — AND VERIFIED BY MEASUREMENT
I am Alessia (TastyVoxels). I have been writing code since long before generative tools were mainstream, and everything that makes this add-on work is an engineering decision, not a prompt: the bounded cut plane that parts one leg and leaves the other whole, the socket clearance model, the sweep that asks whether a part can physically come off the body, the thin-wall guard behind every socket. I specify it, I break it, I fix it, I print it.
I did not build it alone, and I would rather say so plainly. I use AI assistance the way I use every other tool in my pipeline: it writes code with me, and it translates my documentation and this page into English, which is not my first language. Italian is where I think and where I write first. What I do not delegate is judgement — I read and understand every line that ships, and I am responsible for how it behaves.
Every behavior is checked against numbers, not vibes. The suite ships inside the add-on so you can run it yourself:
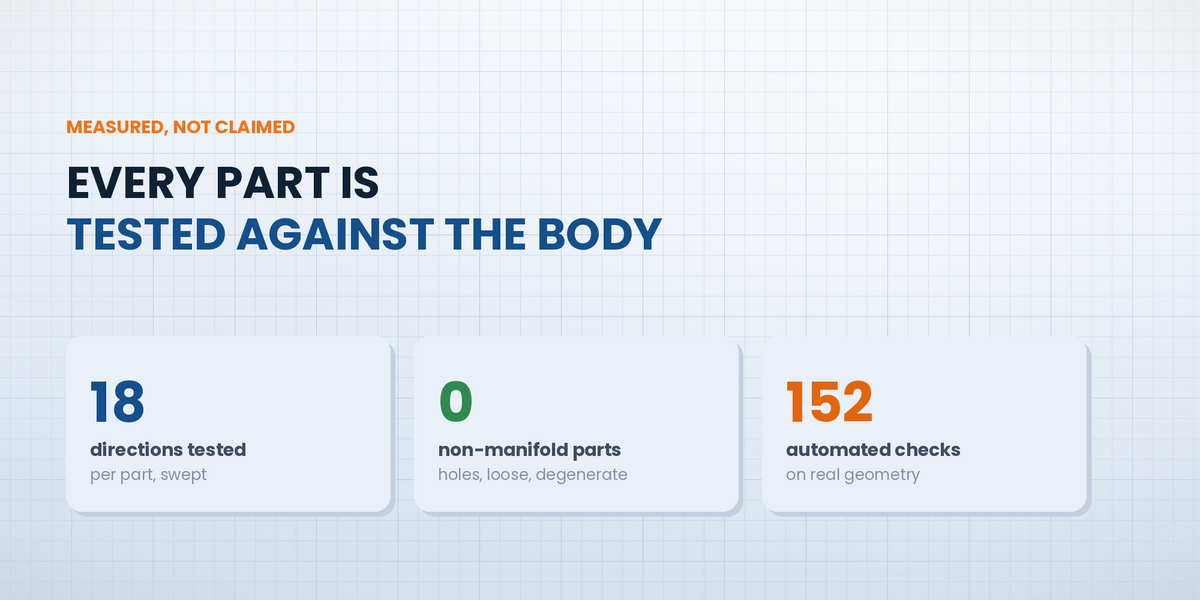
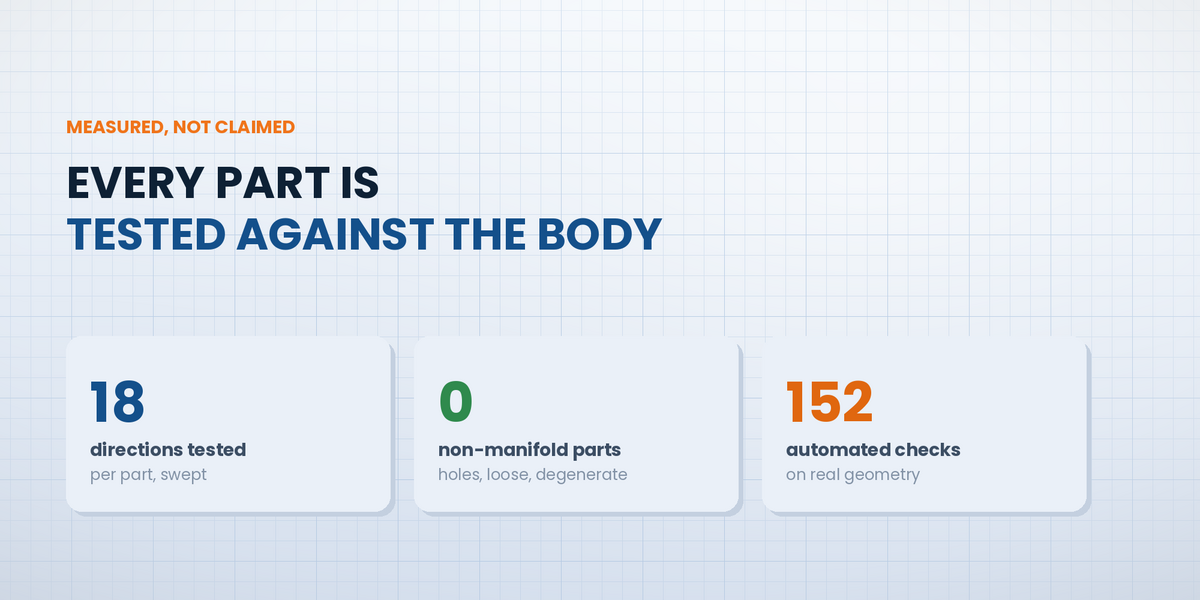
- 157 automated checks on real geometry, all passing on 1.3.1
- 18 removal directions swept per part to decide whether it can actually come off the body
- 0 non-manifold, loose or degenerate faces across every generated part
- Color separation conserves 97–100% of the original volume
NO AI INSIDE THE PRODUCT
RegoSplit ships no AI. No model, no inference, no telemetry, no network access, no data collection. It is deterministic geometry code that runs entirely offline on your machine, and it will keep working with no service behind it.
The imagery on this page is rendered in Blender (Cycles) from the add-on’s real output, with layout and typography done in HTML and CSS.
VERSION 1.3.1 — FIRST PUBLIC RELEASE, AND A BETA
This is the first version of RegoSplit ever published, and I am calling it what it is: a beta. Everything described on this page is implemented and passes the automated suite, and I have used it on my own models — but no add-on meets the variety of real files and real printers until it is in other people’s hands. Panel wording, defaults and some controls may still change before the workflow settles.
What I have verified myself, so you know where the line is: it runs headless against Blender 4.2.23 LTS, and that is the version the suite is run on. Newer Blender releases are expected to work but I have not tested them yet. I have not print-tested every printer and slicer brand either — the Calibration Coupon exists precisely so you do not have to take my word for the fit.
It arrives as a beta asking for feedback, rather than as a finished product asking for your trust. In exchange I am asking for something concrete: tell me what broke, what confused you, and what you expected to find and did not.
Message me here on Superhive chat — before or after buying. Every report changes what I build next, and every future version is included at no extra cost.
LEARNING IT
The add-on teaches itself. The panel opens on a numbered list — set up the file, check the mesh, check overhangs, split the colors, cut it down, choose the pins, print — and each step ticks itself off as you complete it. Under it sits a fold-out “What each step does” guide, written in plain language, so you never have to leave Blender to remember what a button is for.
Video tutorials are being made right now and will all be ready by the end of September 2026. Until then RegoSplit is early access: they go up a few at a time, and each one is linked here on this page as it lands. Four are planned — the panel top to bottom, cutting one leg and not the other, the Calibration Coupon, and multicolor on a single-color printer.
Everything in them is also written on this page: no step of this add-on is hidden behind a video.
QUICK START — THE WHOLE PANEL, IN WRITING
You do not have to work the panel out on your own. This is the entire workflow in text, in the order the panel presents it. Nothing here waits for a video.
- Set up the file. Sets print scale so 1 Blender unit = 1 mm and fixes viewport clipping, so small parts stay visible.
- Check the mesh can be cut. Counts non-manifold edges, loose parts and degenerate faces. If it finds any, Fix Mesh repairs what it can; a backup of the original is kept.
- Check overhangs while you model. Overhang Preview colors the surface by slope — view-only, nothing is baked into the mesh. Fix the red and magenta areas and the print needs almost no supports.
- Multicolor? Split the colors. Reduce to the palette you actually own, then Separate turns each color region into an inlay that press-fits into a recess in the body. Single-color model: skip to the next step.
- Cut it down to bed size. Slice by Height for even slabs, or drop cut planes and move them where you want the seam.
- Split with matching pins. Dowel gives a socket on both sides plus a printed pin; Fused leaves the pin attached to one part.
- Check, arrange, export. Checks every part against your bed, arranges them, and exports one STL or OBJ per part, always in millimeters.
Fit too loose or too tight? Print the Calibration Coupon once per printer and material, measure which pin holds, and type that clearance into the panel. It is the only calibration the add-on needs.
The same seven steps are also folded into the add-on itself, under “What each step does”. The video tutorials land here by the end of September 2026 — until then this page is the guide.
INSTALL
Edit → Preferences → Get Extensions → the small arrow at the top right → Install from Disk → pick the zip. The panel appears in the 3D Viewport sidebar (press N) under RegoSplit.
UPDATES AND SUPPORT
Questions, bug reports and feature requests are welcome — message me here on Superhive. Updates and support are included for good: no support period, no renewal fee. You buy it once and every future version is yours.