Regosplit - 3D Print Part Optimizer
 TastyVoxels
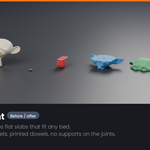
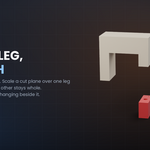
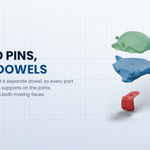
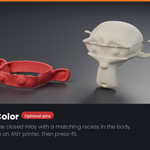
Install
Edit → Preferences → Get Extensions → the small arrow at the top right → Install from Disk → select regosplit-x.y.z.zip. The panel appears in the 3D Viewport sidebar (press N) under RegoSplit.
Quick start — the numbered list at the top of the panel
- Set up the file. Press Project Setup for 3D Printing: 1 Blender unit becomes 1 mm, the display switches to millimeters and the viewport clipping is fixed so small parts stay visible. If the panel says your model is over a meter across, type the real height in Print size (mm) and press Set Print Size — every setting below depends on this being right.
- Check the mesh. Press Check Mesh. It names what it finds. Quick Fix welds, closes holes and removes junk without touching the shape; Rebuild Solid rebuilds a self-intersecting sculpt into one watertight surface, keeping your materials and leaving a hidden _backup copy.
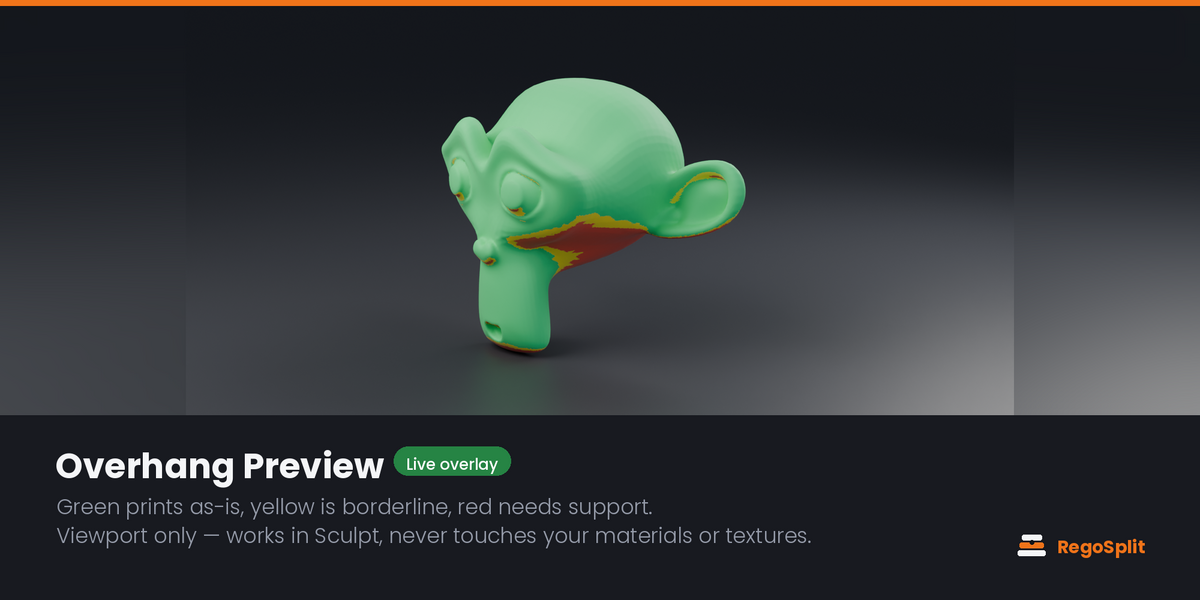
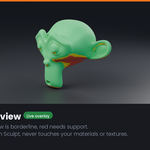
- Check overhangs. Turn on Overhang Preview and keep sculpting. Green is fine, yellow is borderline, red needs support, magenta floats in mid-air. Nothing is written to your materials.
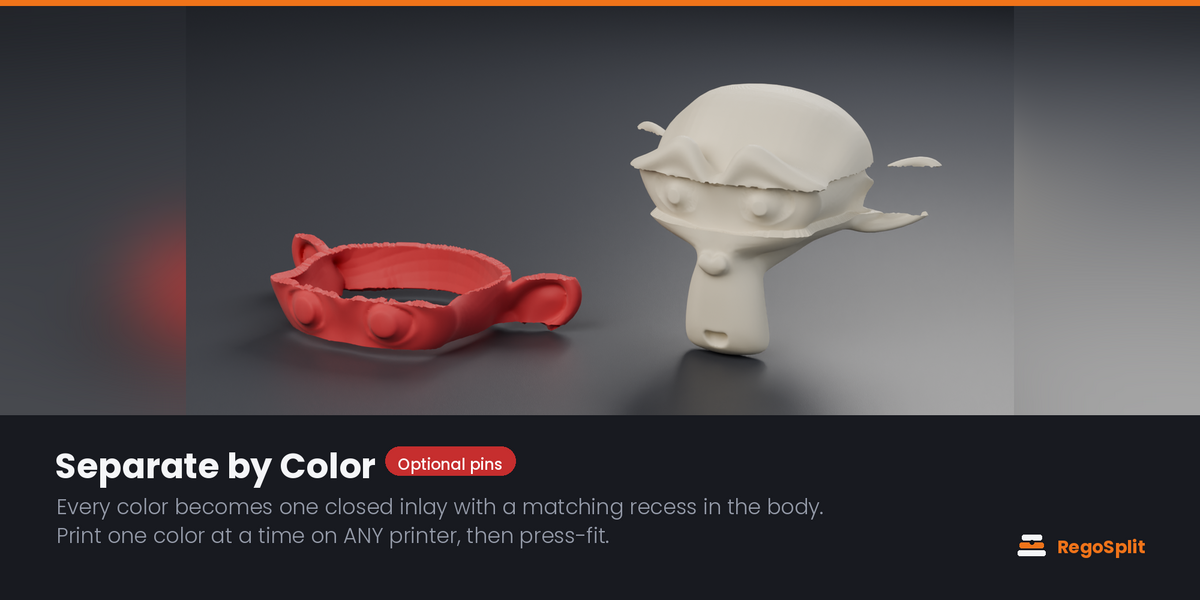
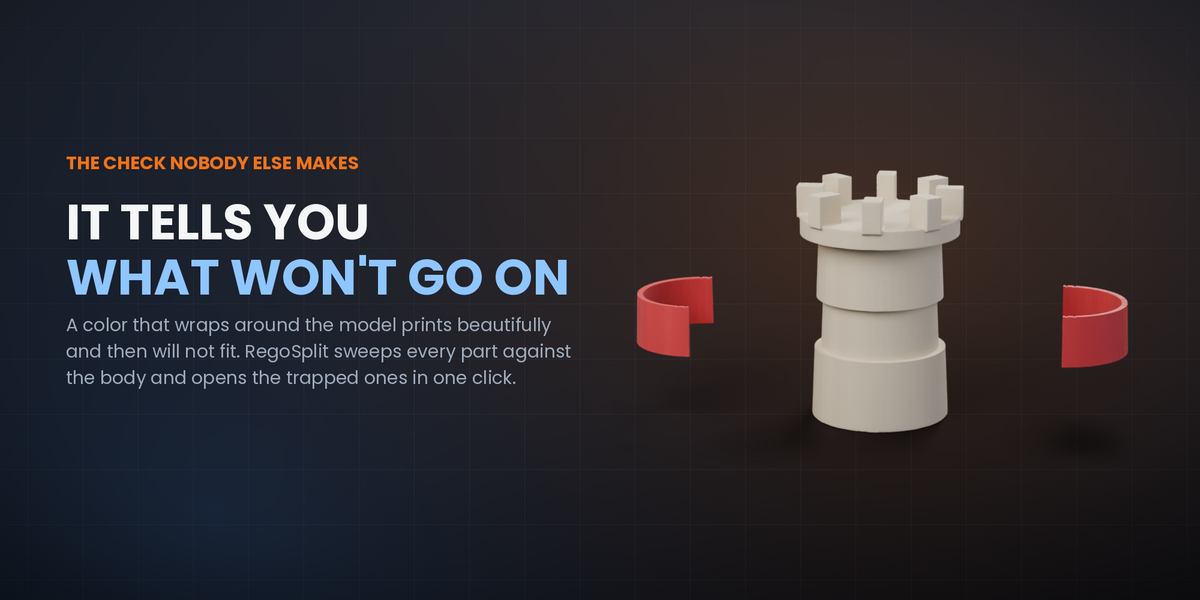
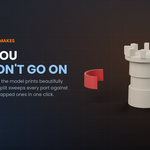
- Split the colors. Too many colors? Reduce Colors first. Then Separate: each color becomes a solid inlay with a matching recess. If a part wraps right around the model the panel turns red — press Split Ring in Two and it opens into segments that close around it.
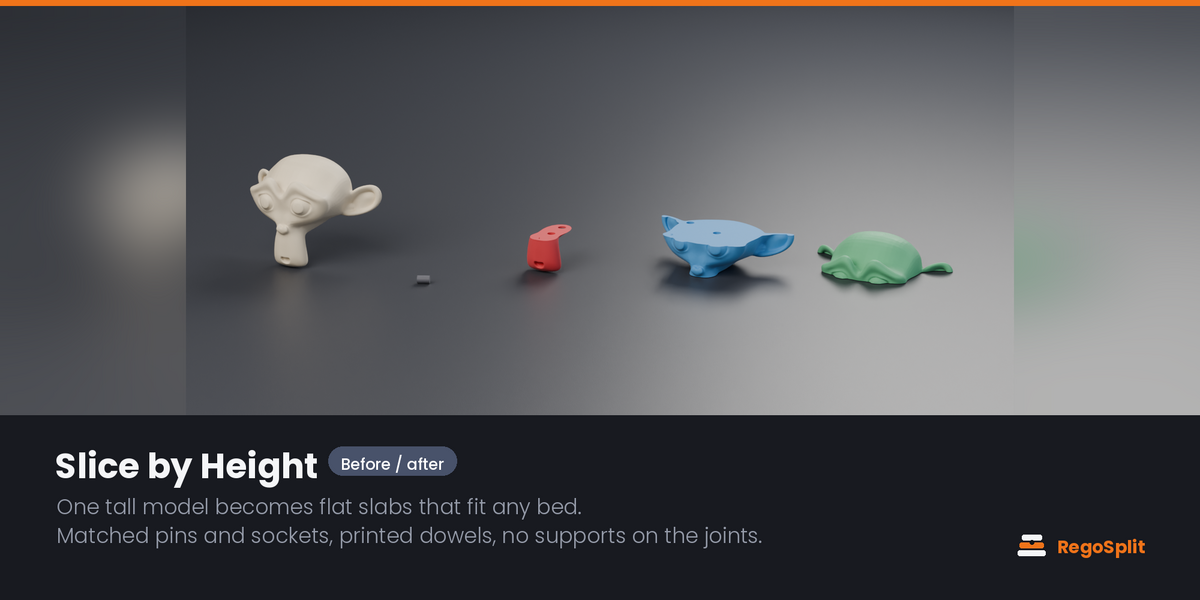
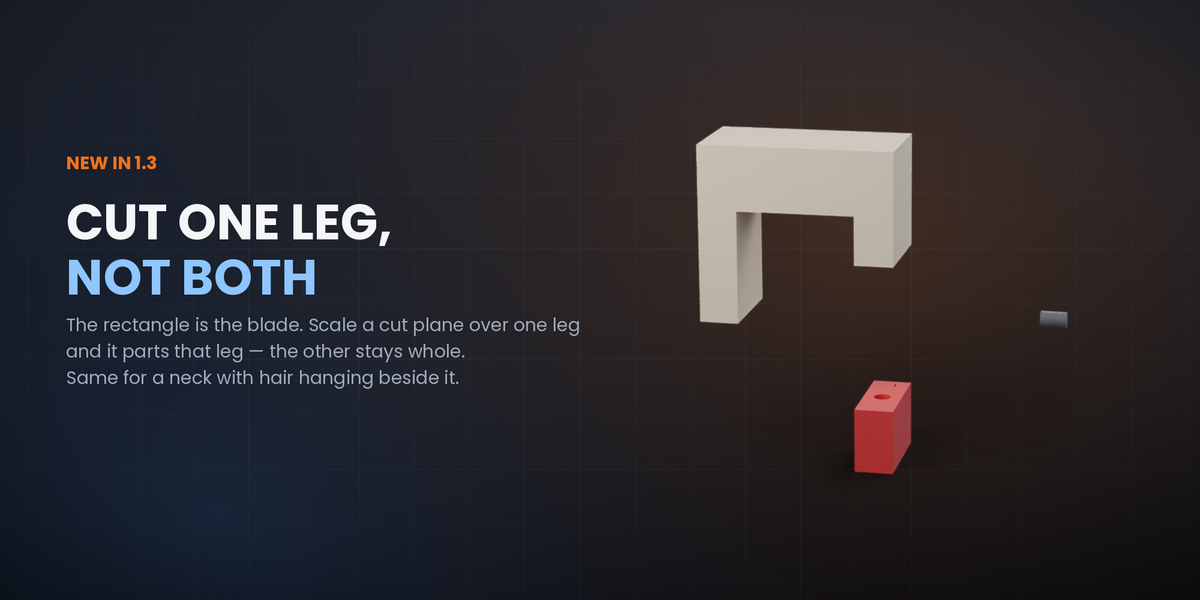
- Cut it down. Slice by Height for even slabs, or add cut planes and place them by hand.
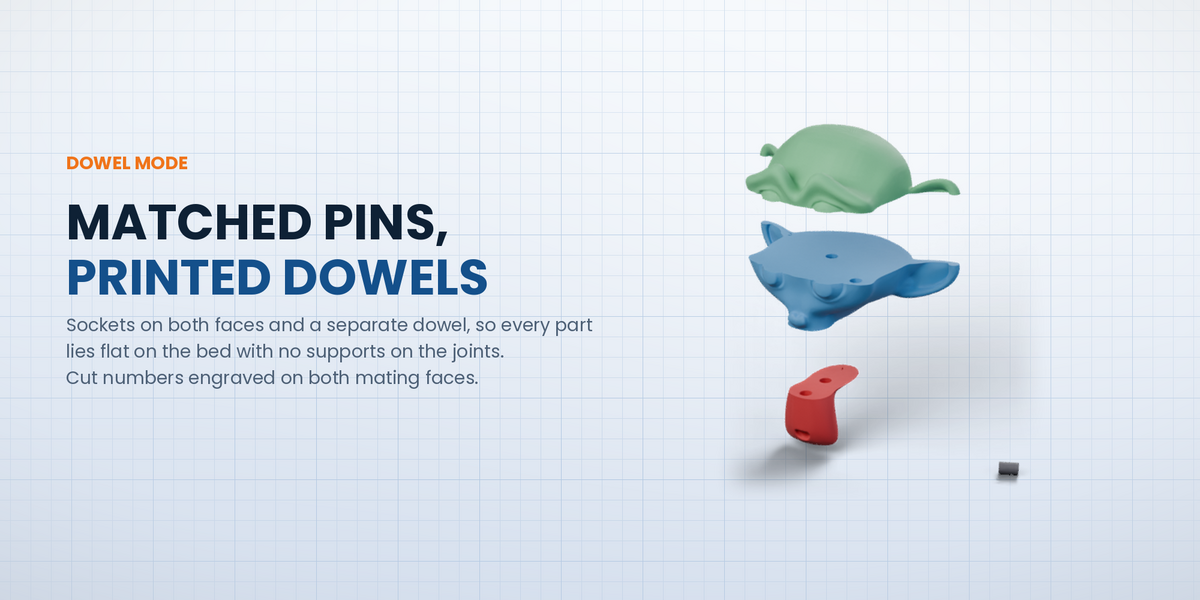
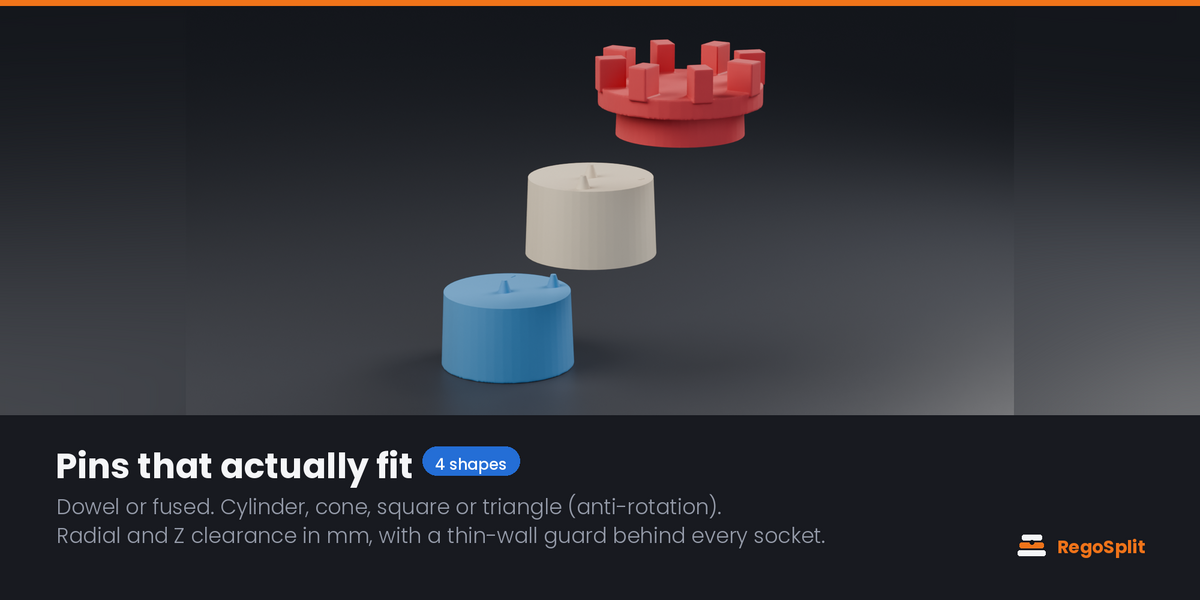
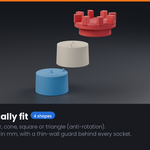
- Choose the pins. Dowel or fused; cylinder, cone, square or triangle. Then press Split with Pins. Changed your mind? Adjust and press it again, or Back to Draft to start over.
- Print. Check Bed Fit → Arrange on Bed → Export All Parts. In Dowel mode, print the dowel as many times as its object name says (..._dowel_print_x4).
Getting the fit right, once
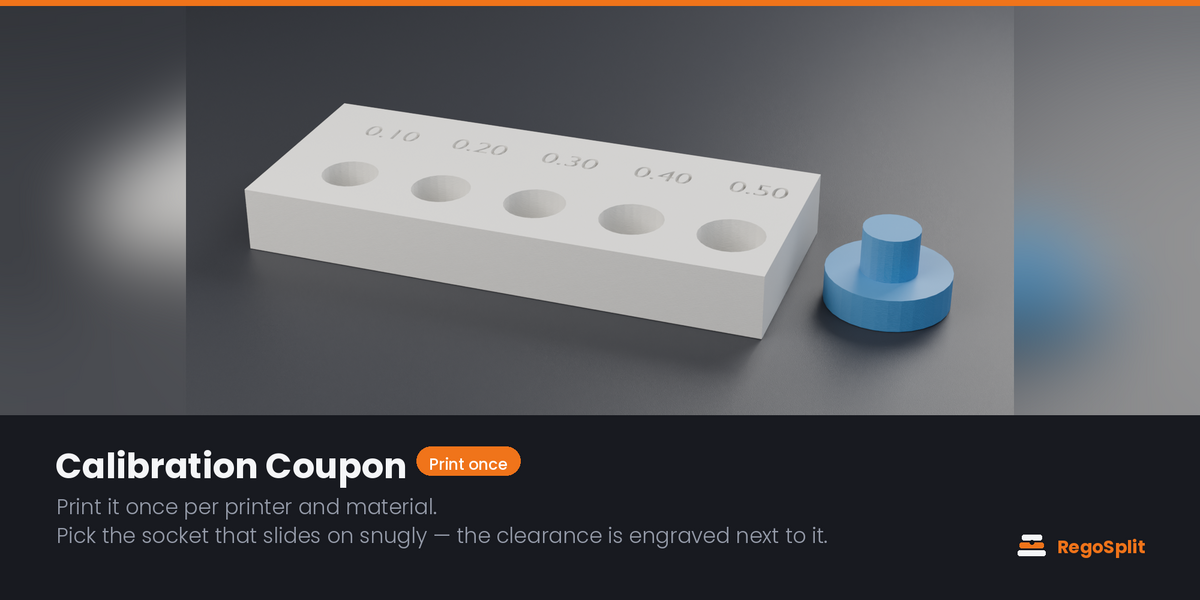
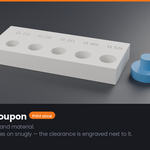
Press Calibration Coupon, print the bar and the pin, and find the socket the pin slides into snugly — the clearance is engraved beside each hole. Type that number into Clearance and you never think about it again for that printer and material. Roughly 0.20 mm on a well-tuned machine, 0.35–0.50 mm on most.
If something looks wrong
- No pins appeared. The model is probably far larger or smaller than a real print. Check step 1.
- Separate by Color made nothing. The message says why. On a very dense mesh, rebuild with a bigger voxel (0.5–0.8 mm) and try again.
- Blender looks frozen. The confirmation dialog warned you it would. Let it finish — it is working, not crashed.
- The rebuild damaged a thin part. The panel says so and by how much. Ctrl+Z, set a smaller Voxel (mm), rebuild again.
QUICK START — THE WHOLE PANEL, IN WRITING
You do not have to work the panel out on your own. This is the entire workflow in text, in the order the panel presents it. Nothing here waits for a video.
- Set up the file. Sets print scale so 1 Blender unit = 1 mm and fixes viewport clipping, so small parts stay visible.
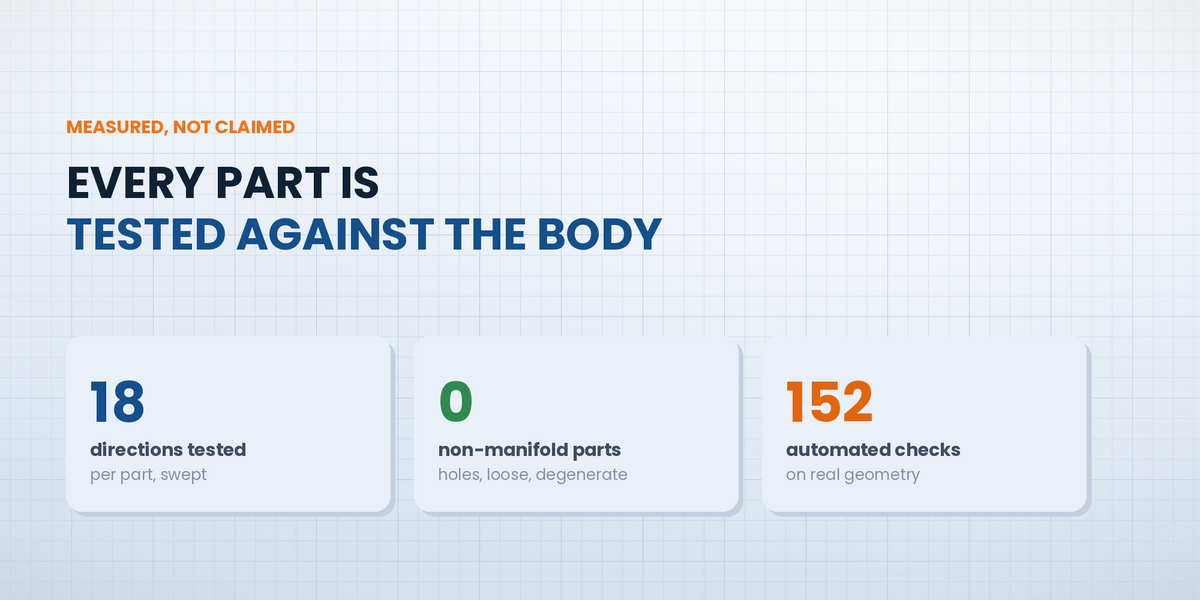
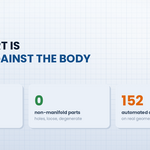
- Check the mesh can be cut. Counts non-manifold edges, loose parts and degenerate faces. If it finds any, Fix Mesh repairs what it can; a backup of the original is kept.
- Check overhangs while you model. Overhang Preview colors the surface by slope — view-only, nothing is baked into the mesh. Fix the red and magenta areas and the print needs almost no supports.
- Multicolor? Split the colors. Reduce to the palette you actually own, then Separate turns each color region into an inlay that press-fits into a recess in the body. Single-color model: skip to the next step.
- Cut it down to bed size. Slice by Height for even slabs, or drop cut planes and move them where you want the seam.
- Split with matching pins. Dowel gives a socket on both sides plus a printed pin; Fused leaves the pin attached to one part.
- Check, arrange, export. Checks every part against your bed, arranges them, and exports one STL or OBJ per part, always in millimeters.
Fit too loose or too tight? Print the Calibration Coupon once per printer and material, measure which pin holds, and type that clearance into the panel. It is the only calibration the add-on needs.
Video tutorials are being made right now and will all be ready by the end of September 2026. Until then RegoSplit is early access: they go up a few at a time, and each one is linked on the product page as it lands. Nothing here waits for them.
Have questions about this product?
Login to message
| Blender Extension Compatible | Yes |
| Dev Fund Contributor | |
| Published | 9 days ago |
| Blender Version | 4.2 |
| Extension Type | Add-on |
| License | GPL |
Discover more products like this
supports 3d printing mesh repair color separation split cut miniatures multicolor calibration Print Preparation overhang pins