Simple Pie Menu — Custom Menus & Floating Buttons
 Virtual Rain Development
1. Before You Begin
Confirm that you are using Windows and Blender 4.2 through 5.2. Blender 4.2 LTS, 4.5 LTS, and 5.2 LTS received full feature checks. macOS, Linux, and Blender versions newer than 5.2 have not been tested.
Download both product files. Only simple_pie_menu-1.0.0.zip is installed in Blender. Extract SimplePieMenu-Documentation-1.0.0.zip with your normal ZIP utility to access the manuals and sample configuration.
2. Install the Extension
- Open Blender.
- Select Edit > Preferences > Get Extensions.
- Open the menu in the upper-right corner.
- Select Install from Disk.
- Select
simple_pie_menu-1.0.0.zipwithout extracting it. - Confirm the installation.
- If necessary, open Preferences > Add-ons, search for Simple Pie Menu, and enable it.
Do not select SimplePieMenu-Documentation-1.0.0.zip in Install from Disk. That archive contains documents and a sample JSON file, not a Blender Extension.
The installation is complete when the expanded Simple Pie Menu entry displays the Menus, Selected Menu, Floating Buttons, and Settings File sections.
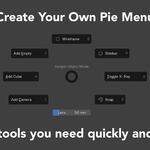
3. Create Your First Menu
- Open Edit > Preferences > Add-ons.
- Search for and expand Simple Pie Menu.
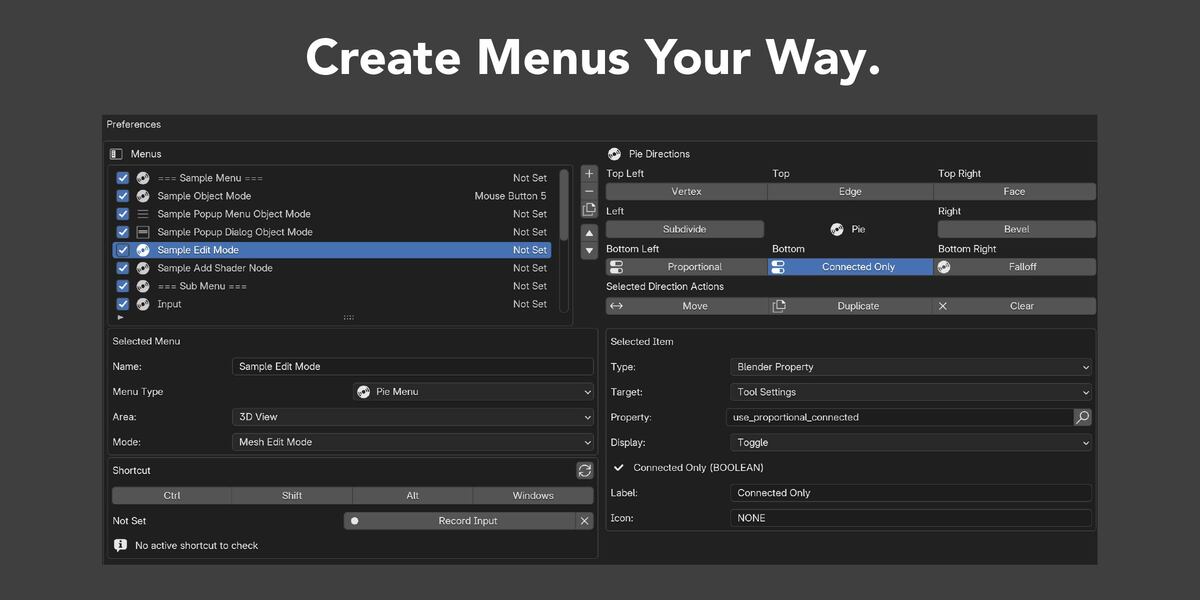
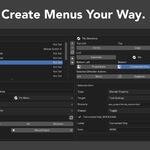
- In the Menus list, add a Menu.
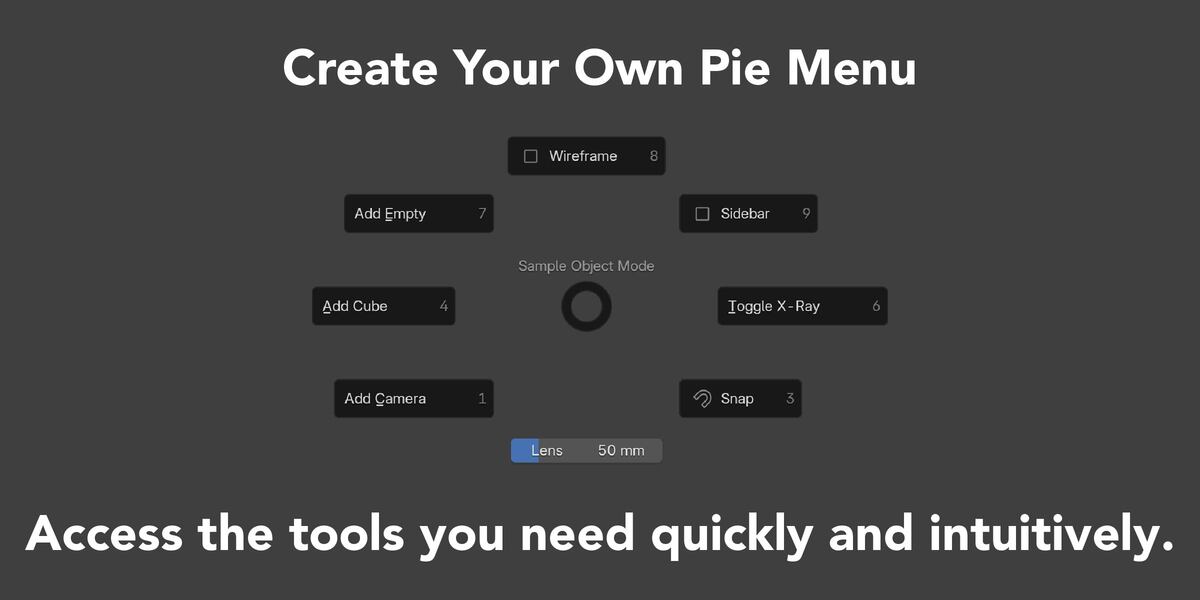
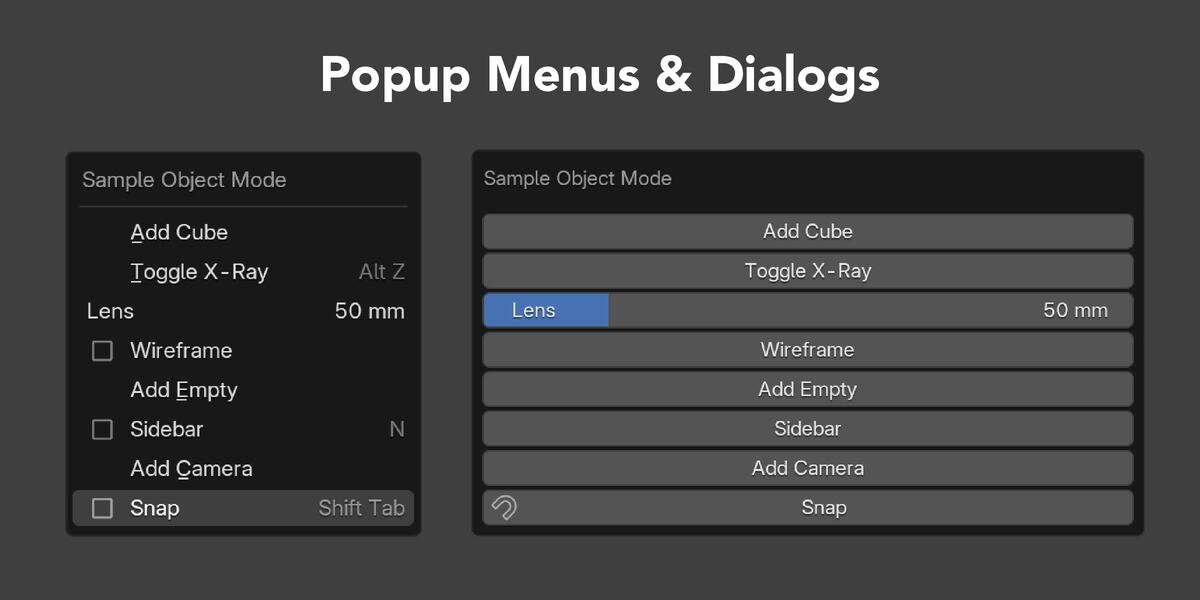
- Enter a name and select a Menu Type:
- Pie Menu
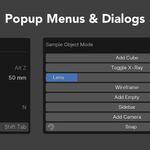
- Popup Menu
- Popup Dialog
- Select the Area in which the Menu will be used.
- When applicable, select a 3D View Mode or Node Tree.
- For a Pie Menu, select one of the eight directions. For a Popup Menu or Popup Dialog, add an entry to the Menu Items list.
- Select an Item Type and configure its action.
Available Item Types include Operator, Menu, Blender Property, Blender Enum Value, Empty Slot, and Label. Supported Node, Toolbar Tool, and Brush Asset actions can also be added from their Blender context menus.
4. Assign a Shortcut
- Select the Menu in Preferences.
- Enable the required modifier keys, if any.
- Click Record Input.
- Press a supported keyboard key or mouse button.
- Move the pointer over the configured Area and use the shortcut.
Shortcut changes are normally applied automatically. Use the refresh button beside the Shortcut heading to manually reapply a shortcut or recheck a registration error.
If a direct conflict is detected, review the conflicting Blender or Simple Pie Menu shortcut before deciding which assignment to keep. Conflict detection cannot evaluate every Modal Keymap, active Tool state, or dynamic context condition.
5. Restrict a Menu by Context
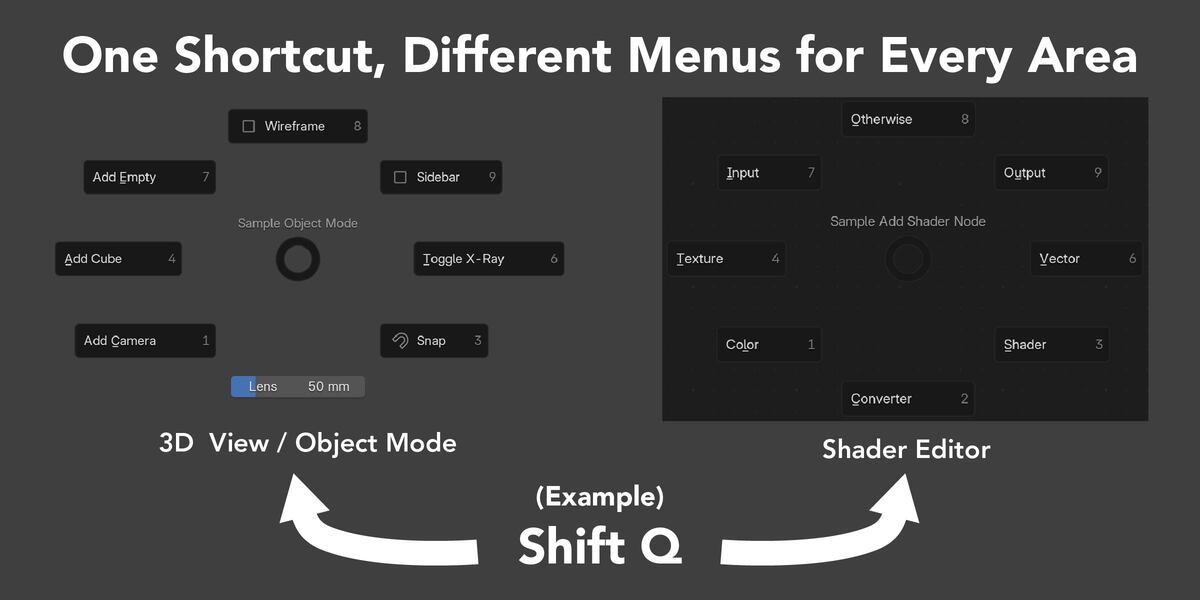
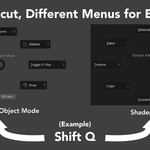
Each Menu can be assigned to a supported Area. A 3D View Menu can additionally use Any Mode or a supported Mode. A Node Editor Menu can use Any Node Tree, Shader, Geometry, or Compositor.
This allows the same shortcut to open different Menus depending on the editor, 3D View Mode, or Node Tree under the pointer.
Supported Areas are:
- 3D View
- UV Editor
- Image Editor
- Node Editor
- Sequencer
- Graph Editor
- Dope Sheet
- NLA Editor
- Outliner
- Text Editor
Supported 3D View Modes are Object, Mesh Edit, Curve Edit, Armature Edit, Pose, Sculpt, Vertex Paint, Weight Paint, and Texture Paint.
6. Add an Item from Blender
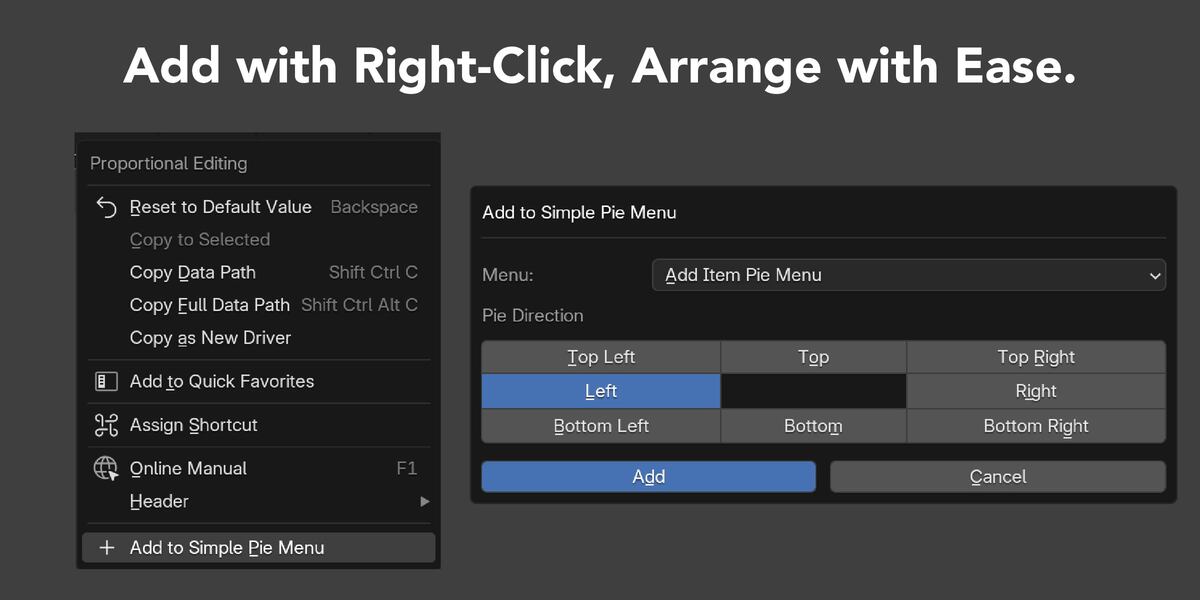
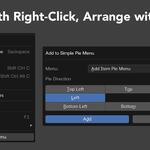
Supported Blender buttons can be added directly from their context menus.
- Right-click a supported Operator button or editable property.
- Select Add to Simple Pie Menu.
- Select the destination Menu.
- For a Pie Menu, select the destination direction.
- Select Add.
Supported Node entries, Toolbar Tools, and Brush Assets can be added in the same way from compatible contexts. Add to Simple Pie Menu is not shown when the selected button or context cannot be saved safely.
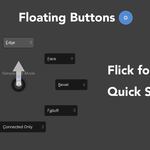
7. Use Floating Buttons
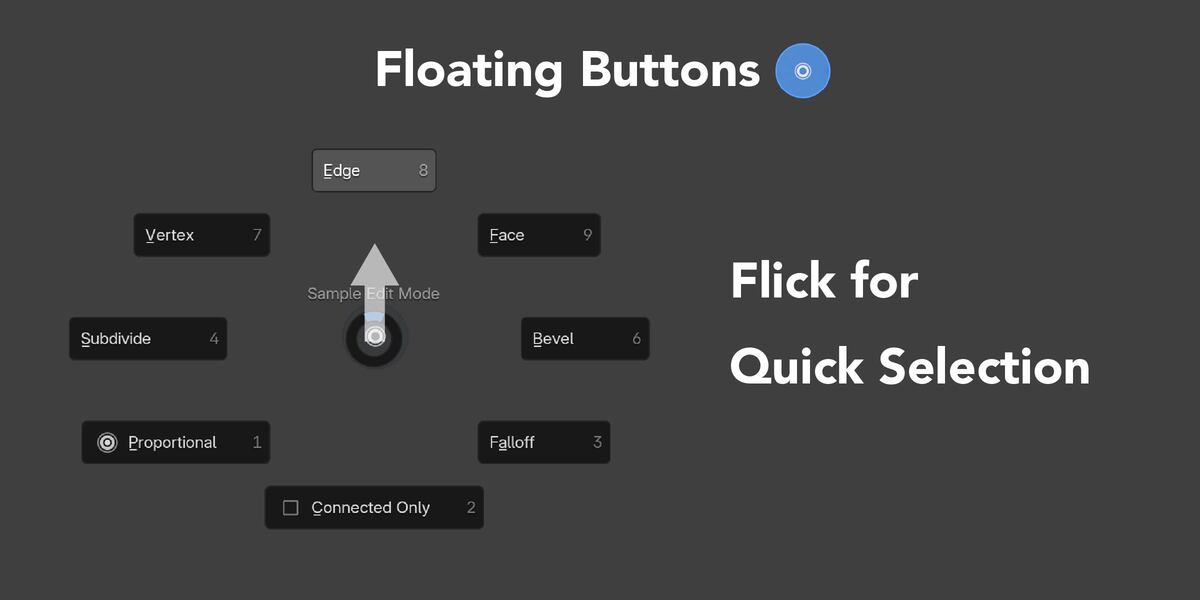
- Add a Floating Button in the Floating Buttons list.
- Choose whether it opens a Menu or runs an Operator.
- Select its Area, icon, anchor, position, and size.
- Open the Simple Pie Menu section in the 3D View Sidebar and enable Floating Buttons.
Click a Floating Button to run its action. When a button opens a Pie Menu, you can flick toward a direction to select an item. Long-press and drag to move the button within the 3D View where the drag started.
Floating Buttons appear only in the WINDOW Region of the 3D View and are hidden when Show Gizmos is disabled.
8. Import the Sample Configuration
The Documentation ZIP includes examples/quick_start.json. It contains 16 sample Menus and one Floating Button. All sample shortcuts are initially unassigned so that importing the sample does not overwrite or automatically conflict with existing Blender shortcuts.
To keep your current configuration:
- Open Simple Pie Menu in Preferences > Add-ons.
- Scroll to Settings File.
- Select Import Merge.
- Select
examples/quick_start.json. - Select Import Settings.
Importing the same sample repeatedly creates duplicate Menus and Floating Buttons with the same names.
Use Import Replace only when you intend to replace the complete current Simple Pie Menu configuration. Import Replace has no difference preview or undo, so export a backup first.
9. Saving, Backups, and Configuration Transfer
Changes made in Preferences are saved automatically as JSON after a short delay. There is no normal Save button.
Use Export Settings File to create a backup before:
- Making major configuration changes.
- Using Import Replace.
- Updating Simple Pie Menu or Blender.
- Moving the configuration to another environment.
Import Replace replaces the complete current configuration. Import Merge preserves the current configuration and appends the imported Menus and Floating Buttons.
If the saved JSON is damaged or uses a newer unsupported schema, automatic saving is suspended for that session to protect the existing file. Successfully importing a valid JSON file with Import Replace or Import Merge resumes automatic saving.
10. Update the Extension
- Export a settings backup.
- Download the new
simple_pie_menu-.zip. - Open Edit > Preferences > Get Extensions.
- Use Install from Disk and select the new Extension ZIP.
- Confirm the update and check the installed version.
- Restart Blender if requested or if the interface does not refresh correctly.
- Confirm that the previous configuration is still available.
11. Disable or Uninstall
Disable Simple Pie Menu under Preferences > Add-ons when you only need to stop it temporarily.
To uninstall it:
- Export a settings backup if you may reuse the configuration.
- Open Edit > Preferences > Get Extensions.
- Find Simple Pie Menu in the Installed list.
- Open its menu and select Uninstall.
The expanded Add-ons entry may not contain an Uninstall button. Use the menu under Get Extensions.
12. Troubleshooting
The Extension does not appear
- Confirm that you selected
simple_pie_menu-.zip, not the Documentation ZIP. - Confirm that the ZIP was not extracted before installation.
- Confirm that your Blender version is supported.
- Search for Simple Pie Menu under Preferences > Add-ons and enable it if necessary.
A Menu does not open from its shortcut
- Move the pointer over the configured Area.
- Confirm that the current Mode or Node Tree matches the Menu settings.
- Confirm that the Menu and shortcut are enabled.
- Check the conflict message and use the shortcut refresh button.
- Remember that some actions require a specific Blender context or selection.
A Floating Button is not visible
- Confirm that it is enabled in both Preferences and the 3D View Sidebar.
- Confirm that its Area is 3D View.
- Enable Show Gizmos.
- Check its anchor and offsets.
Settings do not persist after restarting Blender
- Check for a save error in Preferences or the system console.
- If the settings JSON is damaged or uses an unsupported newer schema, import a valid backup to resume saving.
- Export the current configuration before attempting recovery.
An Operator, property, Node, Tool, or Brush is unavailable
Many Blender actions depend on the current Area, Mode, active object, selection, Node Tree, active Tool, or asset library. Move to the required context and try again. The User Manual contains detailed compatibility notes for each Item Type.
13. Complete Manuals
Extract SimplePieMenu-Documentation-1.0.0.zip to access:
README.mdCHANGELOG.mdLICENSEDocumentation/en/Quick_Start.pdfDocumentation/en/User_Manual.pdfDocumentation/ja/Quick_Start.pdfDocumentation/ja/README.mdDocumentation/ja/User_Manual.pdfexamples/quick_start.json
The Quick Start provides a guided introduction. The User Manual describes every setting, supported Item Type, context restriction, error, and known limitation.
Quick Start video: https://youtu.be/dAcxfEYSPu0
14. Support
For product support, use the message or support function on the Superhive product page.
When reporting a problem, include:
- Product name and version.
- Blender version.
- Operating system.
- Steps required to reproduce the problem.
- The Area, Mode, or Node Tree involved.
- The complete error or system console traceback, if available.
For general inquiries, contact [email protected].
Before sharing a settings JSON file, check Menu names, labels, Operator arguments, and other user-entered text for private information.
Discover more products like this
hotkey quick access interface productivity Workflow Shortcut custom-pie-menu pieMenu floating-buttons menu editor pie menu custom-pie-menus